
Interior
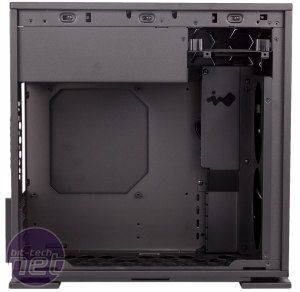
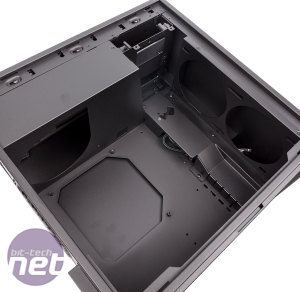
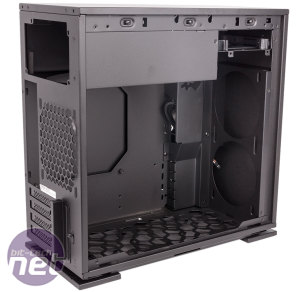
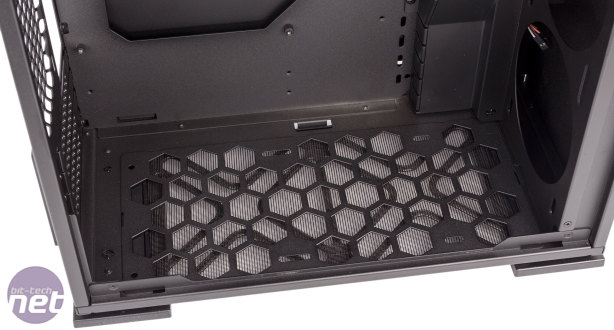
Accessing the insides of the 301 is extremely easy on both sides. We've already praised the latched left panel, but the right panel is dead simple to remove as well thanks to the two large thumbscrews holding it in place up top.Inside, you're greeted by a fairly spacious cavity. Graphics hardware, for instance, can extend all the way to 330mm in length and 162mm in height. That said, large CPU coolers may not fit on account of the 158mm limit here; 160mm+ tends to be preferred, but the clearance here will still allow numerous well-performing tower coolers to fit. Note also that utilising the bottom fan mounts will eliminate your ability to use the lowest expansion slot.
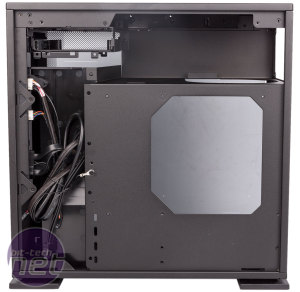
There are very few complications as far as hardware installation goes. Motherboard mounts come pre-installed for mini-ITX users; micro-ATX motherboards will require some extra standoffs to be screwed in. There's a large cutout in the motherboard tray for working with CPU cooler backplates, and the PSU simply slides into position from the opposite side, although there's no insulating padding for it and length is limited to 160mm. A metal support bracket can be screwed into place to help prop up beefy dual-slot graphics cards as well.
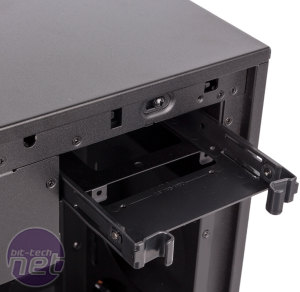
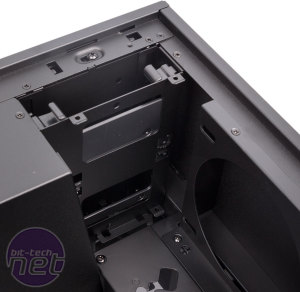
Up in the top-front corner is a single 3.5”/2.5” plastic HDD tray, which is easily removable and has a small amount of rubber insulation around the pins used for tool-free mounting of 3.5” drives. Another two SSDs can be installed using the hooks and screws directly underneath this tray.
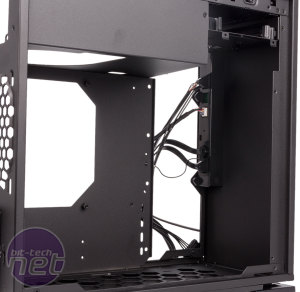
Cable management is surprisingly okay, even though initially it doesn't look like it will be. However, with the PSU chamber and the channel at the front, there's actually quite a lot of room to work with, and smaller cables can even sneak through the CPU cooler cutout if you're using a mini-ITX motherboard. A hole cut into the PSU chamber leads directly into the motherboard area too, allowing you to feed things like the CPU power connector through neatly. The front fan bracket and cable management bracket are also both removable. That said, space behind the motherboard is extremely tight, so you will be relying on that channel for pretty much everything.
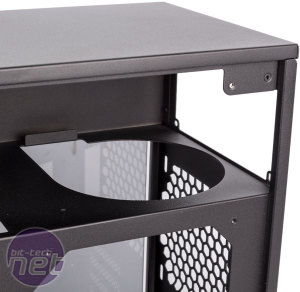
Radiators are officially only supported in the front and rear, limited in size to 240mm and 120mm respectively. Using the front area will cut down on your GPU length limitation, but this is already quite generous. The bottom is likely unsuitable due to how close the fans would run to your graphics card, even with a thin radiator and slimline fans. Ultimately, it's not the best case in the world for water-cooling, but there's at least a few options.

MSI MPG Velox 100R Chassis Review
October 14 2021 | 15:04



Want to comment? Please log in.