
Lian Li PC-XB01 Installation Guide (cont.)
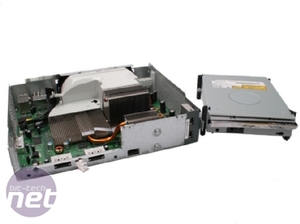
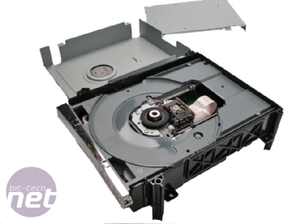
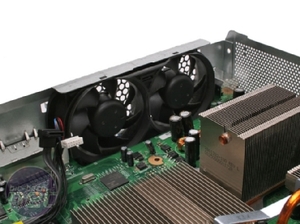
Next up we’ll remove the DVD drive, being sure to remove the SATA plug and power connector from the main board as we do so. Lian Li provide an extended SATA cable due to the increased distance between DVD drive and main board in the PC-XB01, so fit this to the DVD drive now, as well as removing the silver or white front Xbox 360 fascia from the drive – firmly slide it upwards and it will pop off. Just remember to stop dismantling when you’ve got the fascia off!Next up we’re going after the 360’s cooling hood, which easily pops off once you release the retention clip with your flat head screw driver. This is also a good time to unplug the 360’s dual 70mm fans. If you’re using a non-HDMI version, it’ll be a four pin connector and on the newer HDMI versions there’s a standard 3 pin fan connector – Lian Li provide adapter cables for both so don’t worry.
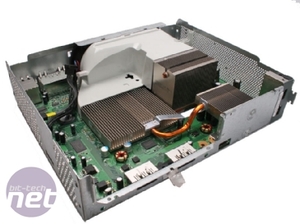
With the hood, DVD drive and fans disconnected you can find some courage and remove the Xbox 360 mainboard from its stock prison for a new life of warranty free aluminium clad living.
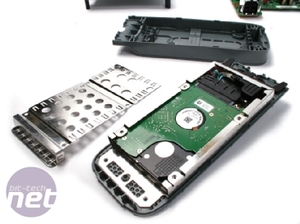
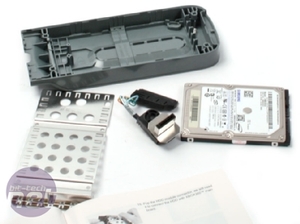
There’s one last thing you’ll need to dismantle – the Xbox 360 HDD module. It’s a simple process of removing the four screws using the Torx 6 screw driver from the casing, and then the internal Torx 10 screws. Then simply disconnect the SATA connector and slide the HDD out of the casing – job done – that’s the hard bit over!
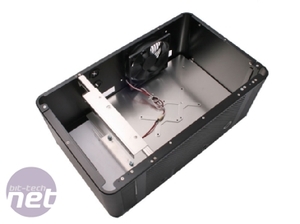
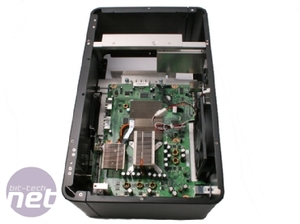
Installing the 360 into its new home is a whole lot easier than prying it from Redmond’s plastic prison, and is very similar to building a standard PC. After removing the XB01’s aluminium cooling hood to expose the motherboard mounts, attach the seven motherboard standoffs and remove the RF module holder before fitting the RF board into its new home. Next, plug the RF board into the 360 main board and slide the whole lot into the case at an angle, before securing the board into the case with standoff screws and connecting the three pin fan with the adapter.
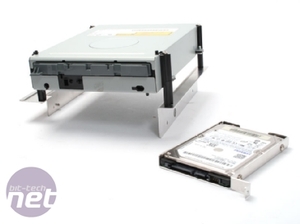
Next up is the mounting process for the DVD and hard disk drives, which in our experience was the most difficult point of the install process, not helped by the fact that the manual’s photos are a little unclear. The HDD cradle is easy enough to fit, but we went through a few different configurations of mounting brackets before we found the correct mounting configuration for the DVD drive. It's two aluminium thumbscrews on the back side and one countersunk on the near side - it's important to fit all these screws at the correct angle, because being an aluminium case the screw threads are easily torn to shreds (steel is much better for this).
However once fitted, both were perfectly secure – just don’t forget to plug the hard drive SATA module and DVD drive back into the main board!
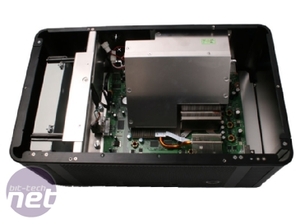
With the main board, RF board, DVD and HDD mounted, there’s isn’t much else you need to do other than mount the aluminium cooling hood (a simple process – just four exterior screws), make sure all your exterior buttons line up correctly with the interior switches, reattach the side panels and say a prayer to the gods of gaming before plugging it in and hoping it all still works.
After having been through this, we found there are still some obvious flaws with how the whole thing fits together; the most serious is the enormous gulf between the bottom USB ports and memory card slots, and the exterior of the case. It just seems to us that the whole case is unnecessarily deep, and means if you want to plug a memory card or USB controller like a Rock Band drum kit in, you’ll have to reach around several inches inside to get to the sockets.
There are also obvious gaps between the case and the rear connection points for power and AV output, and you’ll need to be careful to make sure that the three front panel buttons all line up correctly with the motherboard. We actually fitted our Xbox 360 into the PC-XB01 twice, and the first time out our reset button wouldn’t work because I’d lined it up a little off centre.
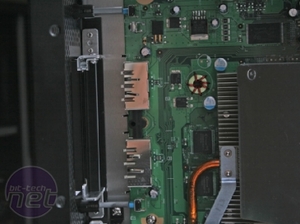
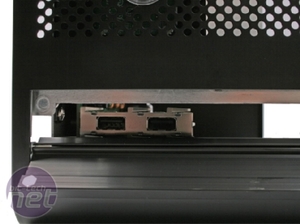
Click to enlarge: Big gaps between the main board's ports and case exterior seem a lazy design choice
However, on the positive side, everything fitted into the case eventually, and the whole process wasn’t entirely painful. In fact, once the 360 had been removed from its stock casing, fitting into the PC-XB01 was a fairly trivial task than compared to getting it back in the 360 casing.

MSI MPG Velox 100R Chassis Review
October 14 2021 | 15:04



Want to comment? Please log in.