Interior
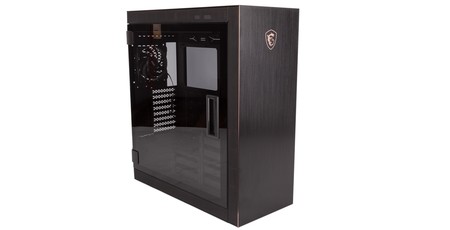
As already mentioned, accessing either side is incredibly easy with the hinged side panels. It’s also not at all difficult to remove the front and then the roof panel (must be that order), so regardless of which part of the Sekira 500G you need to work on, you can access it within seconds.
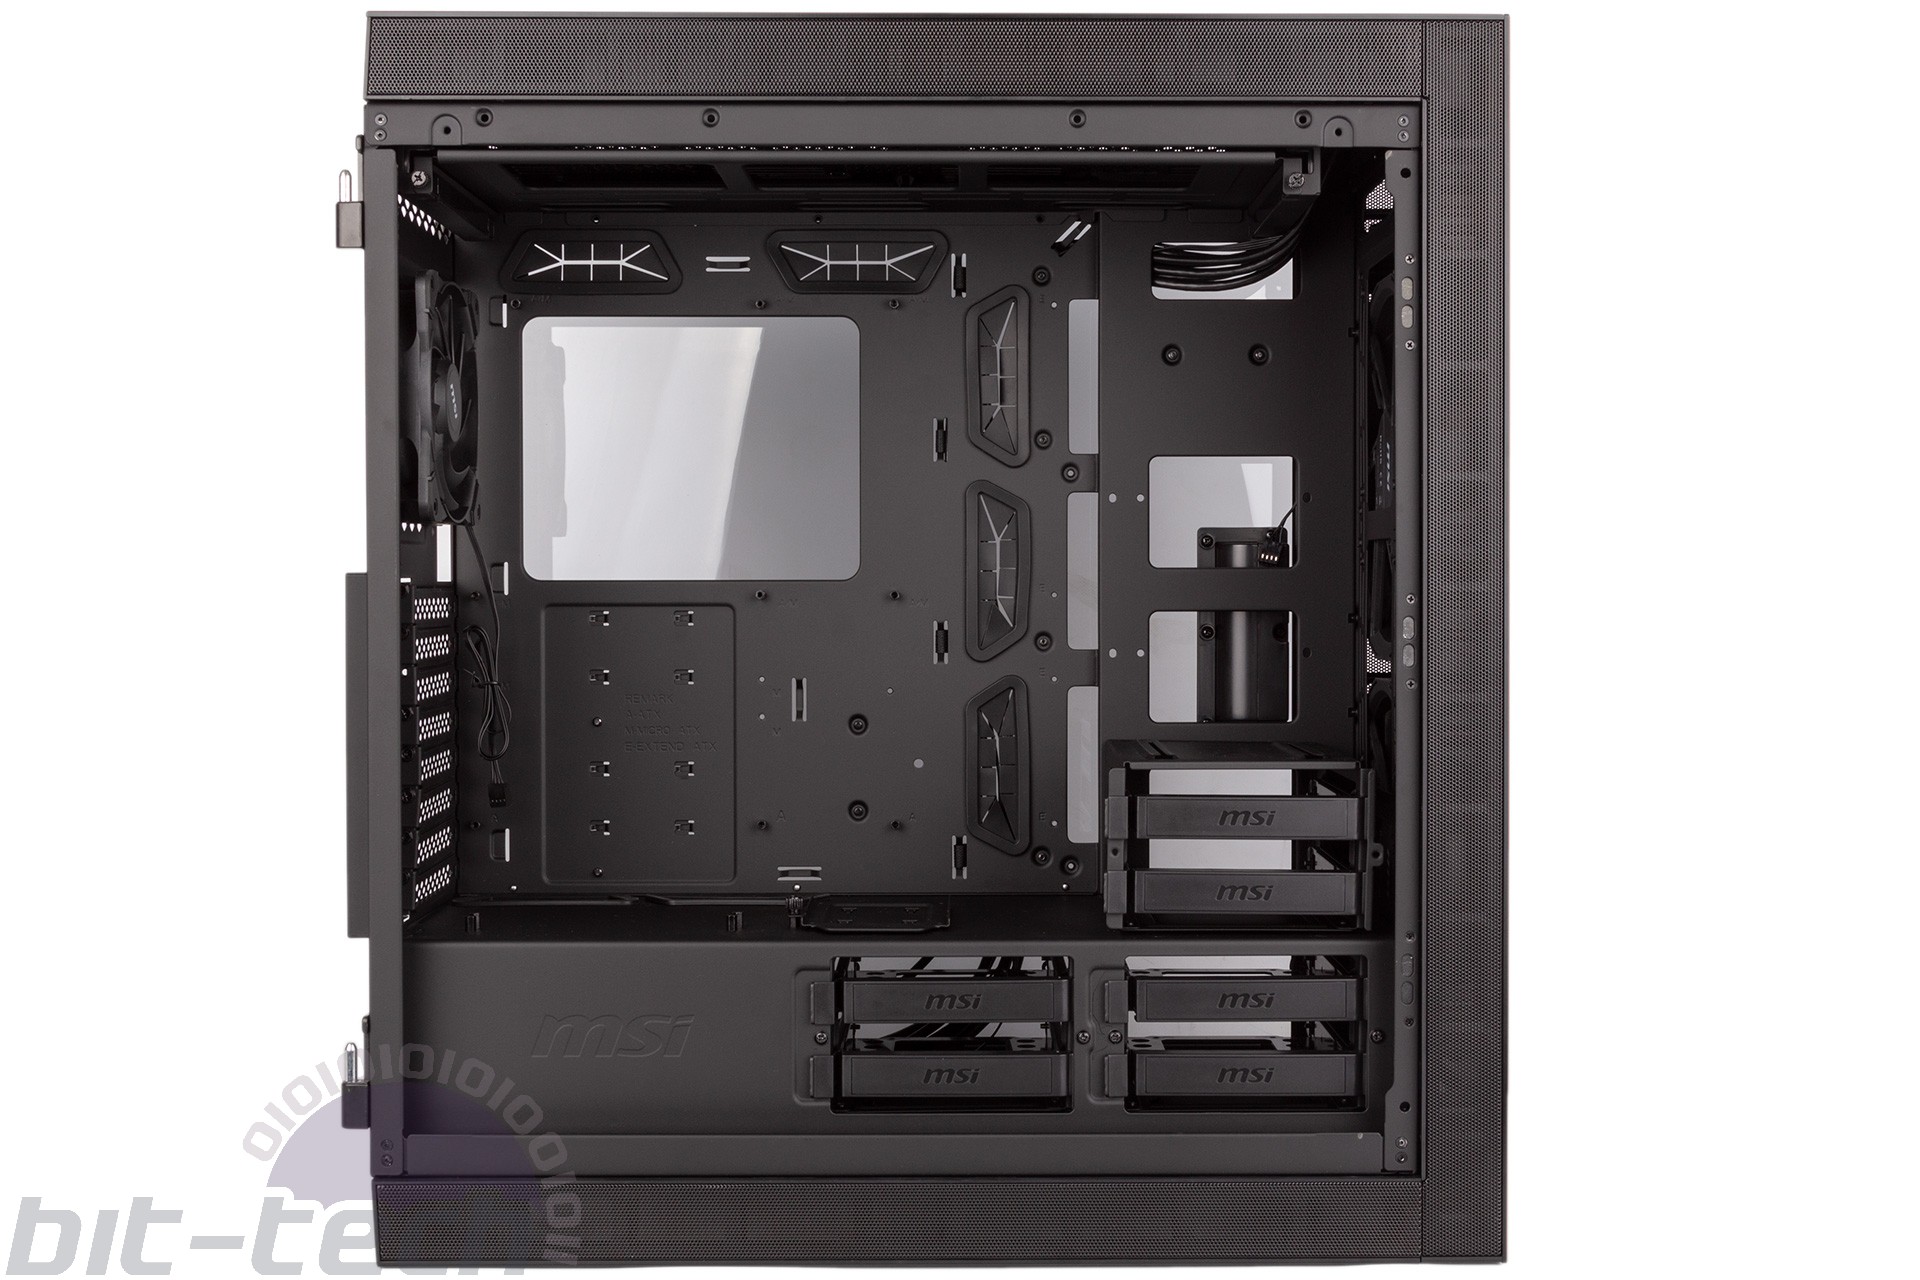
While MSI has used a standard tower layout with a PSU shroud dividing the case into two main compartments, it breaks from the norm by having the 3.5” drives accessible from the same side as the motherboard and GPU. You may prefer this, but we’d argue that it isn’t especially beneficial, as you still need access on the other side to plug drives back in unless you leave yourself plenty of cable slack, which often isn’t possible when running multiple drives. 2.5” devices are also supported (using screws) on each of the plastic trays; we’d prefer if these were metal or at least a little less flimsy, but they do function fine and have little bits of rubber surrounding the tool-free mounting pins for larger drives.
Motherboard standoffs are pre-installed, and the case is massively spacious and has a huge CPU cooler cutout, all of which means installing the core hardware is very simple. That said, the blanking plate that covers the expansion slot area at the rear is cumbersome and, we feel, unnecessary. It makes installing GPUs fussier for no real benefit, and it didn’t help that ours arrived damaged and wouldn’t attach to the case properly – hopefully just a shipping mishap but still not ideal.
Something else that’s annoying in so premium a case is that MSI supplies all screws together in a single large bag. It’s not exactly difficult to separate these out and find what you need (and there’s an obvious argument for reducing the amount of plastic), but it’s a small quality-of-life thing that other cases, especially those at this price level, address by separating them out into labelled bags or boxes.
The PSU is installed in the usual location and rests atop rubber pads. The middle HDD cage can be removed if you need room for a larger PSU or more cable stowage, but there's a decent amount of space by default. Similarly, clearance levels for graphics cards and CPU coolers are suitable for high-end components.
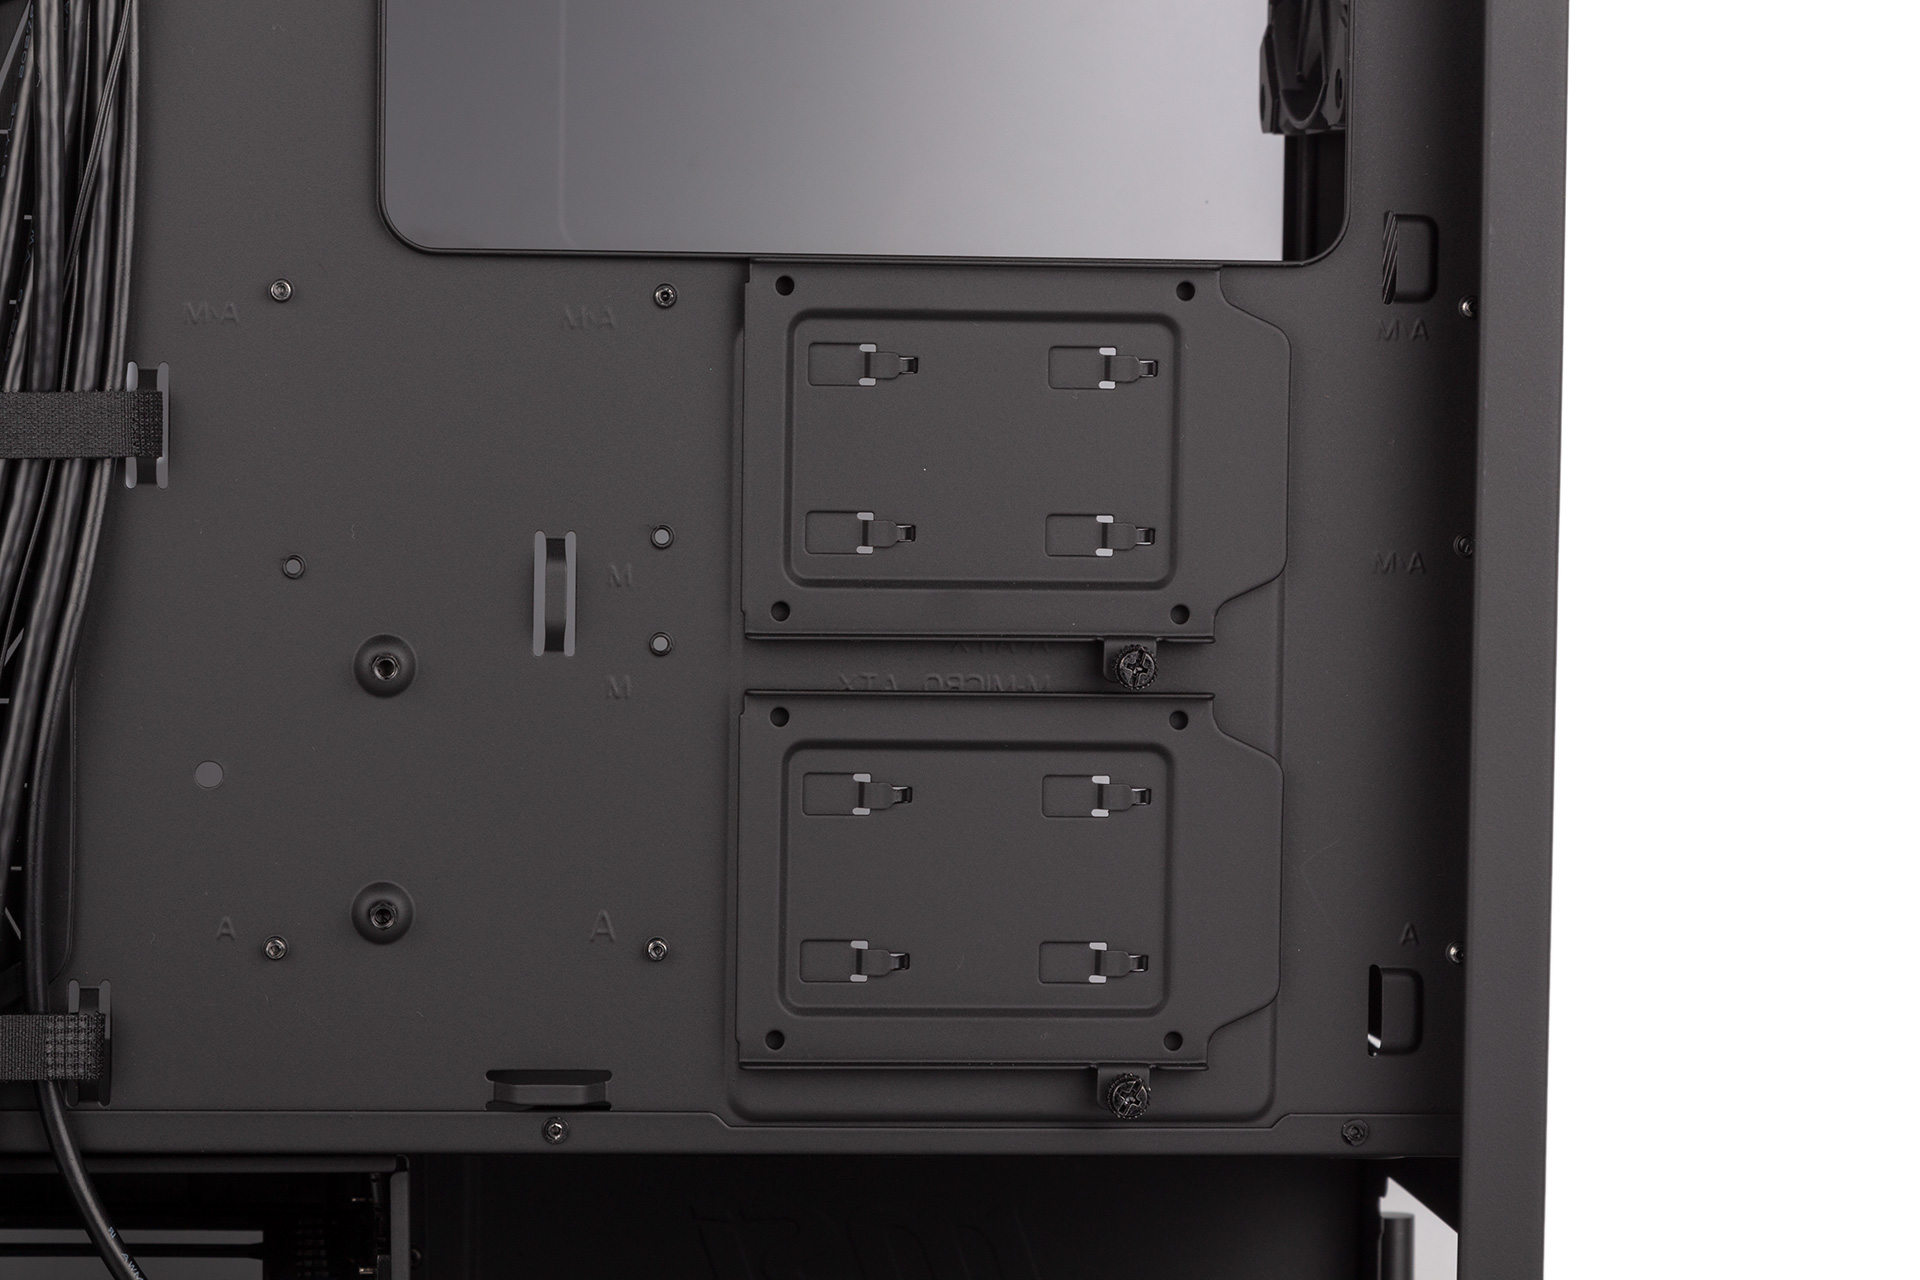
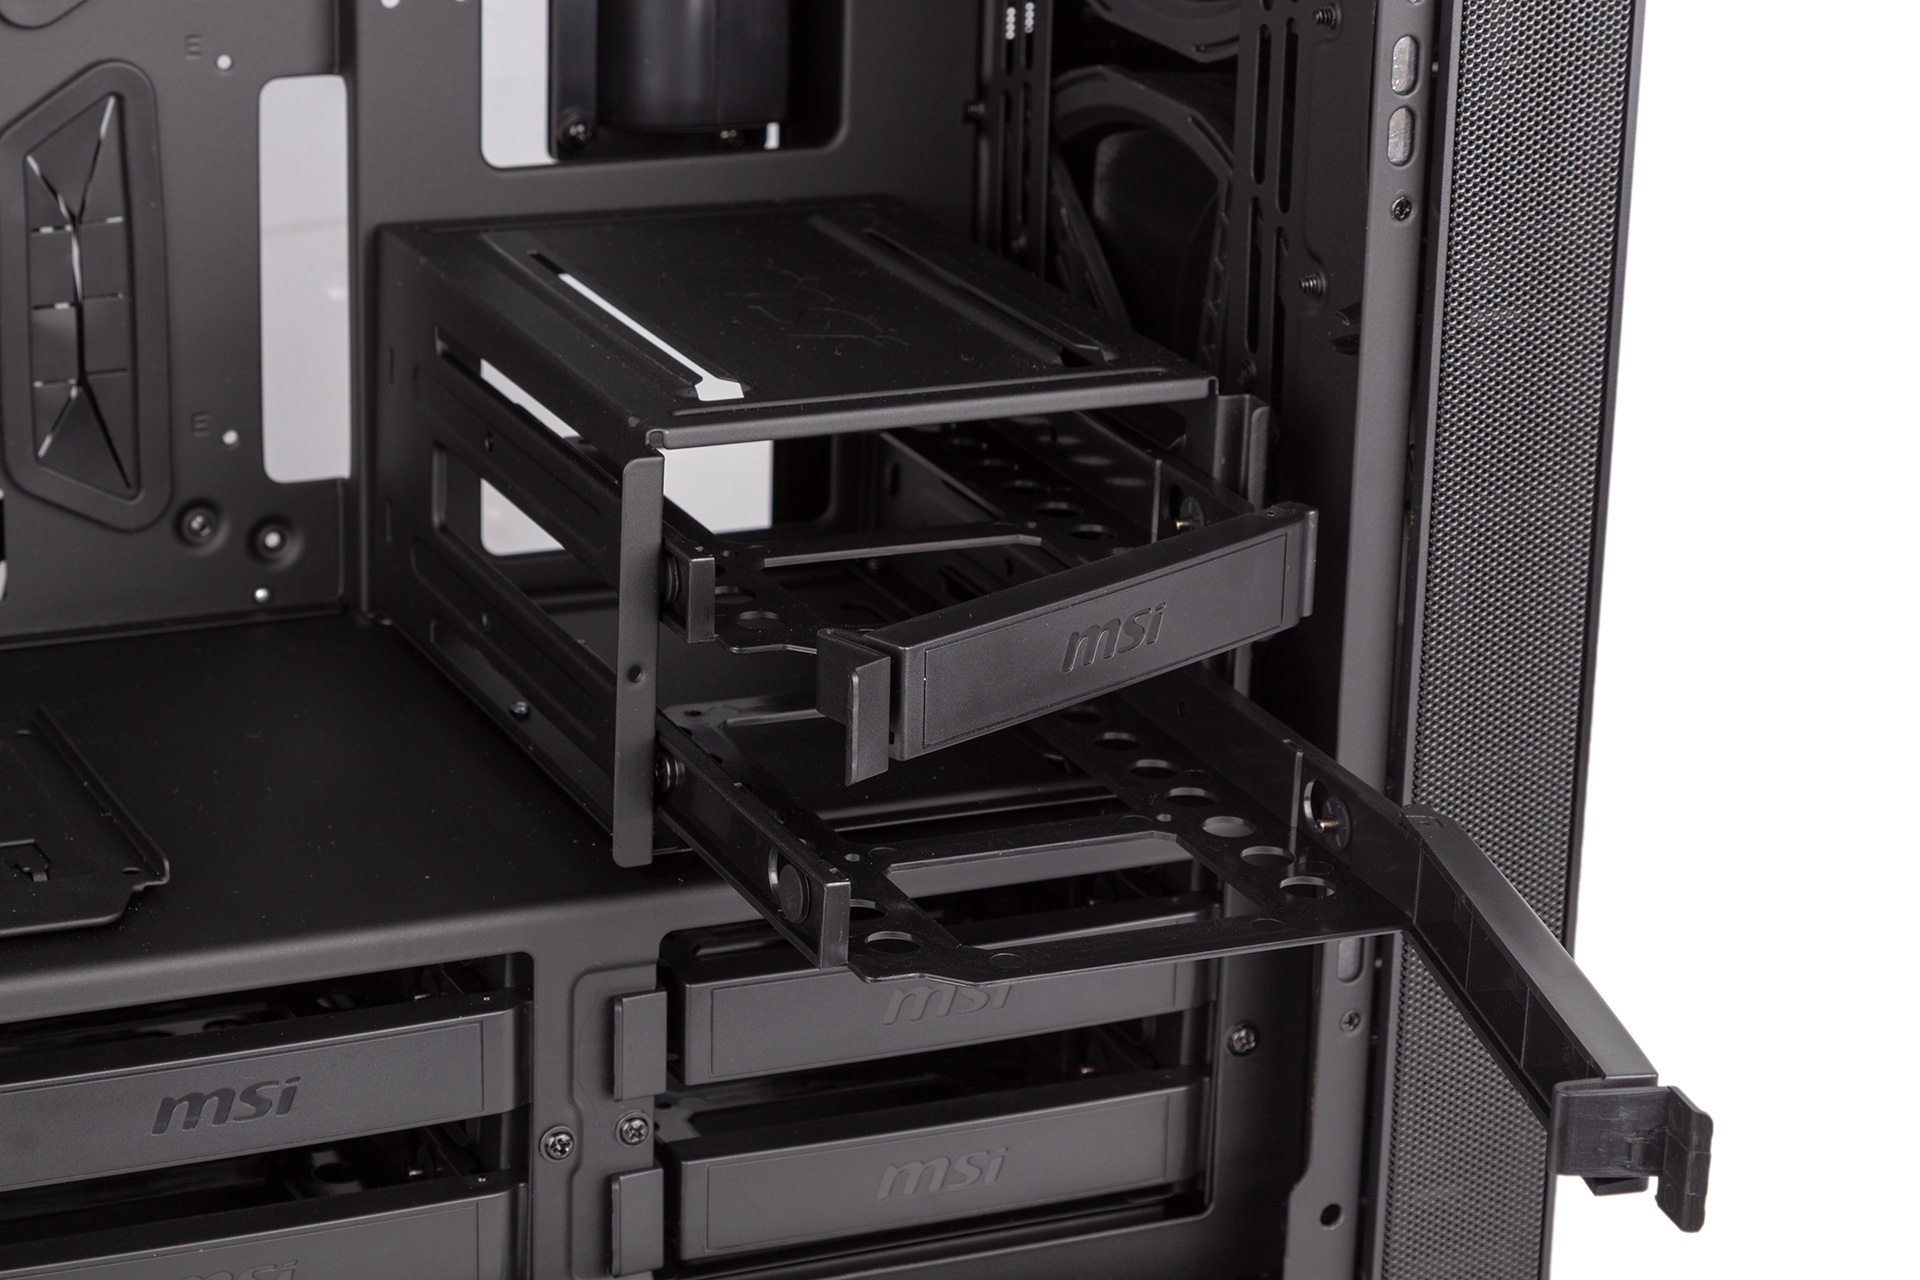
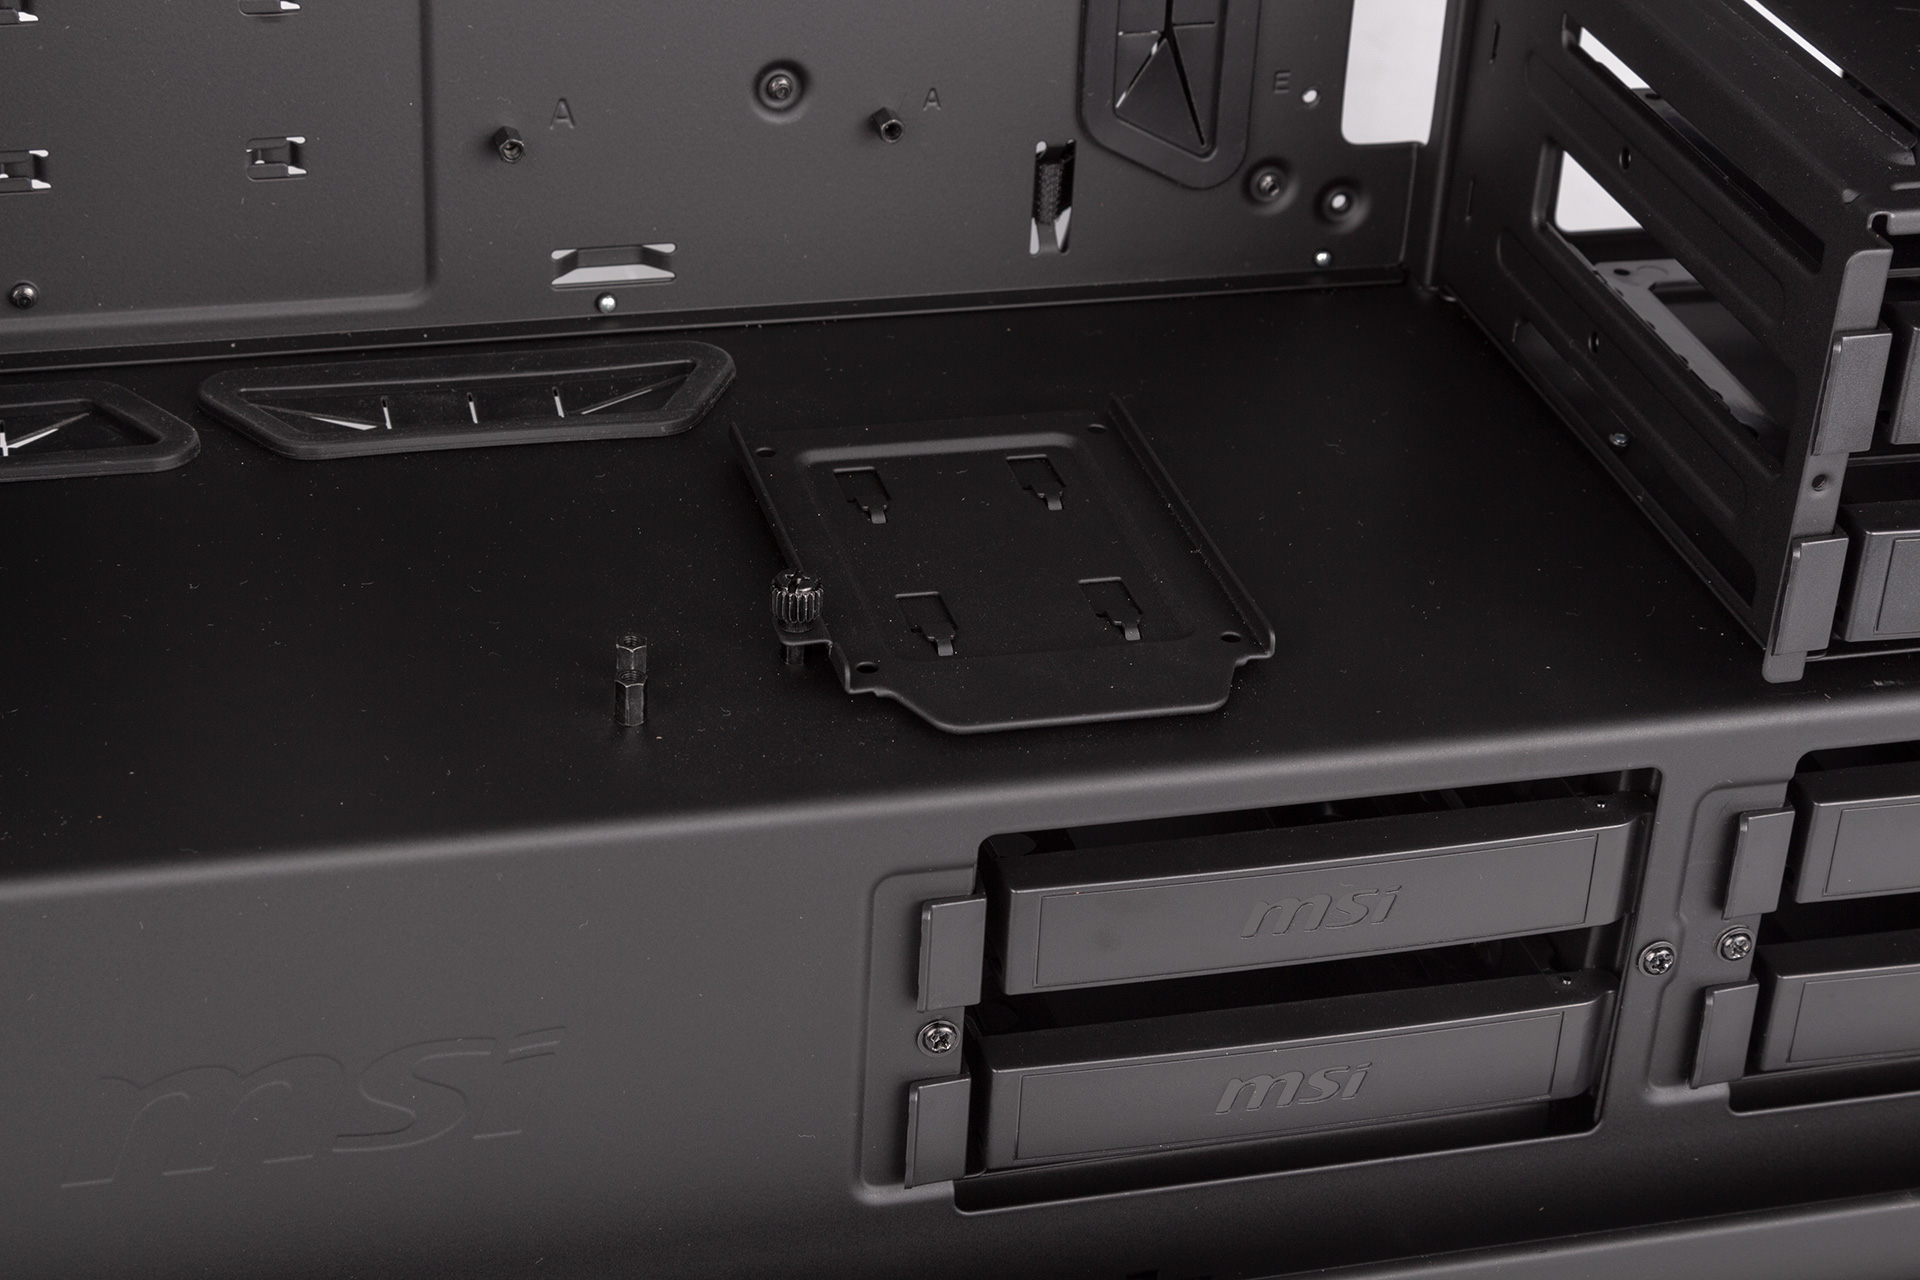
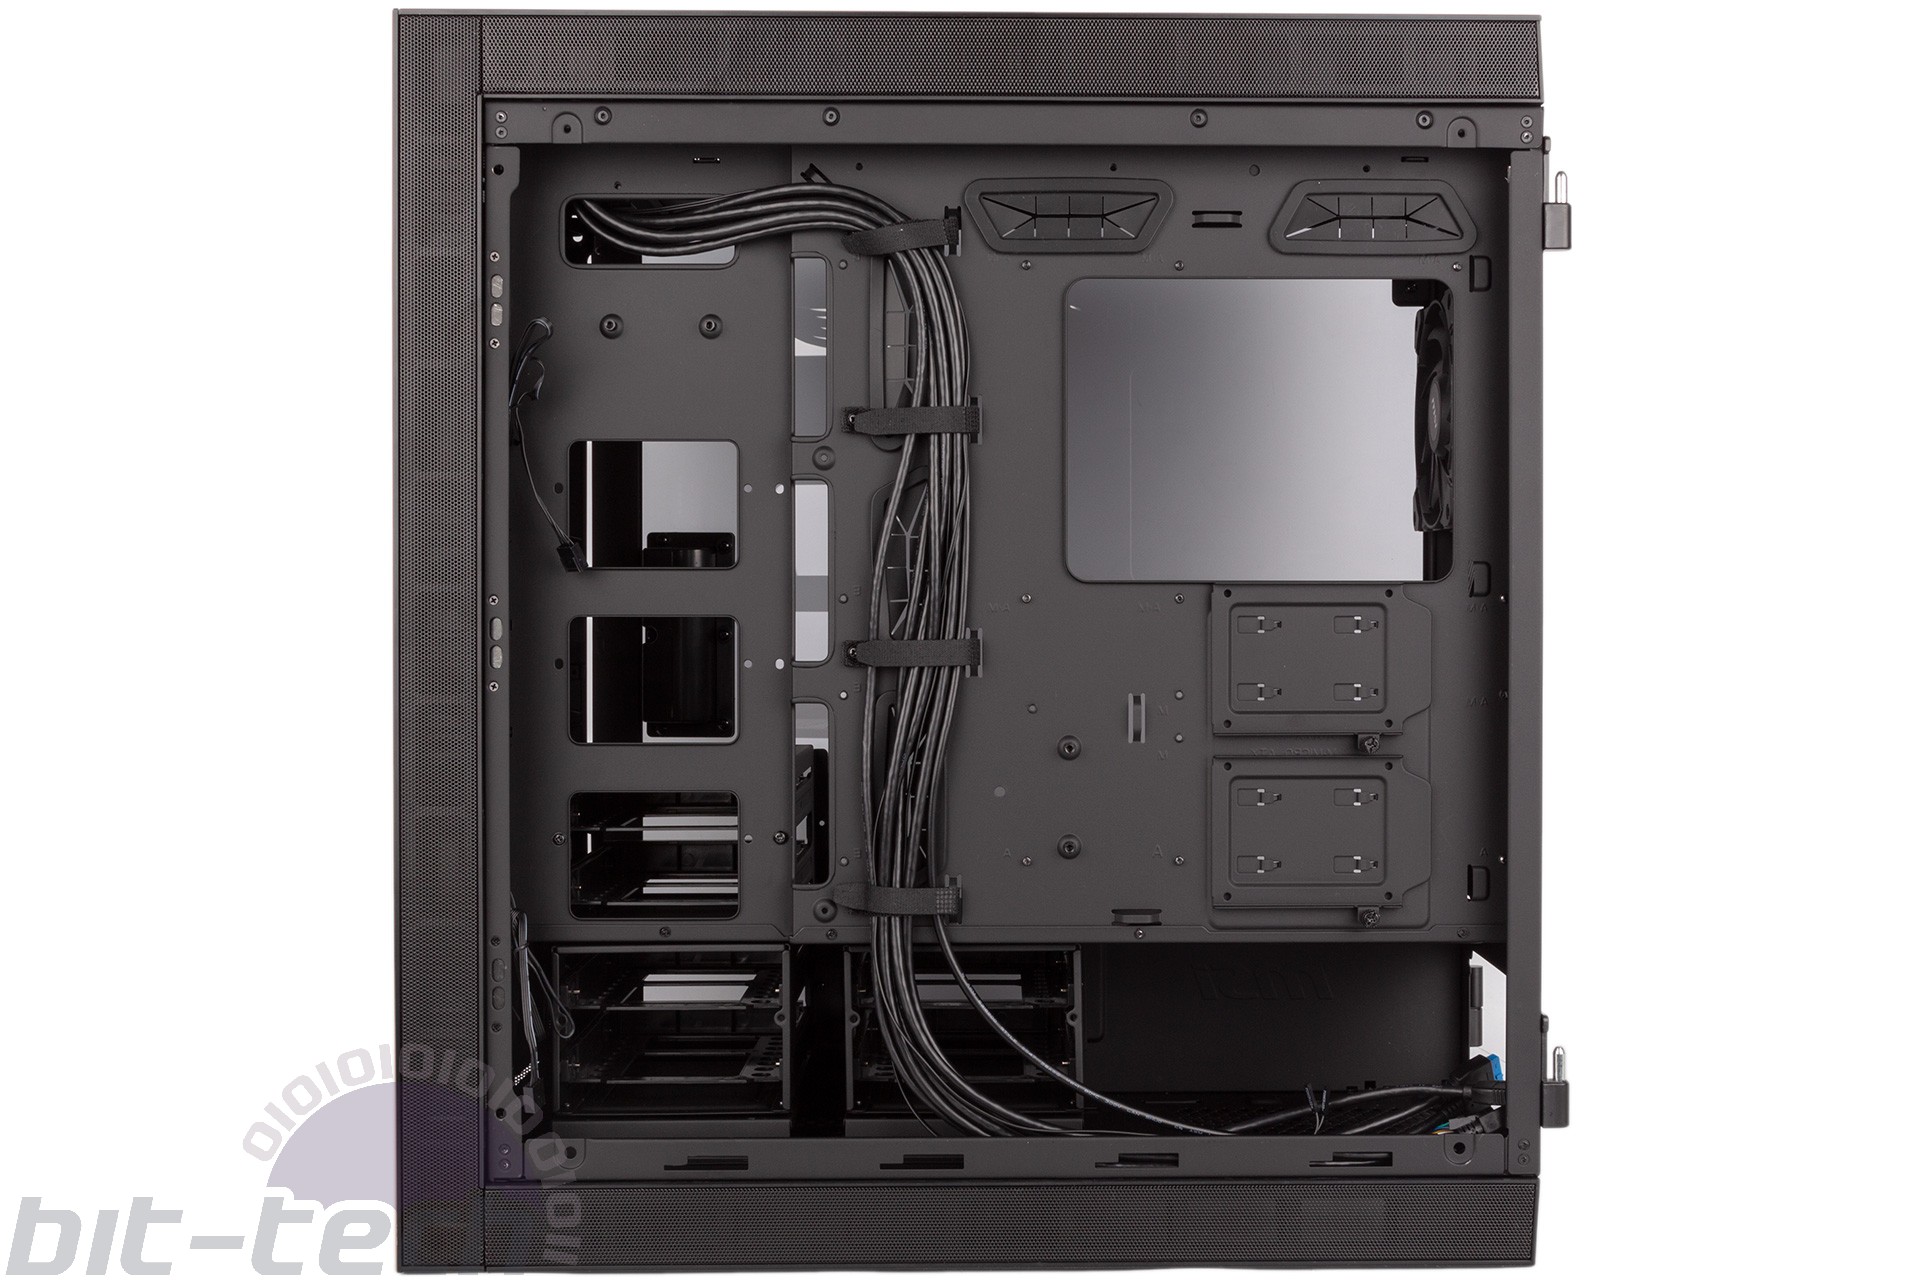
Not content with six drive positions, MSI also includes three dedicated 2.5” mounting trays, one on top of the PSU shroud and two secured behind the motherboard tray. These are sturdy and made of metal, and each is held in with a single thumbscrew, though sadly this isn’t captive. Regardless, you clearly shouldn’t struggle to fit copious amounts of storage into this case.
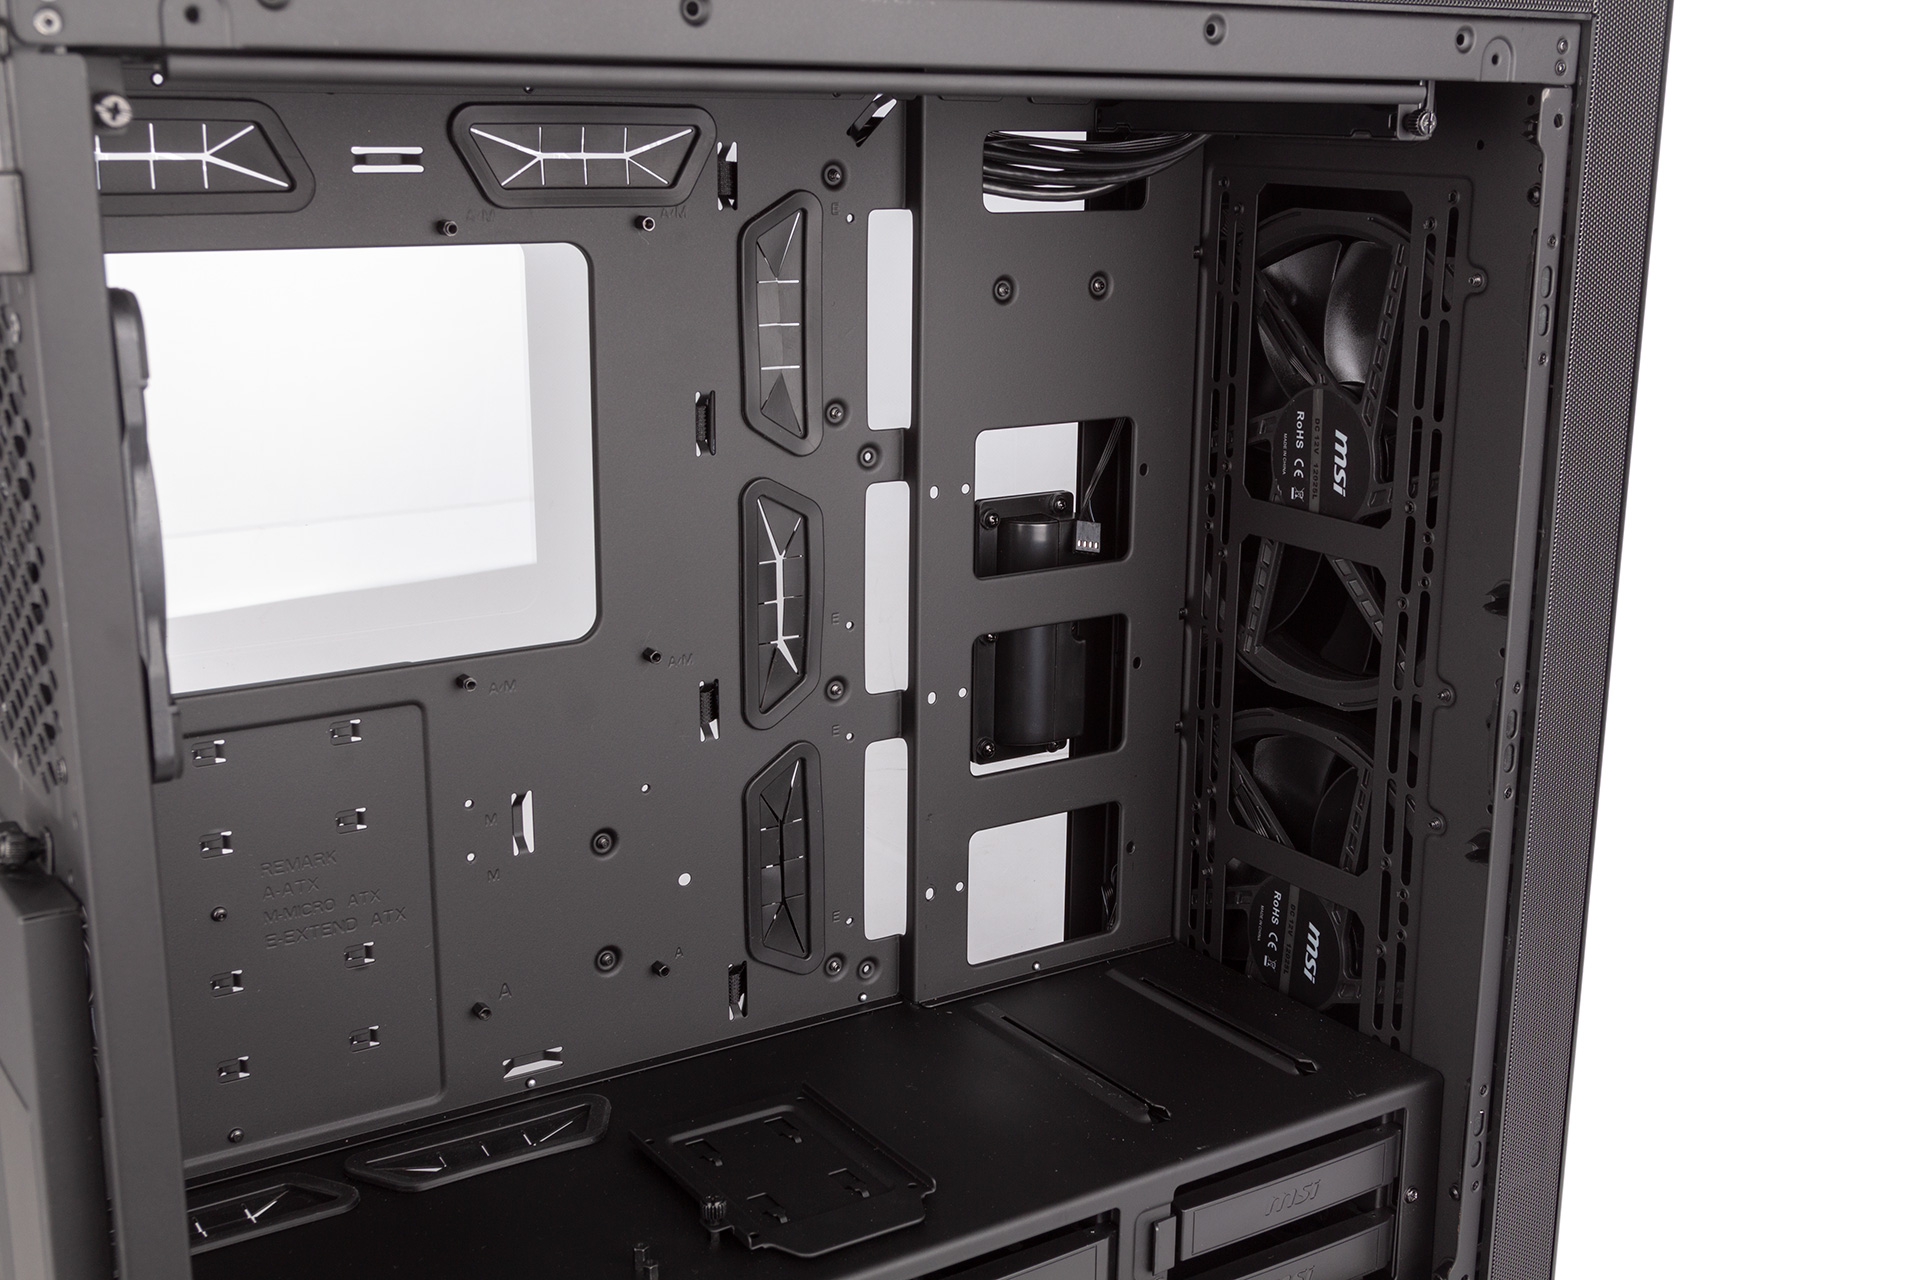
The upper two-bay HDD cage is removable via a few screws, and you might consider doing this if you want to clear a path for airflow or if you want to install a front-mounted radiator. Alternatively, if you want to make space in that lower section without sacrificing storage, both HDD cages are also removable and can be stacked on top of the upper one to form a six-bay tower. Note that if you want to take advantage of the random, unadvertised 120mm bottom fan mount, you need to remove both case feet in order to remove the rails that the lower-front HDD cage attaches to.
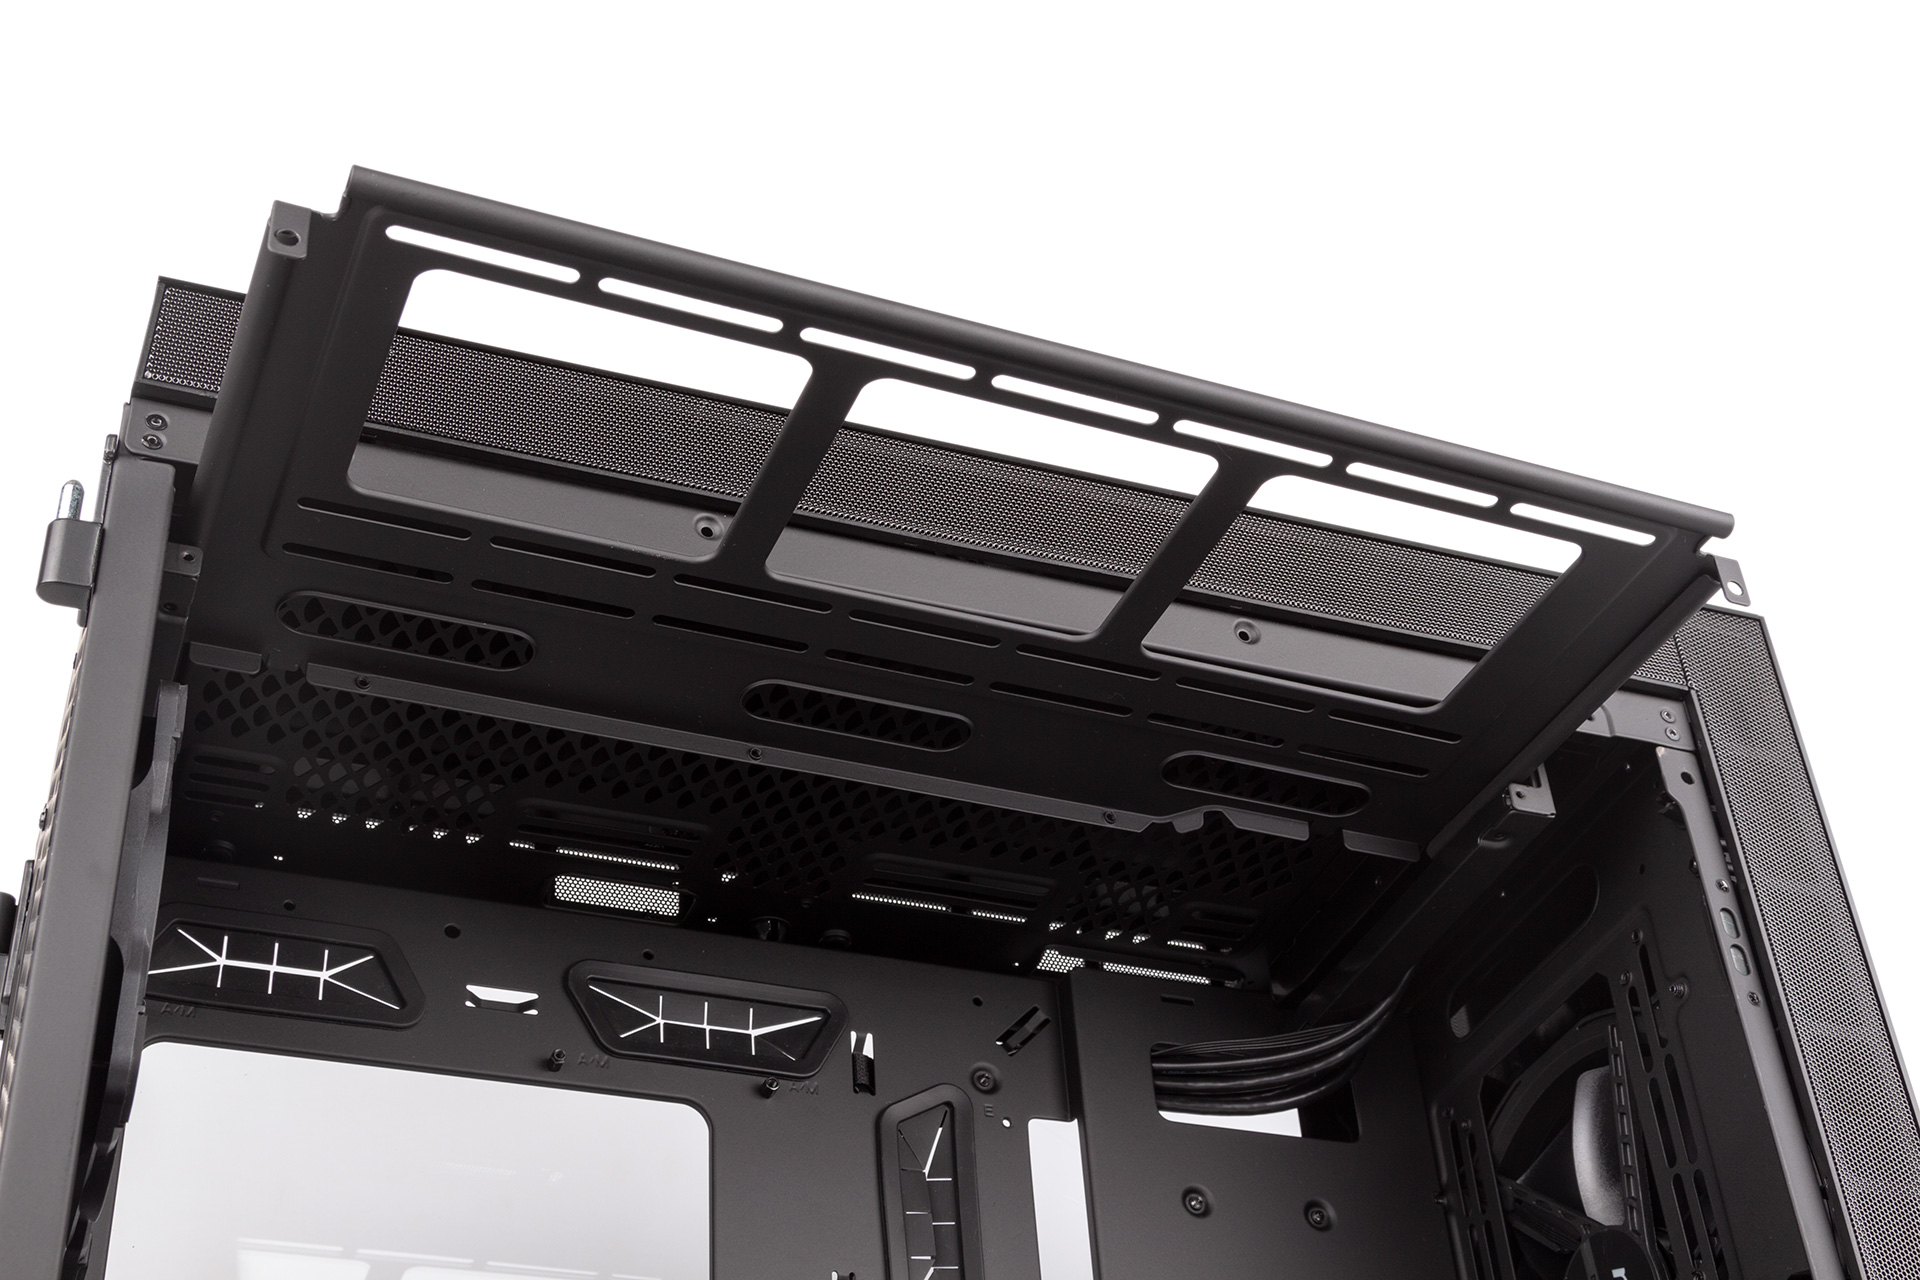
Sadly, there’s no cutout in the PSU shroud, which means MSI has been unable to take advantage of the full height of the case for water-cooling. That means you’re limited to 280mm or 240mm radiators in the front position.The roof, at least, does have support for 360mm radiators (as well as 280mm), and MSI uses a removable bracket to achieve this. The design of this is hard to fault, as it’s super easy to unscrew and slide out along its rails. Working in this area can be fiddly even in a large case, so we commend MSI for including this feature - it's just a shame something similar isn't found up front.

Large routing holes are positioned both above and to the side of the motherboard as well as below it (via the PSU shroud), so most connectors will be right next to an appropriate hole for easy tidying. Rubber grommets are used on each of these, and they’re sturdy and don’t come off too easily. You also get a nice set of Velcro cable ties that are properly anchored to the chassis, and the amount of room behind the motherboard tray feels right.


MSI MPG Velox 100R Chassis Review
October 14 2021 | 15:04

Want to comment? Please log in.