NZXT Phantom 820 - Interior
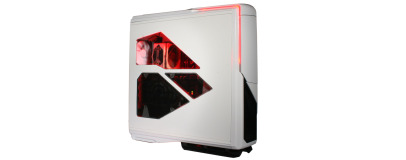
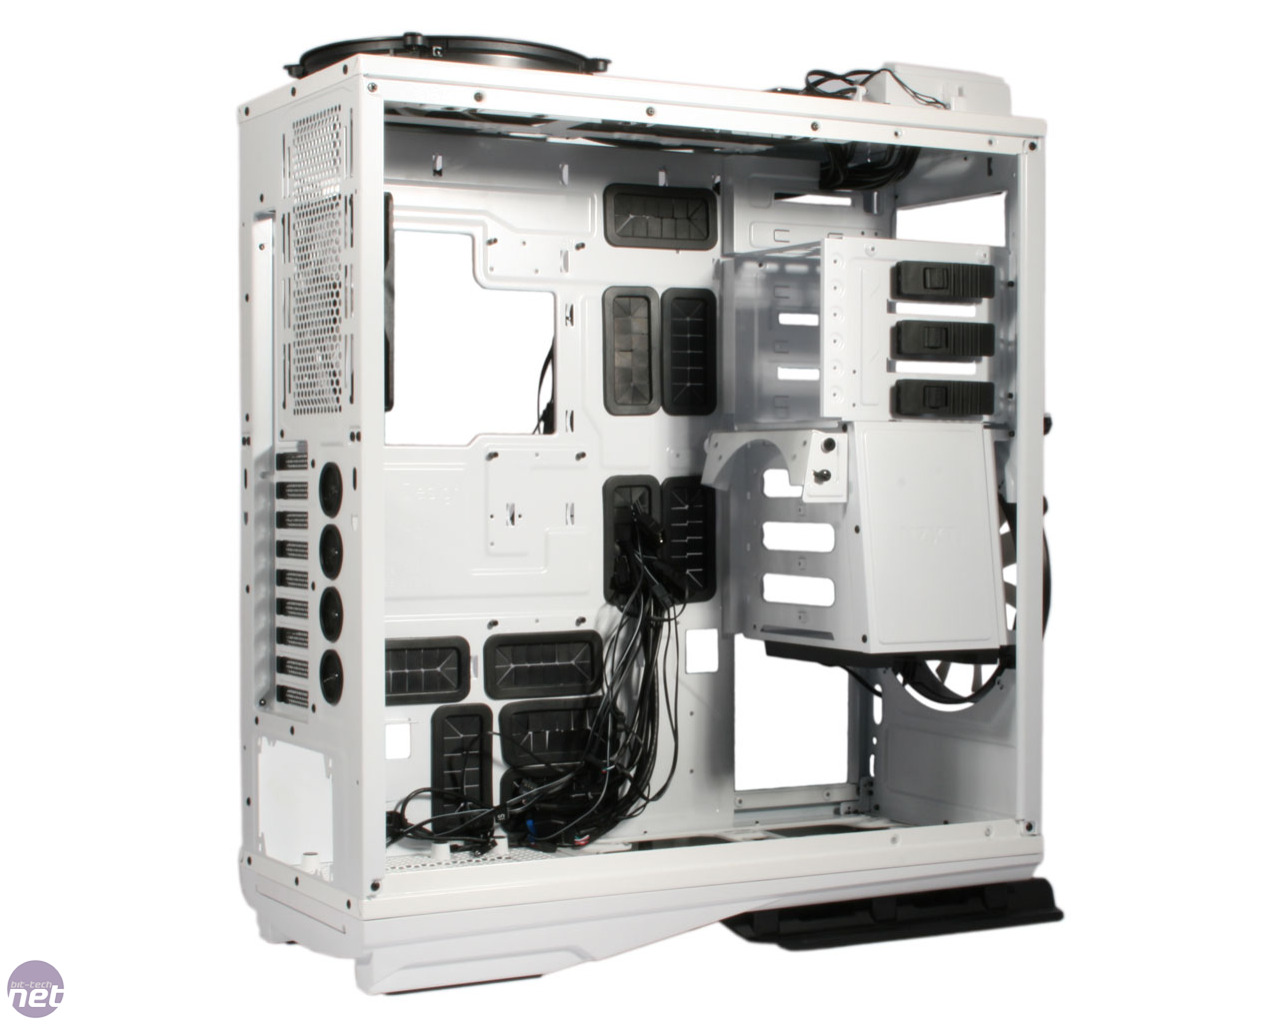
Undoing three thumbscrews on either side of the case will let you take off the side panels and give you access to the Phantom's spacious painted interior. The motherboard tray is huge, able to mount XL-ATX and E-ATX boards, and features a giant cutout for mounting CPU cooler backplates. The bottom drive cage can be removed, as can the rail it slides along, to open up the bottom of the case for water-cooling, and likewise the top optical drive bay is fully removable.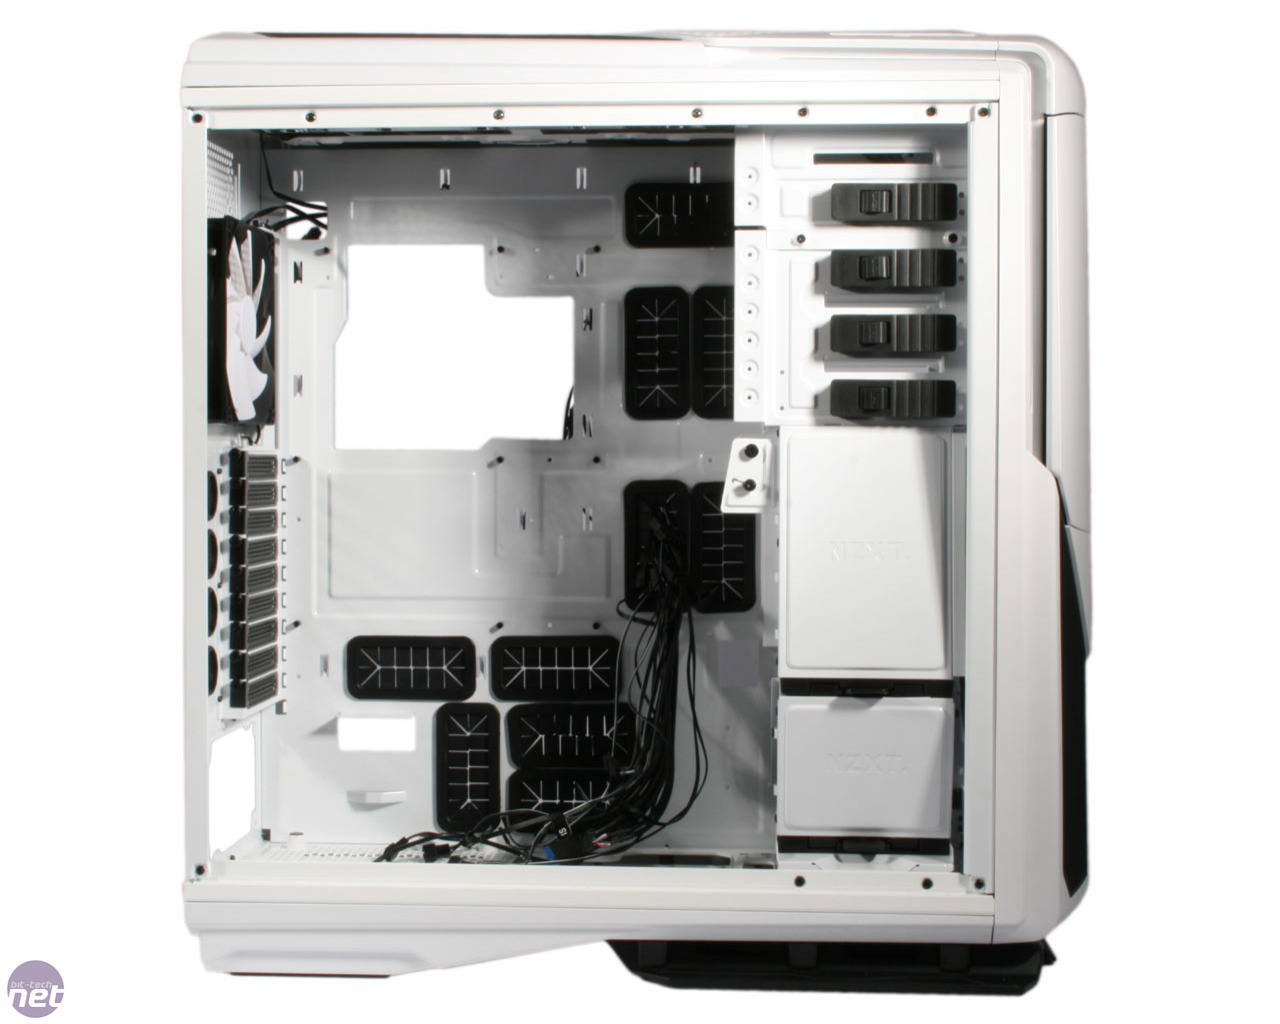
Click to enlarge - The Phantom 820 has a spacious interior (left) and pre-routed front panel and fan cables (right)
The standard layout is complemented by handy additions that make building a system with the Phantom 820 a breeze. The roof, front and rear fans come pre-wired to their corresponding channels on the fan controller, so you'll just need to attach the side panel fan, a molex connector and a SATA power connector to ensure that all fans, LEDs and the card reader are set to go. Any other fans you need to add in the future can be easily connected correctly, as the fan controller wiring is labelled for quick identification of the separate channels.
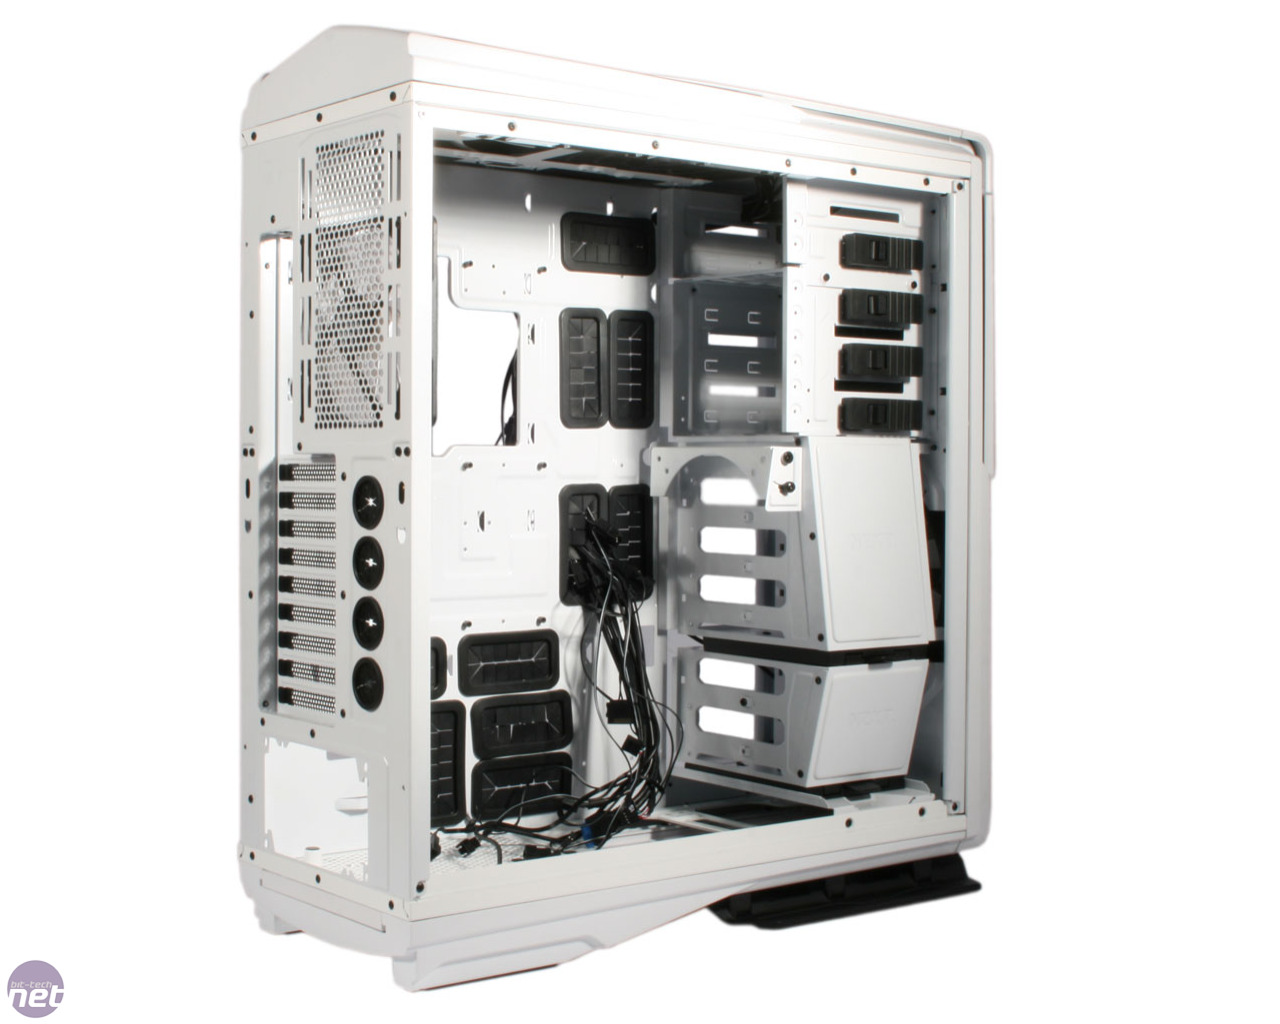
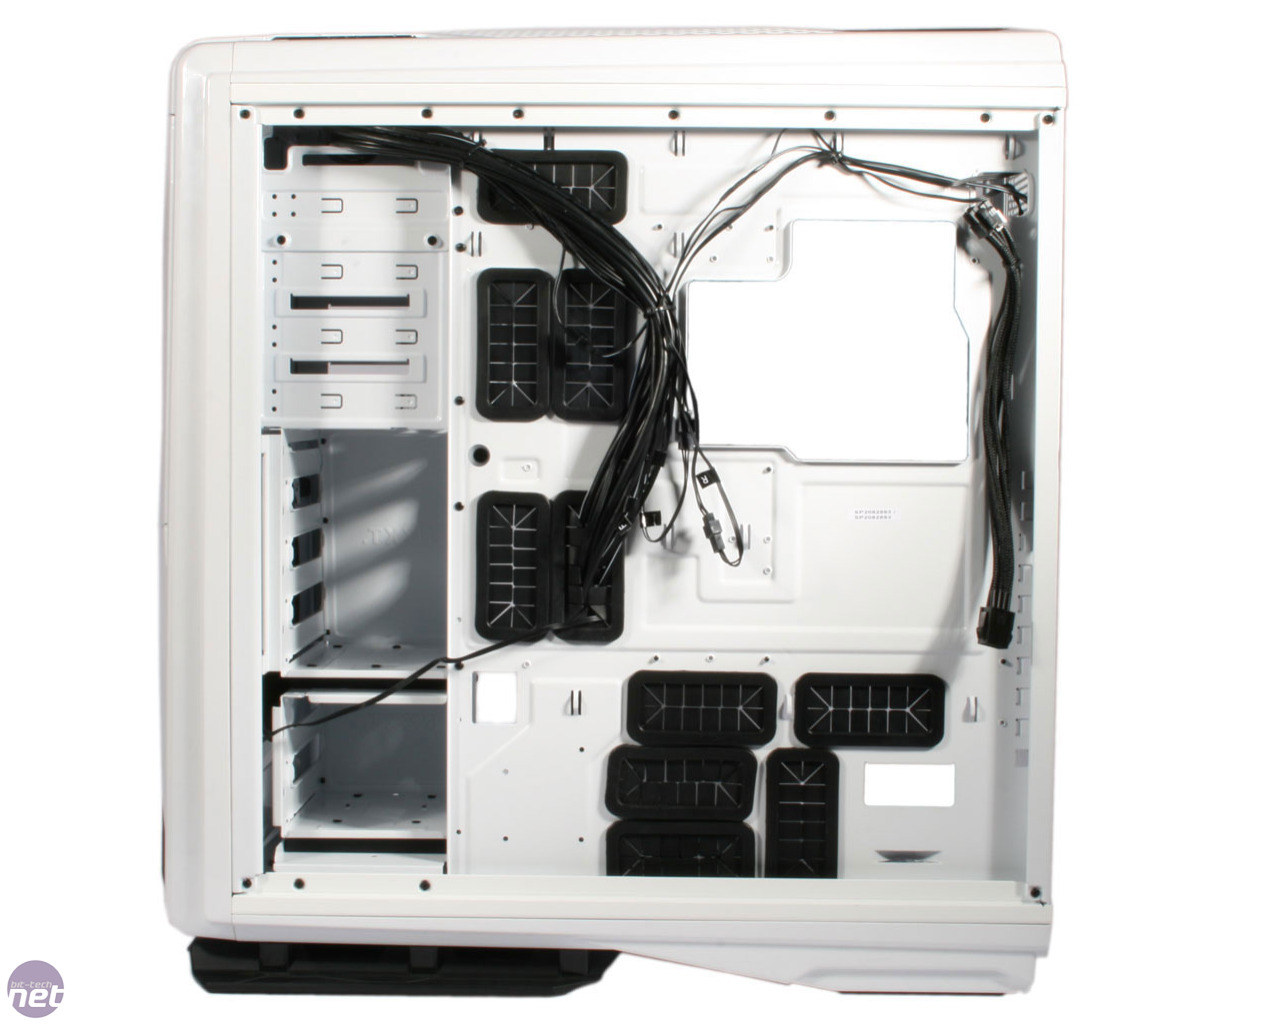
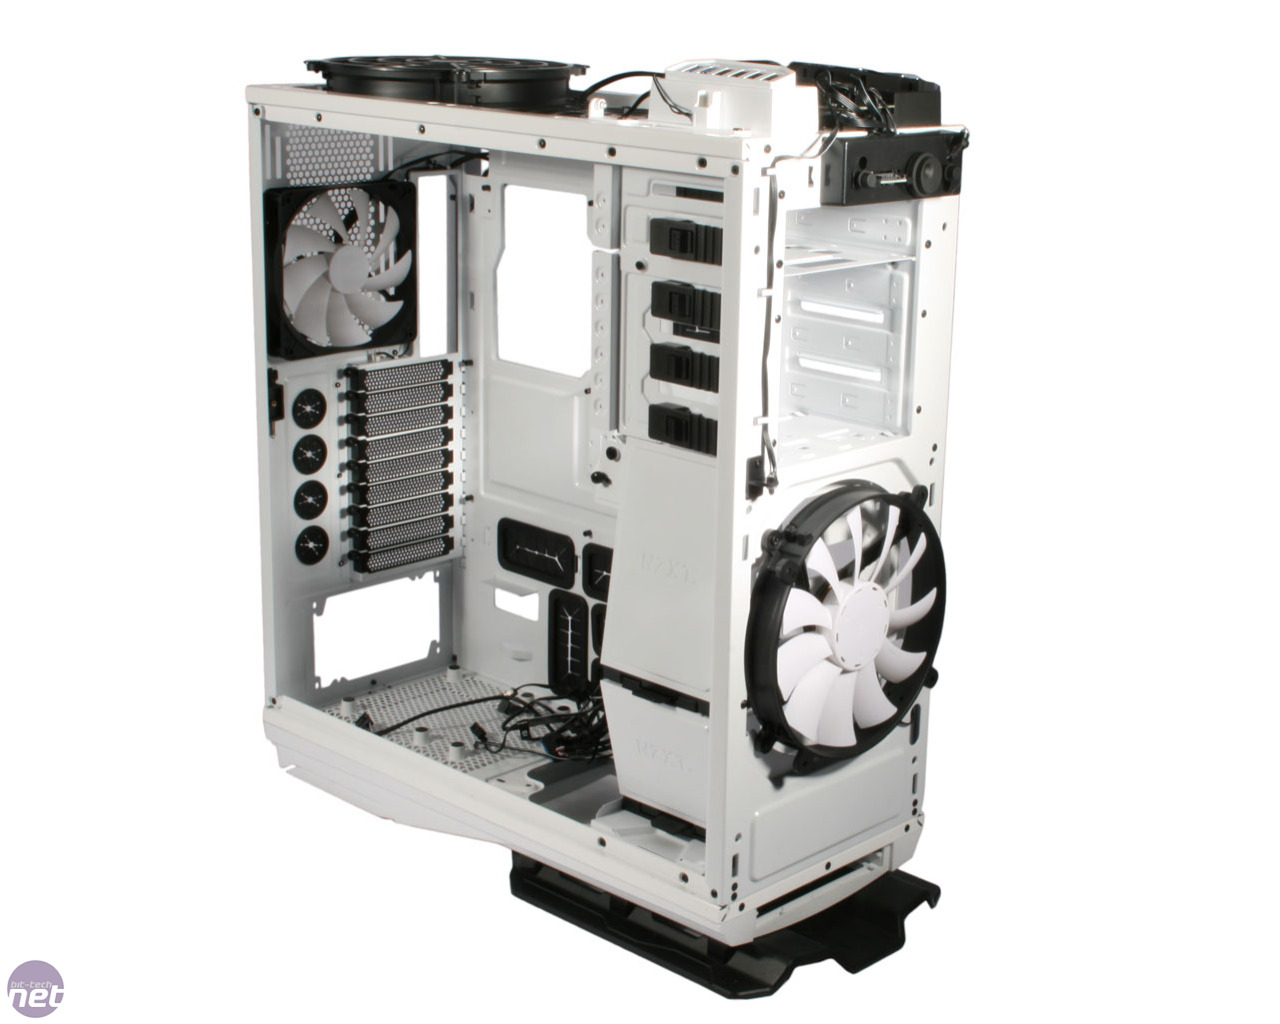
Click to enlarge - The case with its drive cages in place (left) and removed (right)
Other time saving bonuses are the pre-mounted motherboard mounts and pre-routed and zip-tied front panel cables. Users who aren't installing a standard ATX motherboard can easily switch the mounts to the correct location for their chosen board, as the mounting holes are lettered based on what form factor uses them. The rubber spikes on the floor of the case are also useful, giving your PSU some clearance as well as ensuring that vibrations from it are all but eliminated.
As we mentioned earlier, the lower two drive bays of the six can be removed in their own cage, but the middle four are riveted to the case and thus fixed. We would have preferred this cage to be removable as well, as it blocks the front intake fan somewhat, but on the plus side it does include its own positional 140mm or 120mm fan mount. These were also featured in the Switch 810, and enable users to angle their fan (sadly not included with the Phantom 820) to deliver a direct blast of air to their GPU.

Click to enlarge - The case with its front and roof panels removed (left) and an interior shot showing the LED strip along the inside of the roof (right)
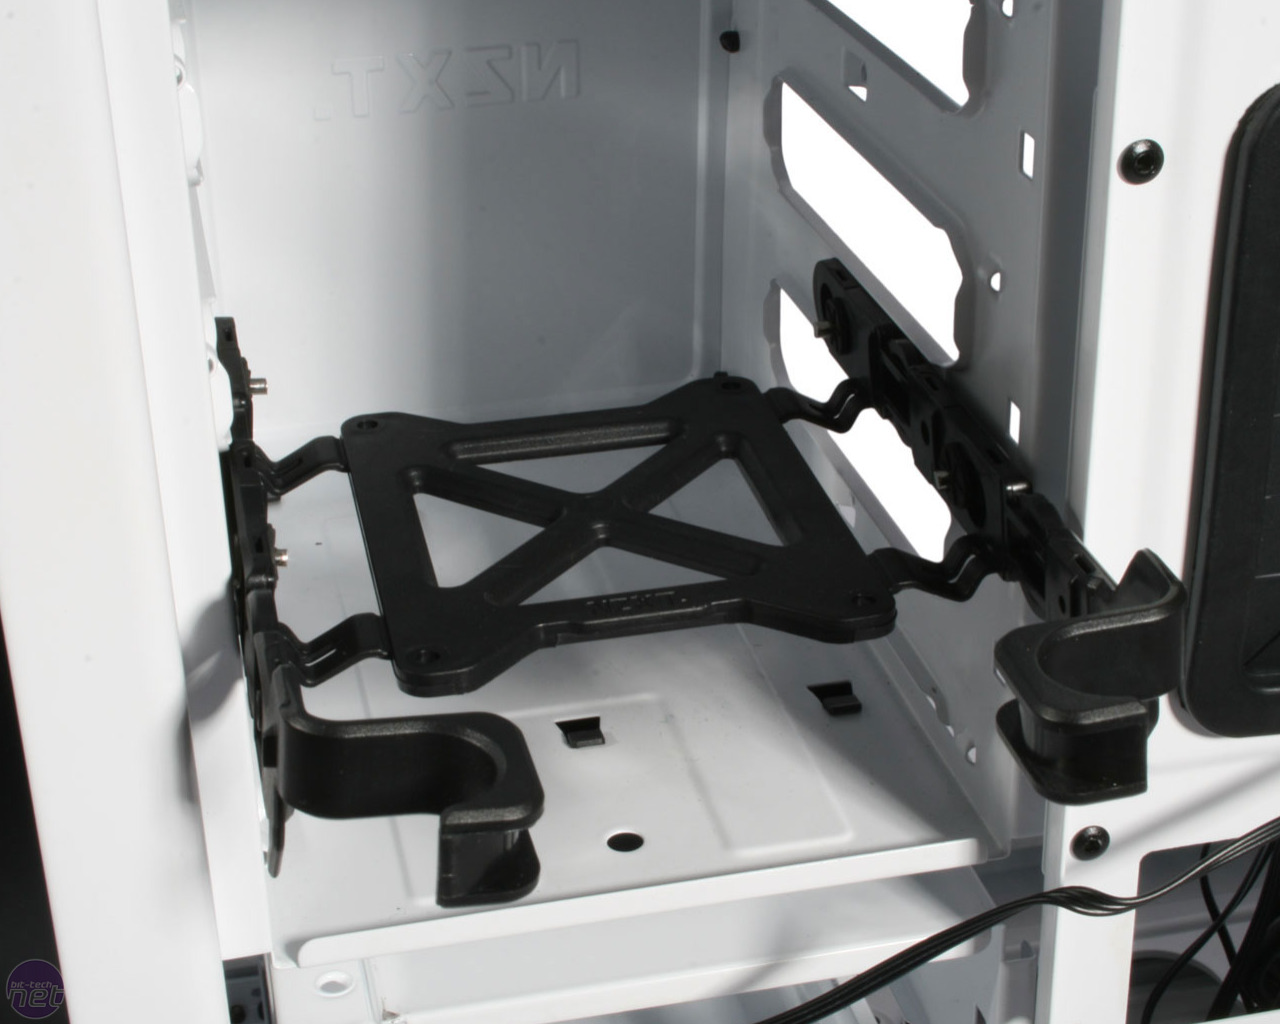
The plastic locking mechanism for optical drives is not very secure, unfortunately, and it's also a bit pointless as the drives still require screws to finalise their installation. Additionally, the plastic internal drive mounting devices are among the worst we've seen. You'll need to bend them to get a hard drive into them, but they snap easily, and are very flimsy, providing a less than secure mount for your storage. We also found the SSD screws to be too small to properly reach and grip the threads of our drive, and resorted to a botch job involving other longer, slightly too large screws from the selection provided.

Click to enlarge - The exposed LED and fan controls (left) and the flimsy drive mounts (right)
As with the Switch 810, the massive number of holes for cable routing makes building a supremely tidy system very simple. The grommets on them are secure and large enough to handle masses of cables, with the extruded side panel providing enough room for all the cables of our fully built system with more to spare. We particularly liked the addition of an 8-pin EPS extender (along with a cutout to allow the cable through), although strangely NZXT had tied it in upside down. Plenty of zip ties are provided for finishing up the job too.


MSI MPG Velox 100R Chassis Review
October 14 2021 | 15:04

Want to comment? Please log in.