
Interior
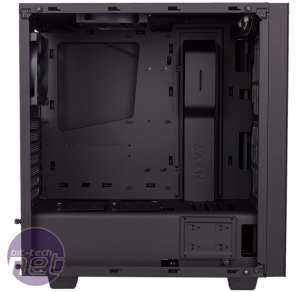
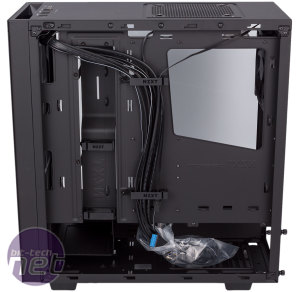
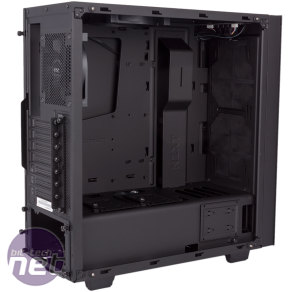
The tempered glass panel is removed by undoing the four thumb-nuts holding it in place, while the opposite side panel relies on thumbscrews and a standard notches and rails system – a hinged design would certainly be better. Still, with the front panel also pulling off easily, access to the S340 Elite is quick and simple.The excellent material finish and build quality continues on the inside and this is one fine looking chassis. Pre-installed motherboard mounts save you a job and the middle one is extended to support your board while you fiddle with the first few screws.
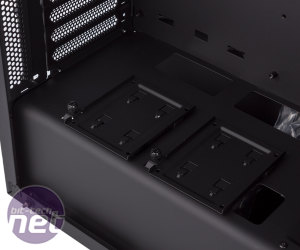
PSU covers are a well established trend by now, and the S340 Elite continues this with one of its own. It's fixed in place and is a key part of keeping everything extremely neat as it gives you a convenient place to stash away excess cables (especially PSU ones) out of sight. Atop the cover is a pair of 2.5in drive trays, released with a single thumbscrew each, and a third that uses the same design is found mounted to the side of the cover up front. Cable routing holes are cut into the cover beside each tray so you can show off your SSDs cleanly through the tempered glass panel.
PSU installation necessitates the use of a removable bracket, which you secure to your unit before sliding the assembly into place from the rear. There's no rubber or foam to insulate the PSU from the chassis, which is our only niggle here.
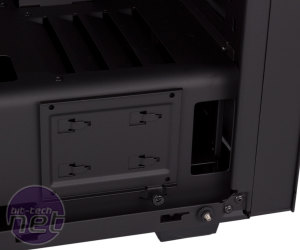
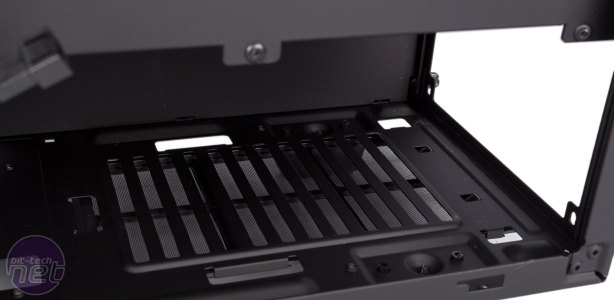
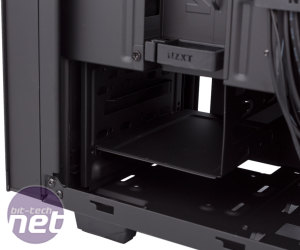
A two-bay 3.5in drive cage is fixed in at the front of the lower cavity. Unlike most cases these days, it doesn't come with any tool-free drive sleds. You'll need to bust out the screwdriver, and to access the cage from both sides involves removing the front panel and dust filter and also reaching into the lower cavity – it will definitely be easier to install these drives before the PSU, and replacing or installing a new drive after the initial build will be more fiddly than it should be. That said, you can install one more 3.5in or 2.5in drive to the floor of the chassis just underneath the drive cage and this mount should be relatively easy to access at all times, although you will need to put the case on its side. One thing to note, however, is that NZXT doesn't supply any rubberised mounting points or washers, so drive vibrations risk being amplified by the case if you don't provide some yourself. It's a shame NZXT hasn't paid a little more attention to this aspect of the case, as it's been carried over directly from the previous design.
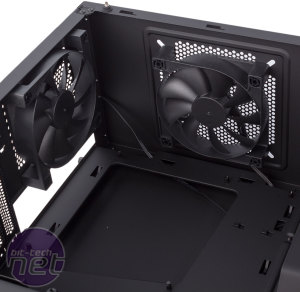
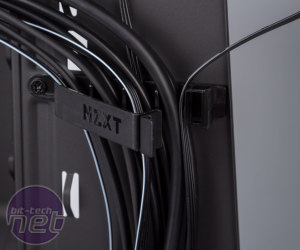
All the internal cables are sleeved black for consistency, and NZXT does a great job pre-routing the I/O and fan cables for you through its new cable management clips, which we're rather fond of. They're secured to the case and use a simple clipping mechanism to open and shut. There are two main, big ones with built-in channels to really help neaten everything out, as well as two slightly smaller ones on the back of the cable management bracket, which is also really handy as it gives you extra depth to play with while still hiding almost everything from view. This system, coupled with the various holes cut into the PSU cover and the numerous zip ties and anchors provided, makes cable management a cinch, and you should be left with a very tidy system indeed. NZXT even gives you a flat SATA power extension cable to make things cleaner when using the SSD trays, and an adaptor is pre-fitted such that you only need a single Molex connection to power both fans.
The S340 Elite is not really designed as a water-cooling chassis, but the dual 140mm/120mm mounts up front do allow you to use the majority of all-in-one coolers on the market. Custom loops aren't really catered for in terms of reservoir or pump mounts, which is something of a shame, but we're sure the case would respond well to a bit of Dremel-based creativity.

MSI MPG Velox 100R Chassis Review
October 14 2021 | 15:04



Want to comment? Please log in.