
NZXT Source 210 Elite - Interior
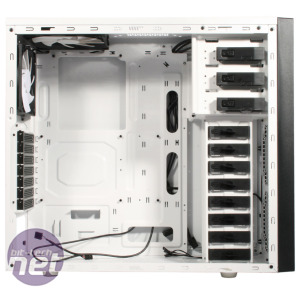
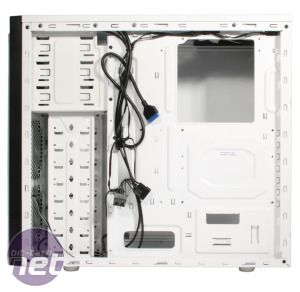
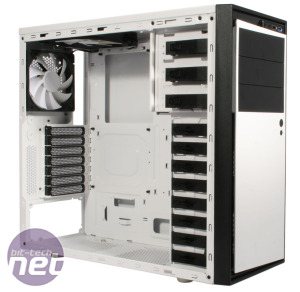
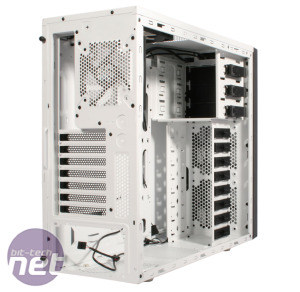
Loosening the two thumbscrews on either side panel will grant you access to the Source 210's painted interior. The side panels themselves do have a little more flex and wobble to them than we'd like, but once they're attached to the case they feel sturdier.As you might expect, it's a fairly no thrills experience as far as case interiors go, but most of the essentials are there, including a large cutout on the motherboard tray for cooler backplates. We were also pleased to see that NZXT goes to the trouble of doing some of your cable work for you, by pre-routing the fan and front panel cables behind the motherboard.
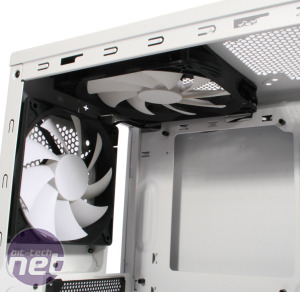
The three other main holes on the motherboard tray should be adequate for stashing the majority of your cables out of the way, but sadly aren't covered by grommets, and there's a decent amount of space between the tray and the flat side panel for storing them. With numerous zip ties and hooks to secure cables to, we had little difficulty in getting our system relatively tidy, although you'll need to remove and remount the roof fan if you want to squeeze your 8-pin EPS connector through the hole at the top left of the motherboard tray.
The Source 210 is not designed with water-coolers in mind, as there isn't really anywhere in the case capable of housing anything more than a single closed loop CPU cooler. Even with its dual 140mm roof mounts, there's too little space between the roof and your motherboard to mount a radiator with fans, which is a shame given the pending release of NZXT's 280mm radiator based Kraken X60.
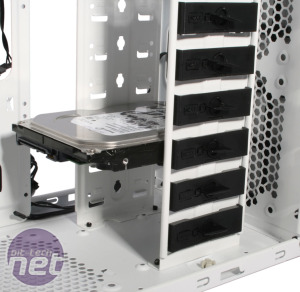
The three optical drive bays utilise tool free clips which are very easy to use and surprisingly secure too, although screws can also be used should you choose. You also get support for a whopping eight 3.5-inch drives, but annoyingly there are no mounting spaces by default for SSDs, so if you want to use one you'll have to get hold of an adaptor, or use the elegant solution we employed of resting it on the case floor. Again, either tool free clips or screws can be used to mount your drives.
You can't remove any part of the drive cage, but you still get 330mm of graphics card clearance (or 230mm if you install a drive level with it). As the drive mounts are front facing, cool air from any fans you choose to install up front does get a pretty clear path through the case, but will be hindered by the solid front panel which has only tiny slits for air to enter.

MSI MPG Velox 100R Chassis Review
October 14 2021 | 15:04



Want to comment? Please log in.