Interior
The thumbscrews, handles and hinges on the side panels mean they're a joy to use. The front panel pulls off too, exposing the dust filter and the clips for the optical drive bay covers, which are easy to use too, and you can also remove the roof panel with a firm tug. You do need to disconnect some cables to completely and cleanly remove these panels, and this is less complicated at the front than it is for the roof.The Enthoo Luxe disassembly doesn't need to stop there. Thanks to the use of screws rather than rivets in numerous locations, it's actually possible to completely remove the roof of the core, internal chassis. This is the part with the radiator and fan mounts, so this is potentially useful if you have a large set-up that you're otherwise finding too fiddly to mount. You can then even remove the shielding plate for the HDD cages as well as the entire optical drive cage. As such, it's a very flexible and mod-friendly interior.
Click to enlarge
We've said it before, but the attention to detail from Phanteks in its cases is really incredible. Even the toolbox is neatly compartmentalised so you don't have to rummage through loads of screws to find the ones you need. Phanteks also supplies plenty of cable ties, including a Velcro one, as well as a rubberised pump bracket (also available separately) and a metal reservoir bracket for water-coolers.
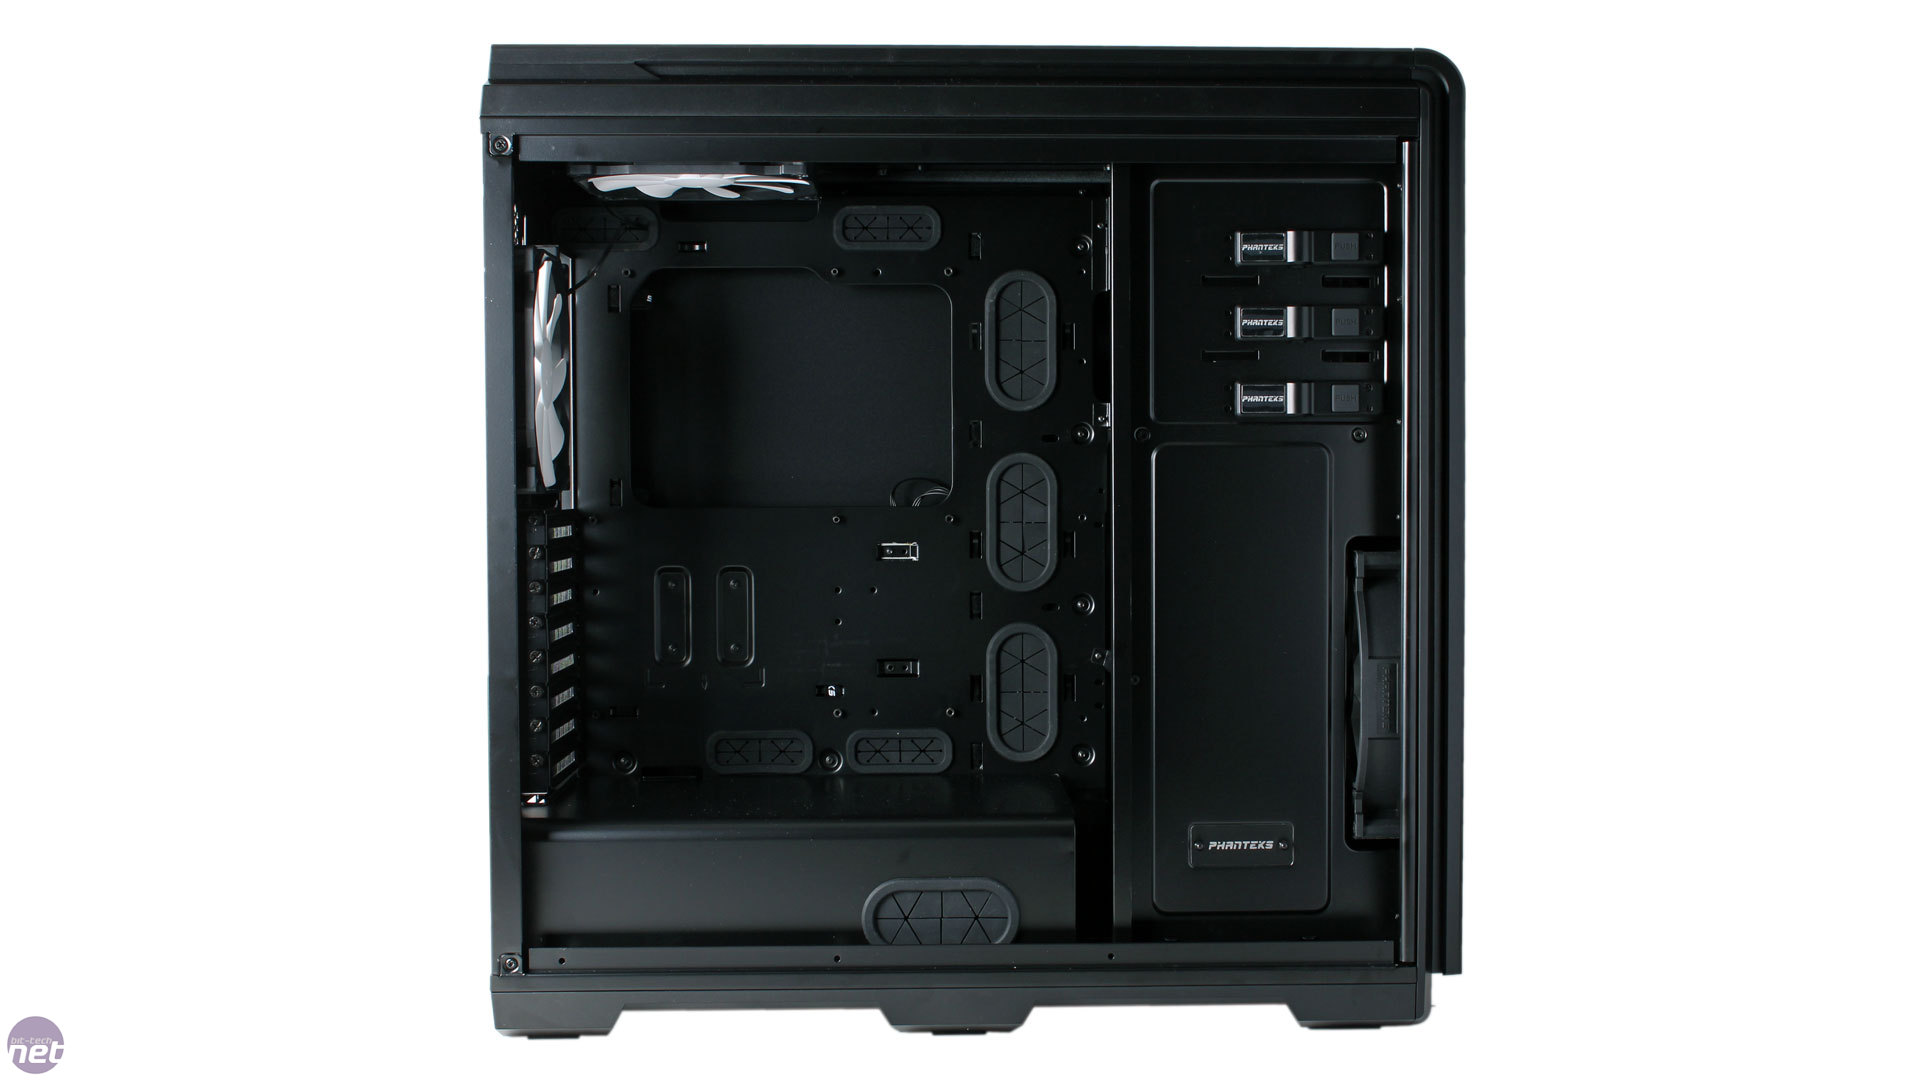
The build quality and craftsmanship inside is excellent as well. You'll find pre-installed ATX motherboard mounts, and the central one has a protruding bit to hold the motherboard in place vertically while you screw it in. There are also reusable metal PCI brackets with thumbscrews and a massive cutout for CPU cooler backplates. Finally, the paint job is respectable, and there are no loose, wobbly or sharp bits of metal inside to speak of. That said, one slight misgiving we have relates to the single-sided optical drive locking clips. They don't hold drives in place well enough for our liking so we recommend supplementing them with screws.
Click to enlarge
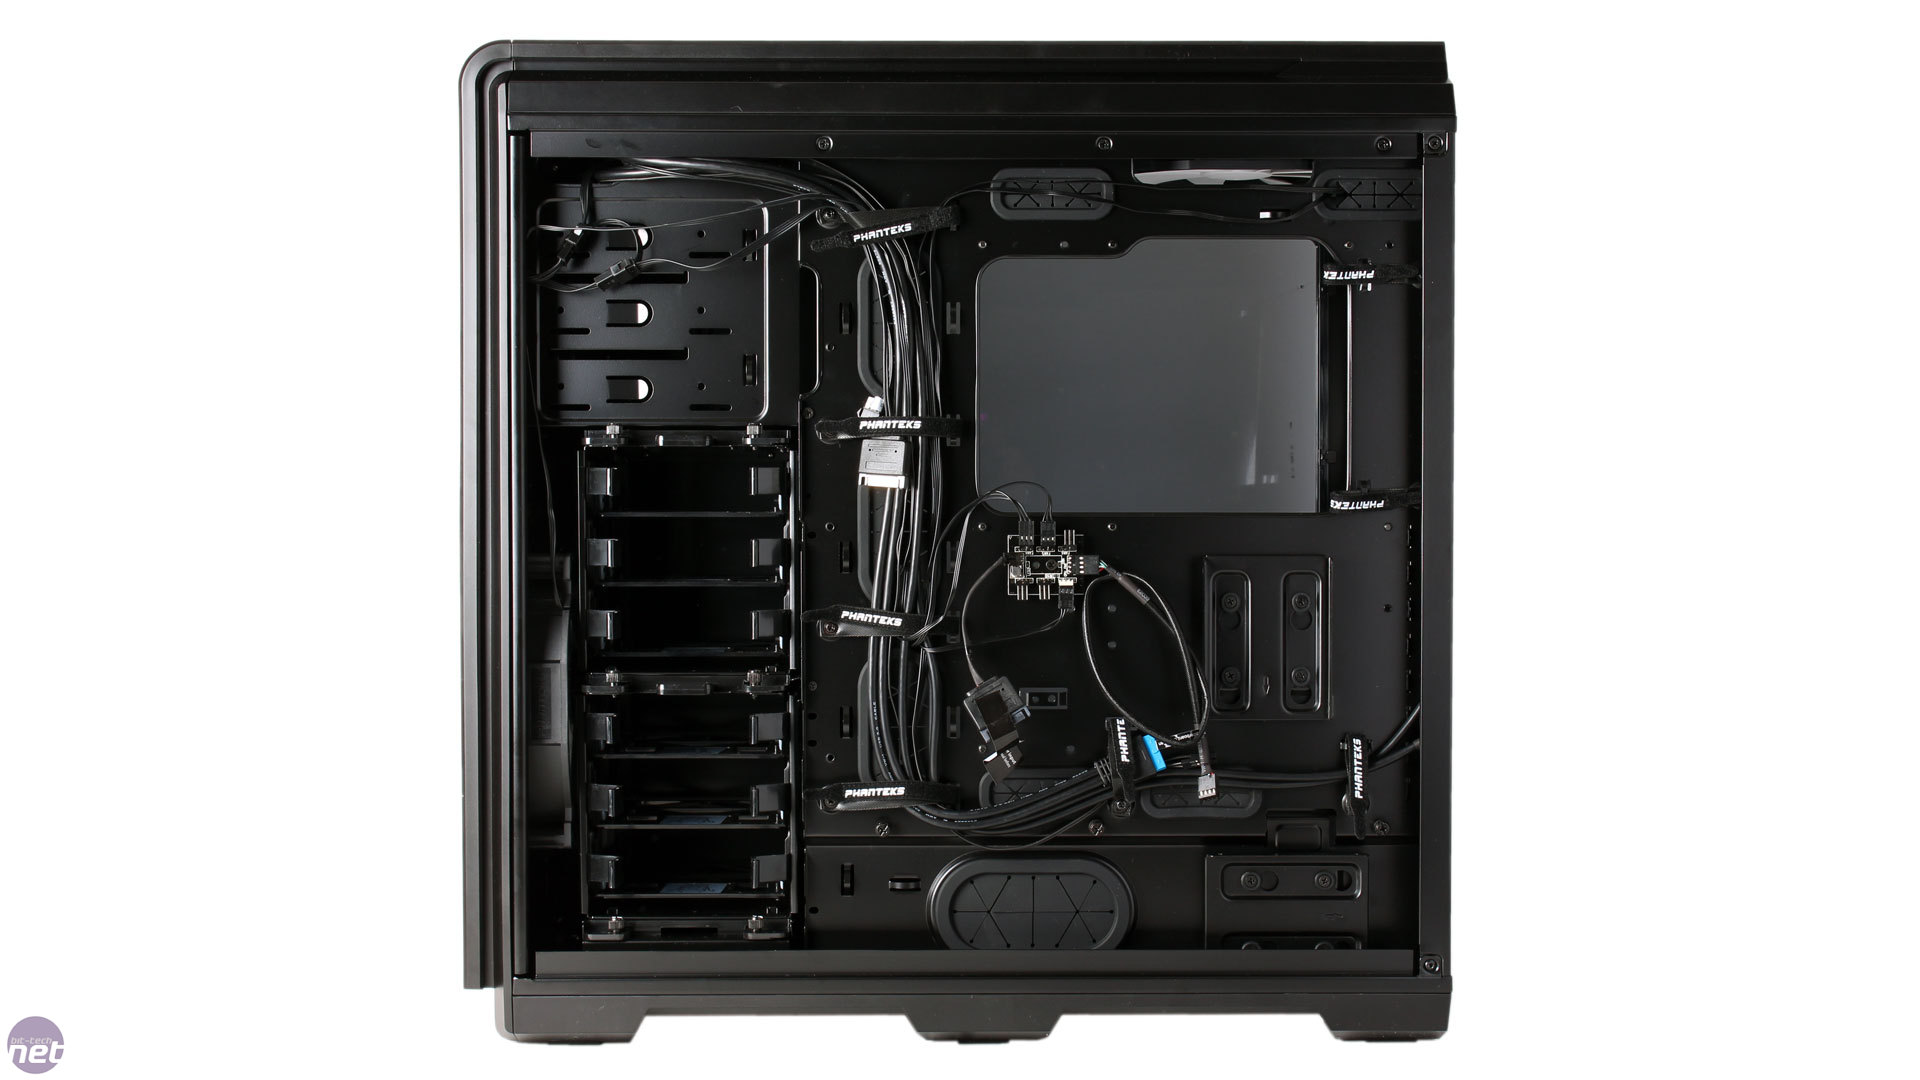
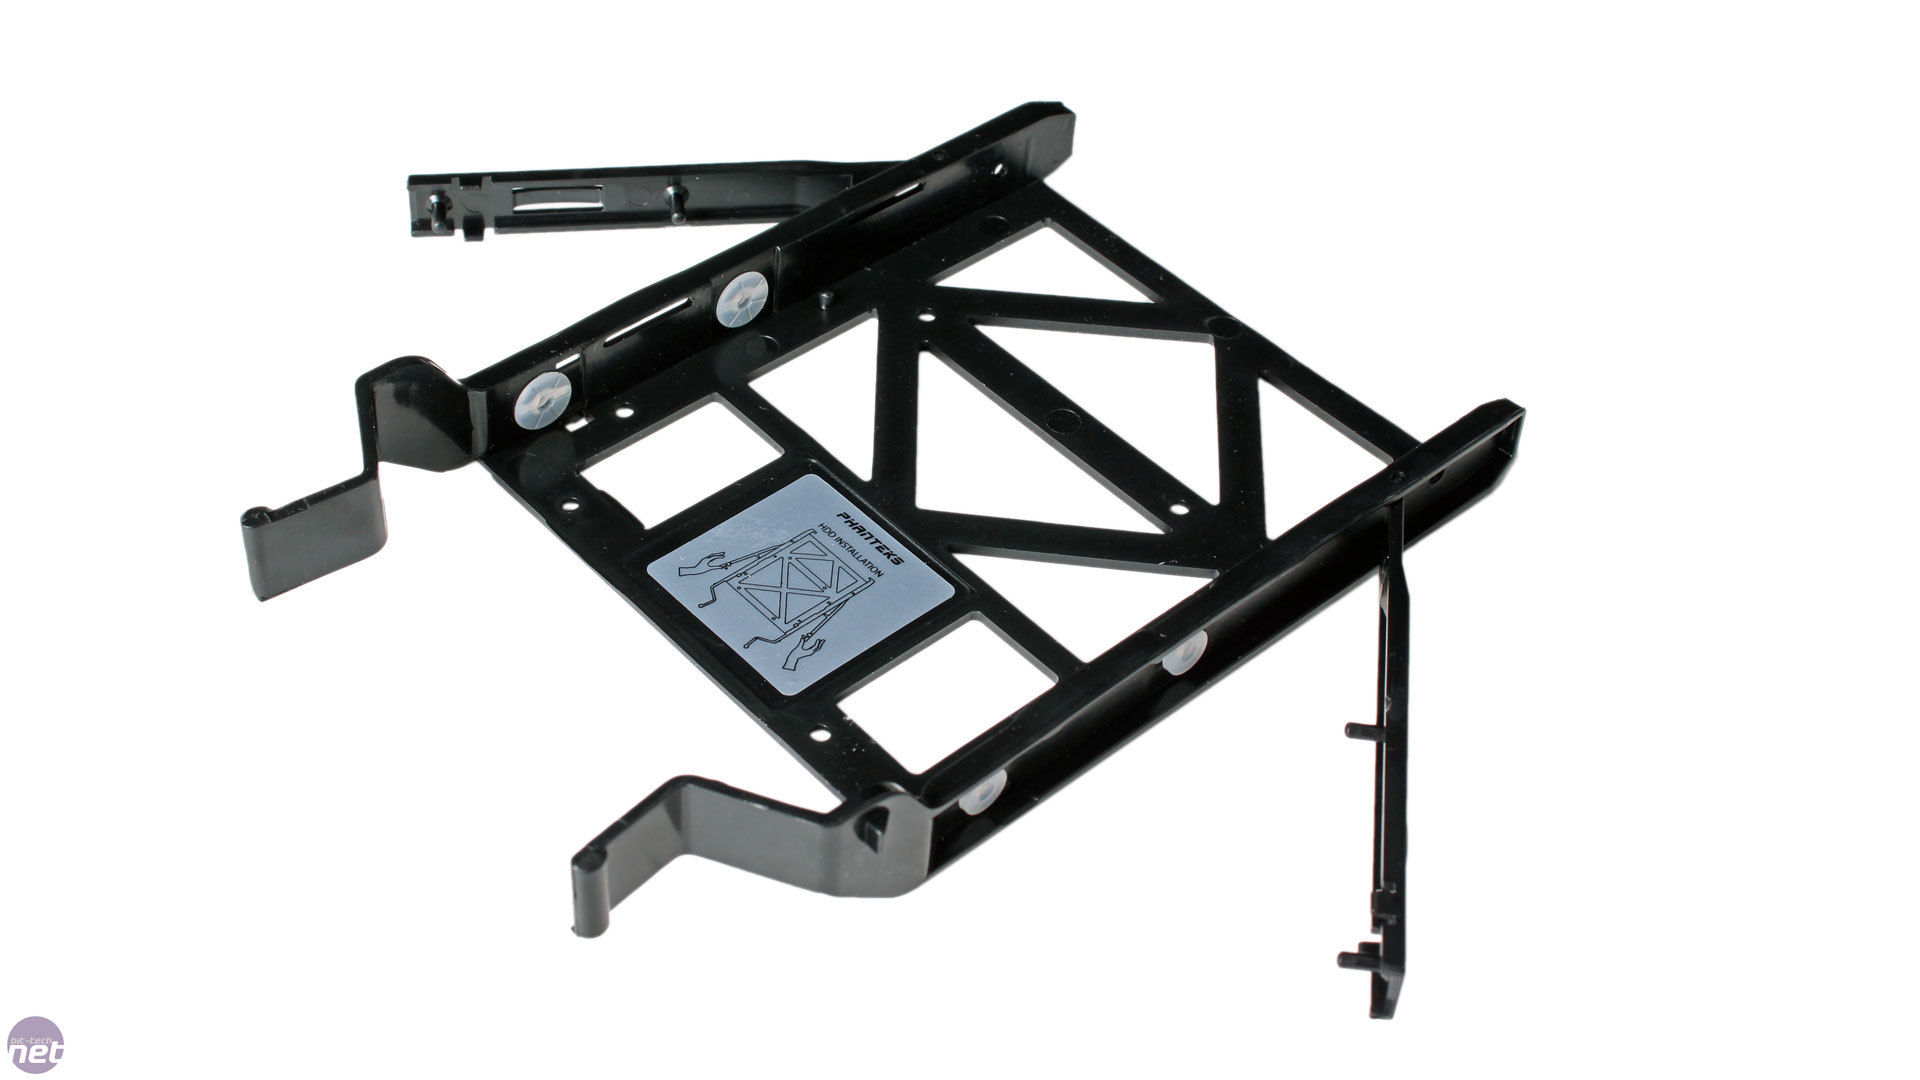
The rigid plastic drive trays in both three-bay drive cages, which are hidden from prying eyes on the window side, support both 3.5in and 2.5in drives. While 2.5in drives are screwed in as usual, 3.5in ones are locked in place by a pair of hinged mounting arms that have anti-vibration rubber surrounding their pins – a simple and effective design.
Both of these internal cages are modular and can be removed using a small number of thumbscrews, and there's little tabs for you to pull on to make this even easier. Another two screws hold the lower rail in place, so this can be also be removed to make way for water-cooling set-ups in this area. This rail even has some rubber padding where it meets the chassis to further counter vibrations. If you choose to leave one or both of the drive cages in place, you can also fit a 120mm fan to each of them, which should have benefits when it comes to cooling GPUs.

Click to enlarge - The SSD trays behind the motherboard and the main drive cages are easily removable
There are two further SSD mounting trays behind the motherboard tray. Phanteks actually sells such trays separately, including single and double drive options. The bundled trays can house one SSD each, but if you upgraded the trays you could actually fit four SSDs behind the motherboard if you so wished. The trays slide in and out along rubber washers and thus are simple to use and don't require motherboard removal for access.
The PSU shield is released using three thumbscrews behind the motherboard tray. As well as its inherent visual appeal, this shield is great for cable management as you can stuff excess power cables inside it without worry about it being an eye sore. The PSU itself rests on six rubber feet, but there's no padding between it and the rear of the chassis.

Click to enlarge
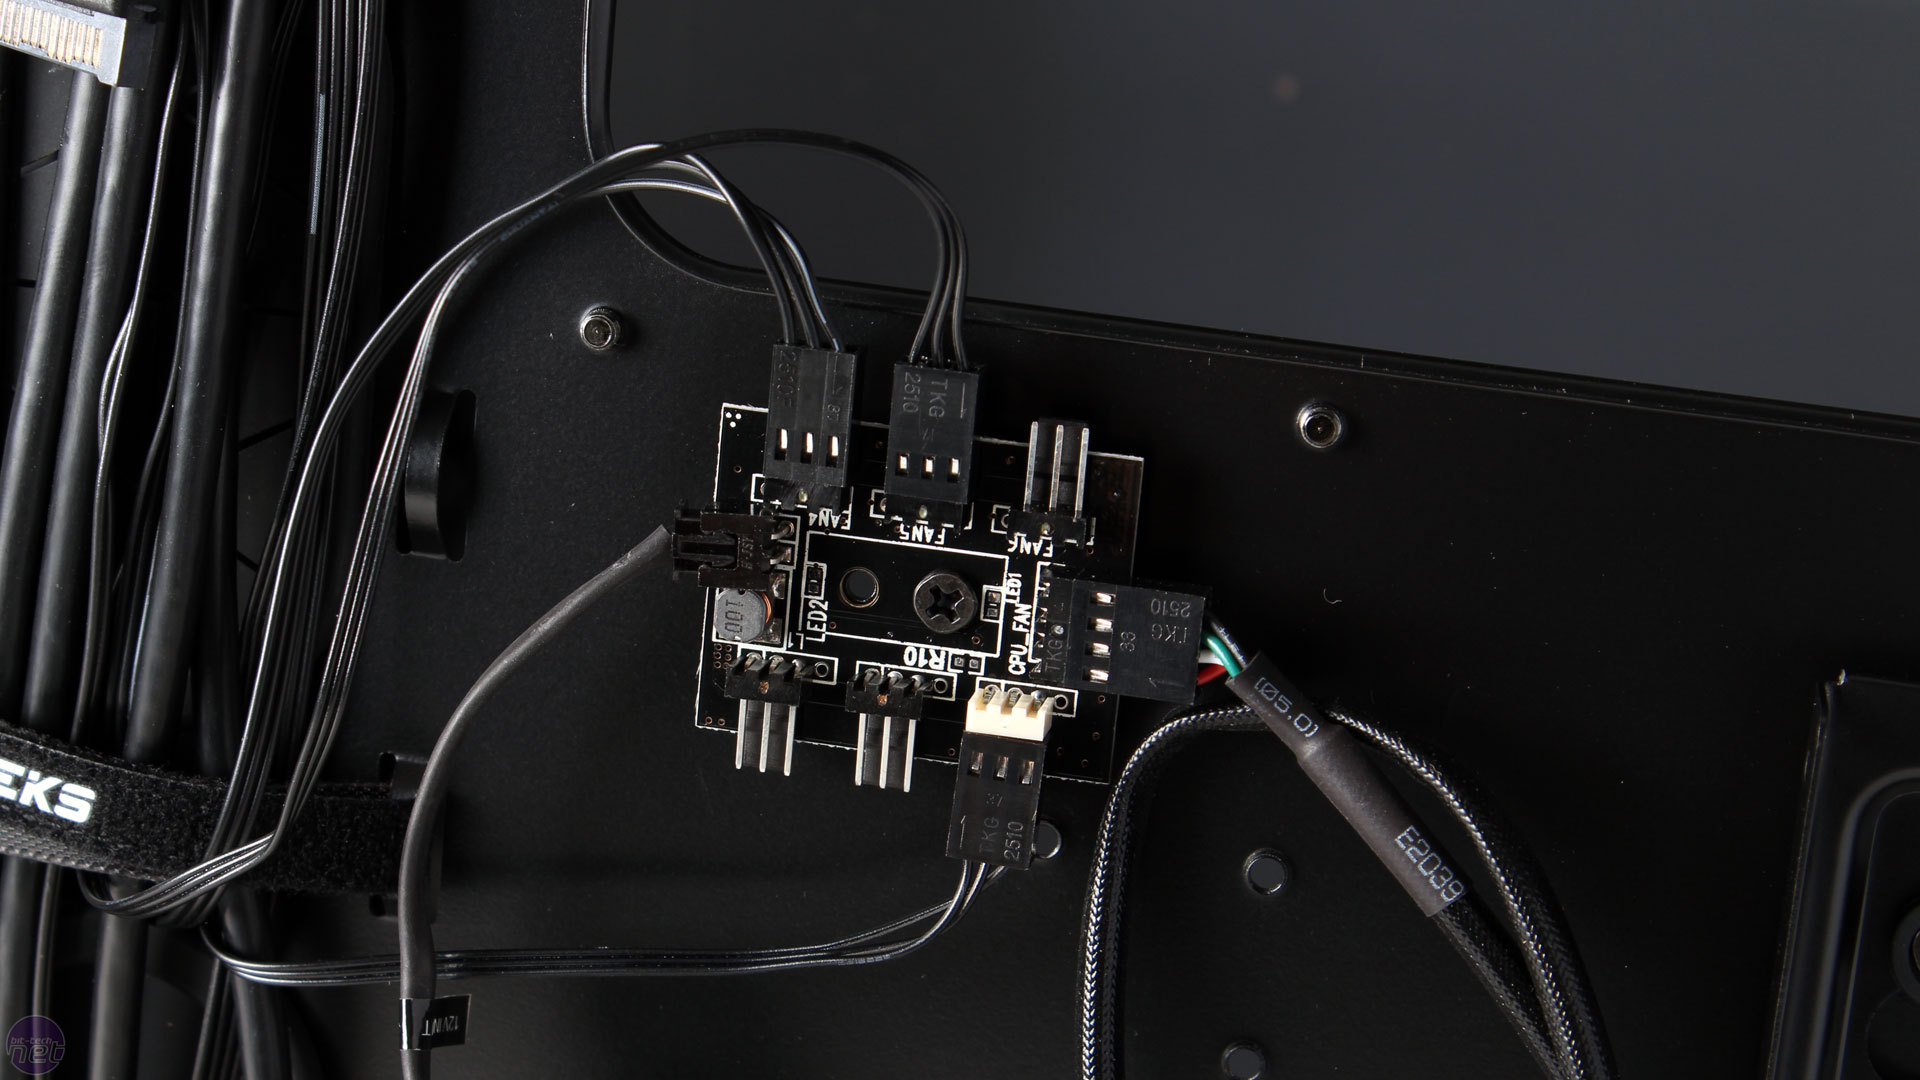
Another of the Enthoo Luxe's many features is its PWM fan hub, again fitted behind the motherboard tray. It works best being powered by your motherboard's PWM-compatible CPU fan header, but a supplementary SATA 12V connector is also provided. Its six fan headers can then power up to eleven fans, controlling their speed based on the CPU temperature and PWM curve. This is because five of the headers can be used with Y-splitter cables (Phanteks sells these separately too) – the other header can only be used with a single fan as the motherboard needs to read an RPM signal from one fan only. If you like the sound of it, the whole hub is available on its own complete with a Velcro mounting system and two Y-splitter cables.
Click to enlarge
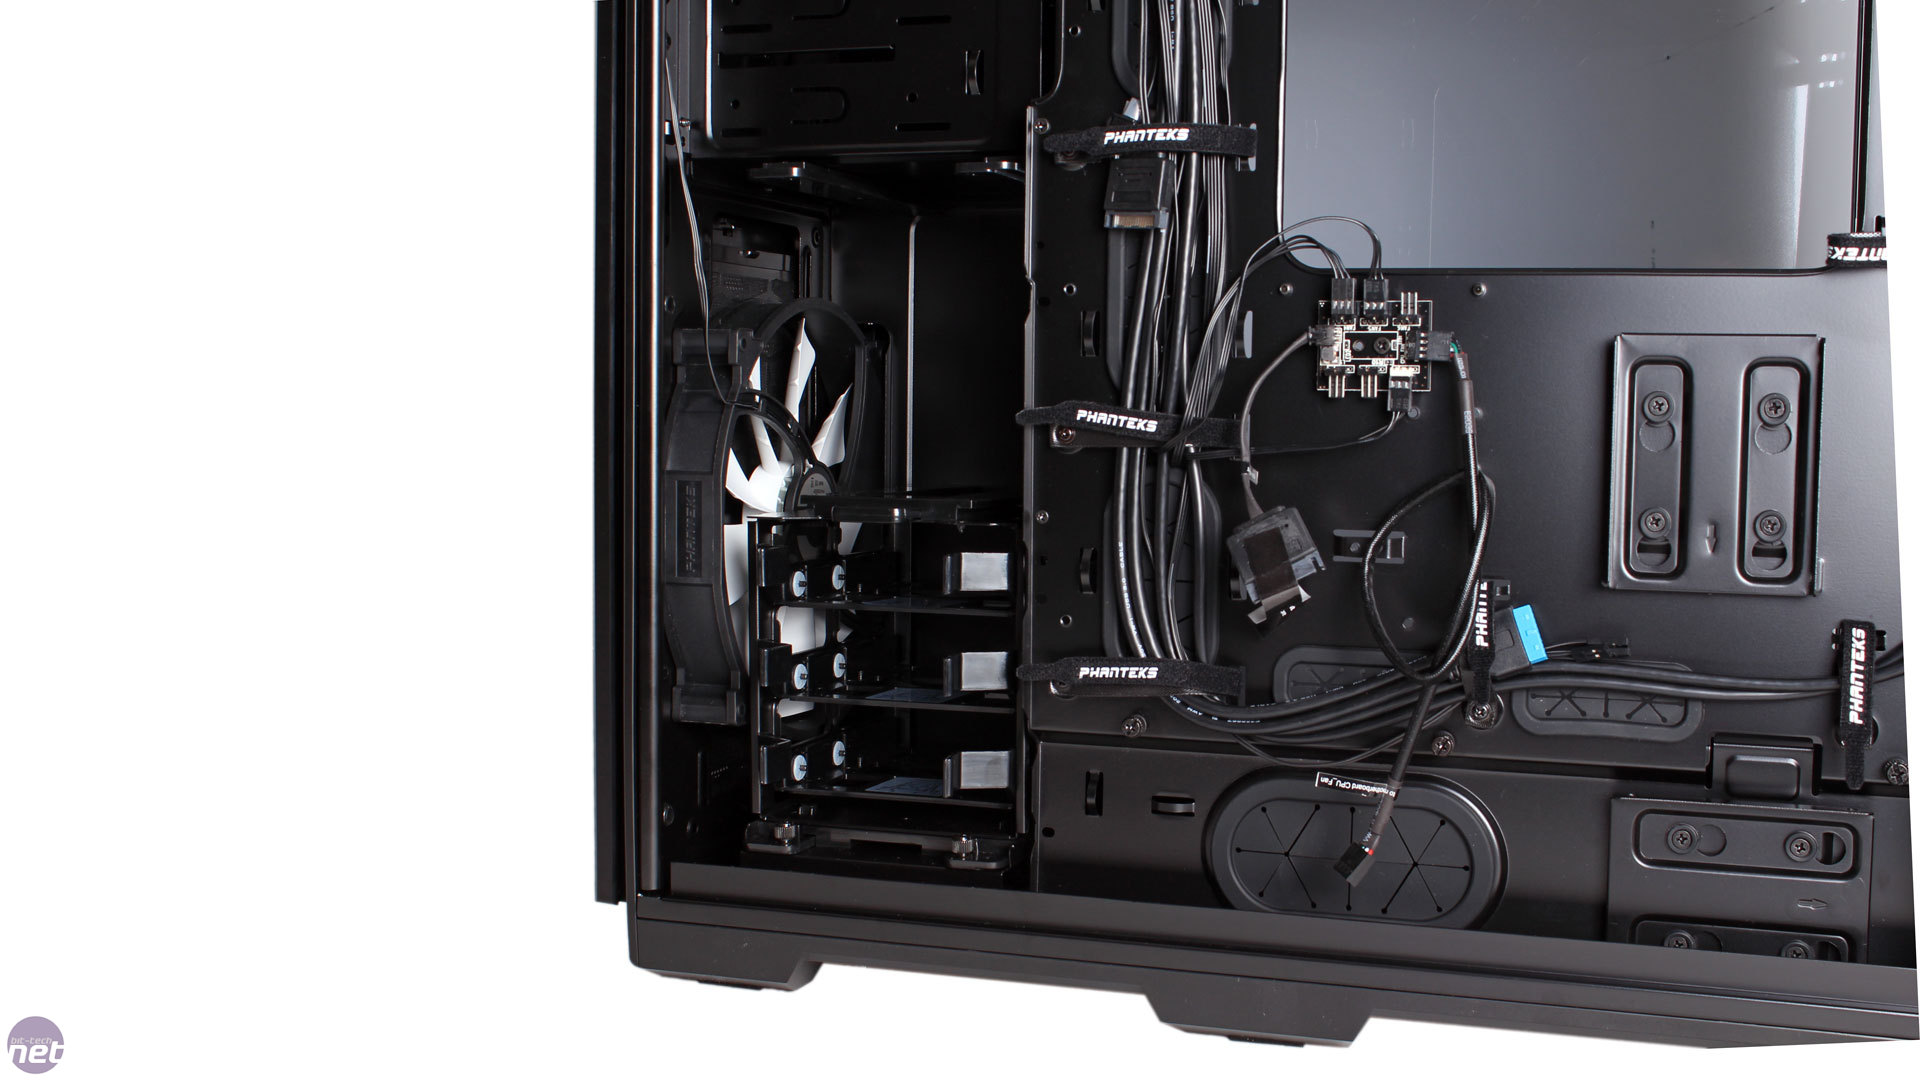
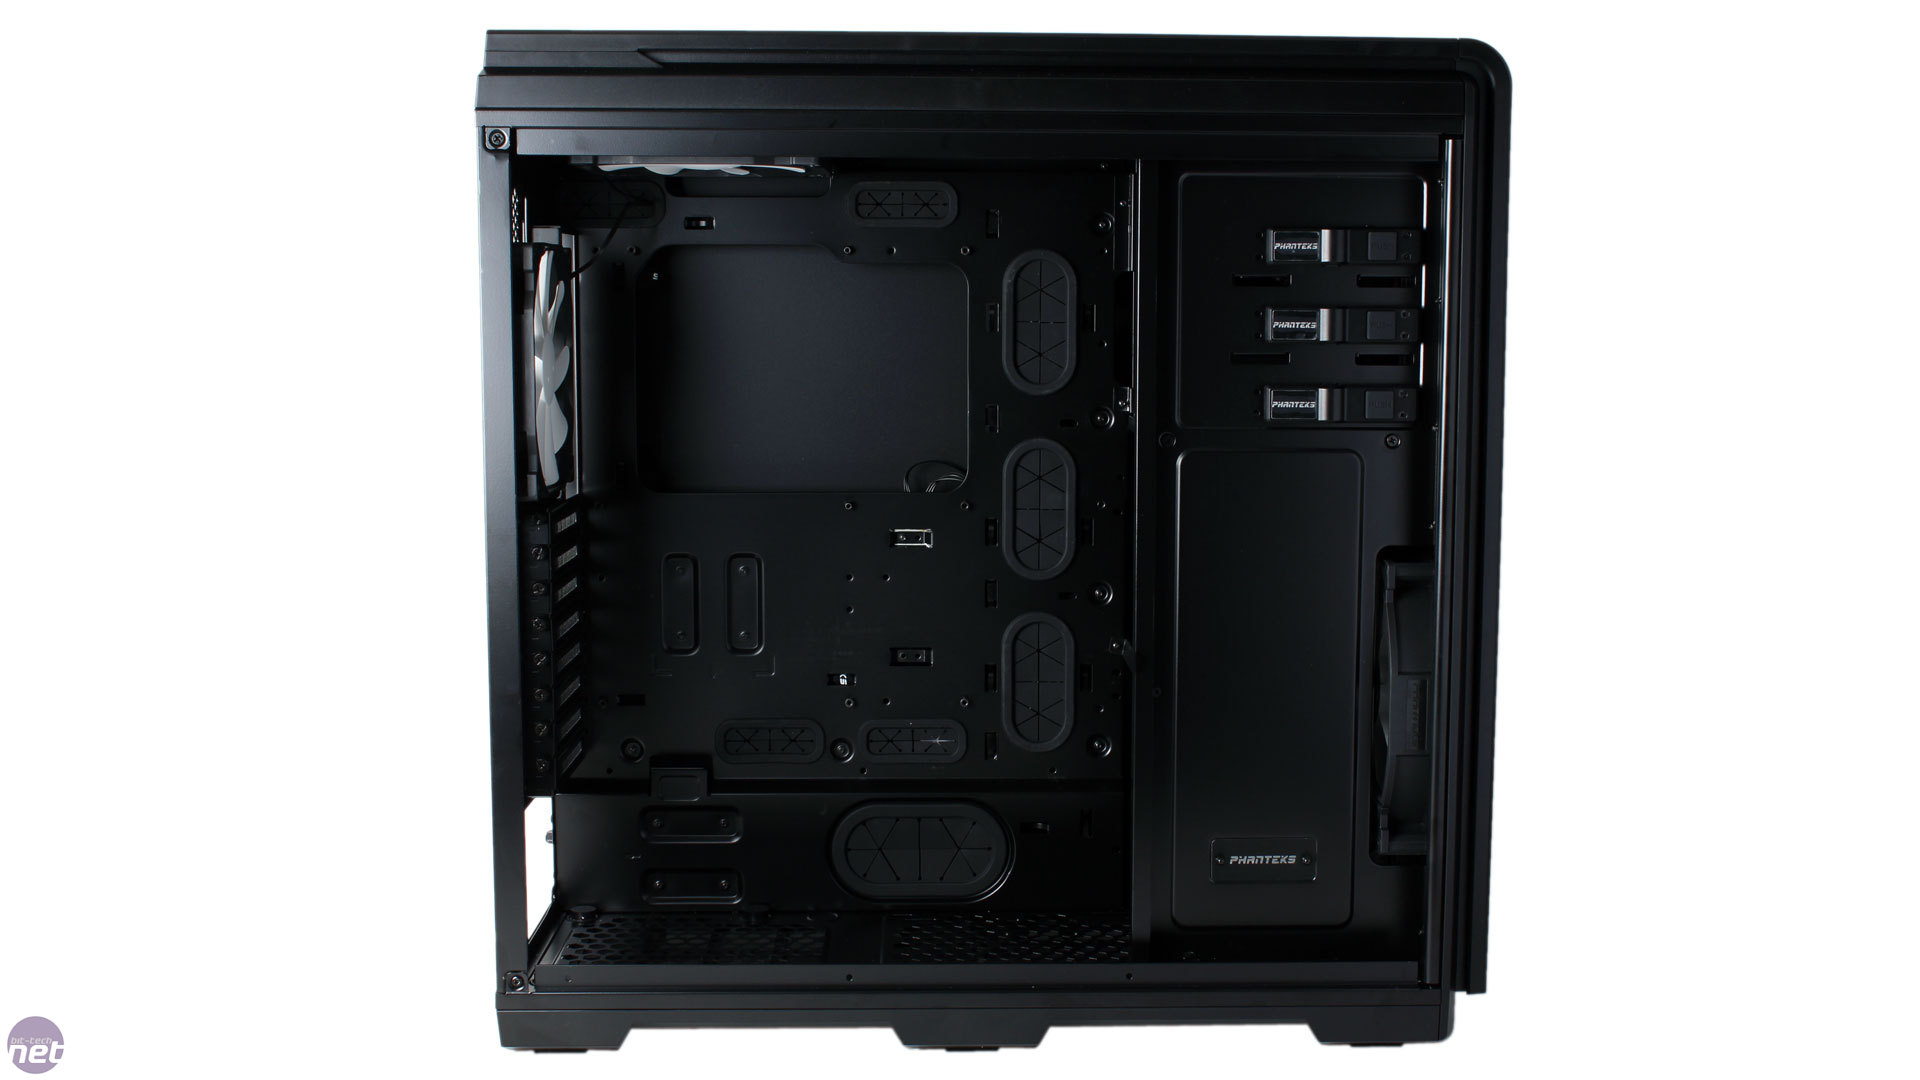
Rubber grommets are fitted to all cable routing holes, which include sizeable ones above the motherboard tray and a massive, hidden one for PSU cables. The lengths to which Phanteks goes when pre-routing the internal cables for you is also unmatched, as every cable is properly tied down using Velcro straps and routed to sensible locations. All three fans are neatly connected to the PWM hub too, and the LEDs are ready to go too – you just need to connect a SATA 12V cable to get them working. A spare connection means you can connect an extra Phanteks LED strip too (sold separately in one or two metre variants and compatible with the colour control).The aforementioned Velcro cable ties are fantastic as they can be quickly opened and closed when adding or removing hardware. There's also more than adequate room for additional cables and the hinged side panel is very easy to get back on without bulging.
Click to enlarge
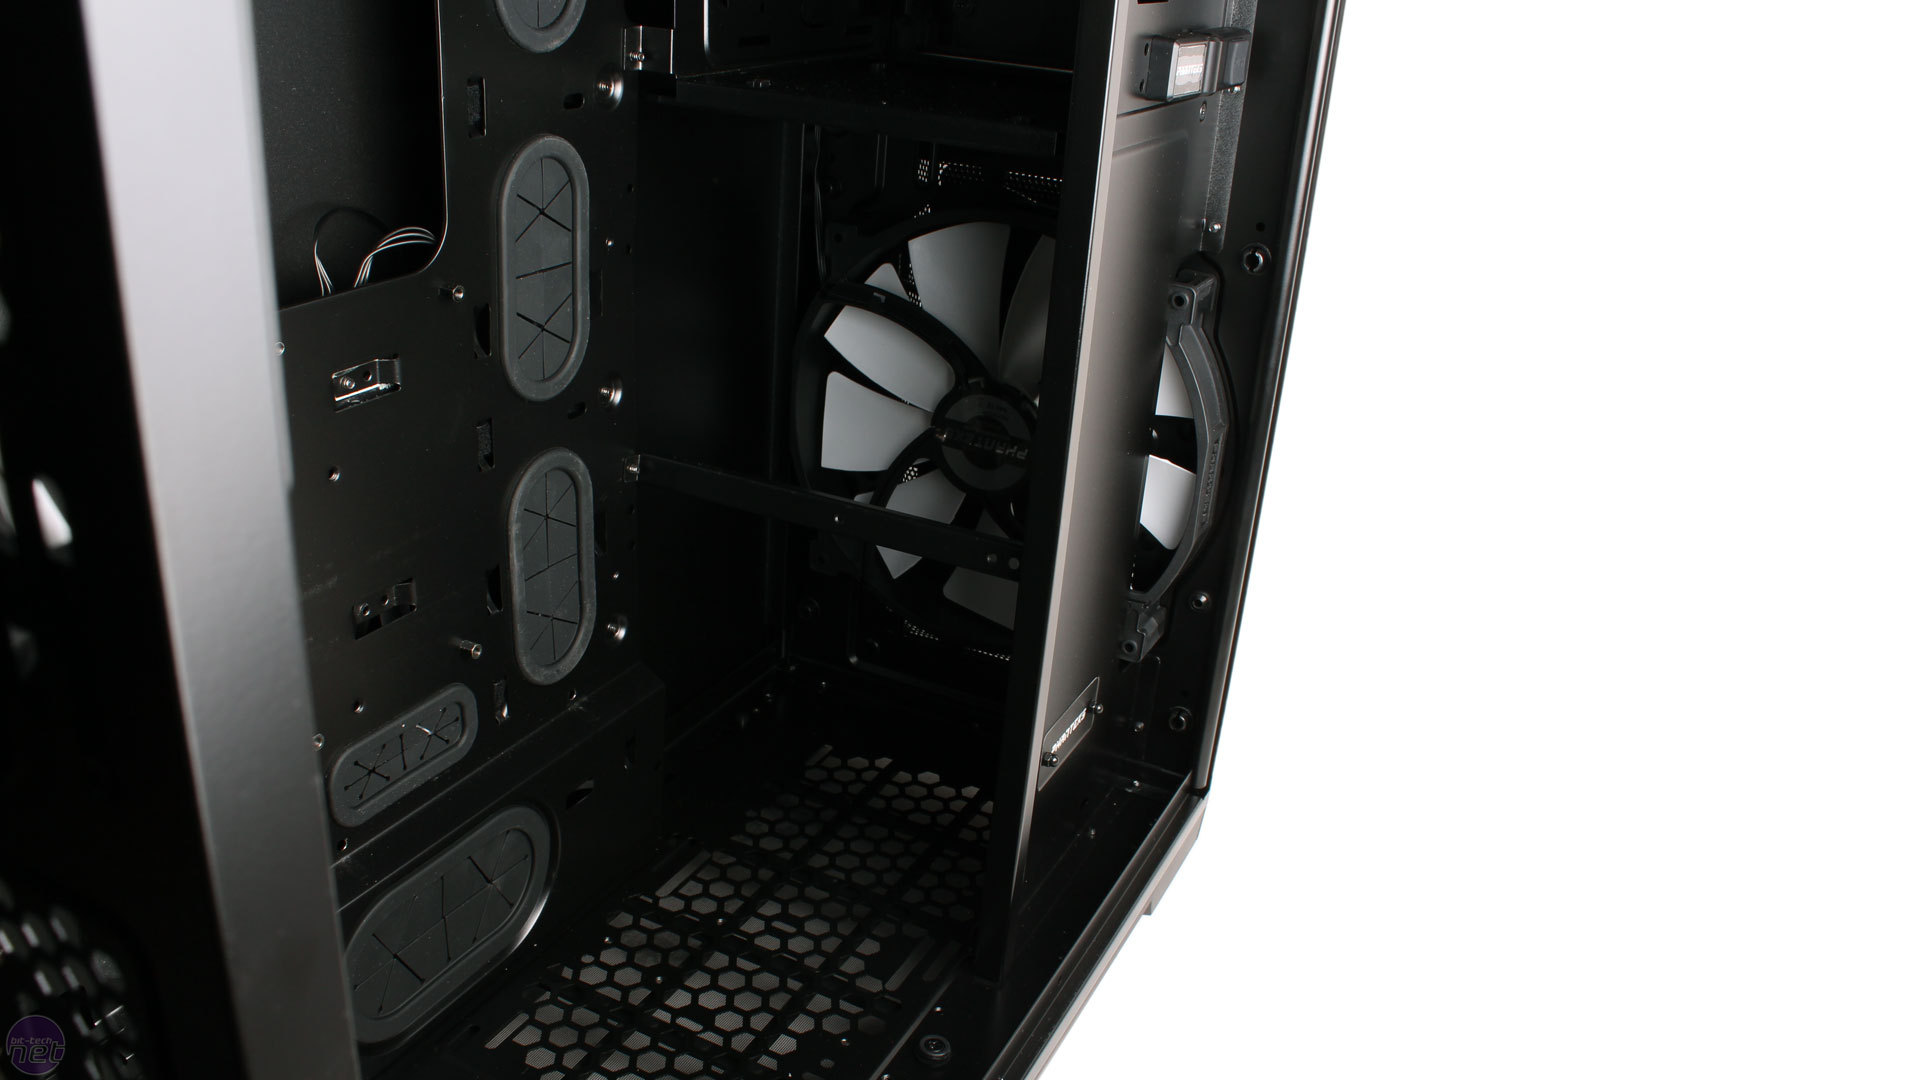
There are three main positions for radiators larger than 120mm or 140mm. The roof can house 360mm or even 420mm radiators using the triple 120mm/140mm mounting holes. Exact clearance isn't stated, but you can fit a single set of fans in the upper roof compartment (i.e. between the steel chassis roof and the mesh of the plastic roof panel), and then there's about 60-65mm of room beneath it before you hit the motherboard tray. This leaves you room for a full thickness radiator, or a slimline one with a second set of fans. Meanwhile, 240mm radiators will fit in the front and bottom mounts. You can't use both together, but provided you remove the right bits, the thickness of set-ups here will only be limited by your hardware, not the case. The bottom position is preferable, as you could still use the top 3.5in drive cage – the front position requires you to remove both.
RELATED ARTICLES


MSI MPG Velox 100R Chassis Review
October 14 2021 | 15:04

Want to comment? Please log in.