
Interior
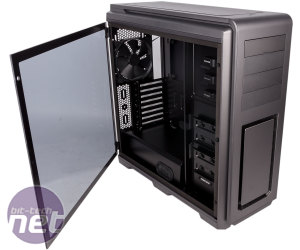
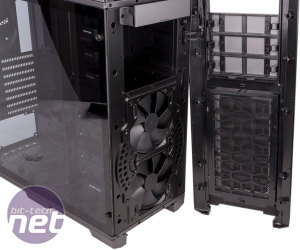
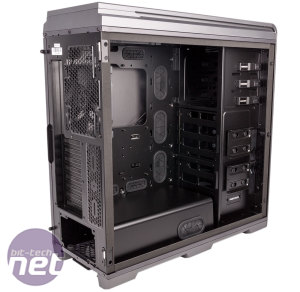
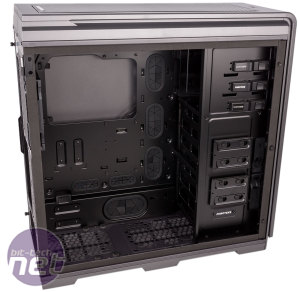
It's not only the tempered glass panel that's hinged; the solid steel left panel has a front hinge mechanism that's far easier to work with than notches and rails. As mentioned, you can also remove the front panel (once the front-lower dust filter is removed), and the roof mesh section clips out easily too. Not only that, undoing a series of screws allows you to take off the entire roof panel, which we can definitely see being useful for more complex liquid-cooled rigs.Motherboard mounts come pre-installed, so this aspect of installation is a cinch. As you can tell, this is a pretty beefy case, so the generous amount of clearance for hardware should come as no surprise.
A PSU cover shields the power supply and associated cables from view, which is especially important given how much of your system is on show through the glass panel. However, rather than a bracket to help you slide your PSU in from the back, you'll need to remove the PSU cover by undoing three thumbscrews accessed behind the motherboard tray. This is a little fiddly, but it does give you plenty of room to work with, and the cover is designed well such that it's easy to realign and attache once you're done. The PSU itself rests on some thick rubber stands, although it isn't isolated from the rear of the chassis in a similar way.
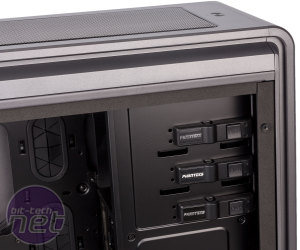
The presence of an optical drive cage does feel like a bit of a hangover from yesteryear; we're not saying they're completely useless these days – some people still use optical media, of course, and fan controllers and reservoirs are still relevant too – but having three bays does seem a little excessive. Either way, tool-free clips ensure you shouldn't have difficulty taking advantage of the bays, and the cage is removable too. Saying that, removing it doesn't really give you many alternative options for the newly available space – you may have to get creative with it.
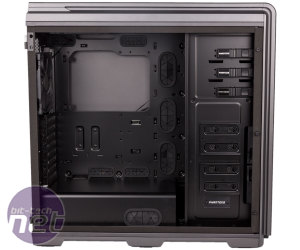
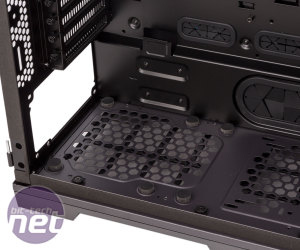
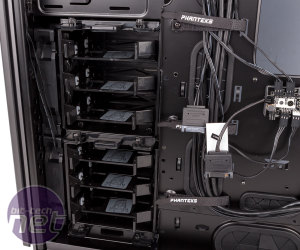
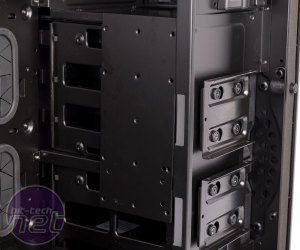
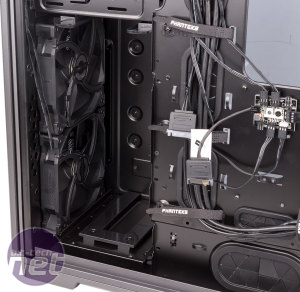
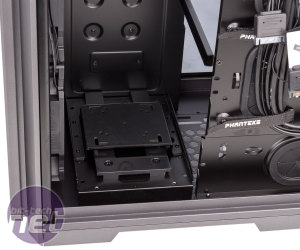
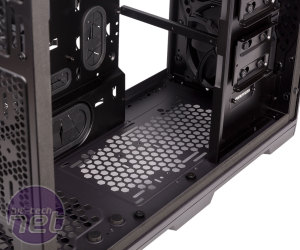
Filling the space between the optical drive cage and the chassis floor is a pair of three-bay HDD cages, both independently removable via thumbscrews, and even the rails on the floor can be removed. The actual drive trays are plastic and lock into place with no need for tools. 3.5” and 2.5” drives are both supported, the former installed via some nifty locking arms and the latter simply with screws. Small rubber bits around the locking pins should help with absorbing mechanical vibrations. Another feature to note here is that a bracket behind the cages allows you to mount a 120mm fan behind one or both of them for additional internal airflow. As you might have guessed this bracket is not fixed and can be removed if not required.
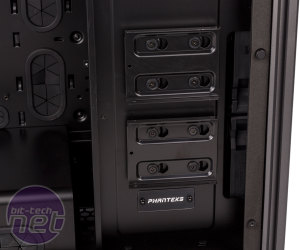
A steel panel at the front spans the height of the case, forming one side of the optical drive cage and then hiding the drive bays from view through the glass panel. Attached to this panel is a pair of Phanteks' removable SSD trays. We've long been fans of their design, as they require no screws to remove. Instead, they simply slide on and off of pre-installed rubber grommets. If you have SSDs that you want to show off, these mounting points are useful. However, the steel panel on which they're found is, like much of the chassis, removable. Thankfully, an extra two mounts are found behind the motherboard tray. Even if you choose to leave the other two mounts where they are, these additional mounts can be taken advantage of by buying extra SSD trays, which Phanteks sells separately.
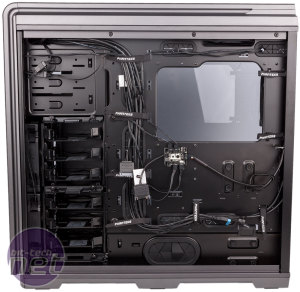
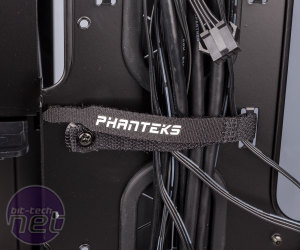
Phanteks rarely disappoints when it comes to cable routing, and this case is testament to that again. All internal cables are sleeved in black and neatly routed to appropriate points before you even get your hands on them. There are numerous large routing holes with flexible rubber grommets attached, and it's always good to see one included in the PSU cover – this will serve GPU power connectors and SSDs mounted on the side-facing panel perfectly. A generous portion of Velcro cable ties fixed behind the motherboard tray and ample space in this area also serve you well, and additional cable ties (both Velcro and zip) are supplied too.
As well as the front panel I/O connectors, there's a single SATA power connection for the case's LED system as well as a spare RGB LED header. Phanteks does sell RGB strips separately, but we do wish one was included with this case, as LEDs and tempered glass go particularly well together. There's also a PWM fan hub that, with its six fan headers, controls up to eleven fans (you can use up to five splitter cables with it, again sold separately) via the PWM signal from your CPU fan header, and this too requires its own SATA power connection – we're happy Phanteks uses these instead of older, fussier Molex headers. We've said it before, but the fan hub is a really neat way of ensuring system-wide, automatic fan control; it also helps that all four case fans come pre-connected to it.
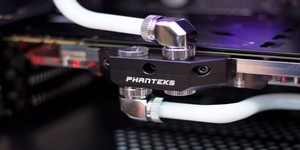
Large, premium cases like this should always be proficient when it comes to water-cooling, and the Enthoo Luxe Tempered Glass doesn't disappoint. As you'll already have gathered from the number of removable bits, the internals here are really flexible. This all adds up to a case that can make room for plenty of water-cooling, with 360mm and 420mm radiators supported in the roof, 240mm models in the front (maybe more with some creativity), and 240mm ones in the bottom too. Using all three locations at once probably isn't feasible, but the design does allow you to tailor the case to your watery needs more than most. Further evidence of this comes in the form of pump and reservoir brackets supplied with the case, the former being heavily rubberised to help dampen noise output.

MSI MPG Velox 100R Chassis Review
October 14 2021 | 15:04



Want to comment? Please log in.