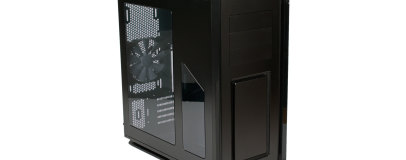
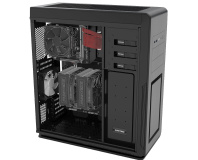
Interior
Both side panels are hinged at the front and have thumbscrews and a handle, so they're dead simple to remove and replace. A single thumbscrew also holds the roof panel in place, which you can slide off cleanly, though it's recommended you remove the front panel first as the two are connected by pins. Doing this requires a tug from the bottom, but the lack of clearance means you'll need to lift the case to get a hold of it. The front panel also brings a single wire with it (for its LED strip), but this can be easily disconnected. The Enthoo Mini XL is mostly held together with screws rather than rivet; the steel roof panel, HDD panel (with the logo) and ODD cage are all easily removable, for example.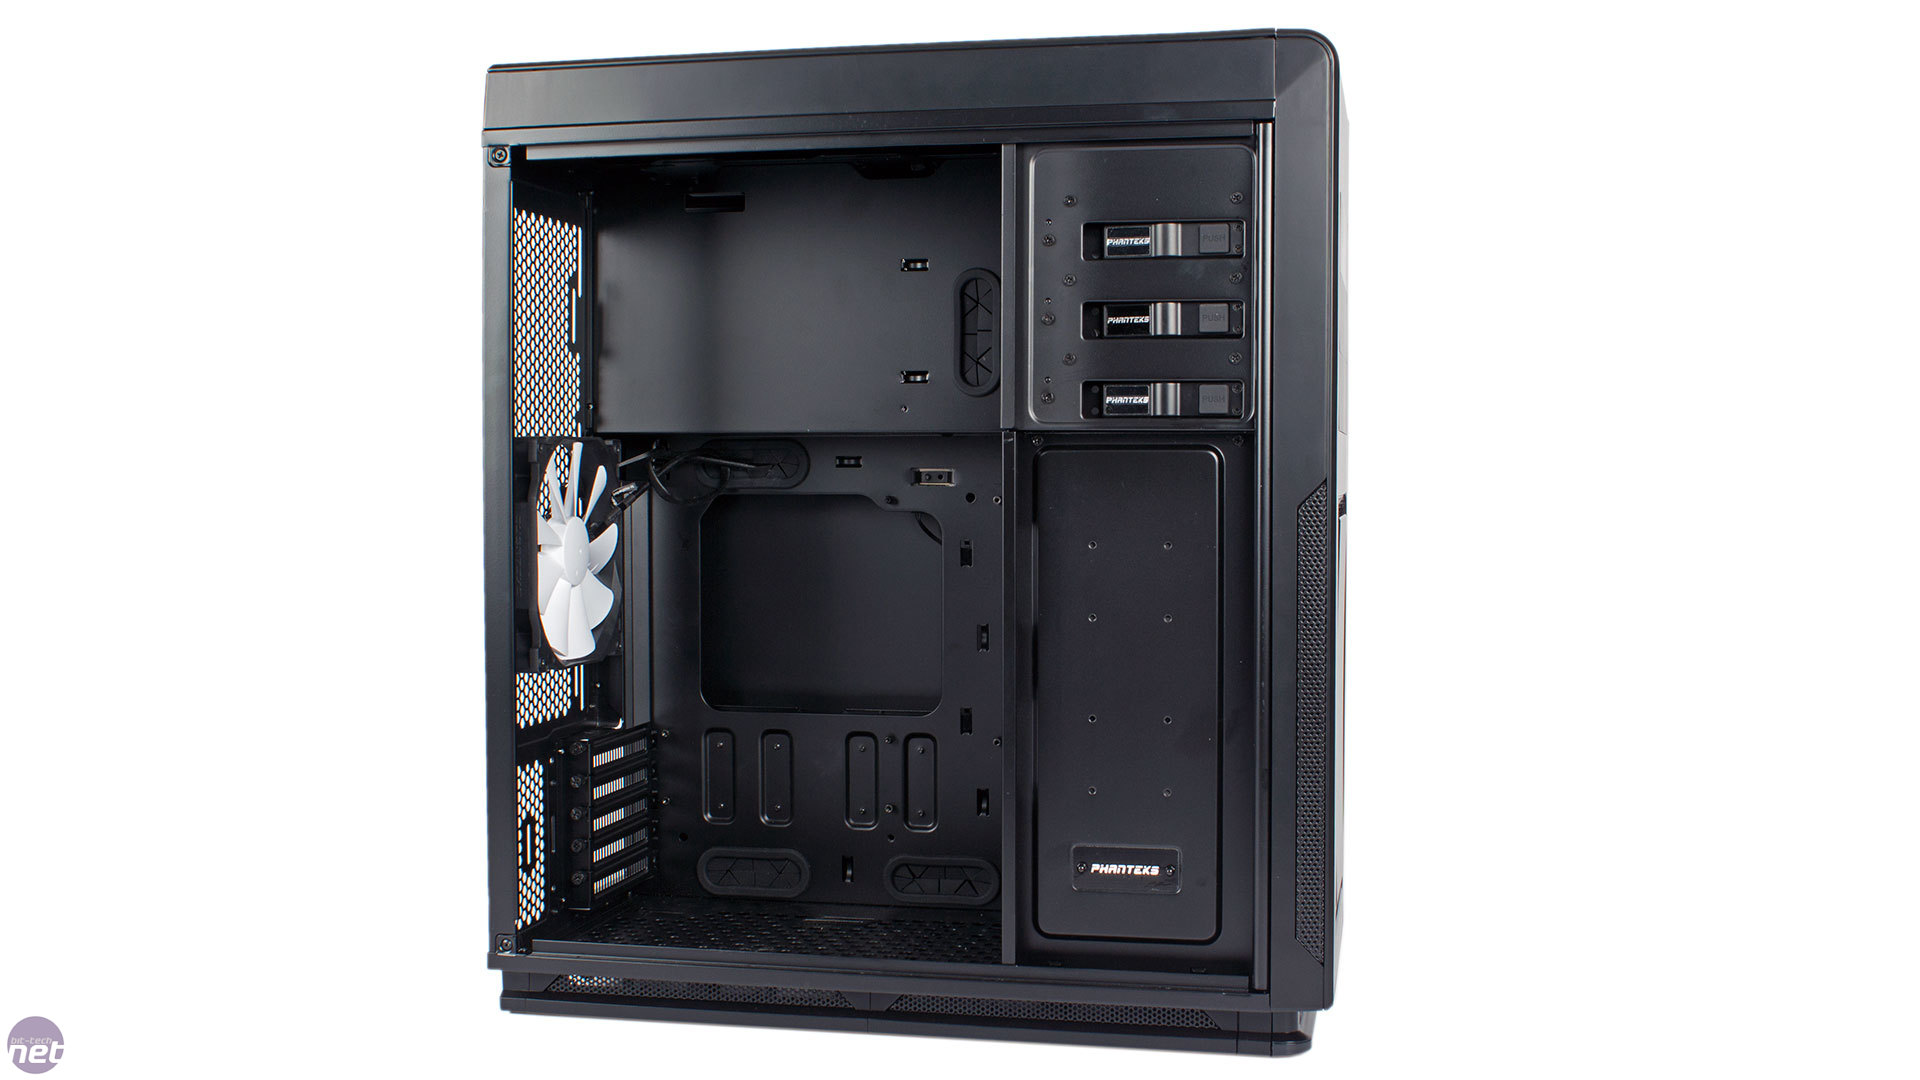
Click to enlarge
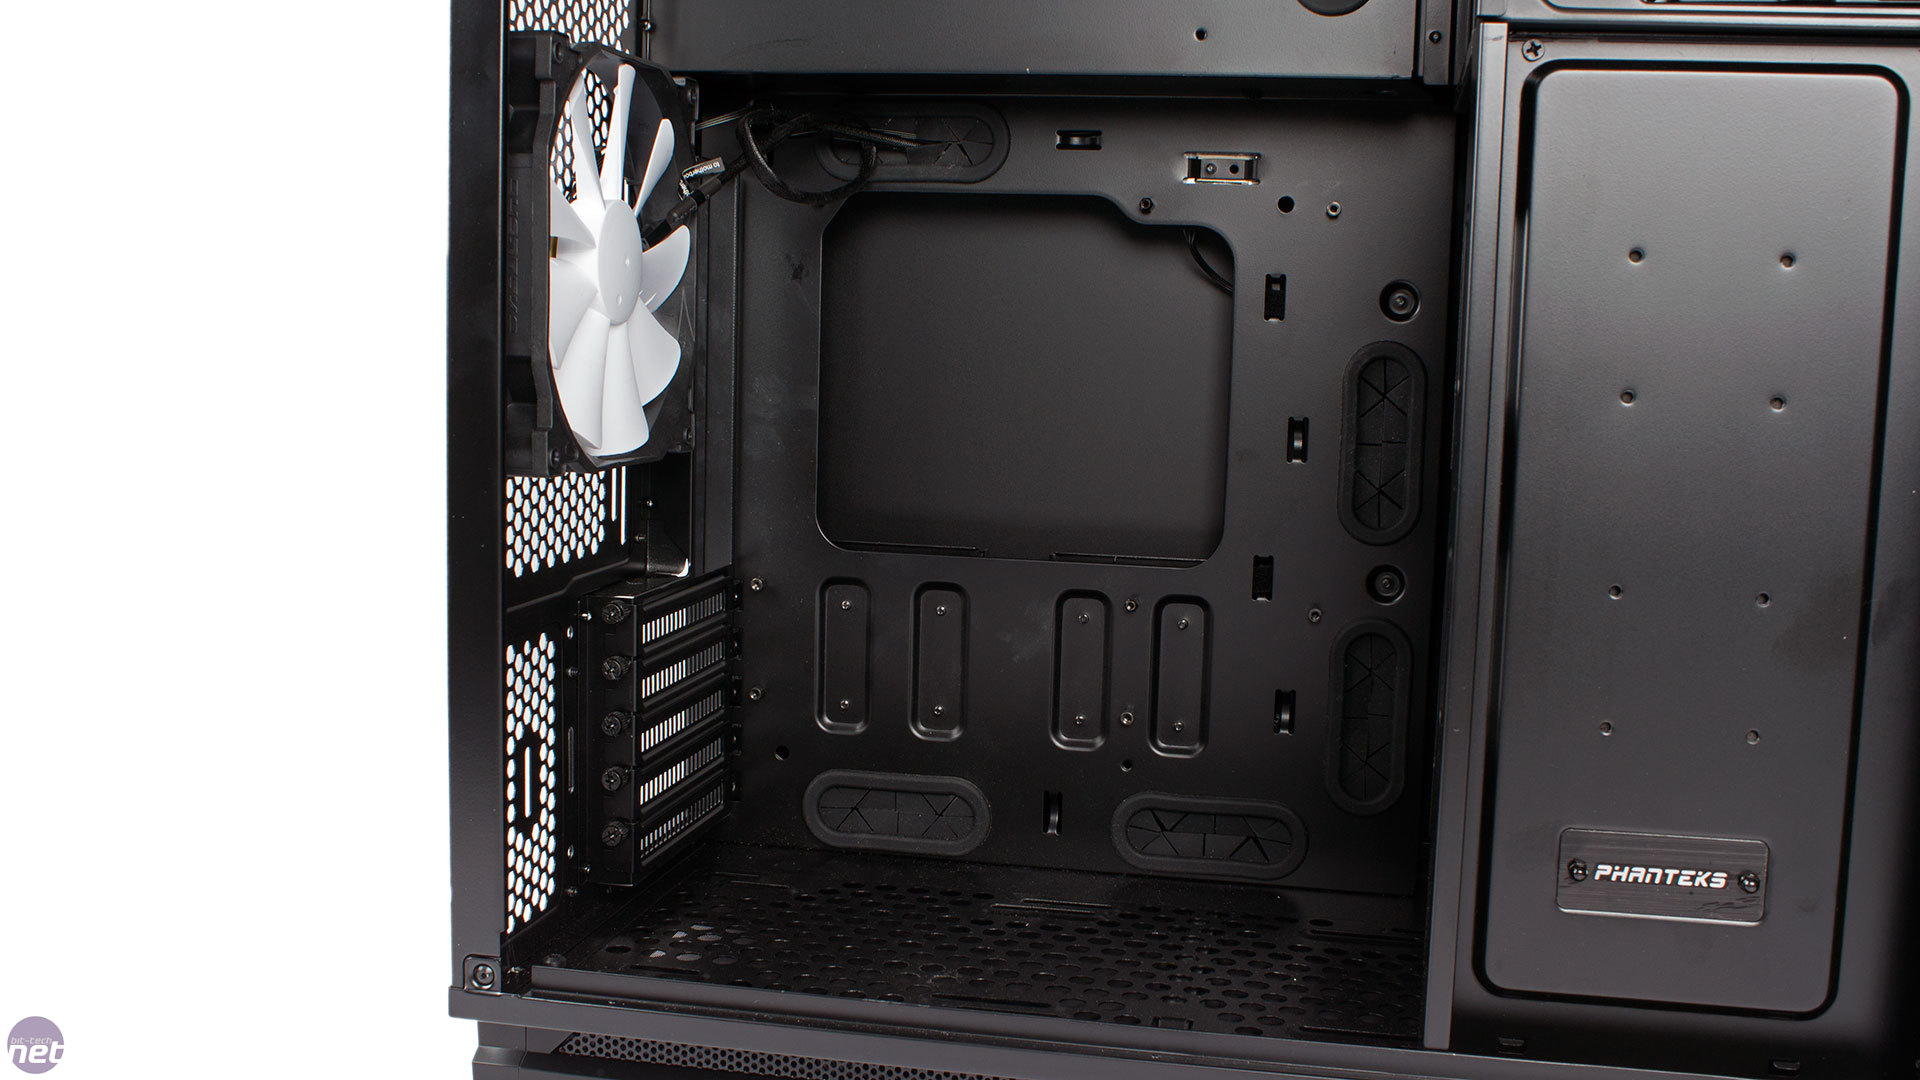
All the finishing touches that make it that little easier to work with the case are present: a huge cutout on the motherboard tray, thumbscrews on the PCI brackets, pre-installed motherboard mounts and plenty of space for the PSU, which rests on thick rubber to quell vibrations.


Click to enlarge
The ODD covers clip out with ease from inside the Enthoo Mini XL, after which drives are free to slot straight in. The tool-free clips do a great job, but it's easy to add screws on the other side if you're not satisfied.

Click to enlarge
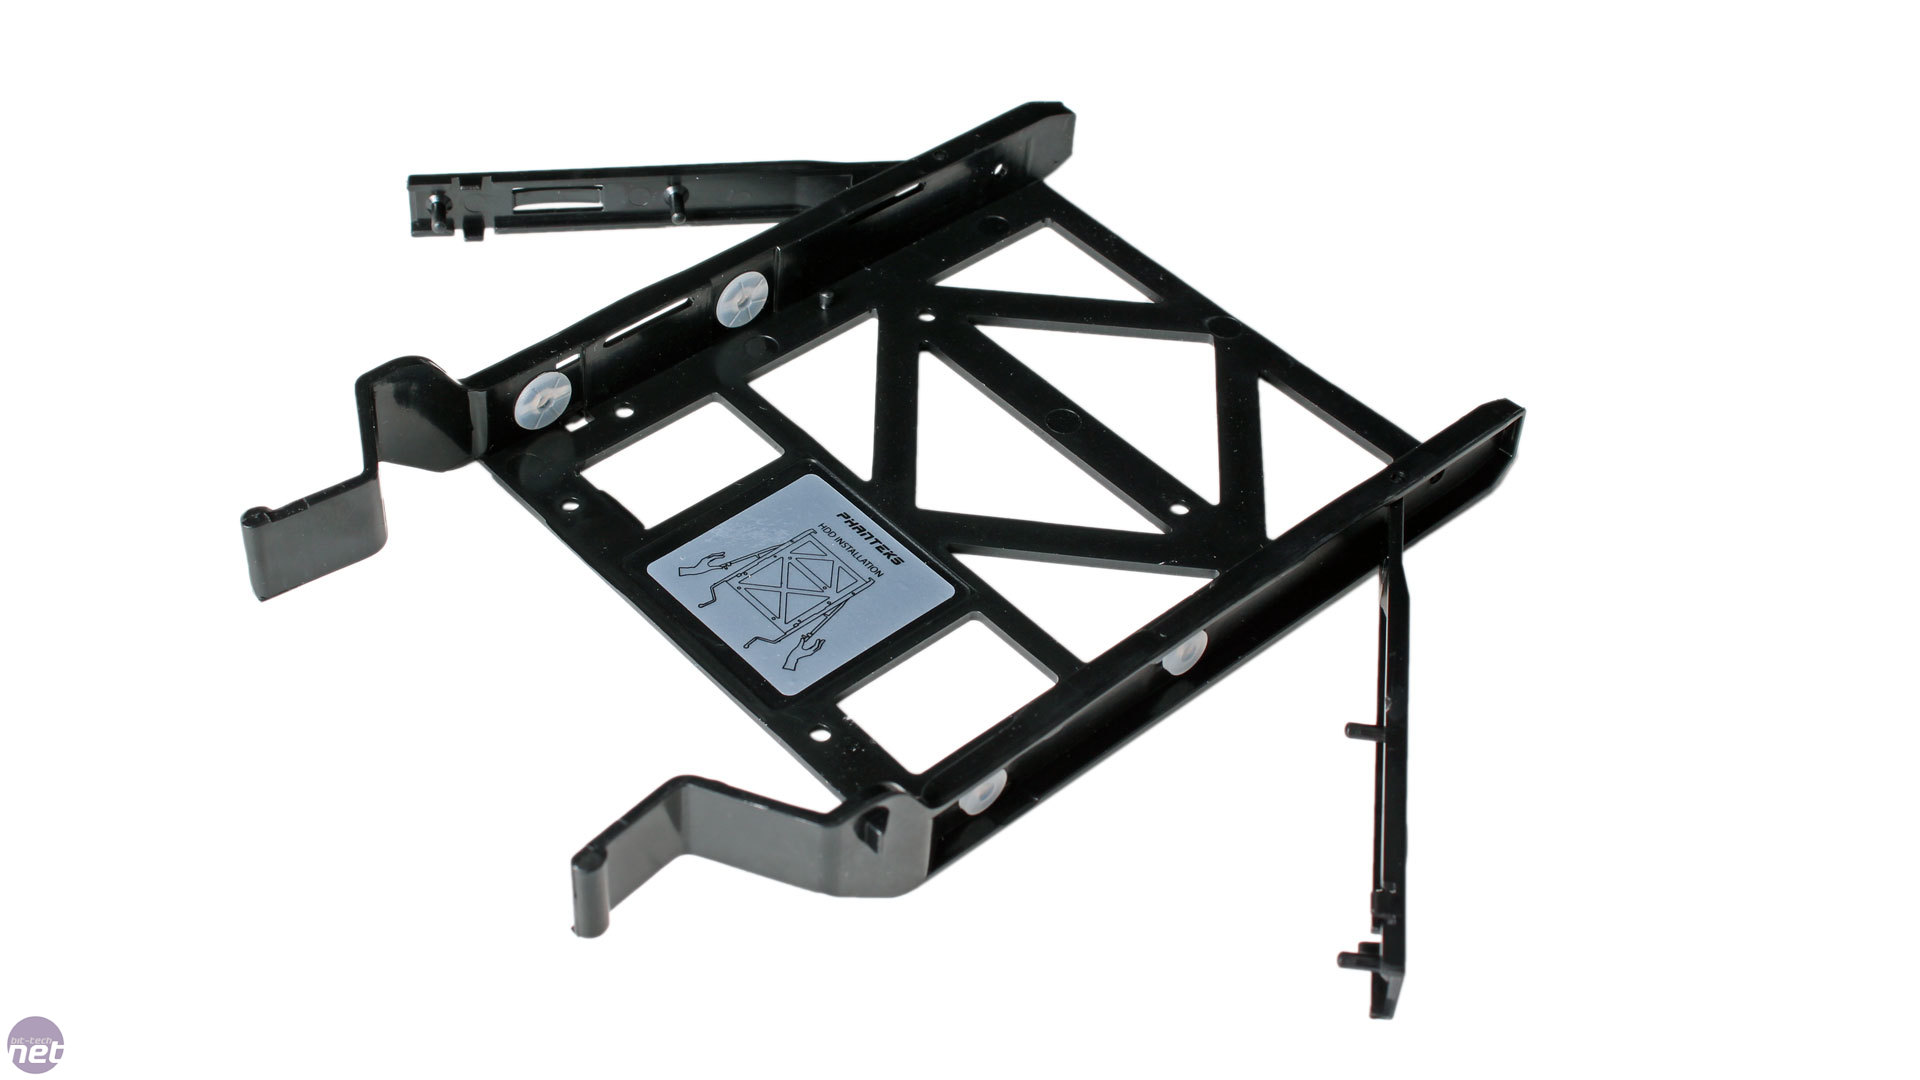
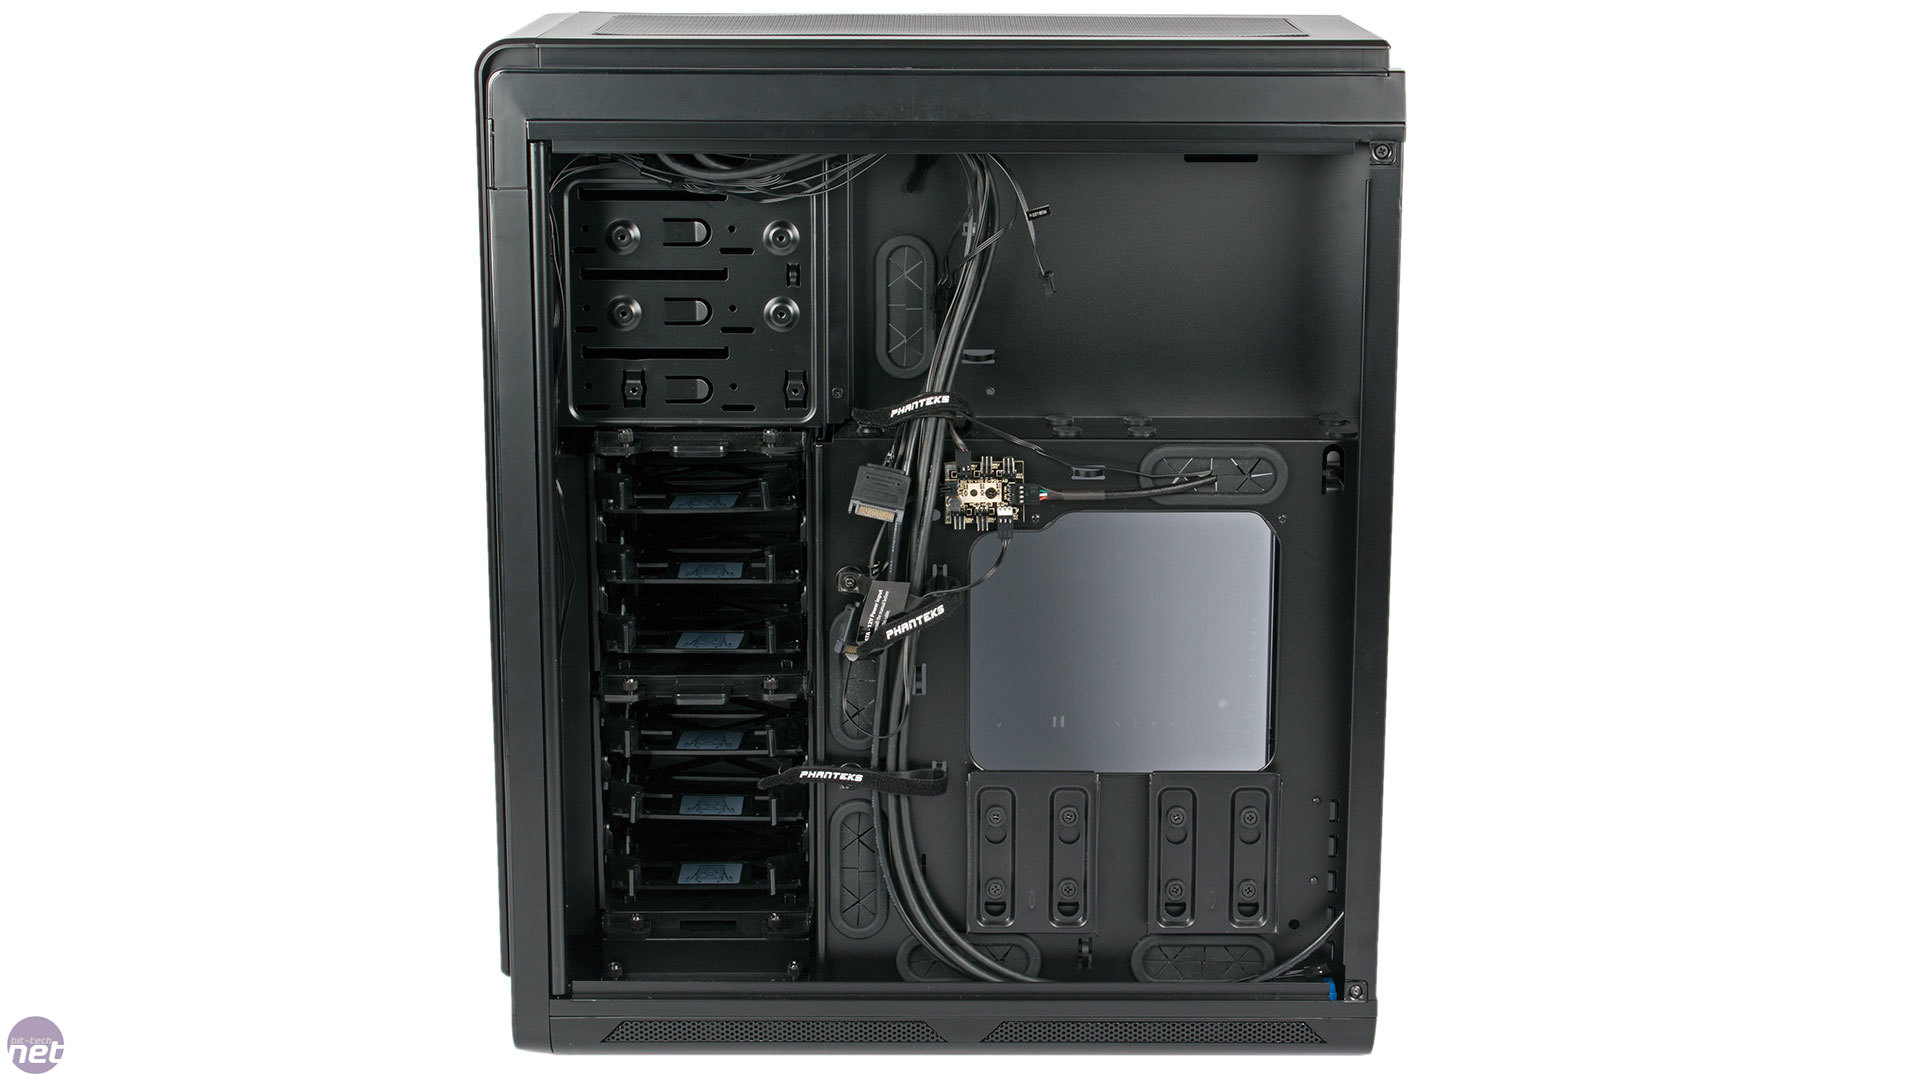
There are two HDD cages, each with room for three 3.5in or 2.5in devices. The plastic trays themselves are the same as we've seen before, with fold-out arms that can lock in larger drives tool-free. As well as this, Phanteks supplies two SSD brackets behind the motherboard tray. These are really easy to use – just screw your drive into place then lock the tray onto the rubber washers. If you prefer to show off your SSDs, there are two mounting points on the HDD panel (visible through the smaller window) for you to move the washers and tray to. Phanteks also sells the 2.5in brackets separately if you need more than two. Likewise, 3.5in brackets in the same style are available to buy, though none are supplied with the Mini XL. Still, there are two possible mounting points for such trays – one on the right side of the ODD cage and one on the bottom of it, which would stop you being able to use the lowest ODD bay.

Click to enlarge
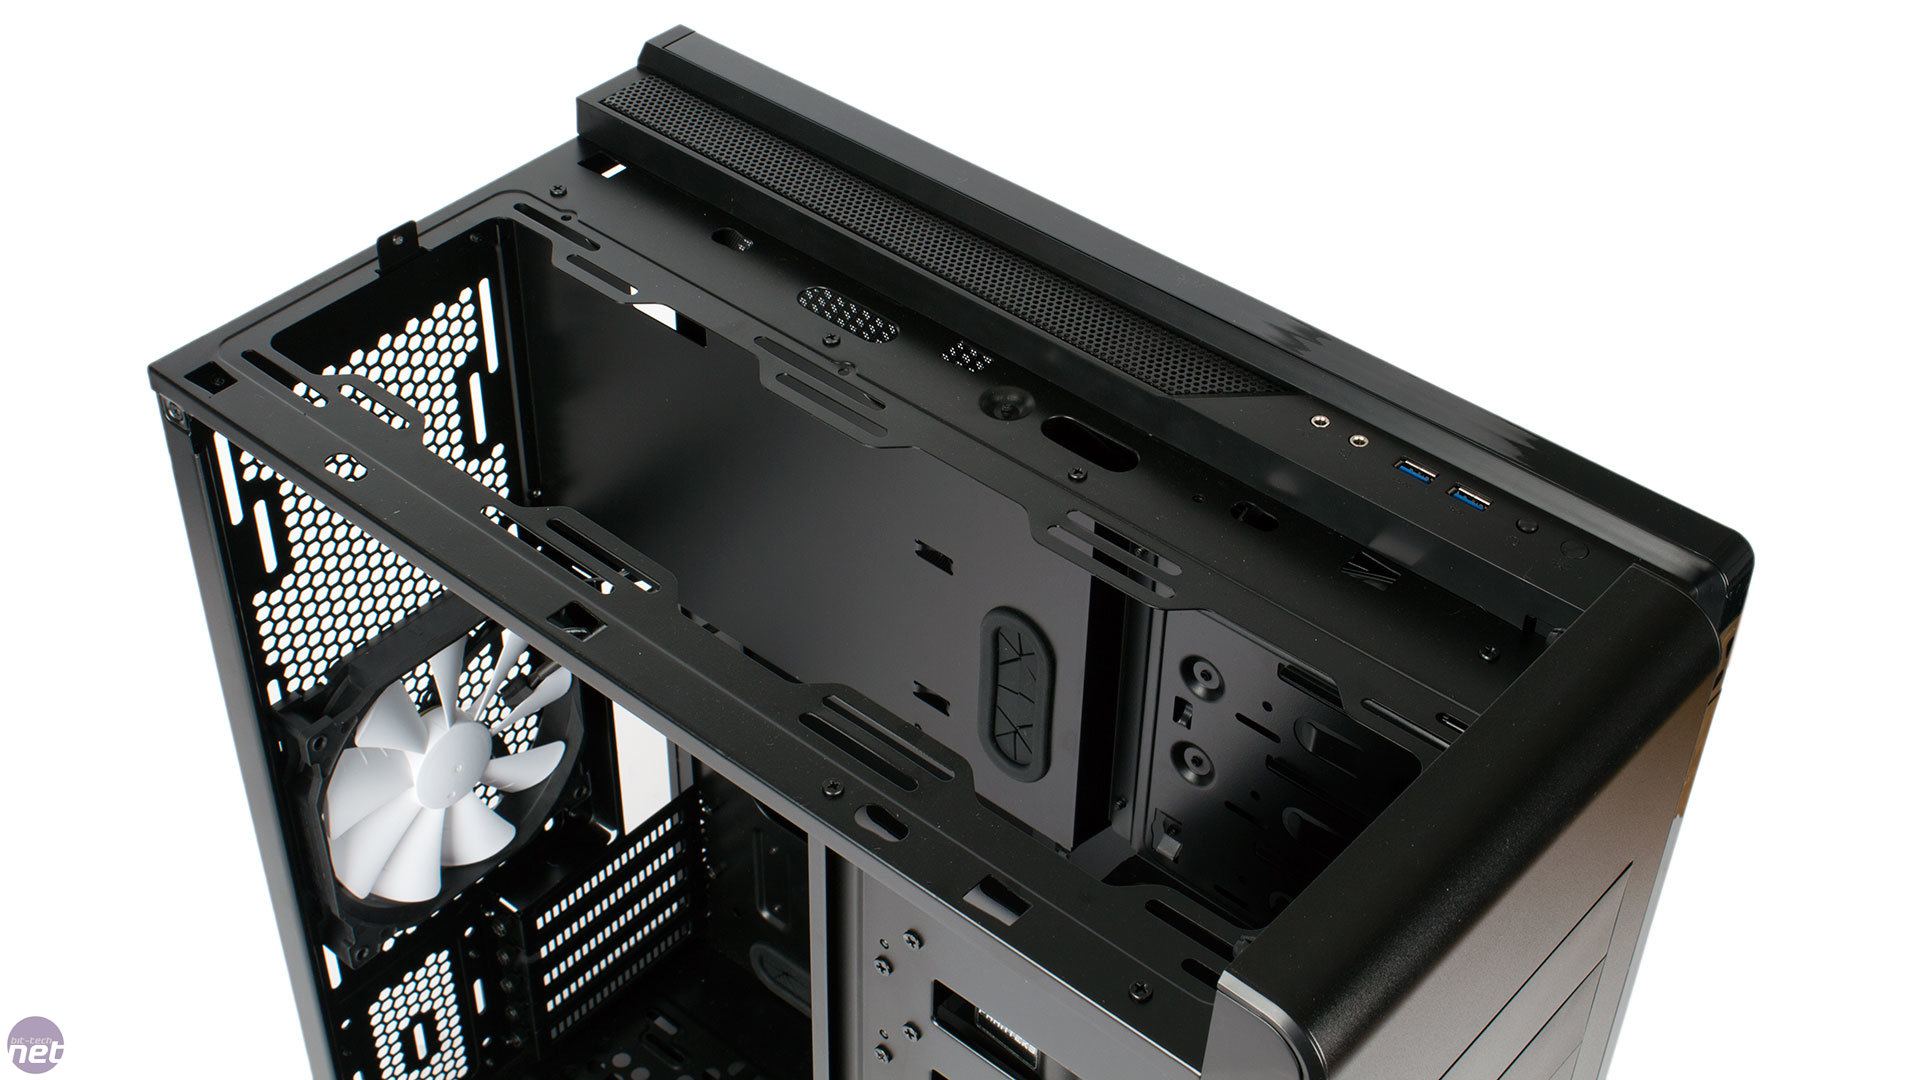
There are five main cable routing holes around the motherboard tray. They're a touch too small but all are fitted with rubber grommets which are secure enough to pass heaps of cables through without dislodging. They also cover the side, top and bottom of the motherboard tray, so any connector on a well laid out motherboard should be easy to reach without exposing too much cable. As ever, Phanteks ships its case with a fantastic job having been done on routing and connecting the internal cables already. They are looped through the various bridges and hooks, tied down with the really helpful Velcro cable ties and left hanging in sensible locations. An extra Velcro tie and numerous regular zip ties are also supplied for you to carry on fighting the good fight.
Click to enlarge
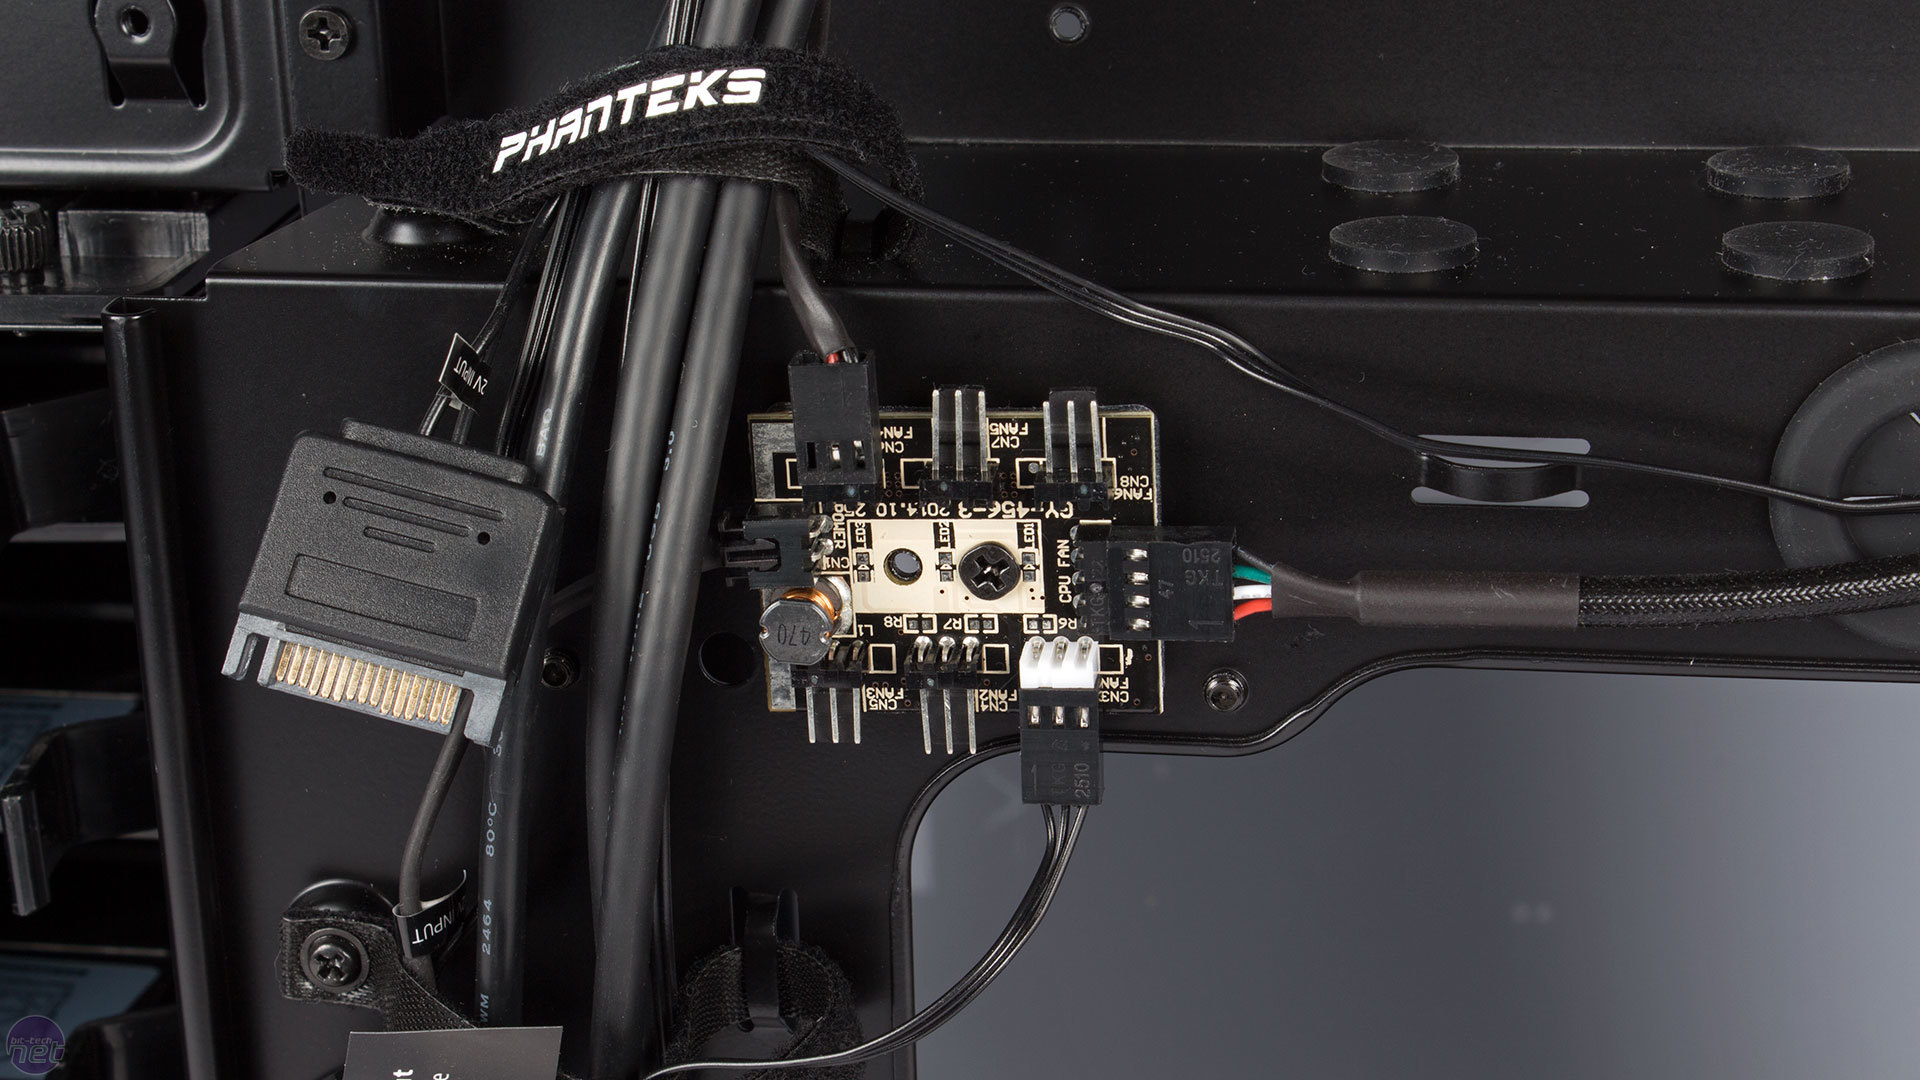
The wiring for the RGB lighting has a spare header so you can add extra LED strips to your case's internals. These are sold separately by Phanteks in 1m and 2m variants and once connected are controlled by the same button on the rear I/O panel as the external lights, and the colours will always match. The whole set-up draws power from a single 12V SATA connection, as does the ever awesome PWM fan hub. With its six headers, this can modulate the speed of up to 11 3-pin fans (five headers can be used with a splitter cable, one cannot) based on the PWM signal from your motherboard's CPU_FAN header. It's a great way of implementing case-wide fan control, especially in a case like this with so many possible fans. It also keeps your main hardware area free of cabling as you can simply plug everything in behind the motherboard tray. The hub is simply screw-mounted too, so you could even move it somewhere that suits you better if you so wished.


MSI MPG Velox 100R Chassis Review
October 14 2021 | 15:04

Want to comment? Please log in.