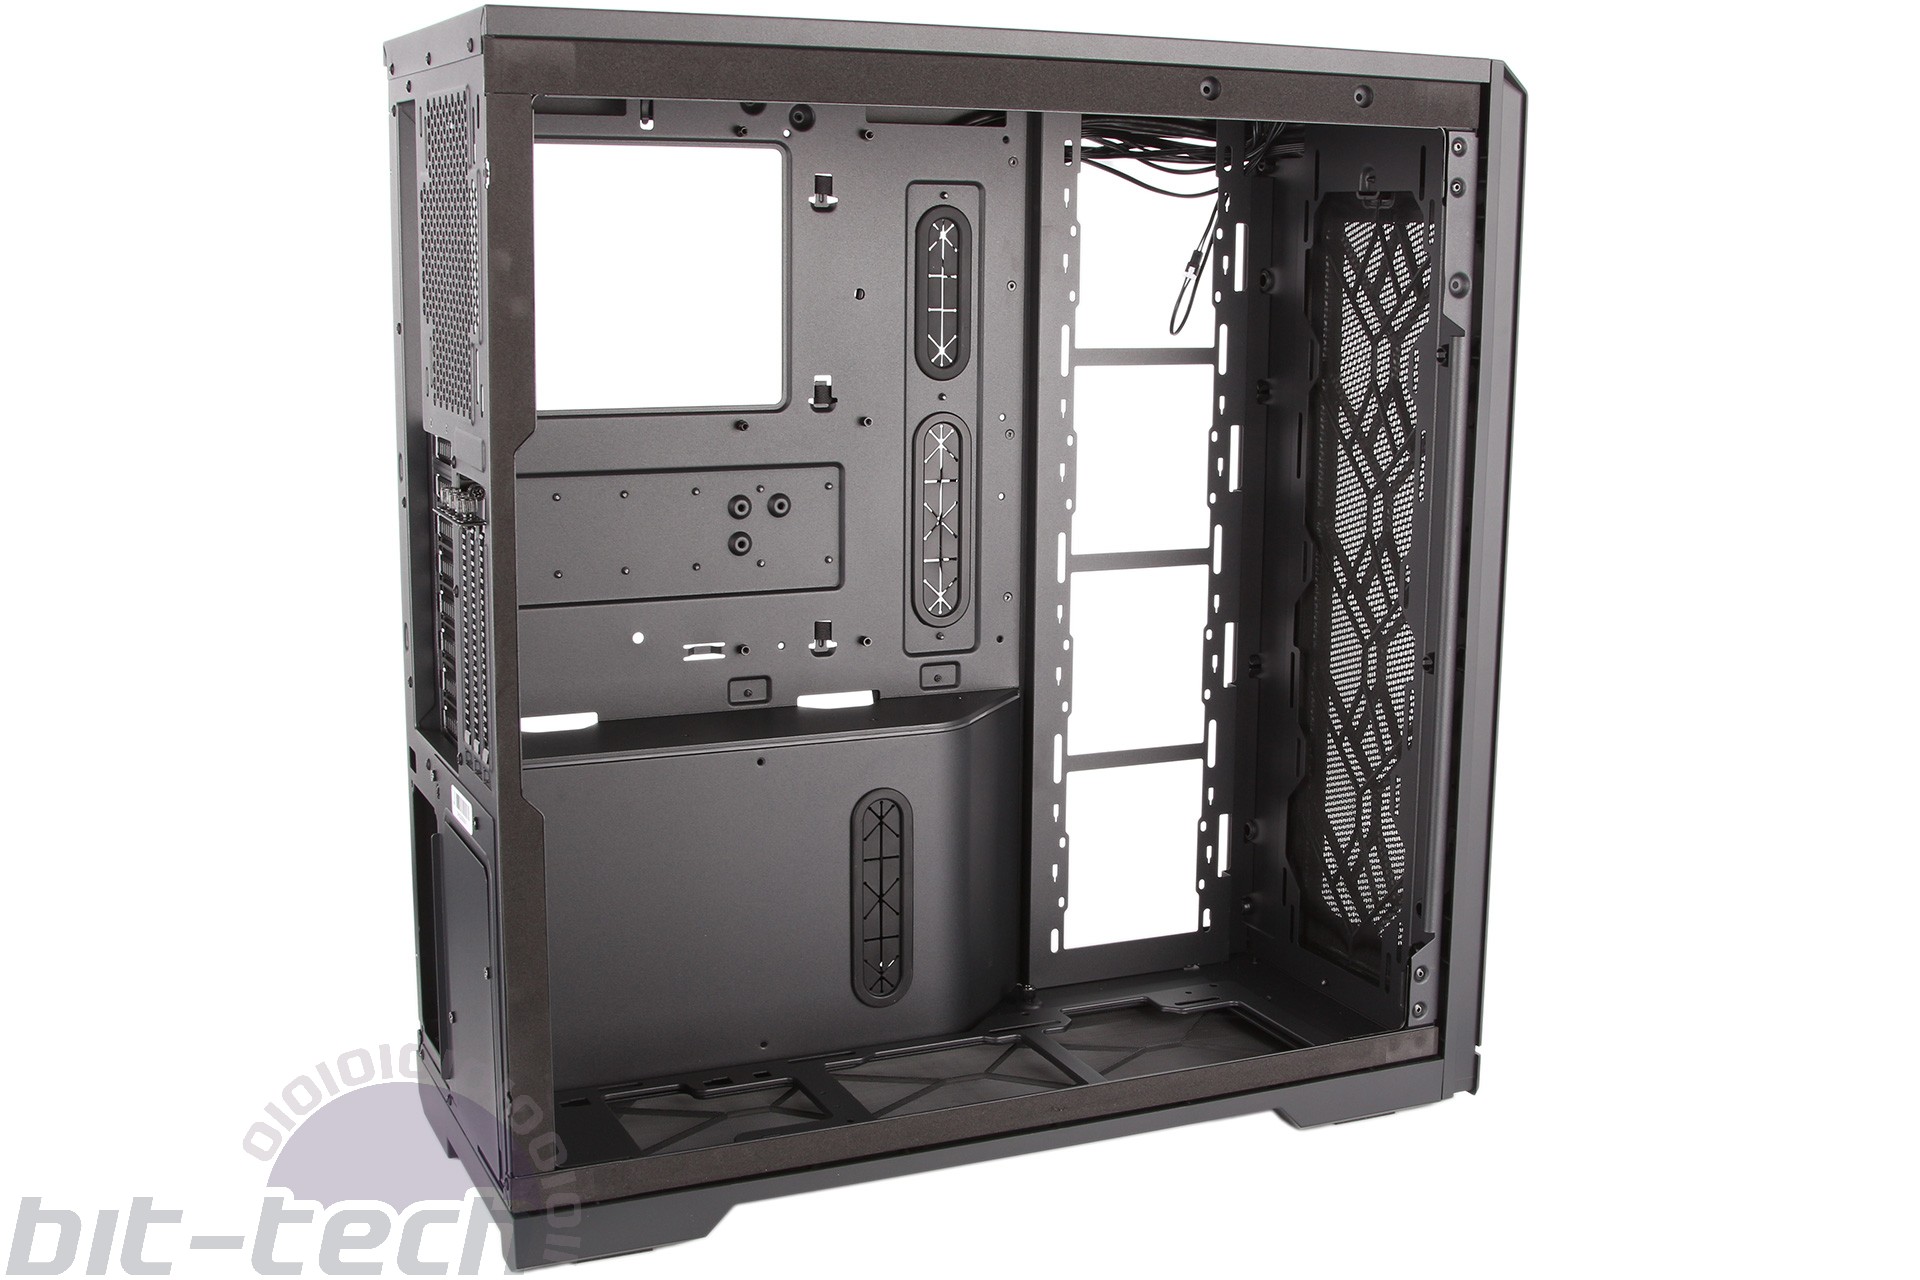
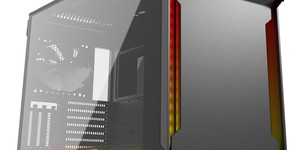
Interior
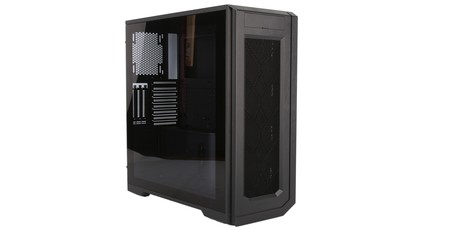
The combination of captive thumbscrews and rails for the side panels makes their removal and reattachment easy enough, but hinged panels would have been better. The Enthoo Pro 2 Closed Panel version has a second steel panel in place of the tempered glass one you see here. Once the packaging and accessories are also removed, you get real sense of how the Enthoo Pro 2 is a blank canvas for high-end builds.
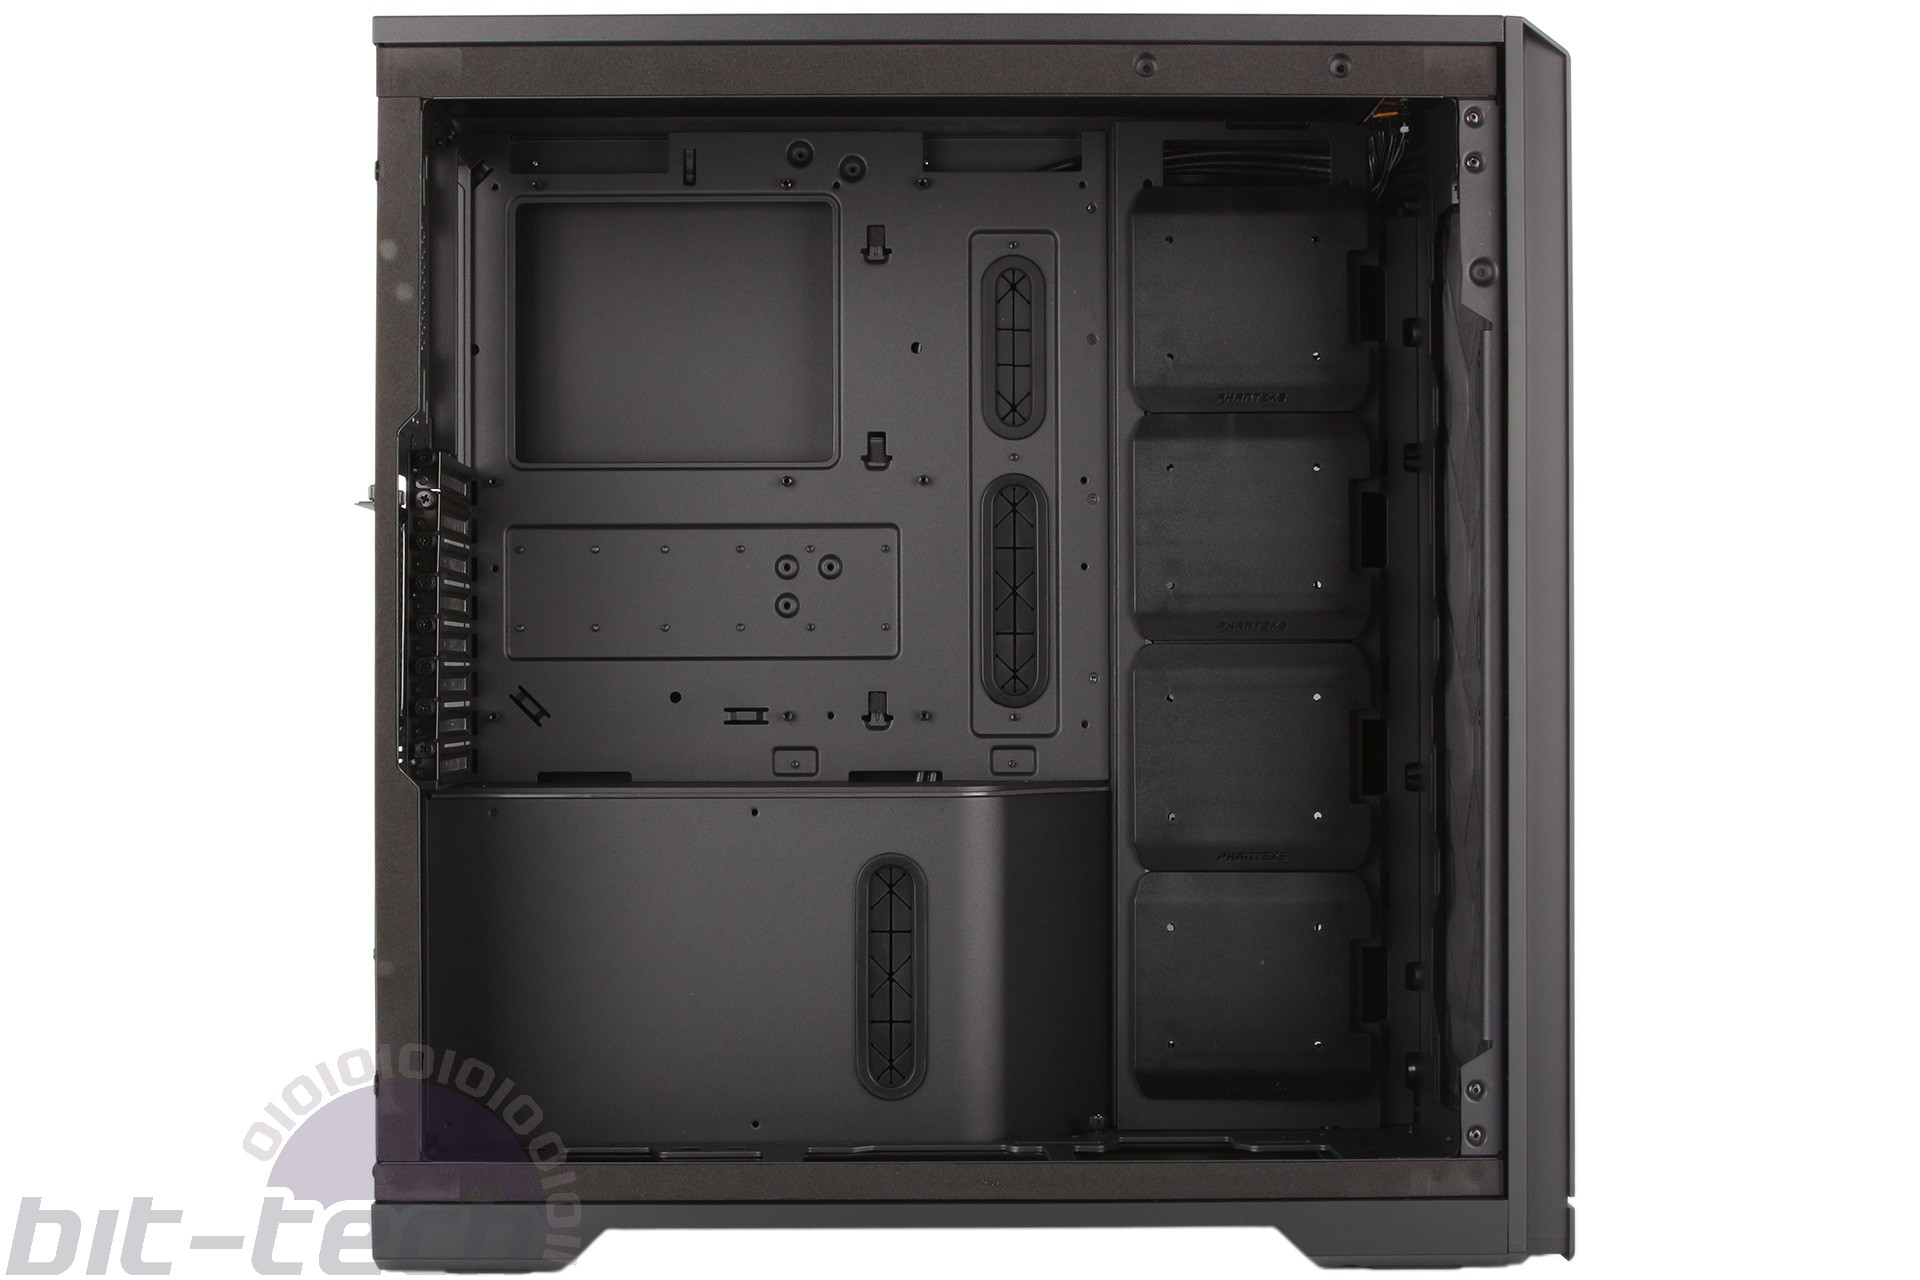
In the motherboard area, ATX mounts come pre-installed and include a lengthened central one to aid the initial positioning. In addition, there’s space enough for wider motherboards, including full and proper support for the SSI-EEB standard as well as any boards described as E-ATX (those between 244mm and 330mm (9.6” and 13”) wide. Meanwhile, CPU coolers fitted to motherboards are “limited” to being 195mm tall.
Similarly, users have oodles of space for GPU installations. Eight PCIe slots means there’s room for four dual-slot graphics cards in workstation builds, and there’s officially 500mm of clearance from front to back, reducing to 475mm with a standard-size front fan or 345mm if you install HDD cages in the front area (more on this below). A GPU anti-sag bracket is included and secures behind the motherboard, thus remaining invisible through the window.
For those who prefer a vertical graphics card, you have a few options. Phanteks includes three vertical PCI slots, ensuring thicker graphics cards can be used here (provided you buy a riser cable, as there isn’t one included). However, this will still put the GPU intake fans closer to the side panel than is recommended for good airflow; these slots are better suited to I/O expansion cards. Phanteks’ preferred method is for users to buy its Vertical GPU Bracket that replaces most of the horizontal slots and includes a riser cable, allowing you to install a card of any thickness much closer to the motherboard and with more breathing room.
The vertical PSU placement is a simple but useful design trick. There’s still space for 280mm units, so nothing has been lost, yet the extra space gained in the bottom corner is what makes dual-system or dual-PSU builds possible, and it also gives more options to customers who want to prioritise water-cooling or storage. There’s no need for the PSU shroud to be removable (often a fiddly task anyway), and in this tempered glass version the top edge of the shroud is illuminated by a 14-LED addressable RGB strip. The aRGieBargie (stop it - ed!) here is tasteful and well diffused with no obvious hotspots.
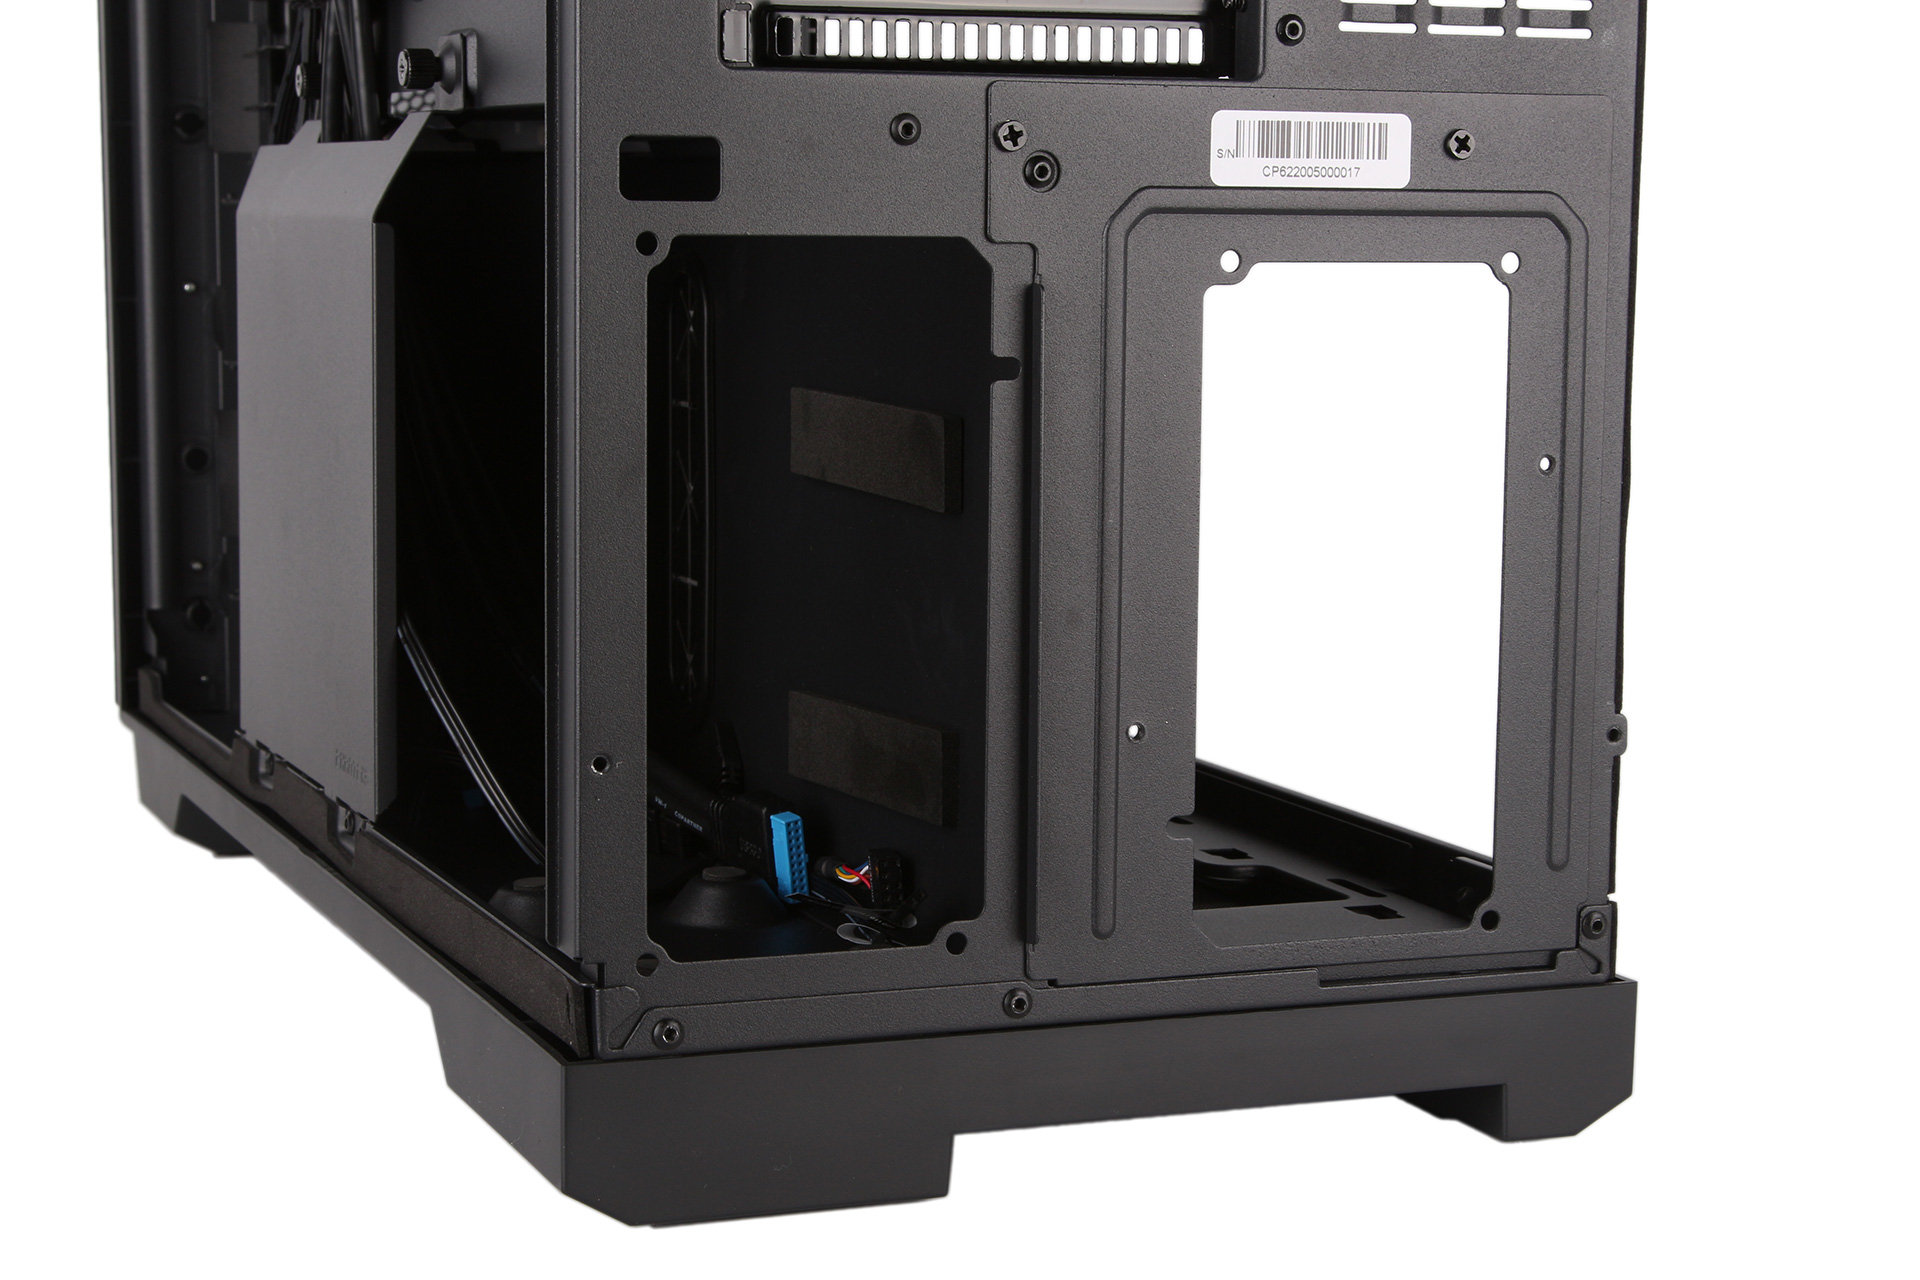
For dual-PSU builds (not common, but maybe suitable for workstations that need extra power or redundancy), a second PSU mount is already present on the rear panel, but by default it’s blanked out by a cover plate. You’ll also be needing a PSU capable of linking with another, making this feature something of an advert for the Seasonic-built Phanteks Revolt Pro PSU, which can do just that.
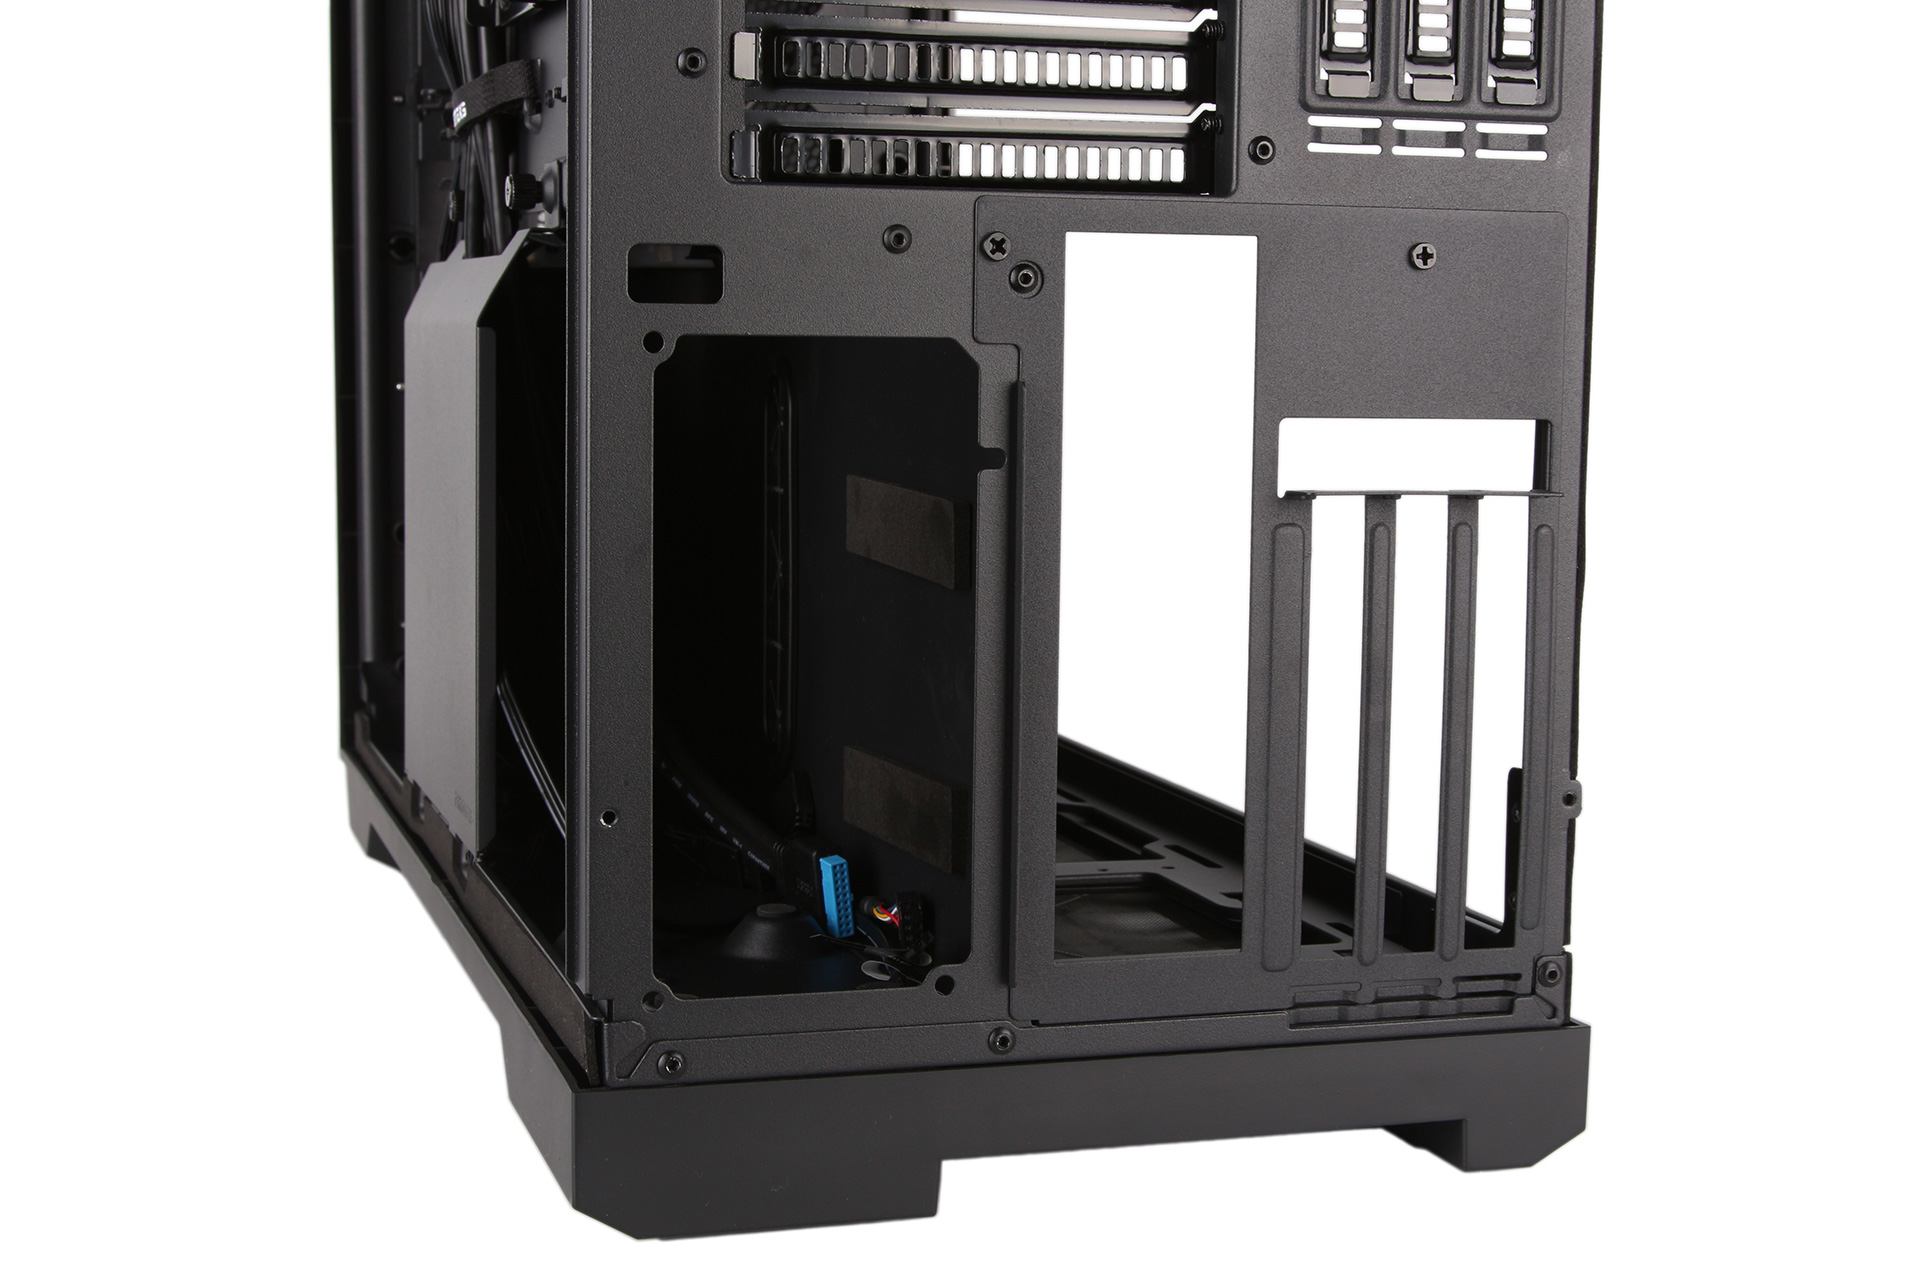
If dual-system is more your thing, the second PSU mounting bracket can be swapped to the bundled mini-ITX motherboard bracket, with the board then being installed on the vertical portion of the PSU shroud. The bracket design permits a vertical GPU to be installed for this second system too, but again you’ll need to grab a riser cable separately. As expected, Phanteks sells this as well as the Revolt X PSU which can power two separate systems.
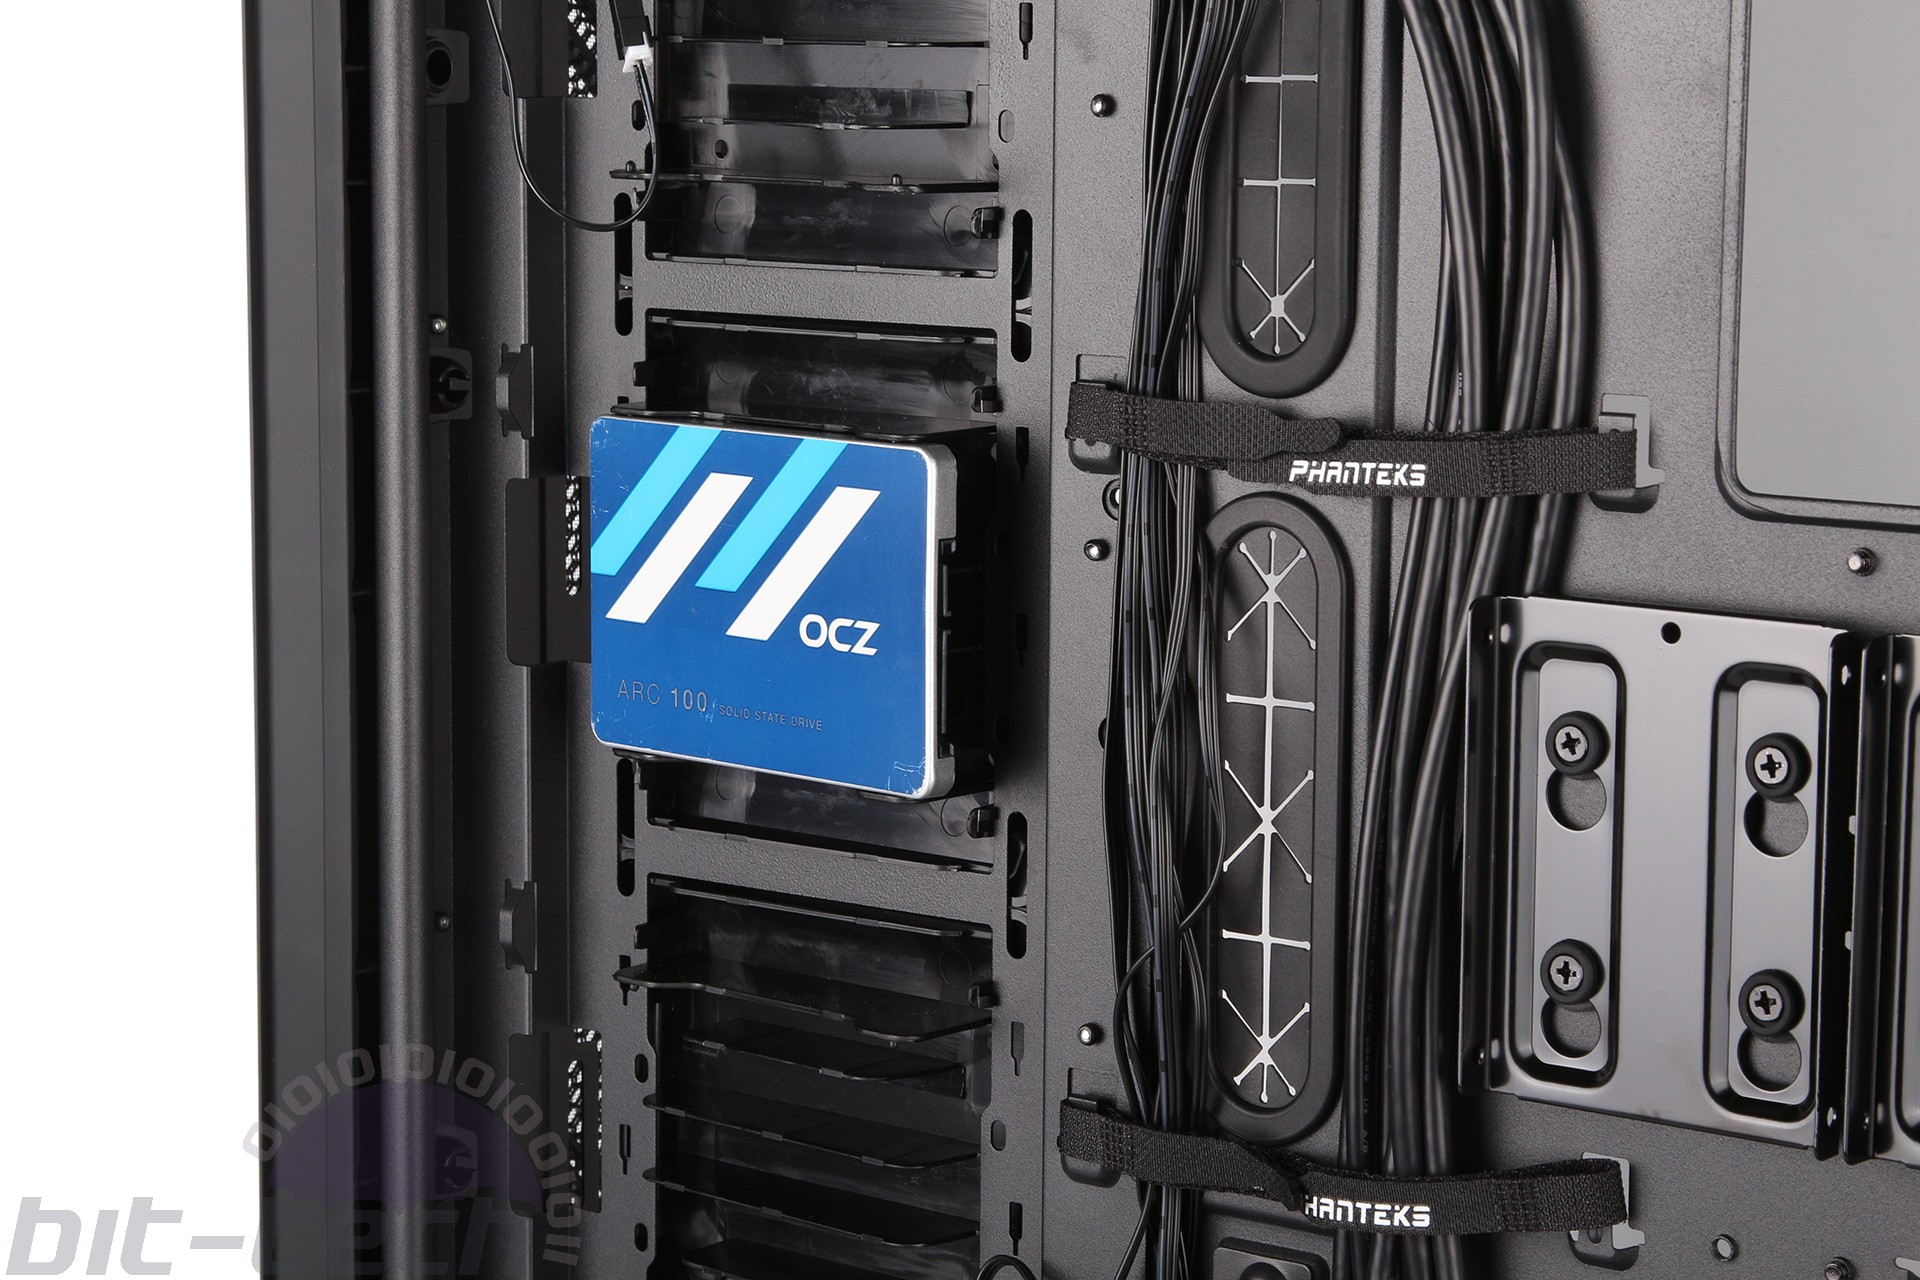
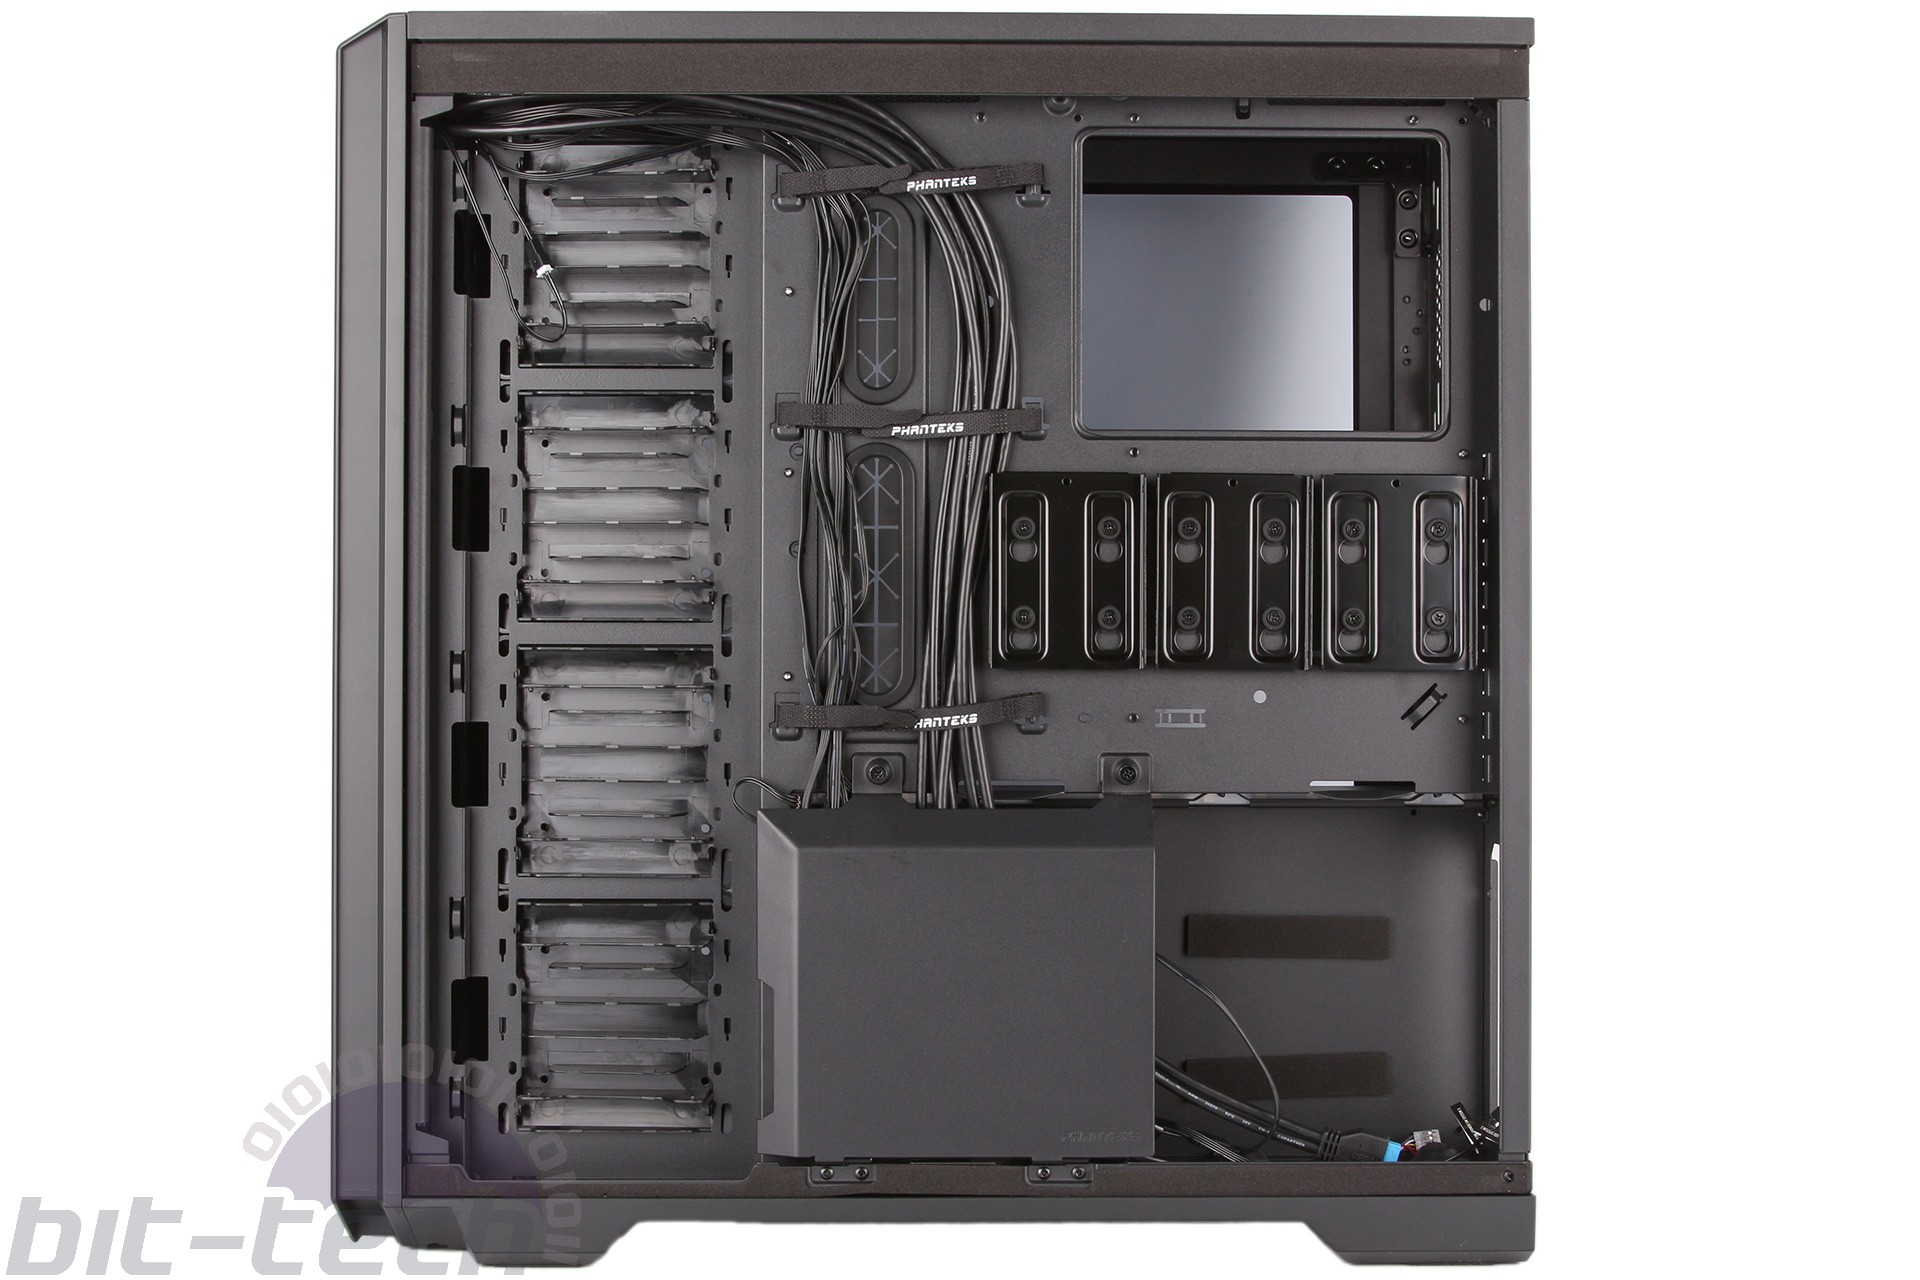
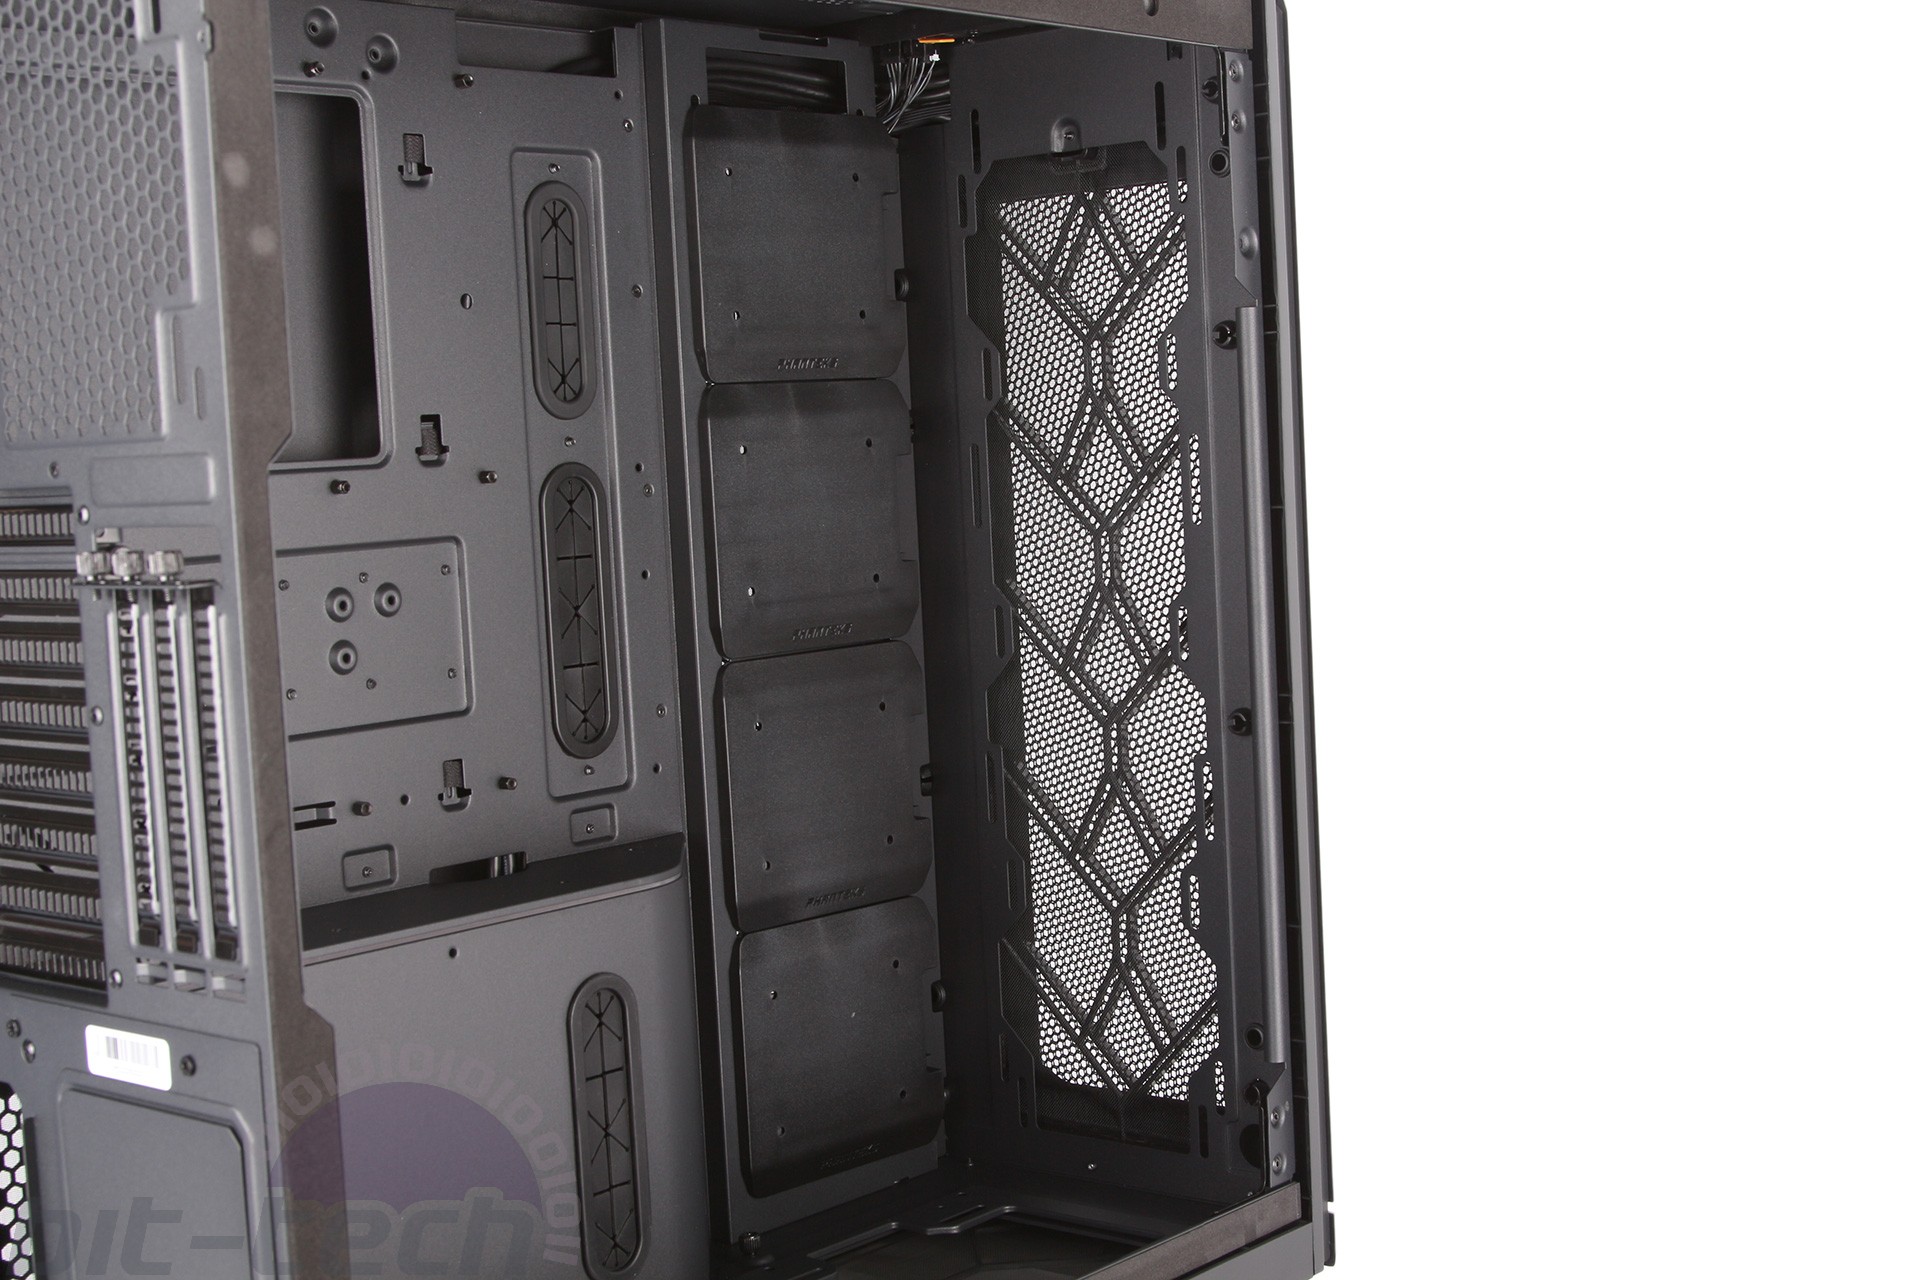
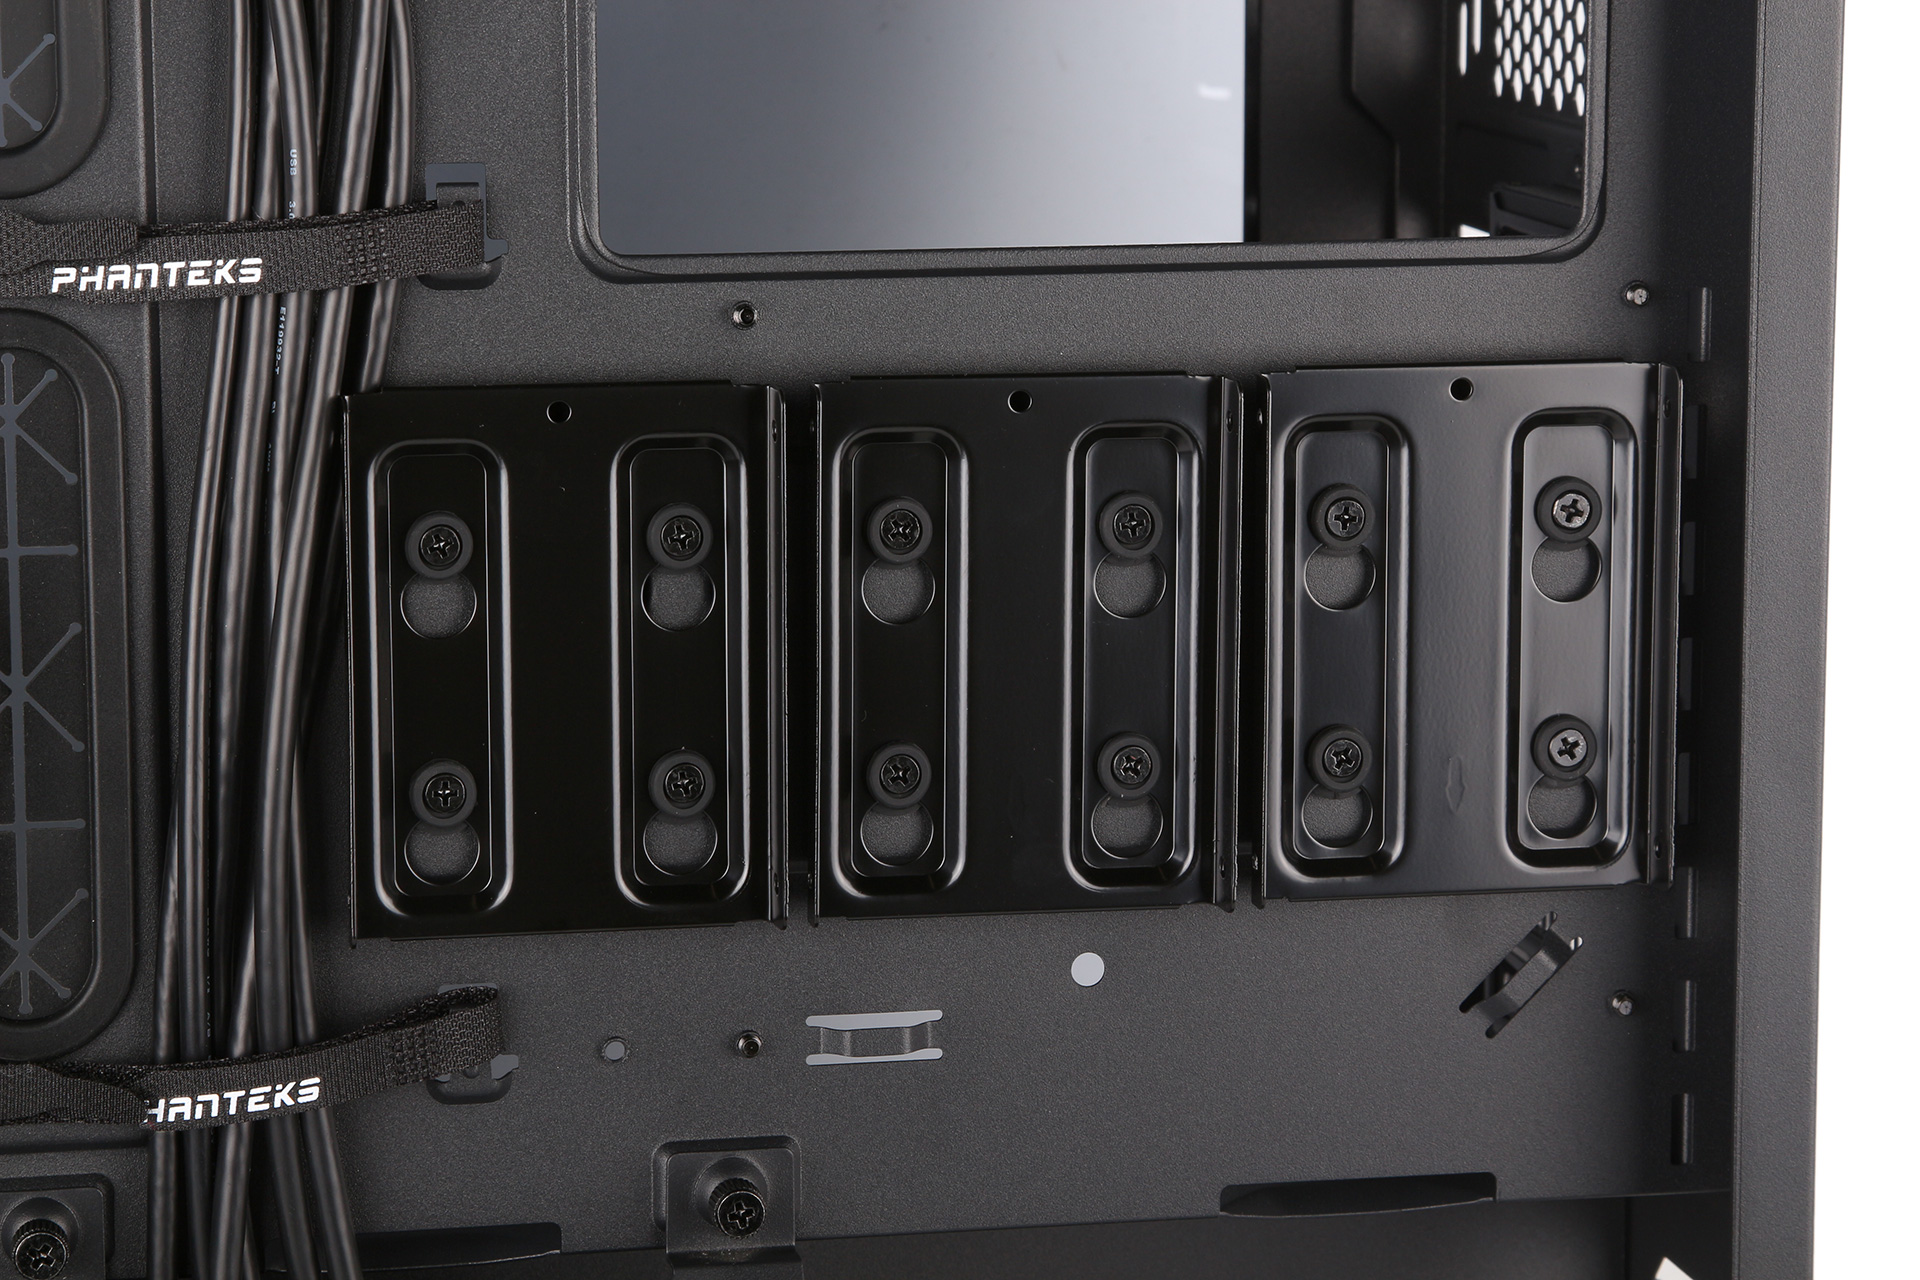
There are four blanking covers stacked vertically at the front, each of which can host a pair of SSDs/2.5” drives – one screwed to the front facing the window and one secured tool-free to the rear. The design is made particularly nifty by the cable routing fins on the back. Alternatively, each plate can be popped out to reveal mounting holes for either a single 120mm side fan/radiator or up to two Phanteks HDD cages (four of which are supplied). It’s a great design that allows you to choose between SSDs, HDDs, fans, and radiators, but the blanking covers are too easy to knock out of position when working with one of the others.
Three independent Drop-and-Lock metal brackets provide dedicated 2.5”/SSD mounting behind the motherboard tray. The rubber washers work very well, and combined with the blanking plates these trays mean there are 11 available SSD spaces out of the box.
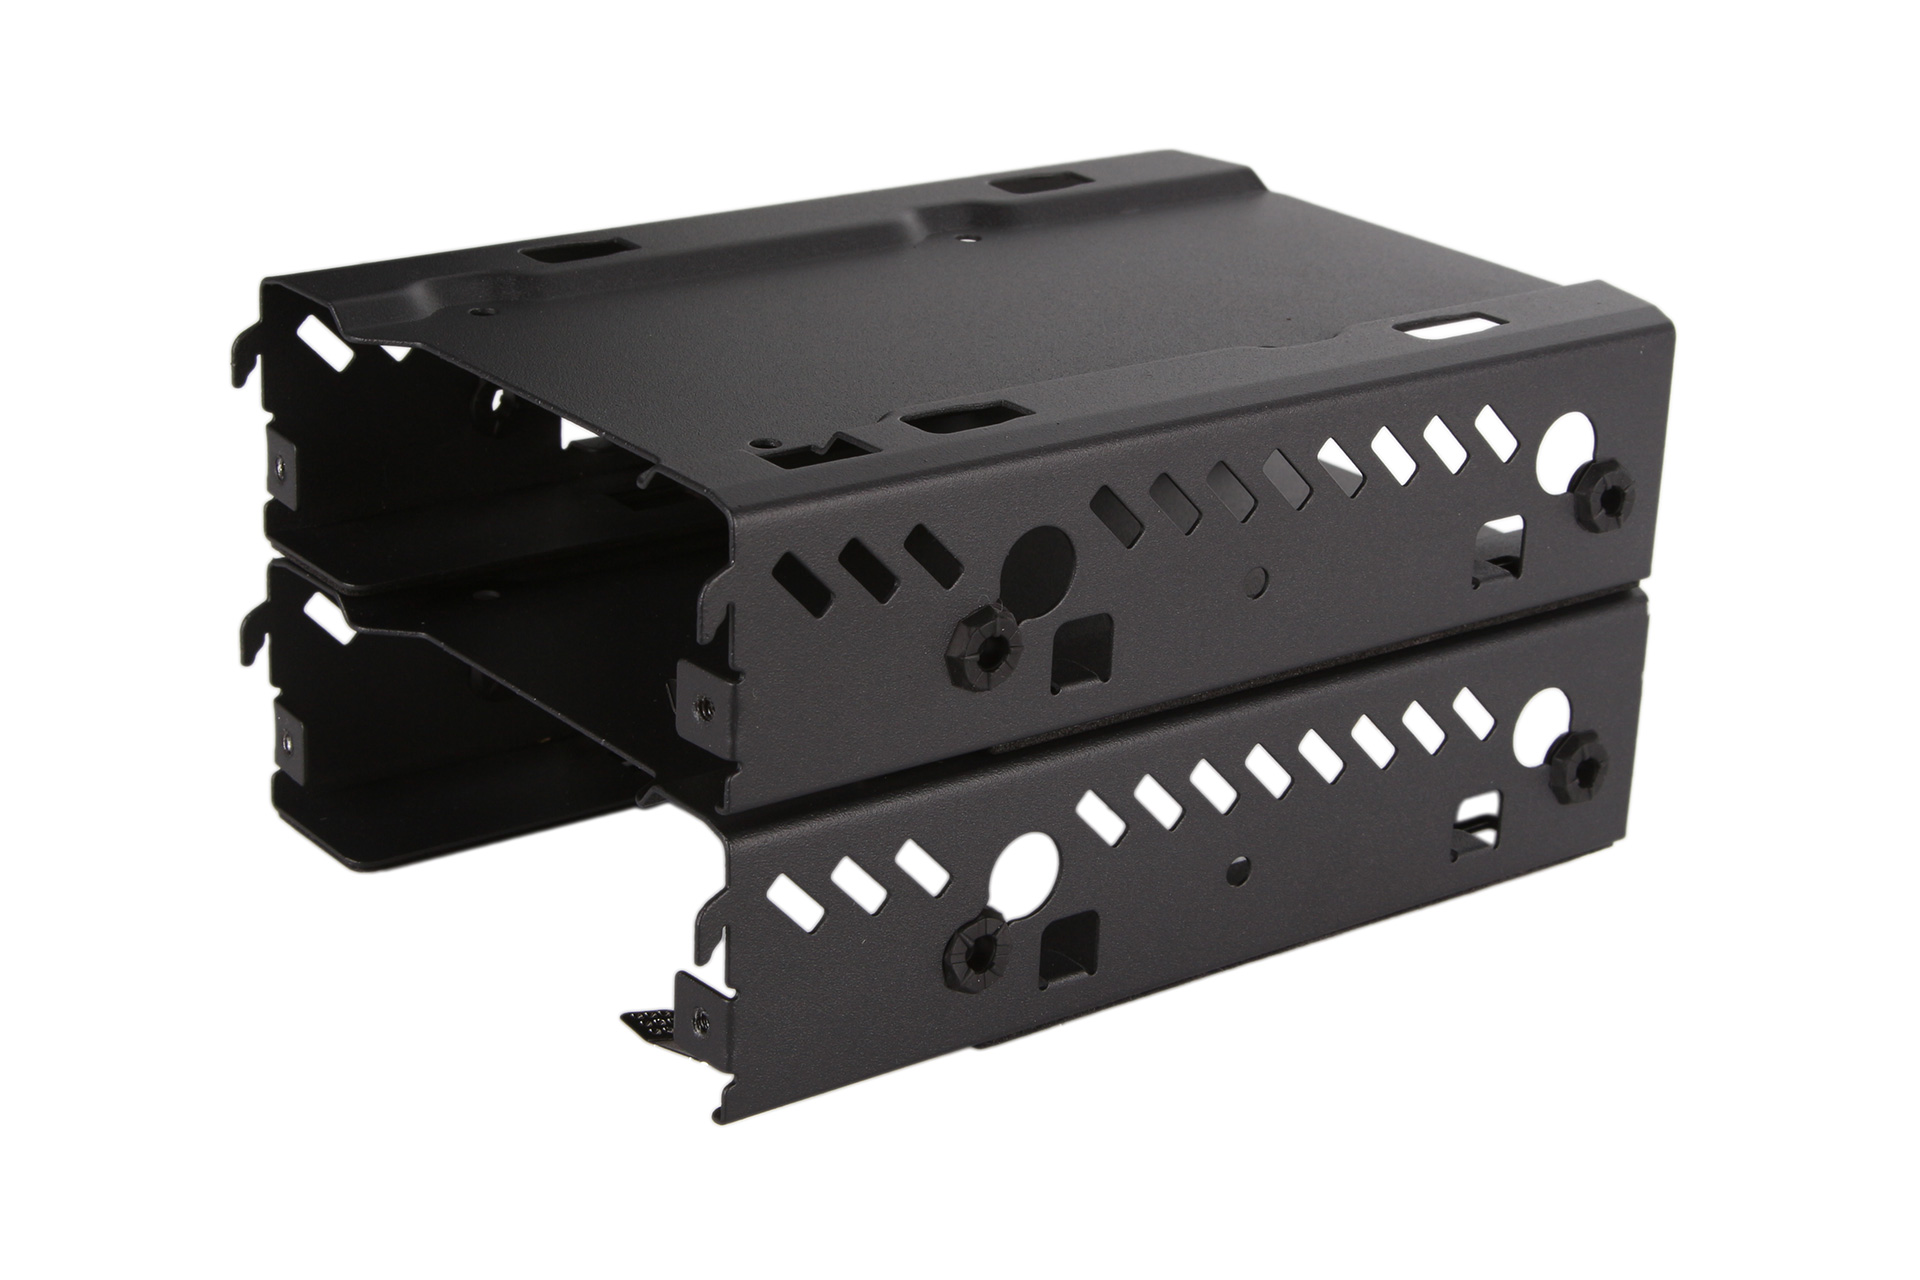
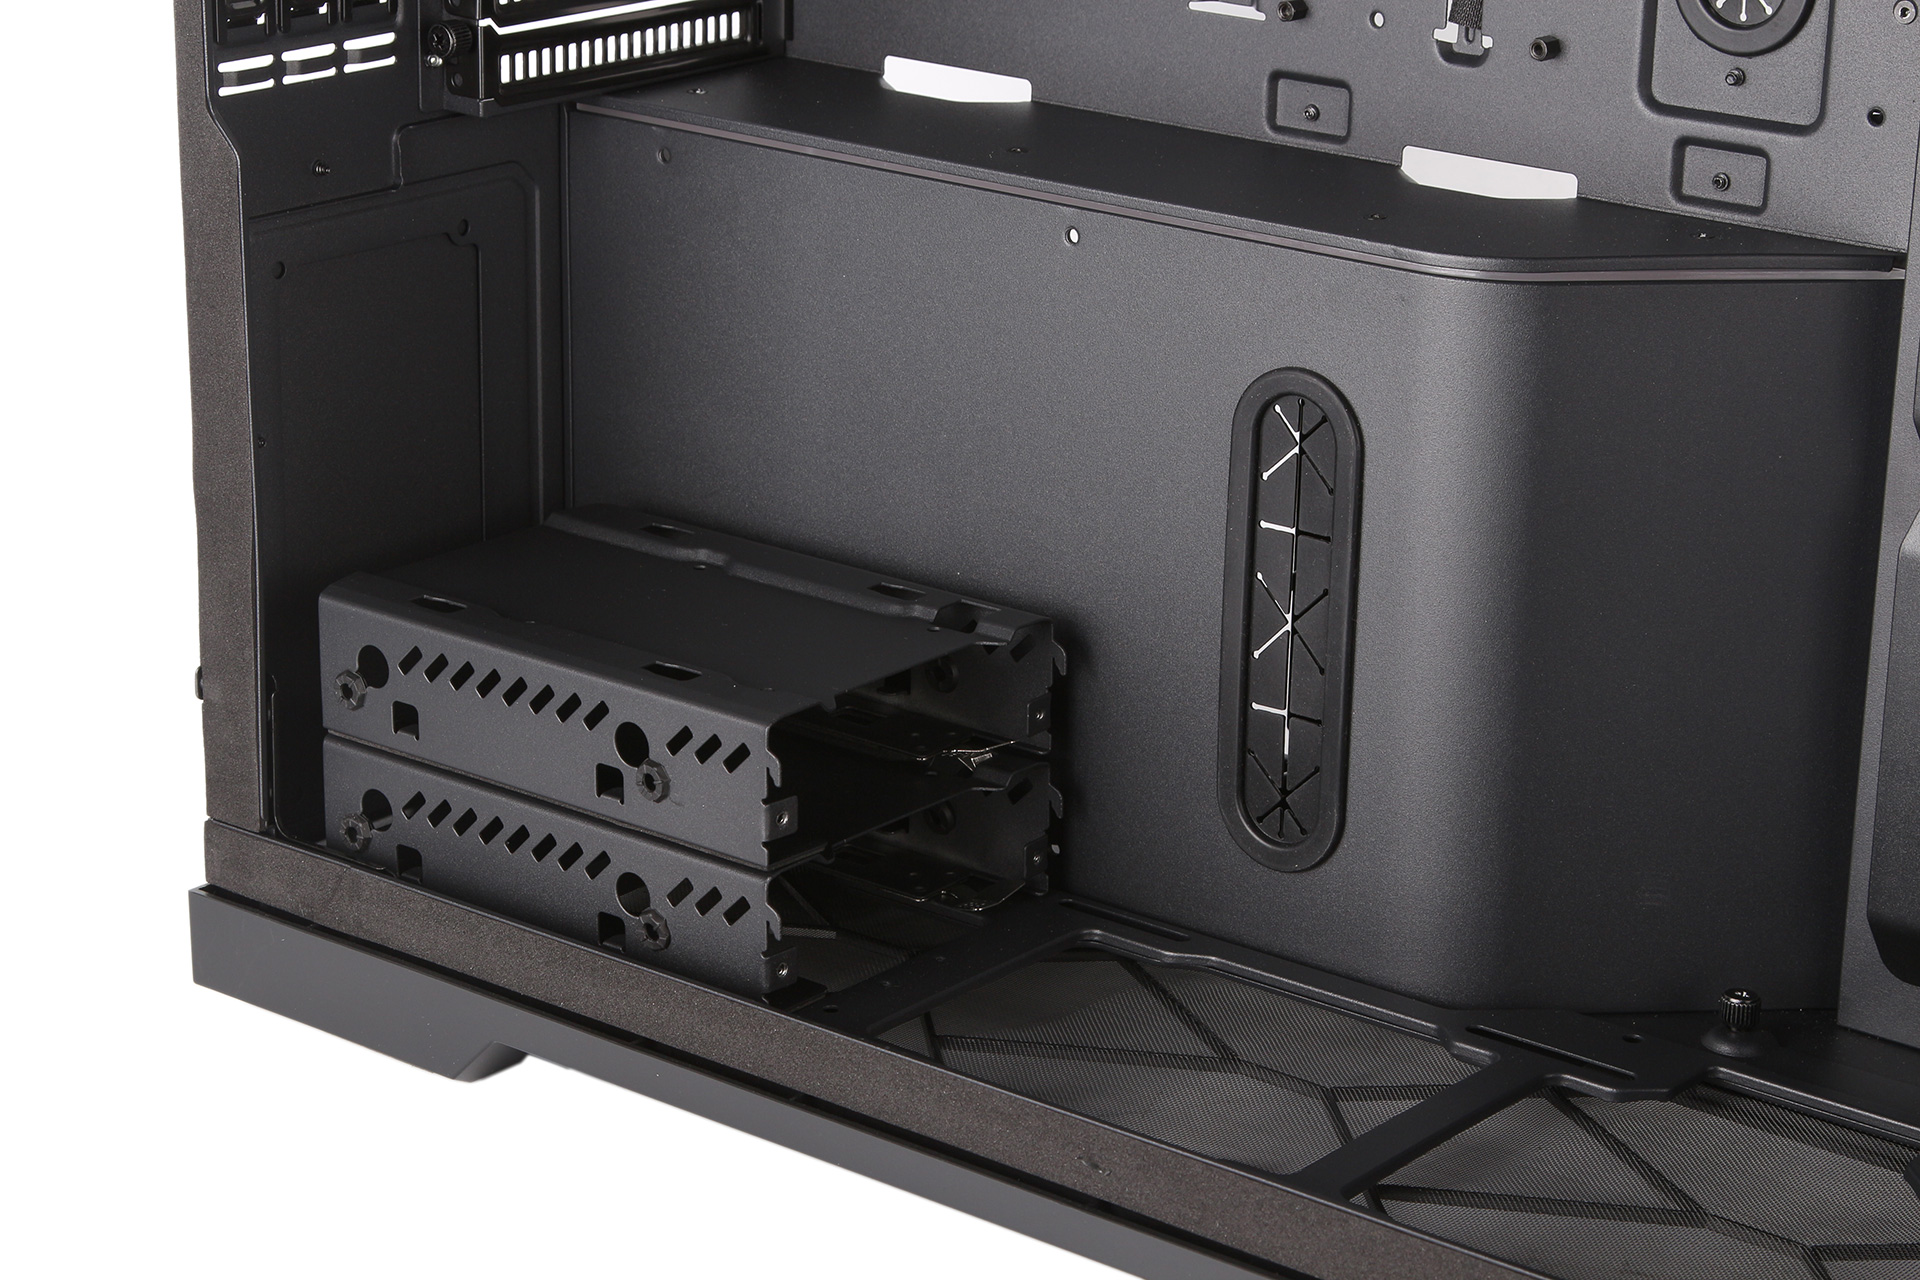
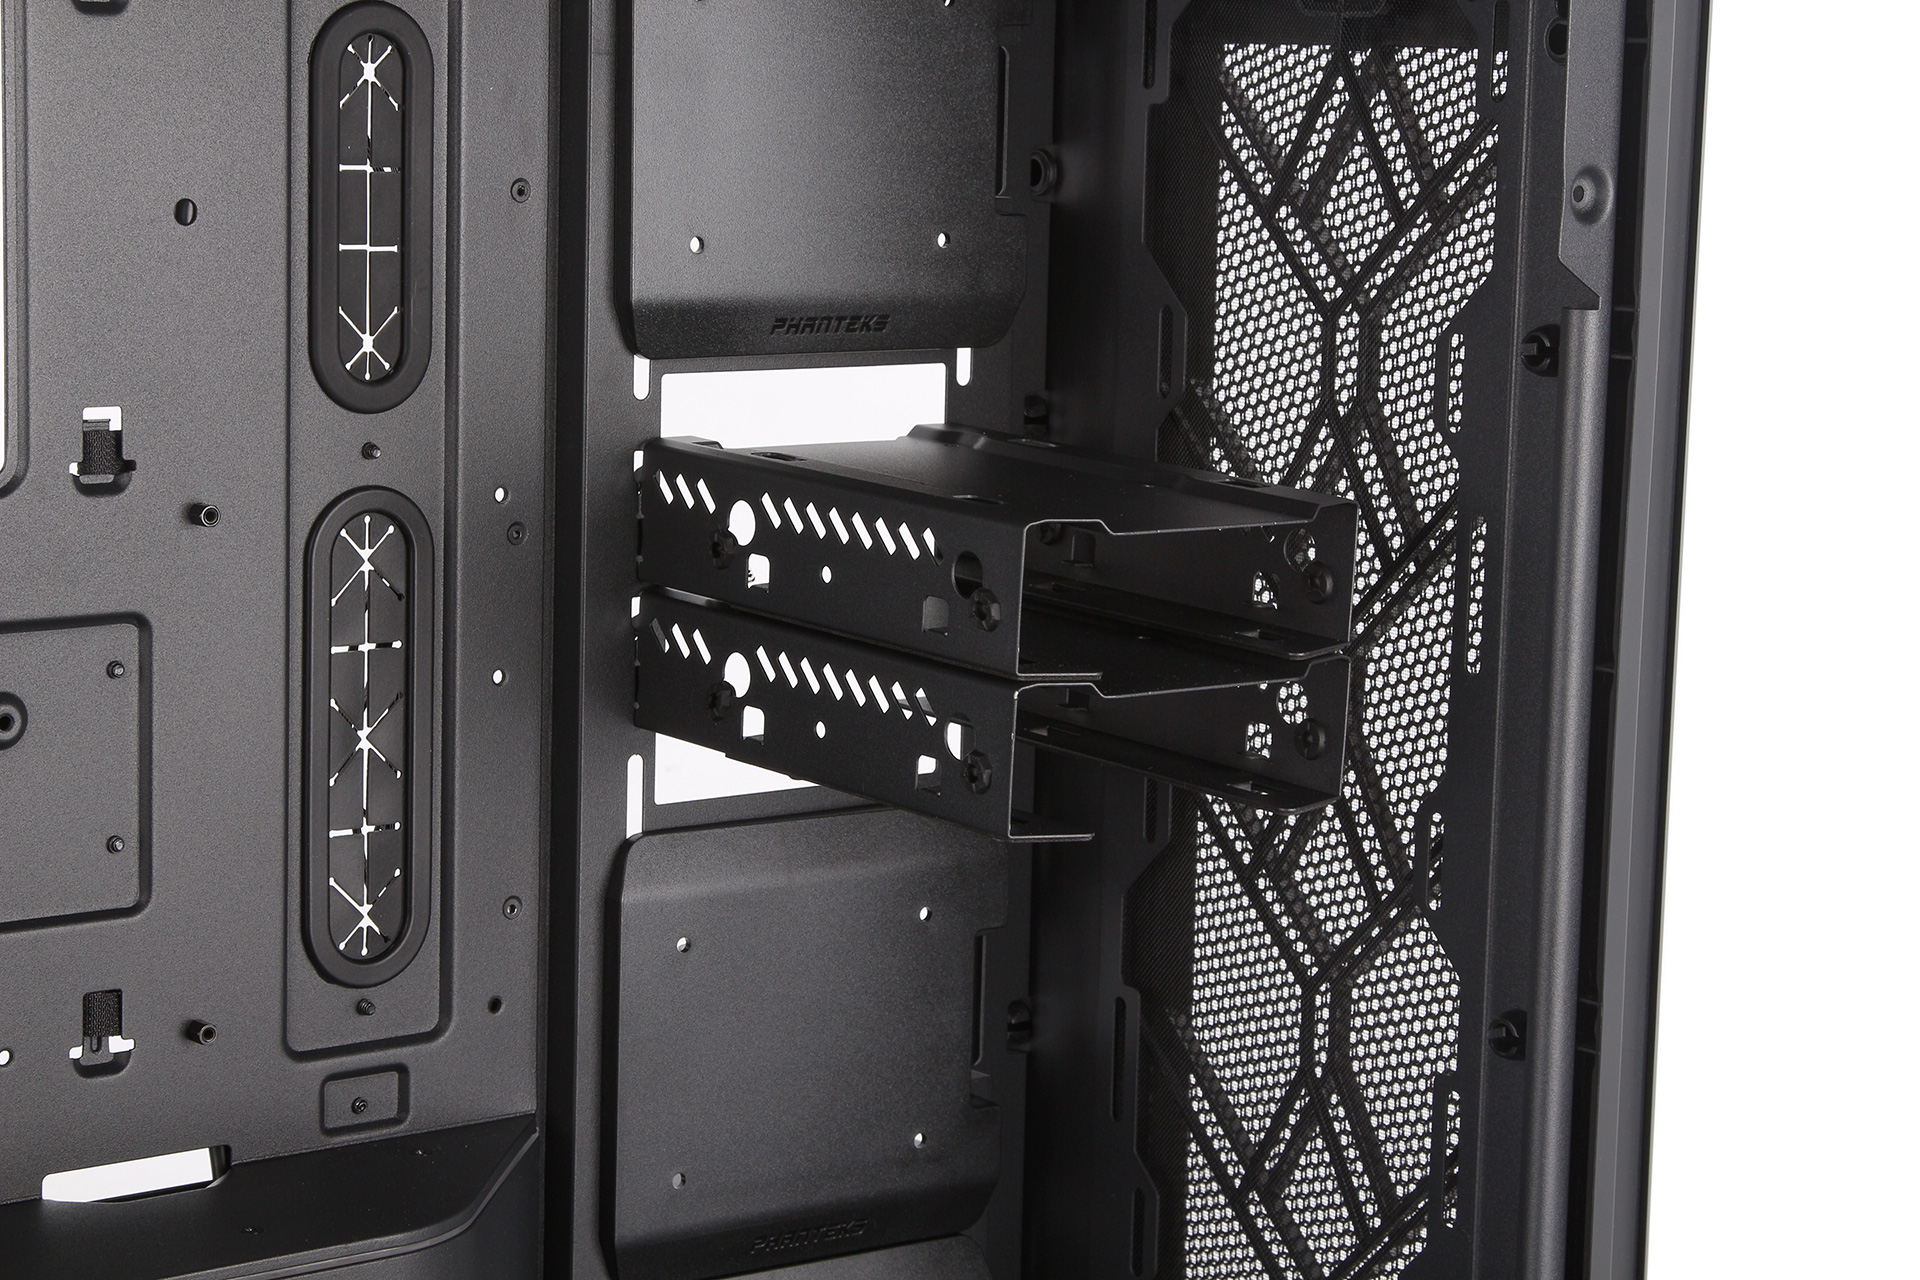
The design of the HDD cages impresses too. They are solid metal with foam tactically placed, and they can be stacked vertically using their rails. The default four-HDD limit will satisfy many, but the front section can of course technically hold up to eight HDDs if you purchase the extra trays. That’s not all, because the ITX motherboard/second PSU area can host another four such bays stacked vertically from the floor, bringing the theoretical maximum HDD support to 12.
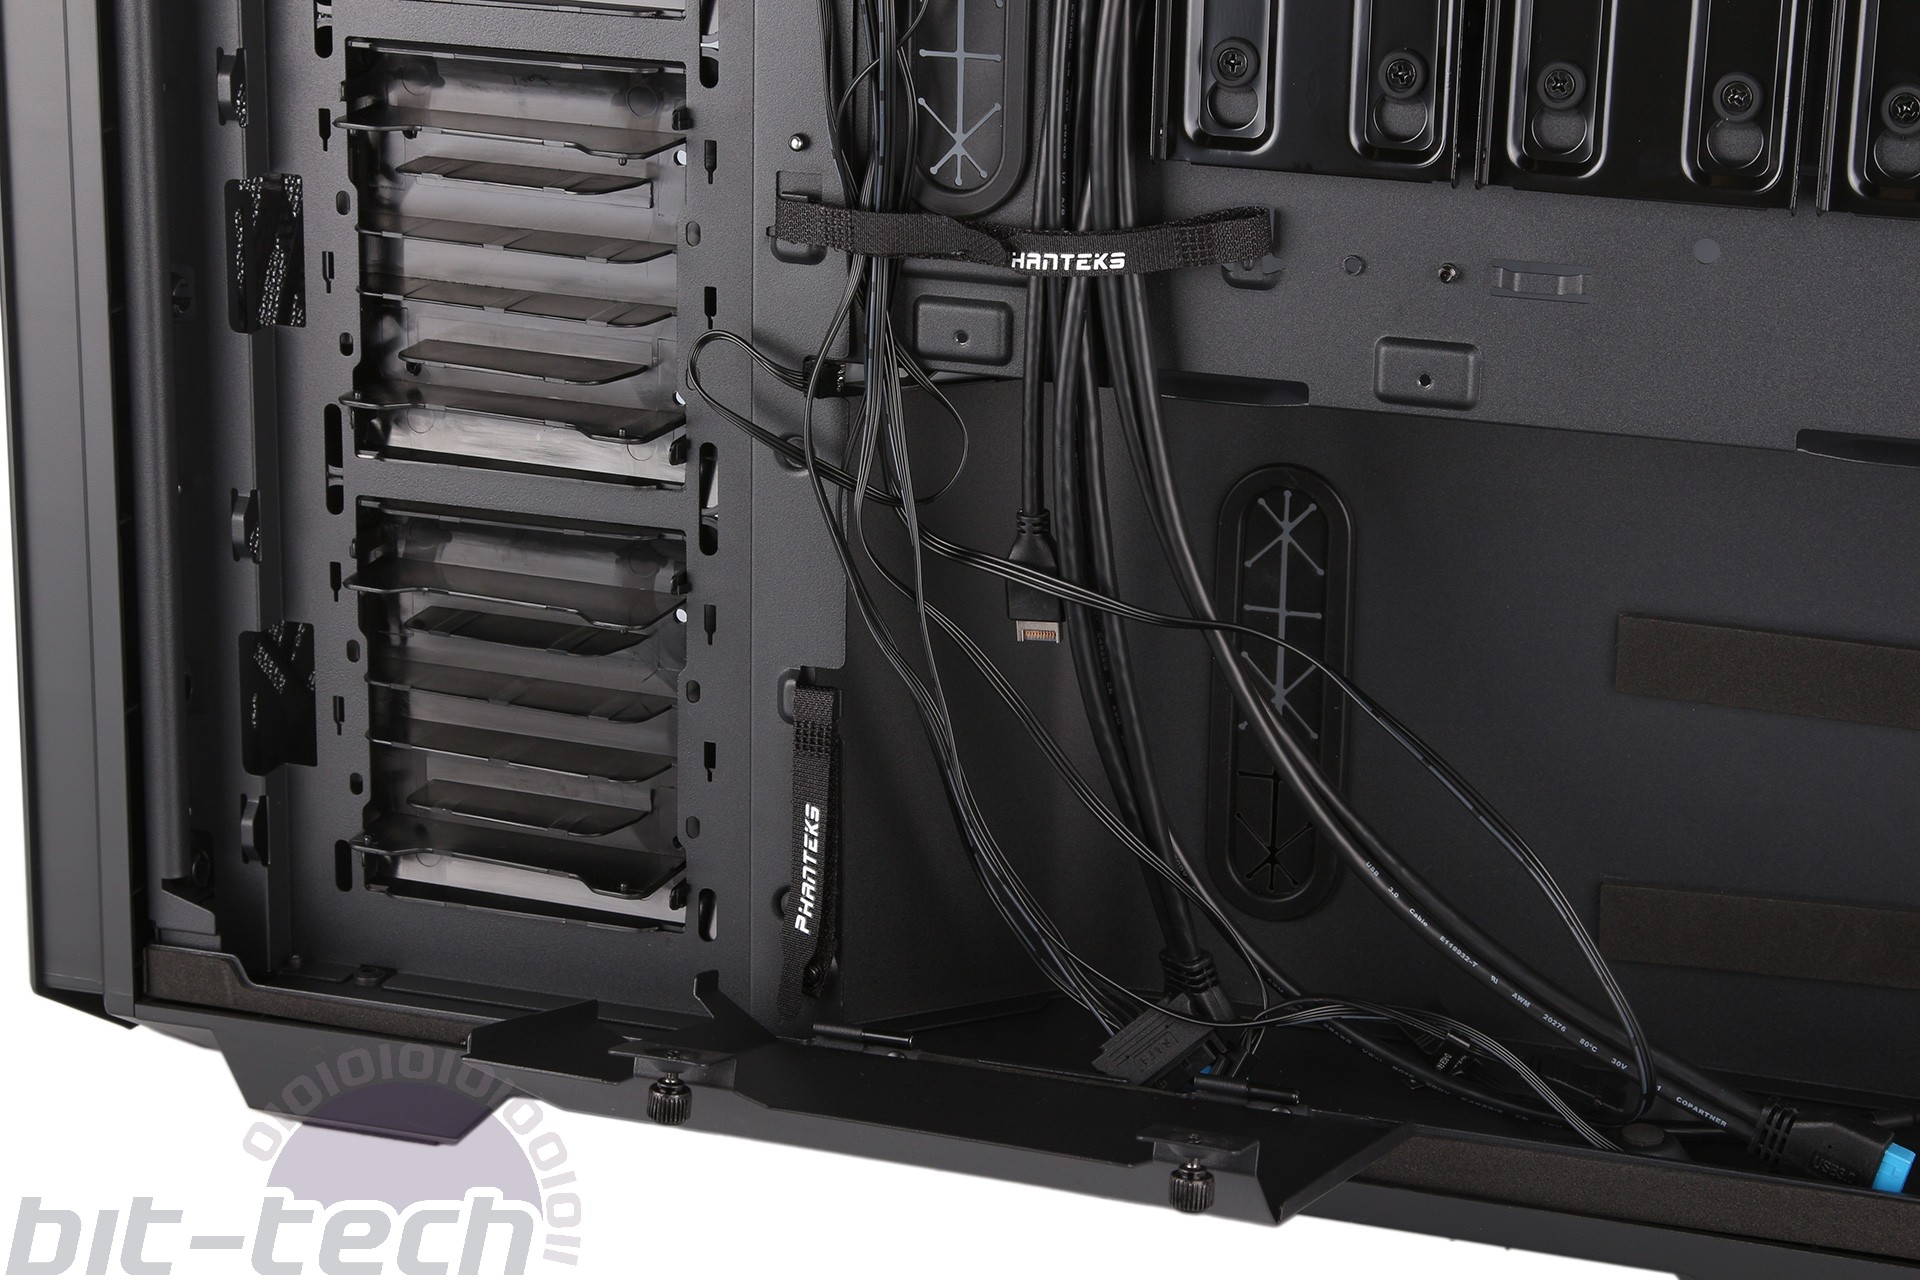
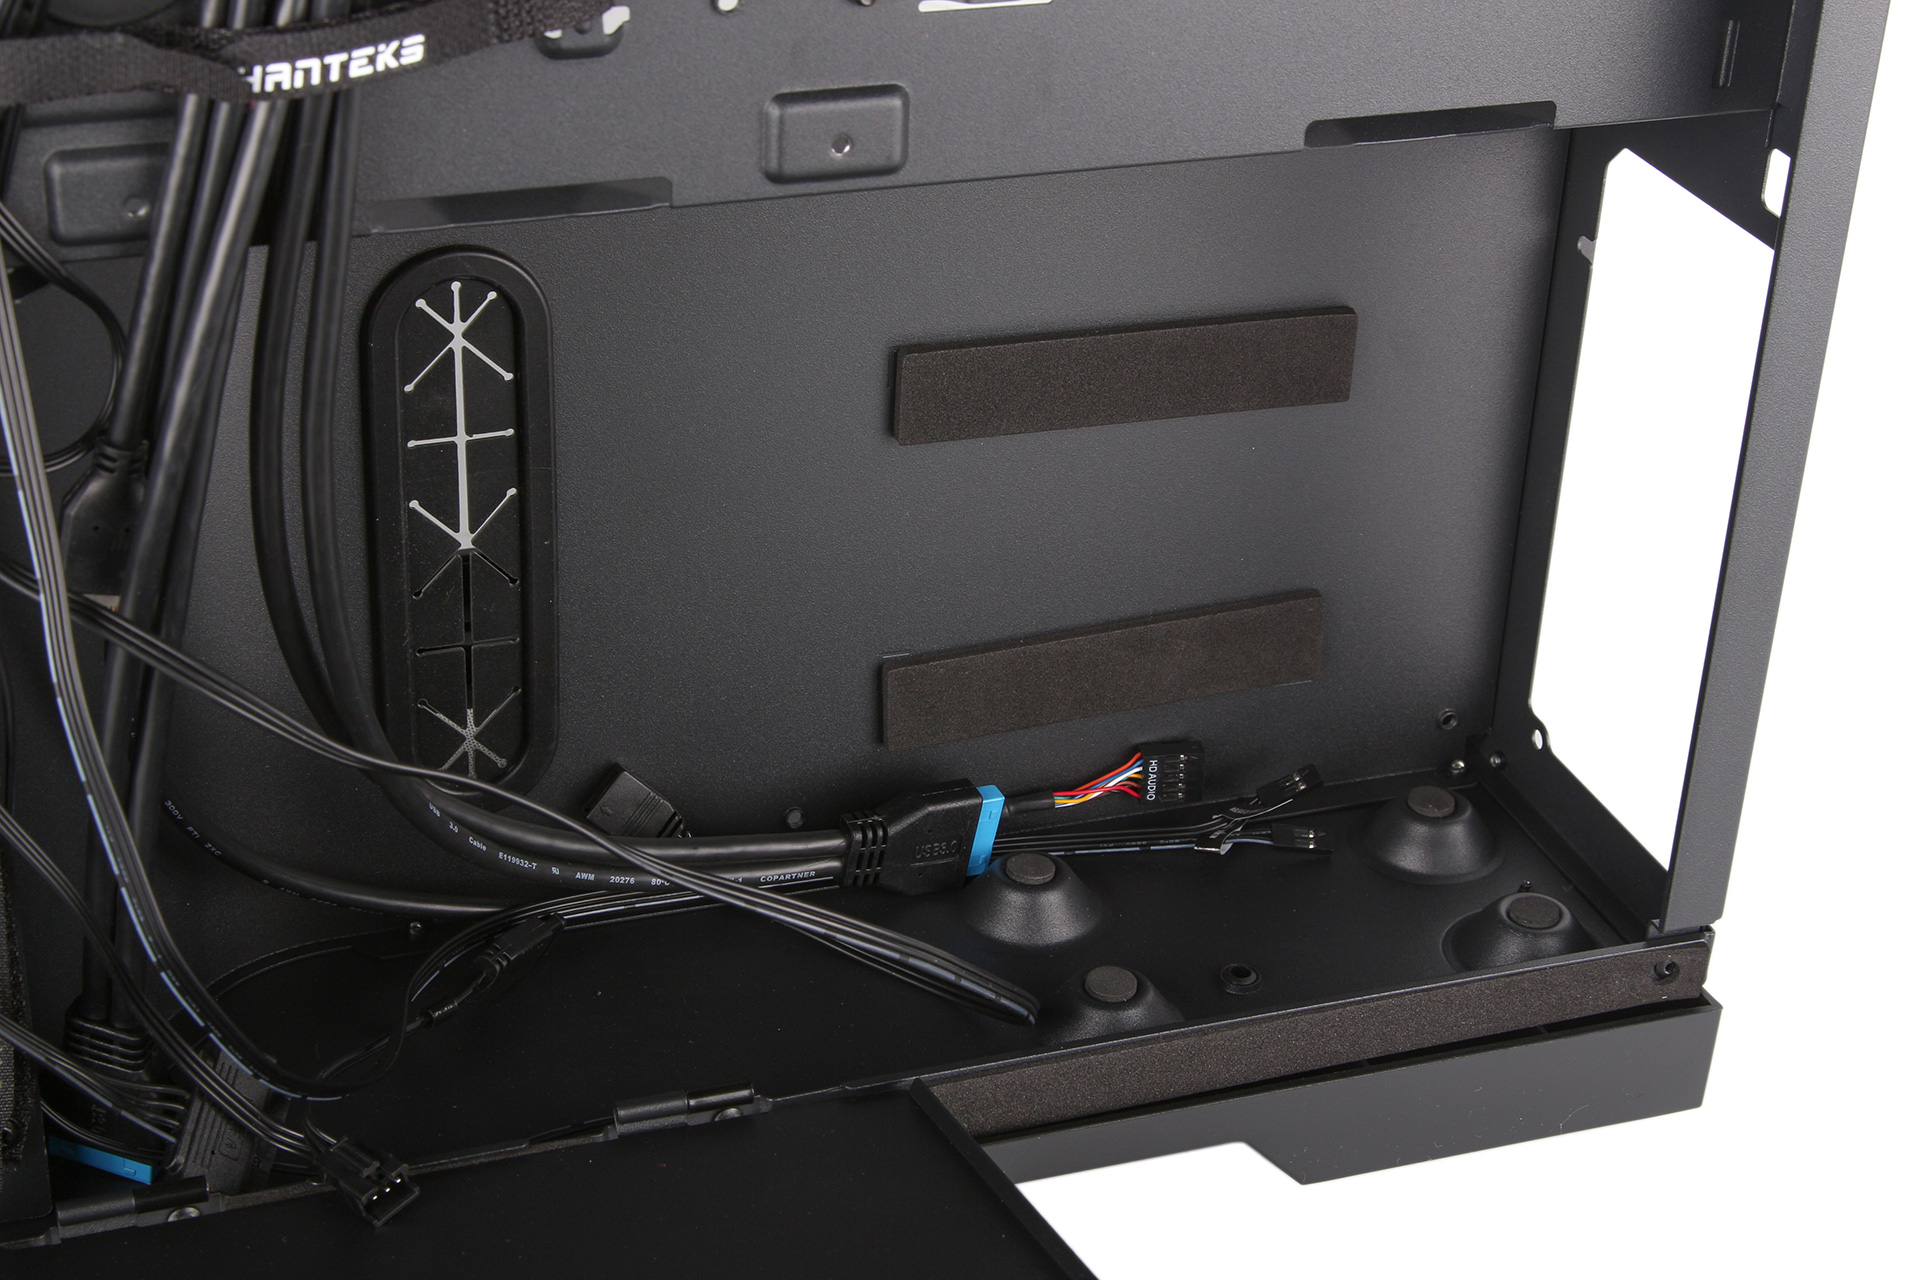
Phanteks’ cable routing solution mostly impresses. The cutouts around both motherboard mounting areas are placed and sized appropriately, and the rubber grommets stay put when pushing thick cables through. Around back, you have double-looped Velcro cable ties and a cable cover with captive screws. The ties are large and great to work with, but cable cover can get annoying, because the captive screw locations mean you have to be careful with how and where you stuff cables, especially as the vertical PSU means space for cables is relatively limited inside the shroud. Aside from this, though, the Enthoo Pro 2 is well-equipped to keep systems with numerous components tidy.
The addressable RGB controller can be linked directly to a compatible motherboard, and there are extra headers to incorporate other devices. The power LED is powered by a SATA power connector. It’s a shame there’s no integrated fan hub, but Phanteks of course has one of those available separately.

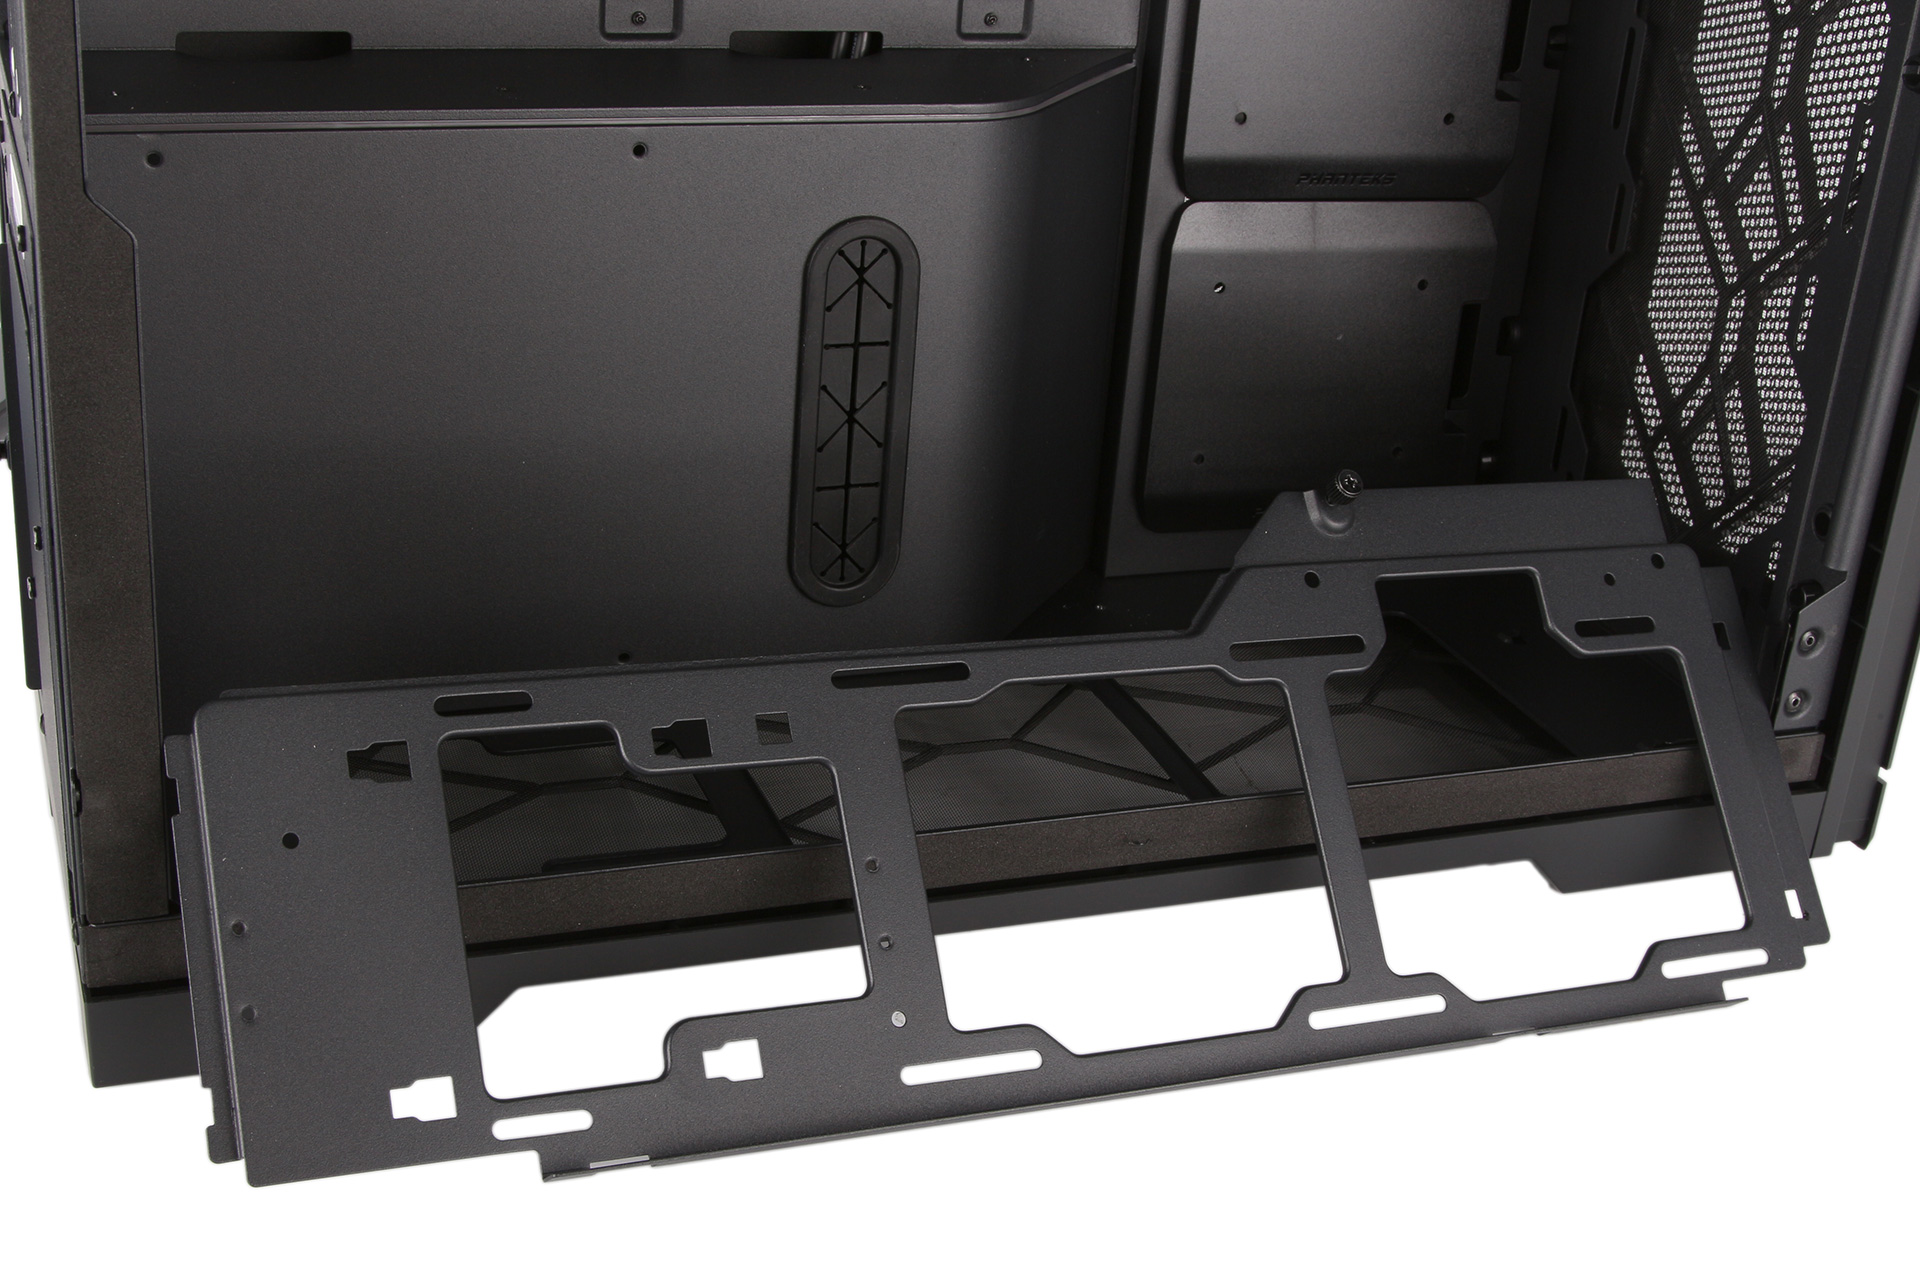
The numerous fan mounts are equally accommodating to radiators. With 360mm mounts in the top and bottom, 480mm/420mm support up front, and 480mm support on the side, users can plumb in a great deal of water-cooling. The lower radiator mounting bracket is removable, and all the other positions are easy to access and make use of. The vertical PSU is again of assistance; even 80mm-thick radiators can be installed in the bottom. Also, slimline radiators installed in the side won’t impede upon the front clearance either.
There are no dedicated reservoir or pump mounts unfortunately, but the wealth of space means it won’t be hard to place them. You also get a drain port cutout in the front panel that can be utilised with a compatible pass-through fitting.


MSI MPG Velox 100R Chassis Review
October 14 2021 | 15:04

Want to comment? Please log in.