Interior
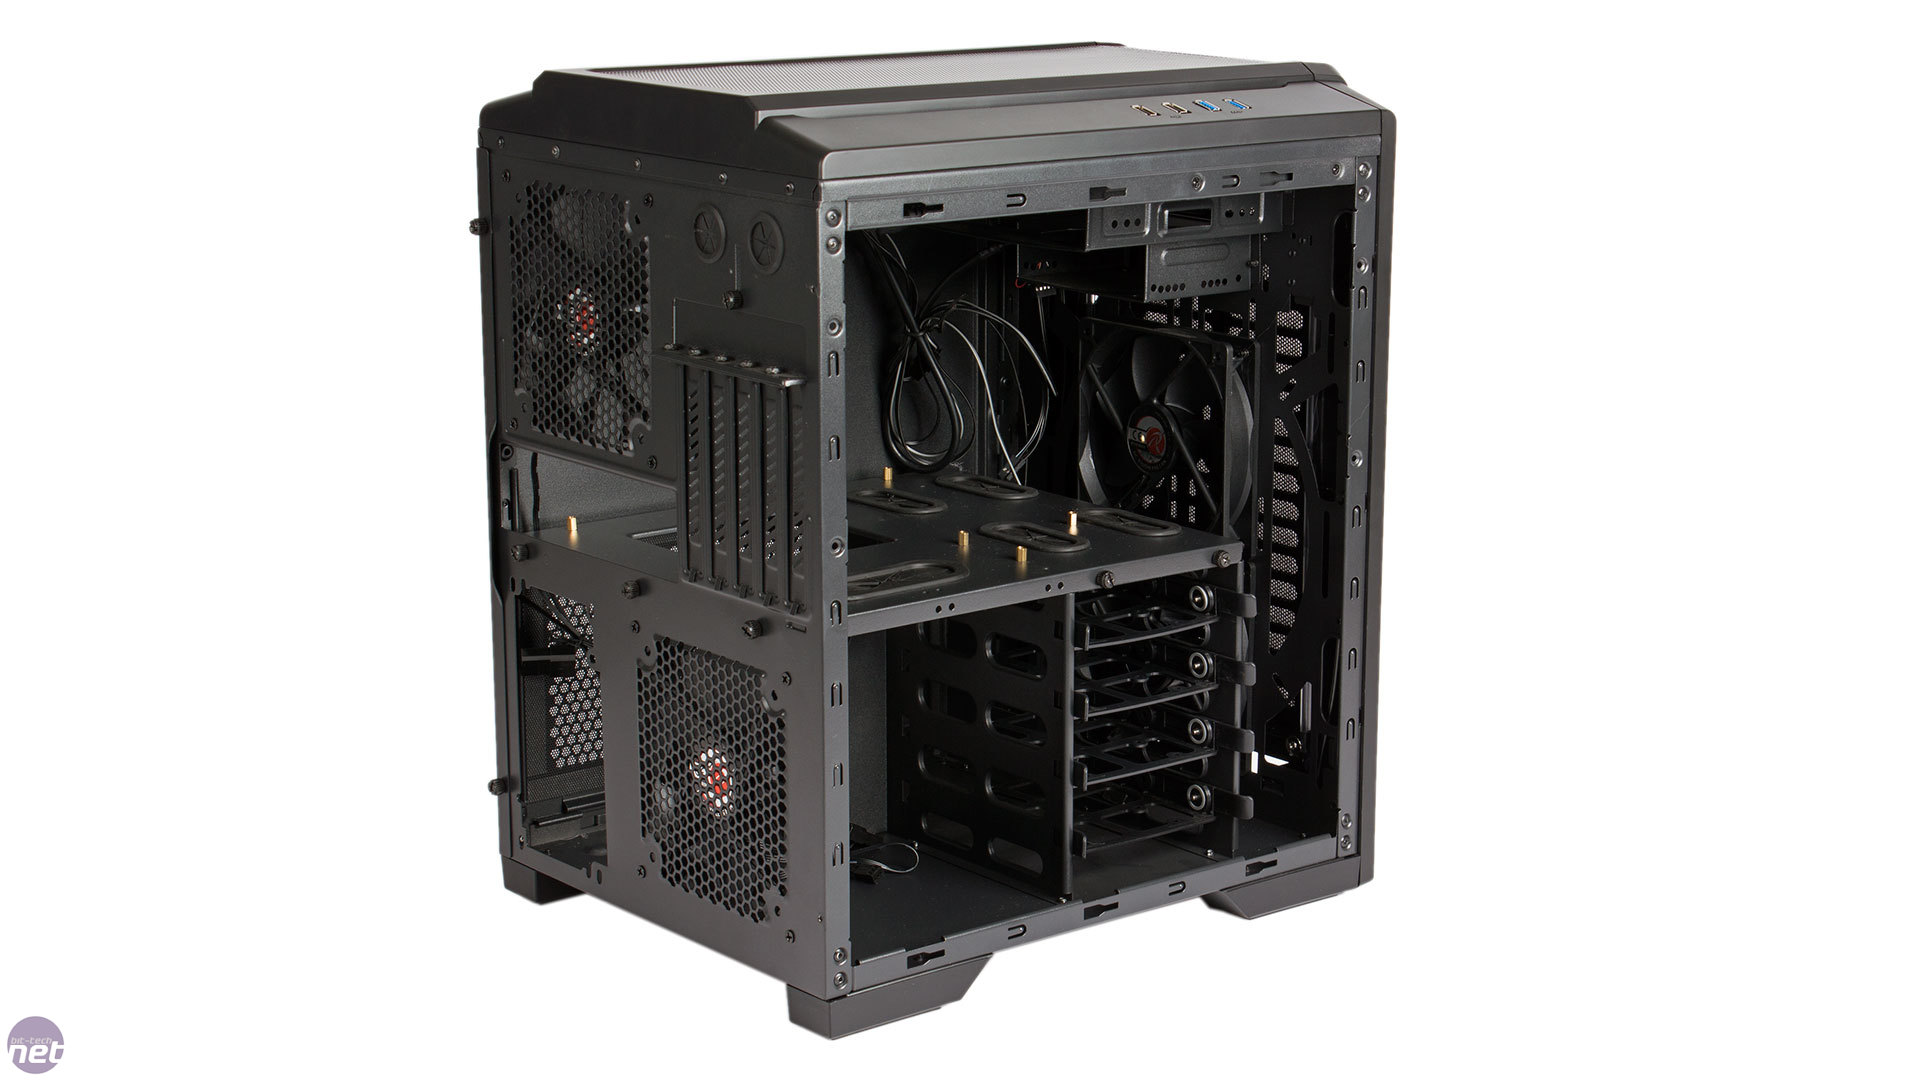
The side panels are a little stiff to remove, and use notches and rails rather than the preferred front hinge system that some modern cases have adopted. The front panel can pull cleanly away if you disconnect the LED cable inside, but the roof panel brings all the I/O cables with it. Thankfully, the mid-section of the roof is independently removable (once the front panel is off, at least), so you can access any fans in the top section without having to worry about messing up your neat cabling job.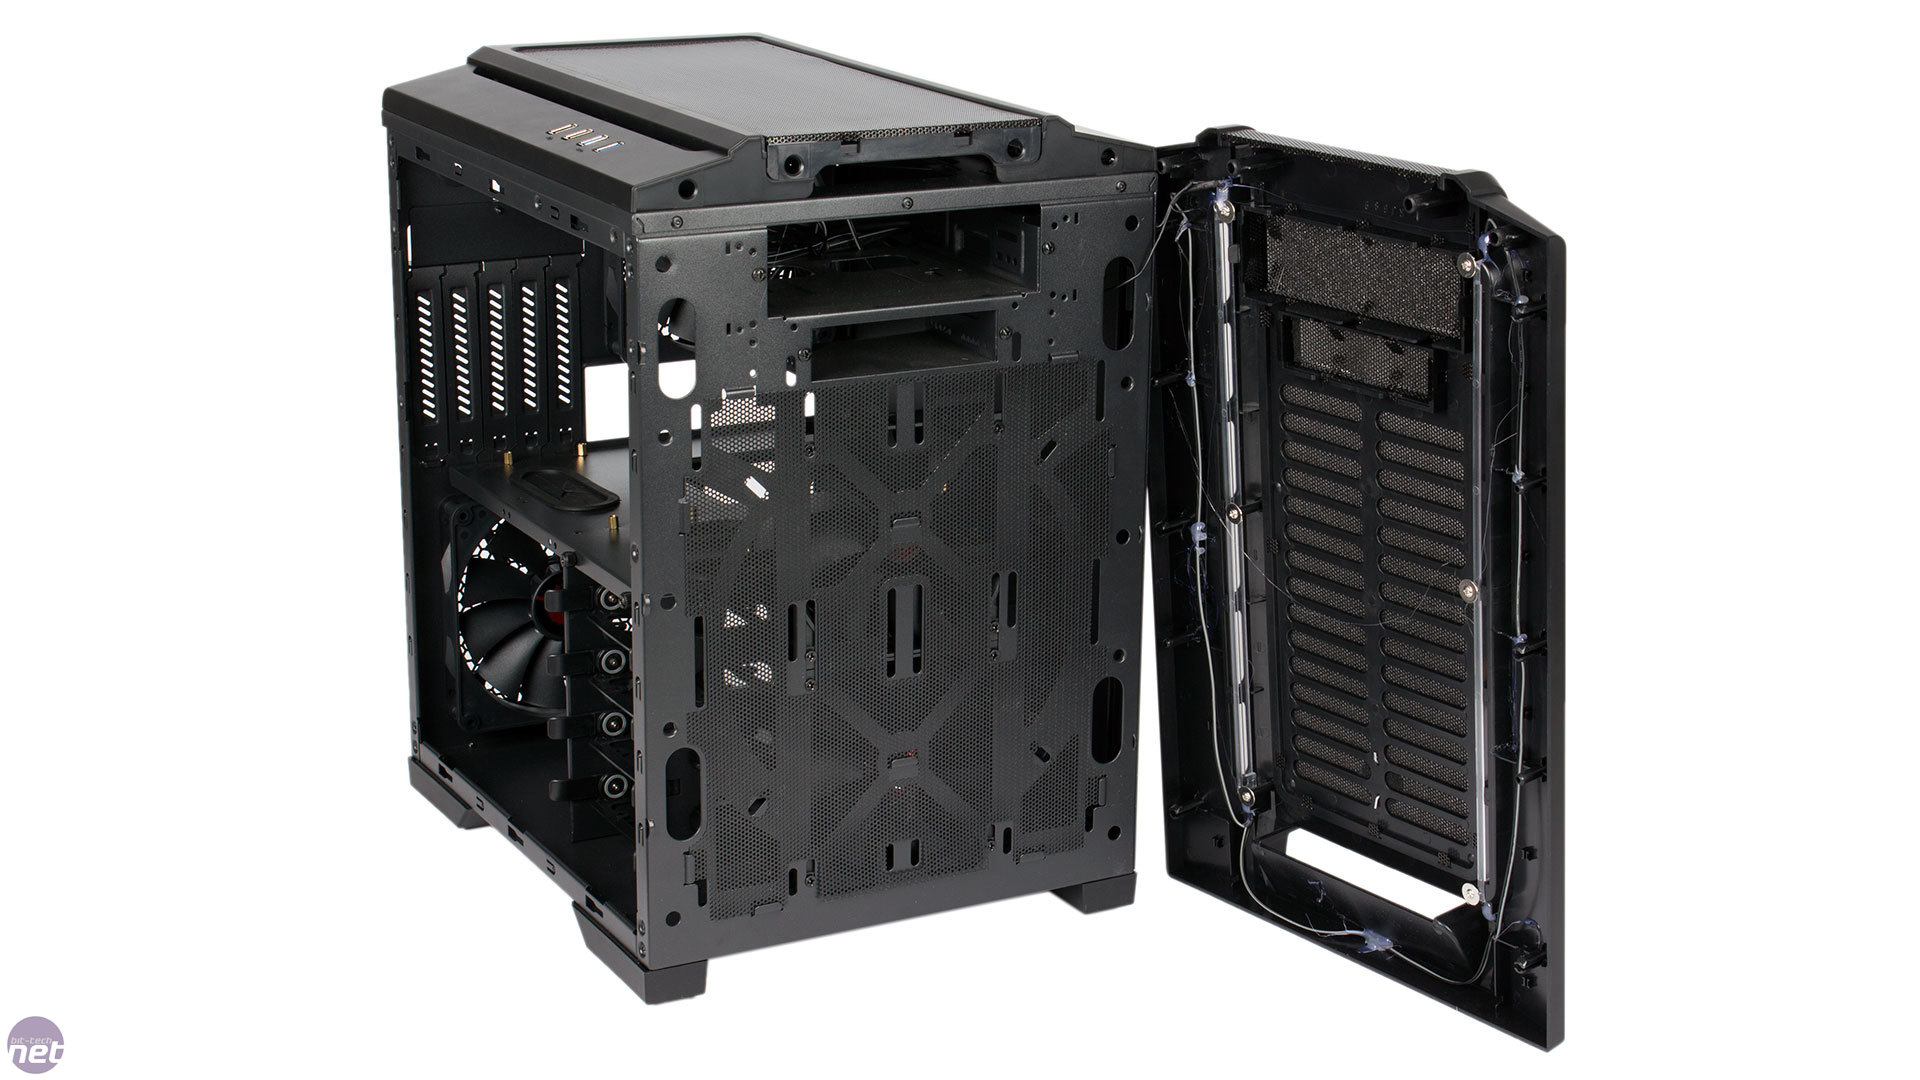

Click to enlarge
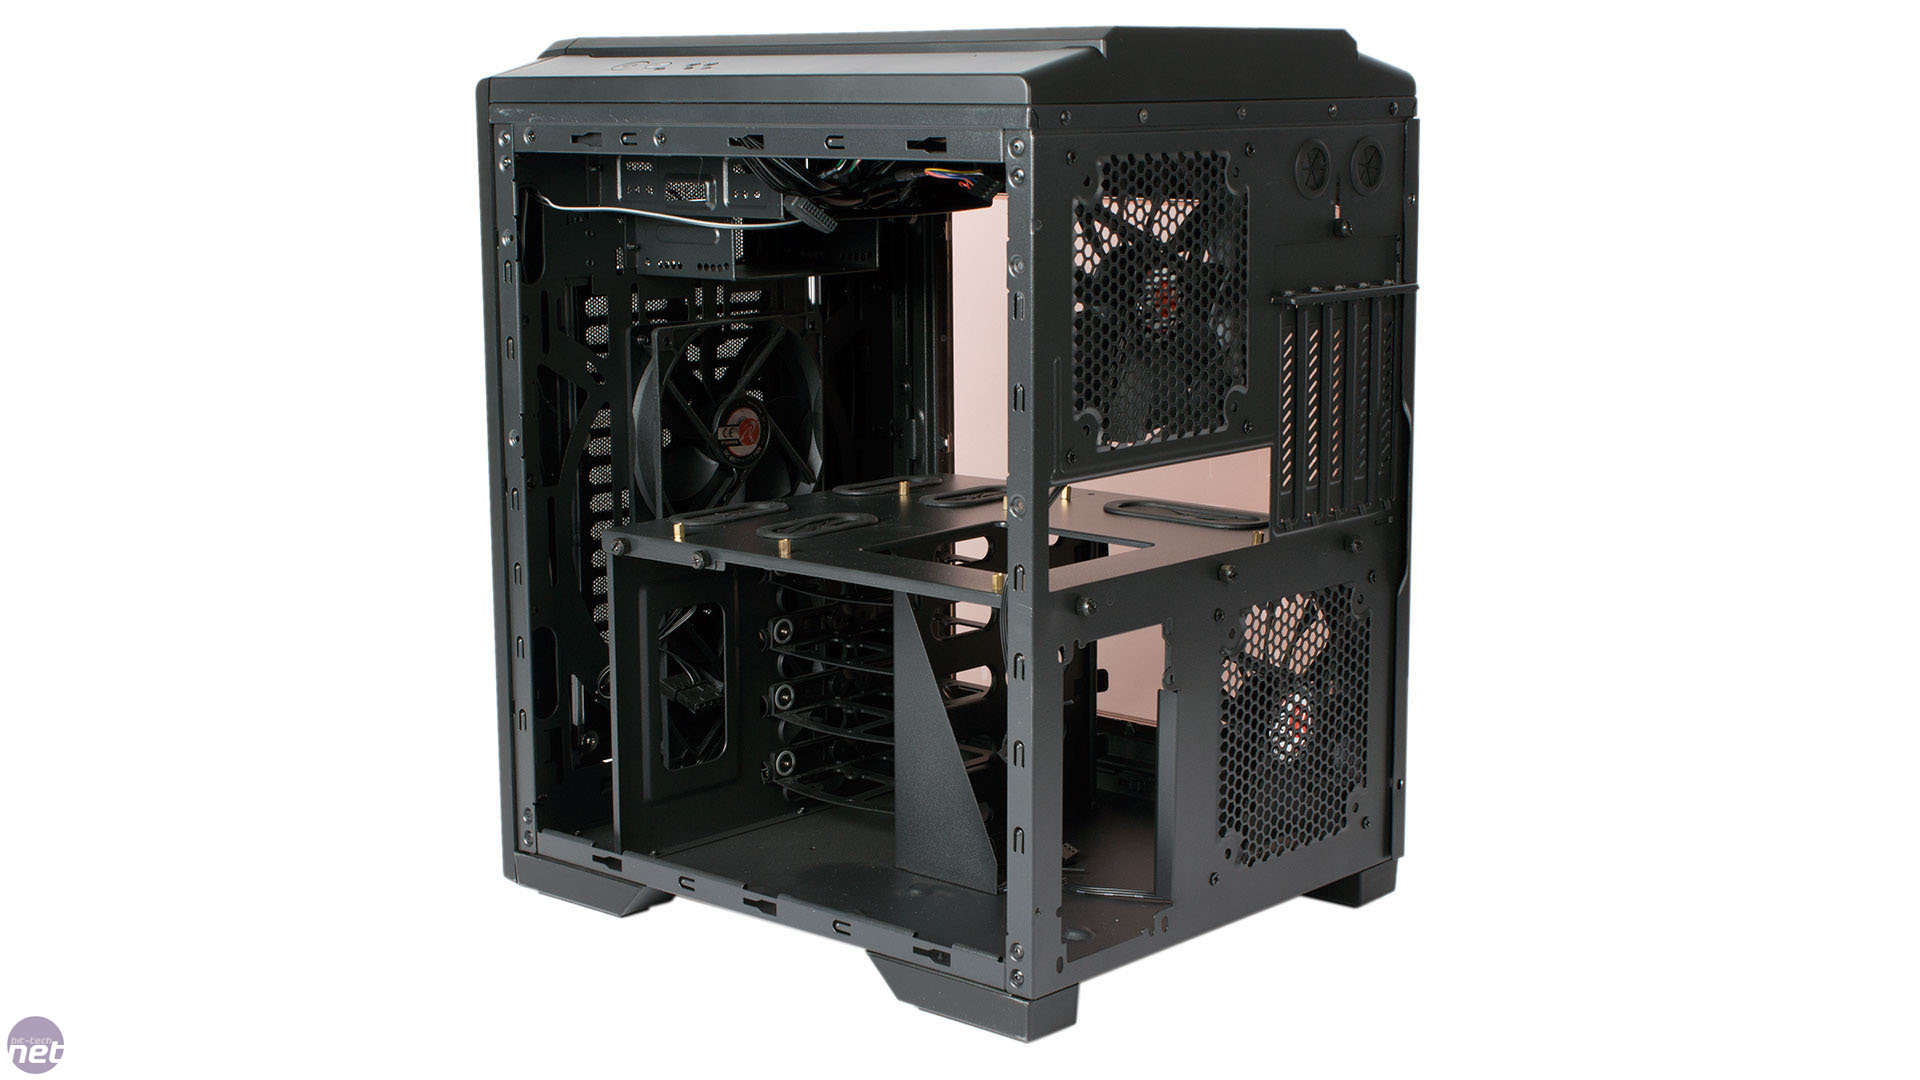
The painted interior is nice and spacious with the good quality steel continuing inside as well. With an expansion card limit of 310mm, CPU cooler limit of 180mm and plenty of room for a PSU, almost any hardware will fit without issue.
The main lower structure that supports the motherboard tray and makes up the walls of the hard drive cage is riveted in place, but the motherboard tray is removable via seven thumbscrews (three externally on the rear, for internally). This, along with the pre-installed set of motherboard mounts, means it's dead simple to install your motherboard, and any cooler will be a doddle as well, though the cutout for backplates could be a little larger.
Click to enlarge
All the internal cables are sleeved in black, which is always a nice touch. The LED lighting requires a single Molex connector, while the fans all have the option of Molex or 3-pin. As mentioned, there's no fan control, but with many motherboards now offering speed control even on 3-pin fans, you still have options to dampen the noise output, provided you have enough fan headers and/or a splitter cable or two.
Click to enlarge
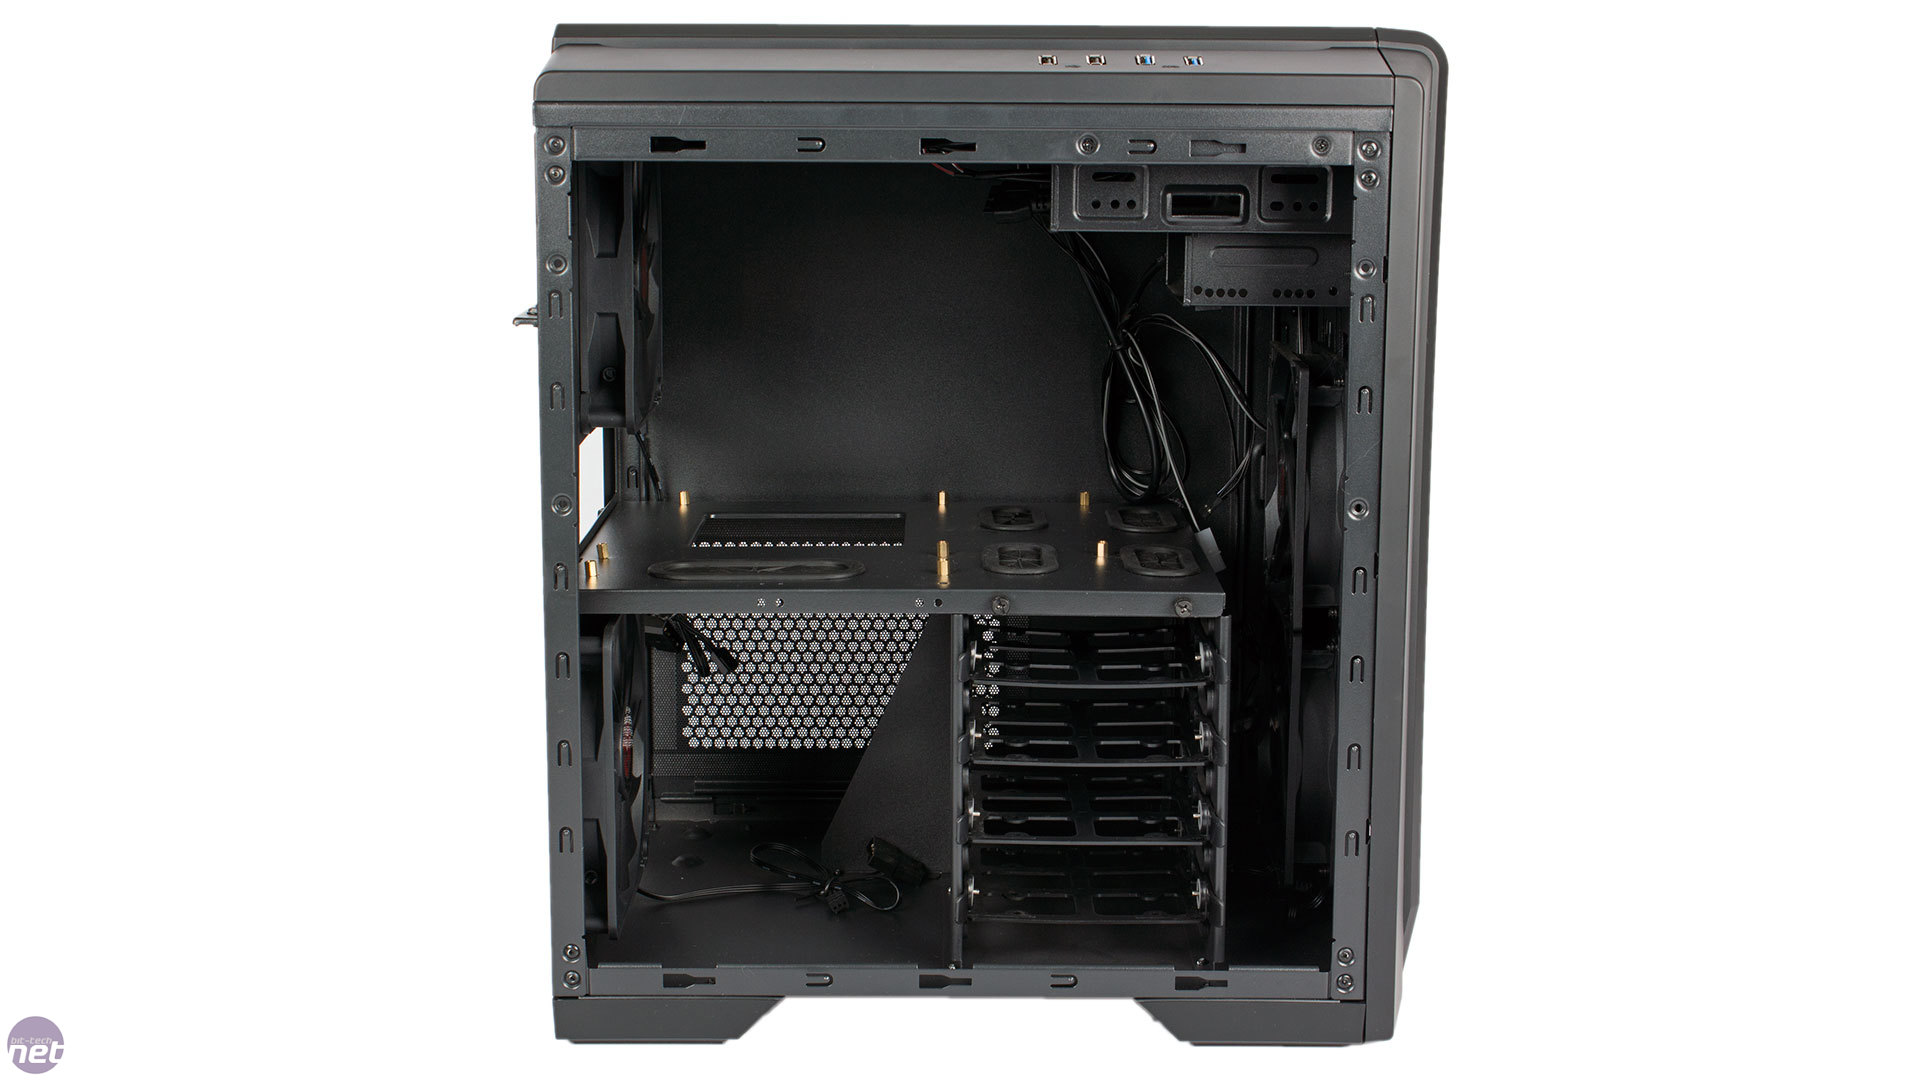
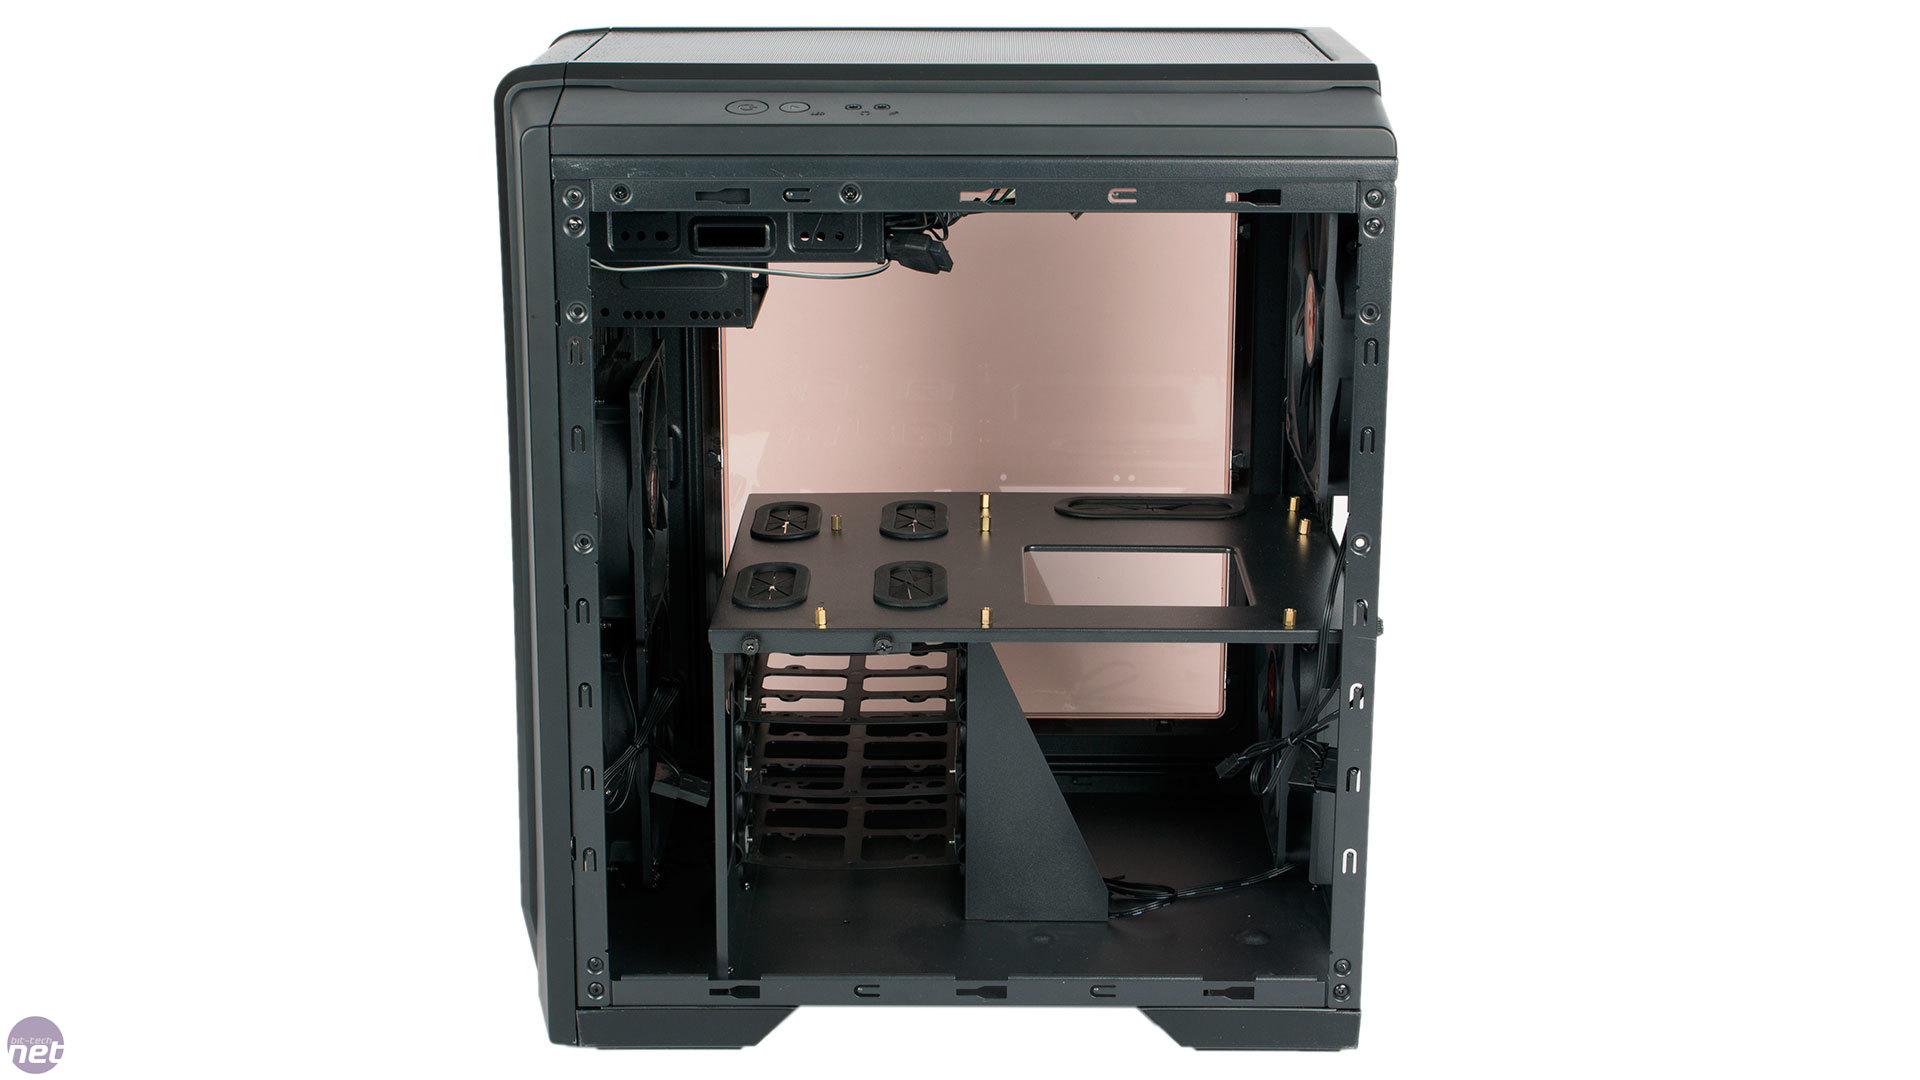
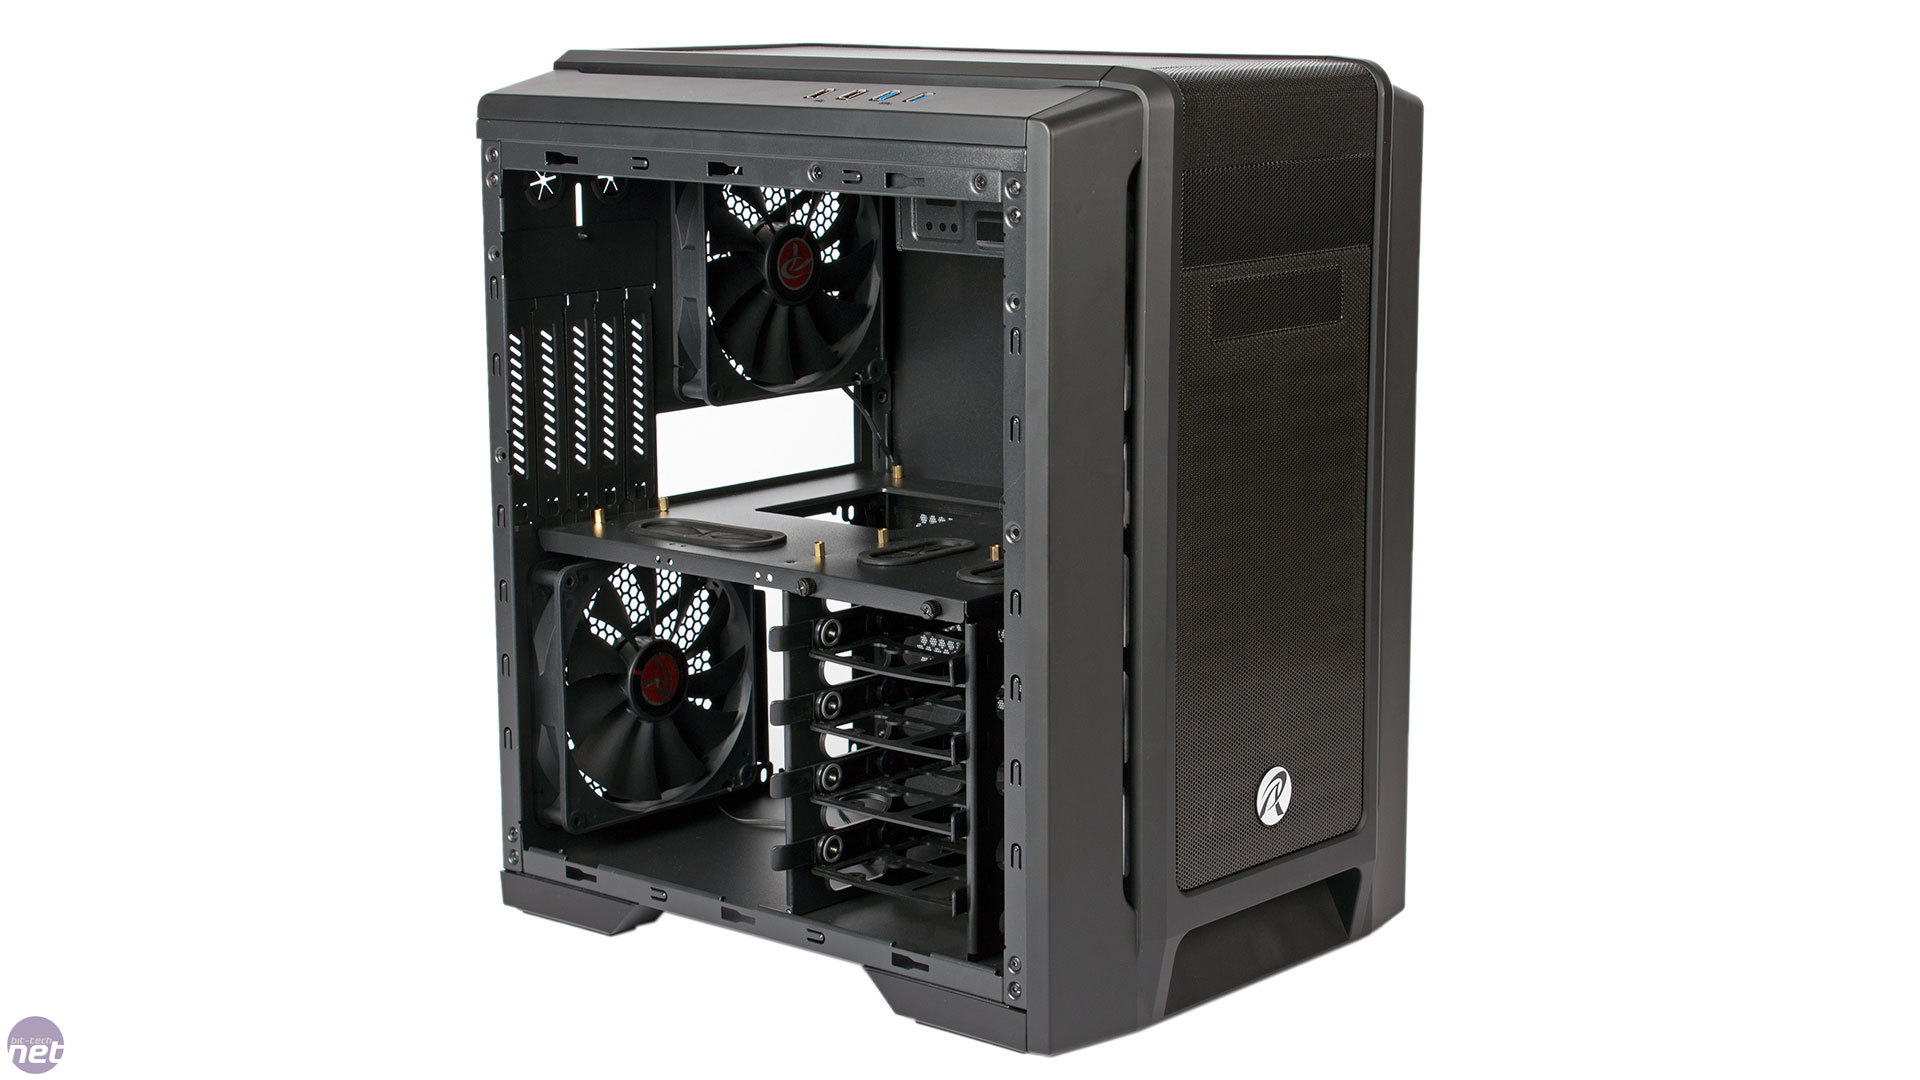
A series of eight screws allows you to remove the ODD and 3.5-inch cage entirely so as to make way for a 240mm or even a 280mm roof-mounted radiator of considerable thickness – a 60mm one should fit without impeding on standard height expansion cards, and there's room in the top section for a single row of fans. There's also room for a slimline 240mm front radiator, since there's about 35mm of space between the front fans and the front HDD cage wall. It's possible to use both radiator positions together as well, though you'll probably need to limit the roof one to a slimline model as well in that case. Finally, the empty space in front of the lower exhaust fan could easily be used to mount a pump and/or reservoir.

Click to enlarge
The HDD cage has four slide-out drive sleds, each capable of holding one drive, be it 3.5in or 2.5in; the former are installed tool free using the pins while the latter require screws. The trays themselves are very flimsy, but they lock in fine so it's not a huge issue, and it's good to see a little anti-vibration silicon around the mounting pins too. Raijintek also says that an optional 2.5-inch cage will be available to purchase in the future (exact price and release date is TBC). This will hold up to five drives, and will mount right next to the standard cage using the pre-drilled holes in the motherboard tray.
Click to enlarge
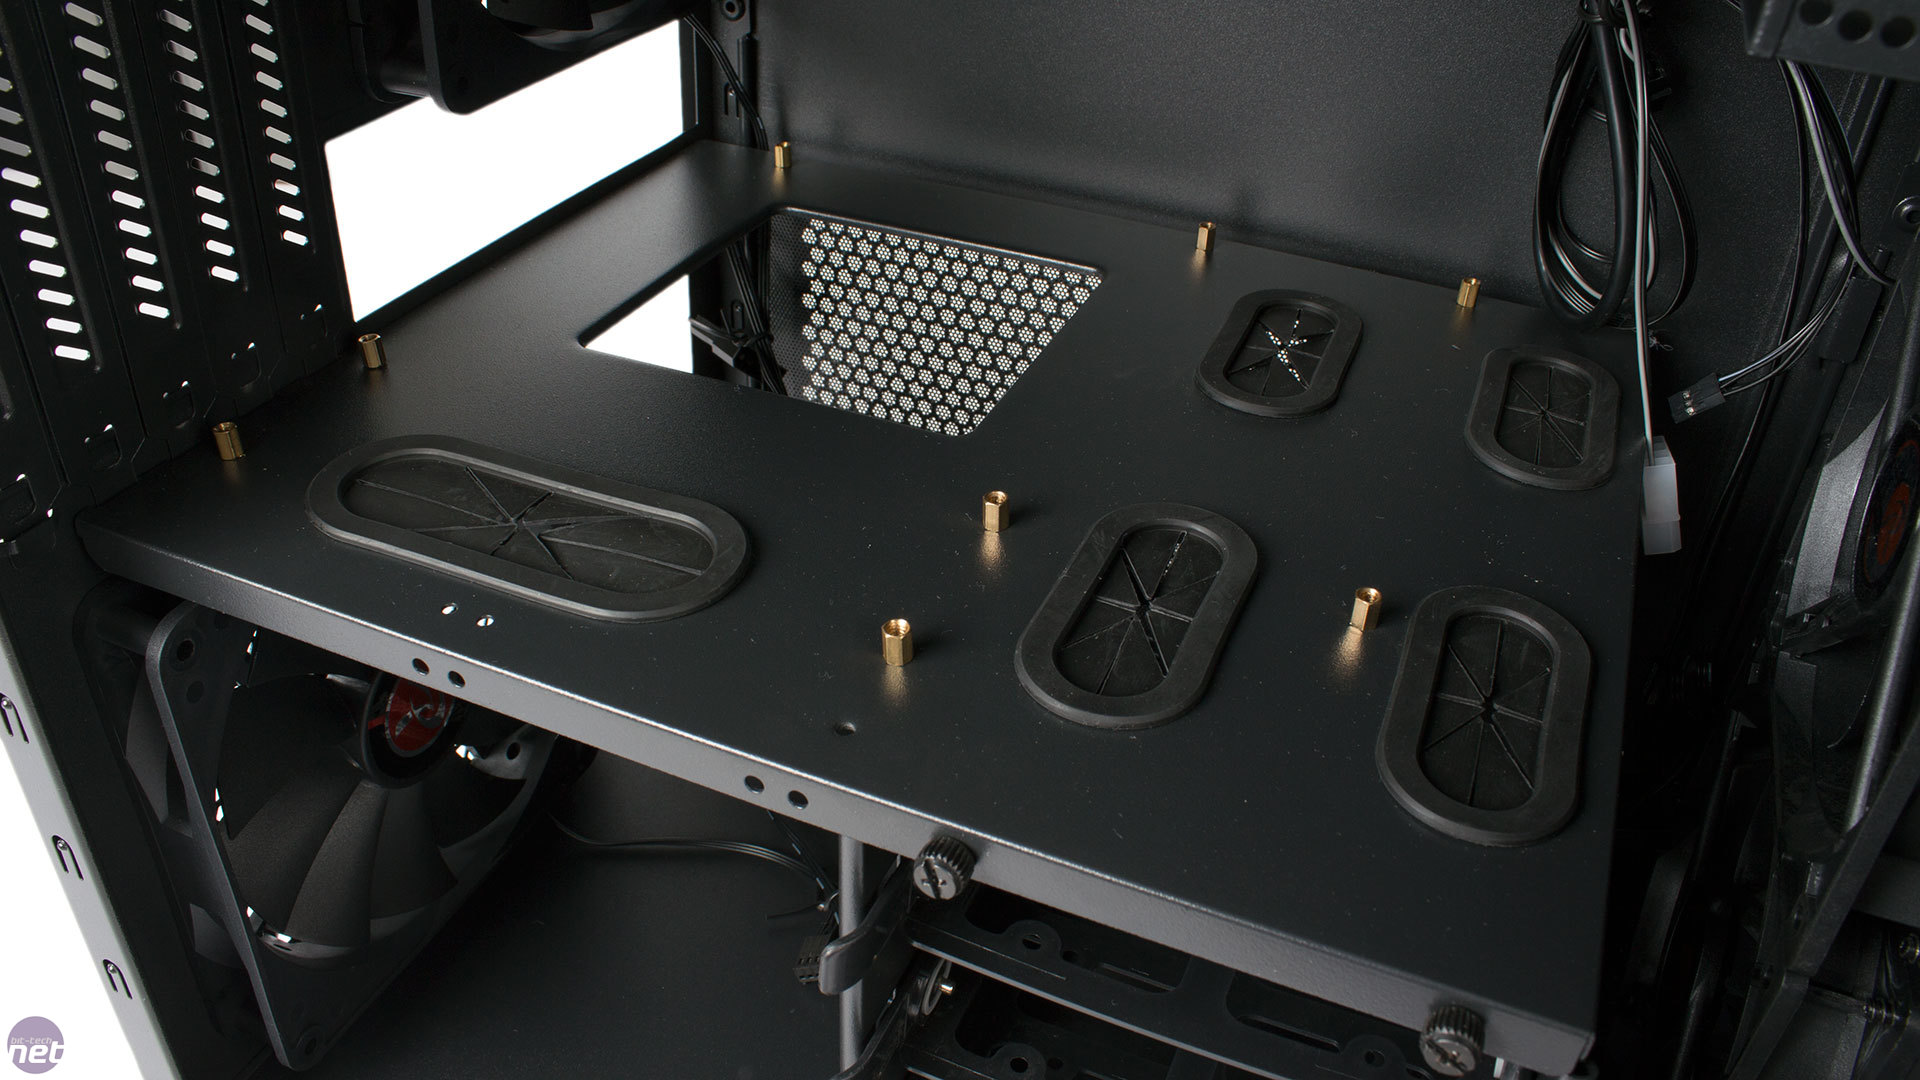
Pleasingly, there's lot of room for stashing cables. Firstly, even 160mm PSUs will have a fair amount of room in front of them for bulky power cables, as well as a hole in the cage wall to thread them into the front section. There's also a series of generously sized routing holes on the motherboard tray, with positions suitable for both micro-ATX and mini-ITX systems, and all of which are protected by rubber grommets. There are no dedicated bridges to tie cables to, but it should be pretty easy to use the supplied cable ties to strap cables down to various parts of the internal structure.


MSI MPG Velox 100R Chassis Review
October 14 2021 | 15:04

Want to comment? Please log in.