
Interior
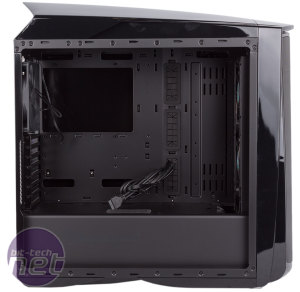
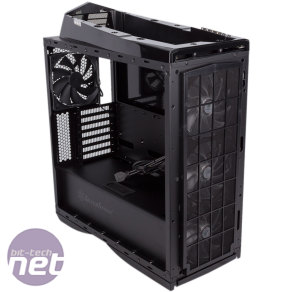
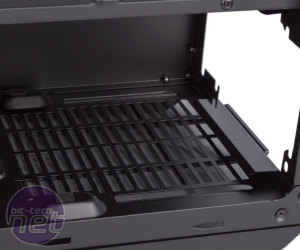
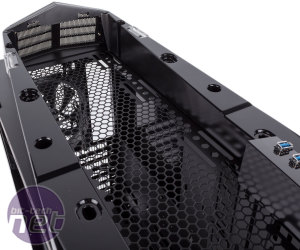
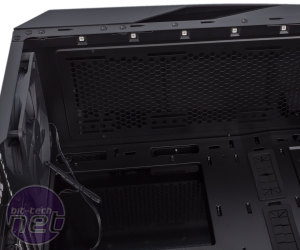
The side panels are secured with notches and rails and they're a little stiff – we'd prefer to see a hinged design as this is becoming more common. Annoyingly, the roof and front panel are both screwed in place with four screws apiece and you need the side panels off to access these screws. We suppose this does add some security, but we've always been fine with panels that simply pull off or at the very least are secured with externally accessible thumbscrews. It's especially a nuisance if you want to clean the removable front dust filter which is fitted behind the front panel, and it adds hassle when installing fans or water-cooling too.Inside, the PM01 has what is by now a familiar overall layout. The motherboard tray extends to the front of the case, and this combined with the built-in, fixed PSU cover ensures the interior is kept very clean looking and it also allows for direct airflow across the core components. All drives are contained to either behind the motherboard tray or the lower chamber, which is also where the PSU and excess cabling goes.
Most motherboard standoffs come pre-installed, but not all of them, and there's no tool for securing the remaining ones – you'll have to rely on your hands. The spacious upper cavity makes working in this area very easy but thumbscrews on the PCI brackets would have been nice. The PSU slides in simply at the bottom and sits on some rubber stands, although there's nothing to isolate it where it meets the rear chassis wall.
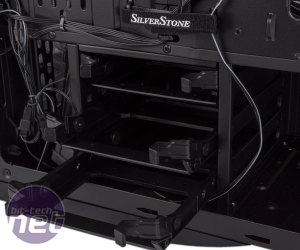
The lower chamber's front drive cage is non-removable but holds up to three 3.5in or 2.5in drives on its removable plastic trays which sport small rubber grommets to help isolate 3.5in drives. There is another 3.5in/2.5in mount just behind the cage – the mounting holes are drilled directly into the case floor and this time there are no grommets.
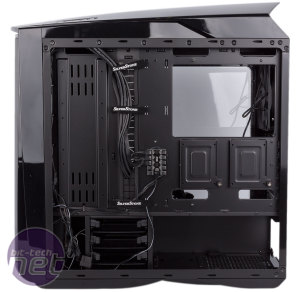
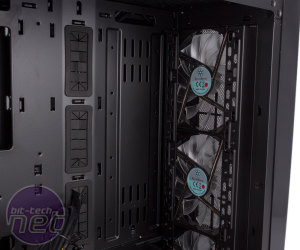
Behind the motherboard is a pair of dedicated 2.5in trays, each one being easily released with a single thumbscrew. There are also three further 2.5in mounting points at the front of the elongated motherboard tray – these will need to be screwed in from the main side, so if you install water-cooling gear at the front of the case you may partially block your access to them.
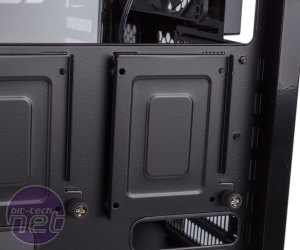
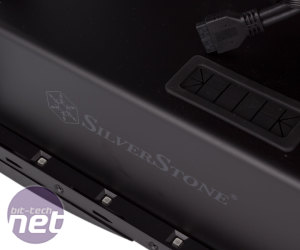
Click to enlarge - Dedicated 2.5in mounting trays (left) and LEDs installed along the bottom edge (right)
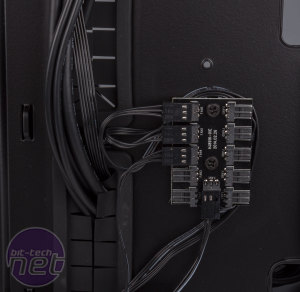
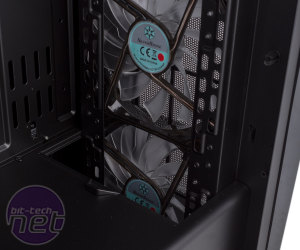
As well as the LED fans, SilverStone has installed one row of LEDs along the bottom edge next to the window and a second row along the top edge. These are the same colour as the fan LEDs and are controlled by the same external button. Another little bonus is the 10-port fan hub fixed to the rear of the motherboard tray. This does not offer any fan control, running all fans at full speed instead of via a PWM signal as we've seen elsewhere, but it does give you a tidy way of hooking up all your fans, and SilverStone provides a pair of extension cables too. One Molex connector is required for the LED strips and a second is needed for the fan hub – we'd prefer SATA-style connectors as these are thinner and easier to work with.
Cable routing hasn't been neglected – there are plenty of holes through which to pass cables and the main ones, though a little on the small side, are securely fitted with rubber grommets too. Pleasingly, there are holes above, below and to the side of the motherboard tray, as well as in the PSU cover. All the internal chassis cables are sleeved in black casings, and SilverStone does a pretty decent job pre-routing cables for you and connects the front three fans (but not the rear one) to the hub as well. Velcro cable ties are always nice to see, but while there are plenty of hooks for using zip ties with, none are actually supplied with the case. It's also a shame SilverStone hasn't left a little more room behind the motherboard tray, as it can get pretty tight.
Previous airflow-focussed cases from SilverStone, such as those in the Raven or Fortress ranges, have often neglected water-cooling, but not the Primera PM01. This case supports up to 280mm or up to 360mm radiators in both the front and roof positions. In the roof, there's room in the upper cavity for a row of fans, while below this you're probably limited to slimline 280mm radiators, but thicker 240mm and 360mm ones may be possible thanks to the offset 120mm mounting holes.
At the front of the case, meanwhile, the front of the PSU cover can be slid back to open up additional room for slimline 360mm radiators behind the front row of fans. 240mm and 280mm radiators shouldn't cross into the lower cavity, so thicker models can be used. You could also have fans or a radiator installed to the outside of the core chassis contained within the front panel as there's plenty of room behind that mesh. However, this will sacrifice the case's dust filtering abilities here, so it may not be wise. Lastly, SilverStone has included mounting struts for reservoirs at the front of the extended motherboard tray, so it's a fairly flexible interior. That said, there doesn't appear to be any dedicated pump mount.

MSI MPG Velox 100R Chassis Review
October 14 2021 | 15:04



Want to comment? Please log in.