
Interior
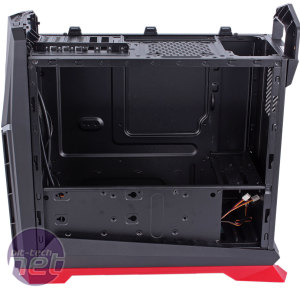
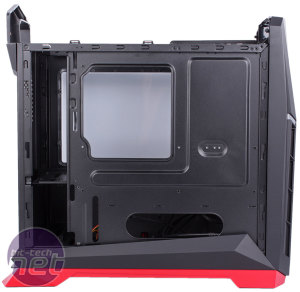
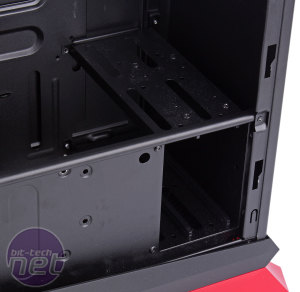
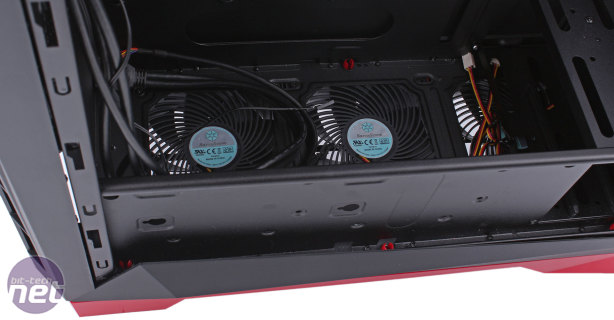
With the top section removed, you'll need a screwdriver to remove either side panel – it's a shame thumbscrews couldn't be used instead. They lift vertically out and use a notches and rails system, although they're a bit tricky to reinstall as you have to accurately tuck them behind the plastic trim along the bottom when doing so.With the lack of optical drive support and the rotated motherboard design, the interior was never going to be your standard affair, but it's pretty easy to work out what's going on. The entire bottom is given over to the trio of fans. Above these, the motherboard is installed rotated and towards the front, while the PSU is installed hanging vertically at the rear. Below the PSU is a 2-bay HDD cage and along the side opposite the motherboard tray there's a metal tray that stretches across the case and serves as a secondary drive mounting area.
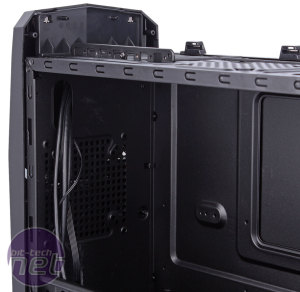
There are no pre-installed motherboard mounts in this case, nor is there any anti-vibration material between where the PSU meets the case. You do at least get a large cutout in the motherboard tray for installing larger CPU coolers and the I/O cables are all sleeved in black. The fan cables, however, have not been given the same treatment, which is a shame given that there's a window on the case too.
While this is an ATX chassis, inside the RVX01 feels somewhat cramped. Part of this is just to do with how narrow it is – 215mm is quite wide, but part of this is as a result of the plastic side sections, and the core chassis is a lot tighter. There's only 159mm of CPU cooler clearance, for example, though this is extended to 162mm in the non-windowed version. However, it also has a lot to do with the drive mounting tray, as this partially blocks access to the chassis and is non-removable. It can make it especially tricky connecting cables to the right edge of your motherboard tray, which happens to be where the 24-pin ATX and most SATA connectors (as well as a number of other headers) are located on most motherboards. We had particular difficulty connecting the ATX power connector; this was admittedly due to our CPU cooler also getting in the way, but it's not an issue we're used to and this is one of the few cases where we'd say you're better off installing the cooler after the motherboard is secure inside the case.
The rear drive cage is riveted in place. Sadly, a packaging error in our non-retail sample meant we didn't receive any HDD trays, but the ones usually supplied support both 3.5in and 2.5in devices. Likewise, the side bracket has two mounting locations which support both sizes. However, they are installed on the inside of the bracket, which could interfere with other components – in particular, the one nearer the front of the case may conflict with tall graphics cards.
Cable routing is a real negative as there's virtually no room behind the motherboard tray. Anything other than the flattest cables won't fit around here as the side panel is installed almost flush with the tray, so a flat, modular PSU cable set is recommended if possible. You'll also want a short PSU, as the area between it and the drive cage is going to be the area most used for stashing stray cables. A few things that do work well with the layout, however, is the proximity of the 8-pin EPS connector to the PSU and the closeness of the front I/O cables and their respective headers.
Evidently, the RVX01 is not intended as a liquid-cooling case, though 120mm radiators are supported in the front and up top (useful for all-in-ones) and 240mm radiators can also be installed in the lower area although it's not ideal having warm air blown back across your components.

MSI MPG Velox 100R Chassis Review
October 14 2021 | 15:04



Want to comment? Please log in.