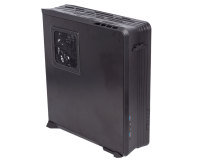
Interior
Both side panels come off after removing six screws (three per panel). These are not thumbscrews, so this is a bit more effort than we're used to. Then again, this is not really a case designed for frequent tinkering and SilverStone likely didn't want to disturb the sleek lines of the outer shell. However, we do wish the panels were a little easier to align when replacing them.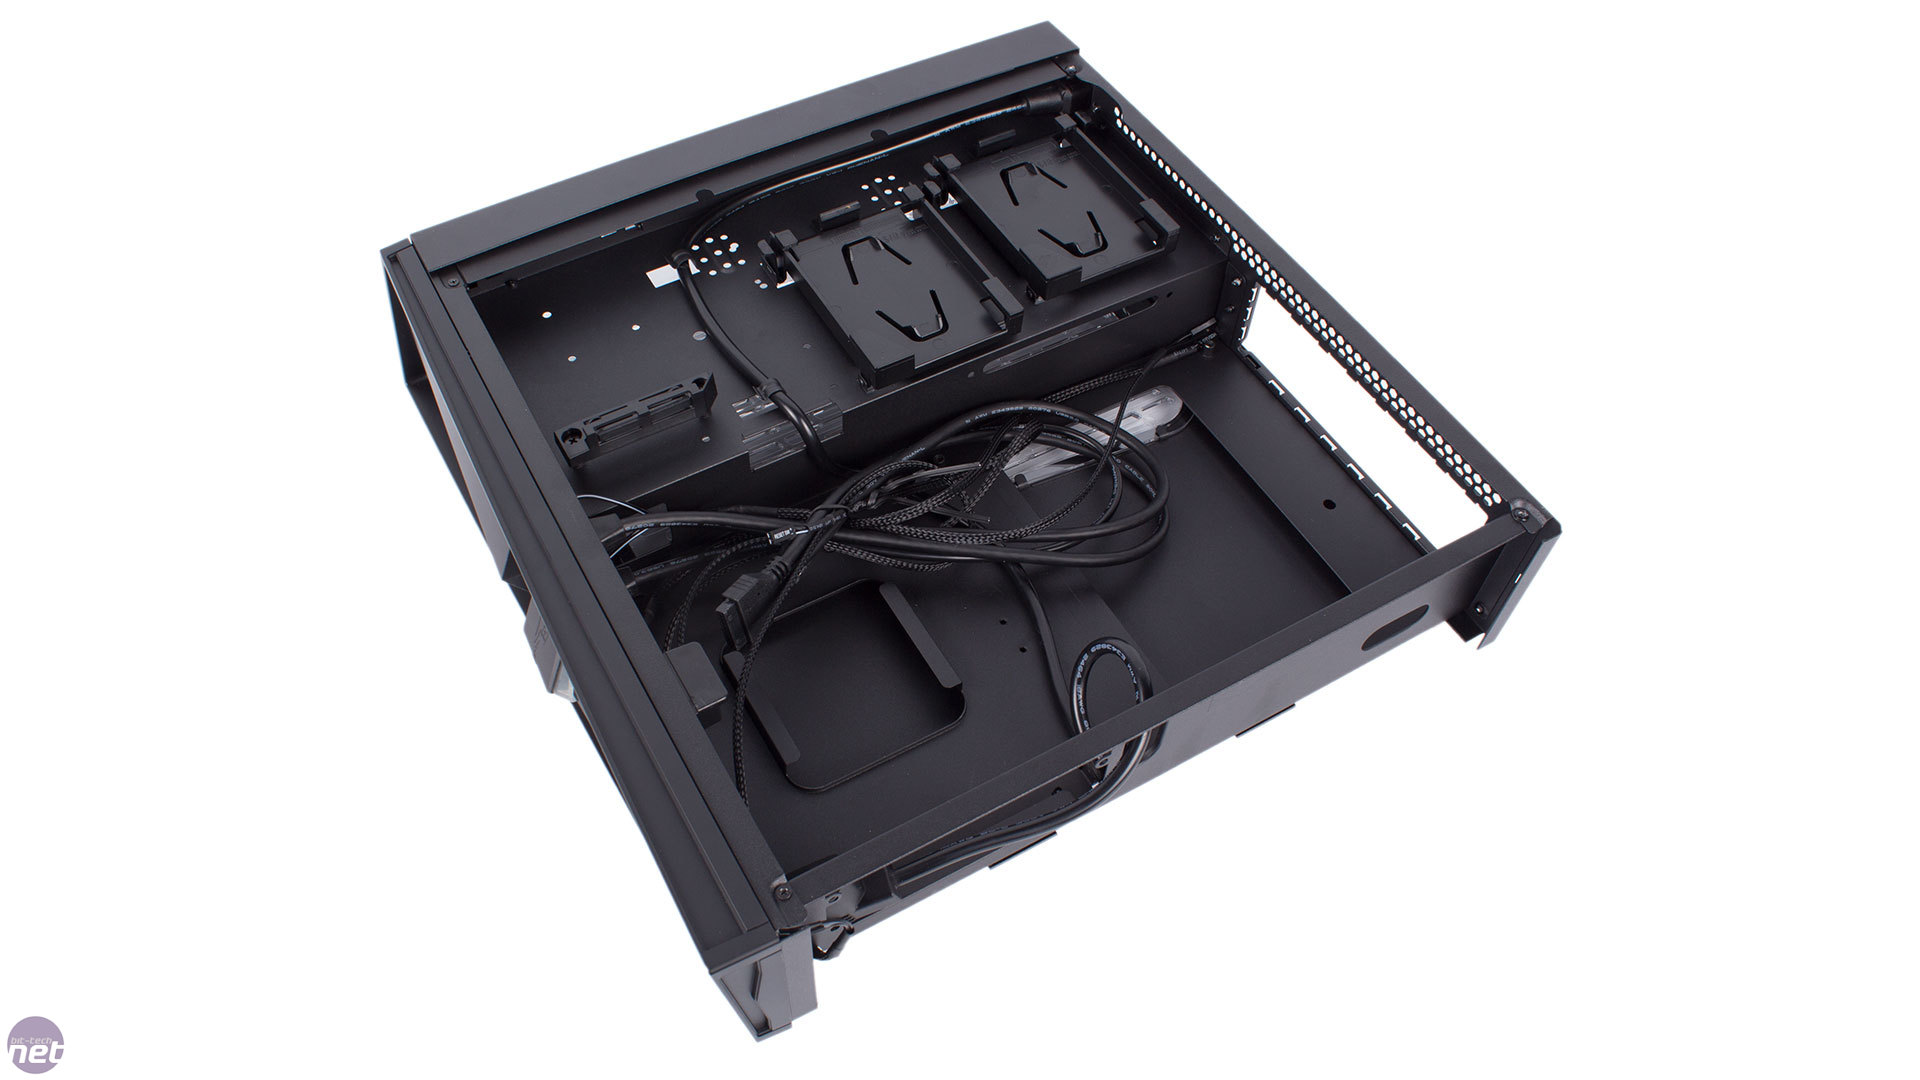

Click to enlarge
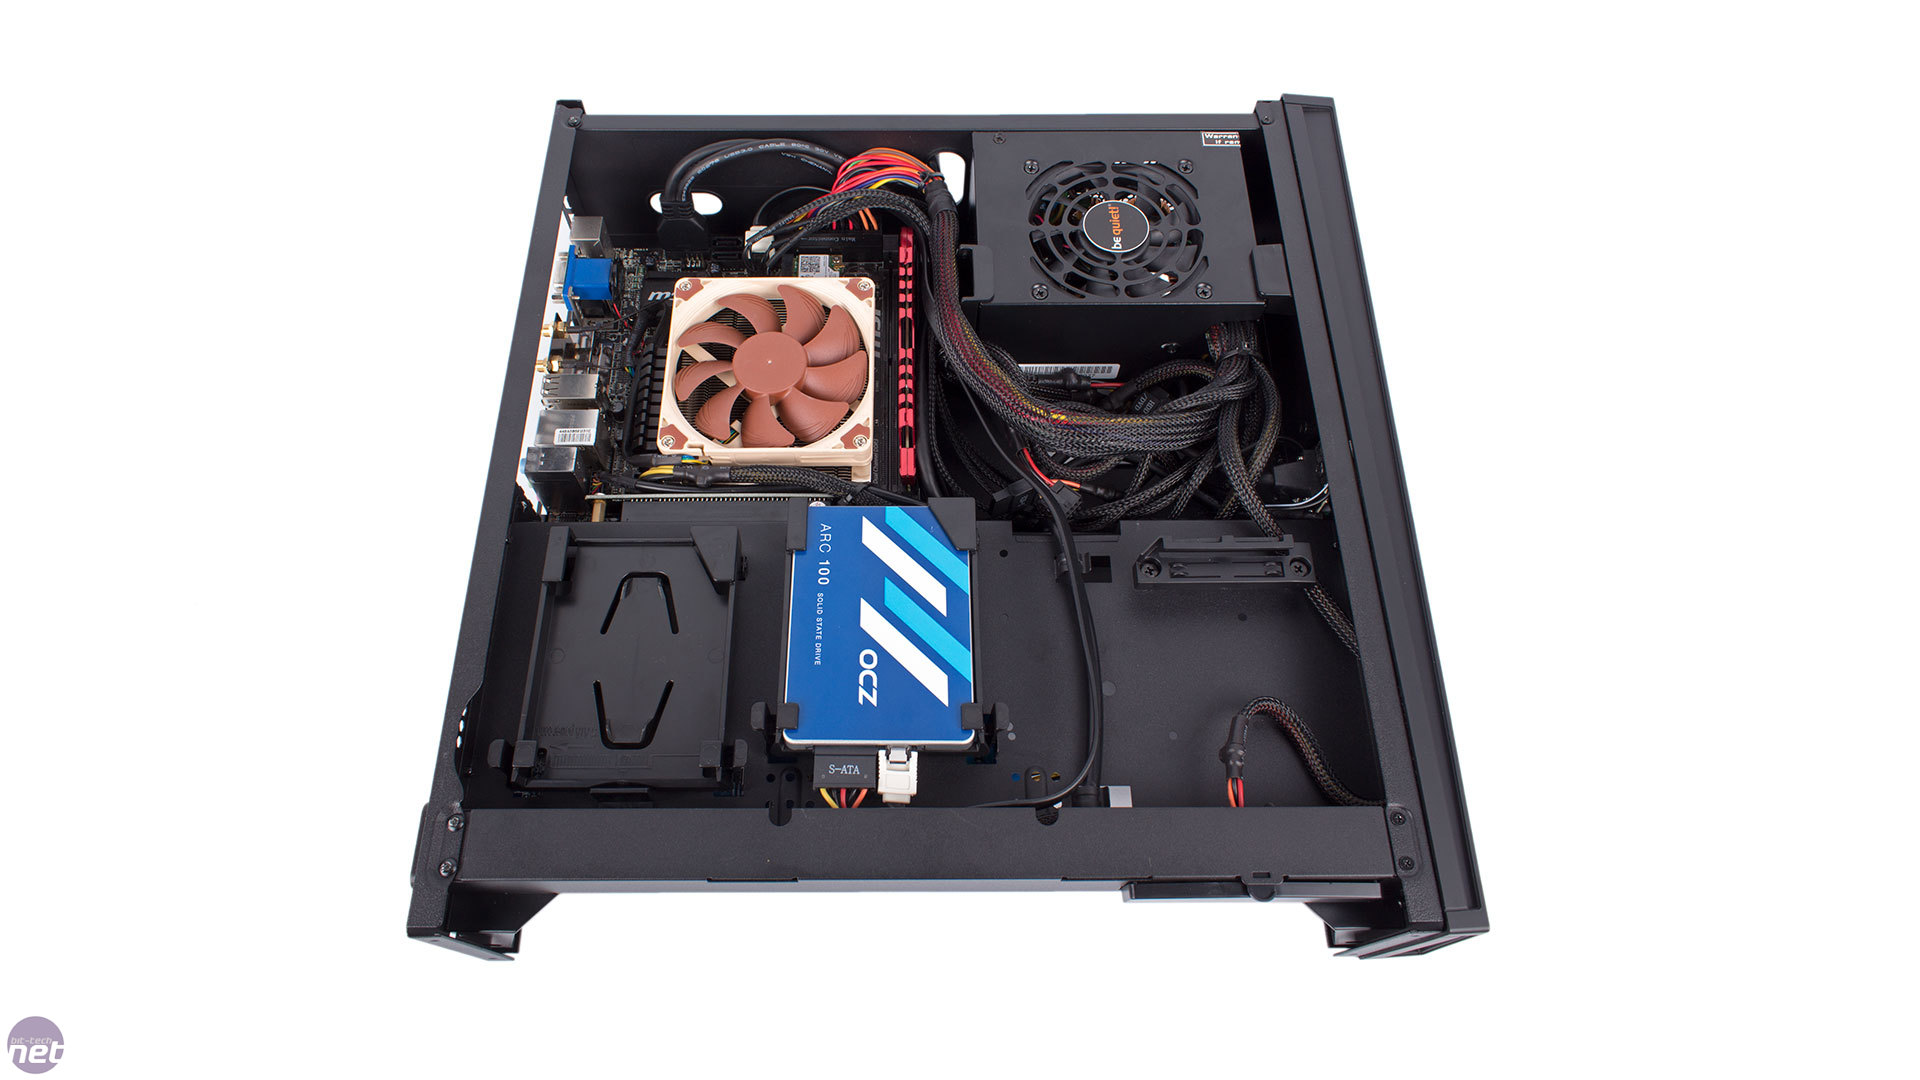
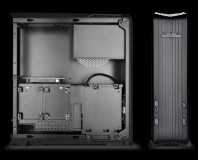
The case is divided into two main cavities, giving the CPU and PSU a separate airflow path to the GPU and sensibly keeping the components relatively isolatd. Starting with the PSU, this is secured just behind the front panel in the main cavity. It's easy to slot in, and SilverStone supplies a plastic bracket for extra support in the vertial orientation, although it would have been nice to see some rubber padding to dampen vibrations. The position also means your power supply's kettle lead connector will not be at the rear IO area, but SilverStone has sensibly routed a cable from the rear to where the connection is. Your power supply must also be SFX or SFX-L as ATX PSUs are not supported, and the maximum length is 130mm. The fan will face up when you install it since it will be next to one of the vented windows here.
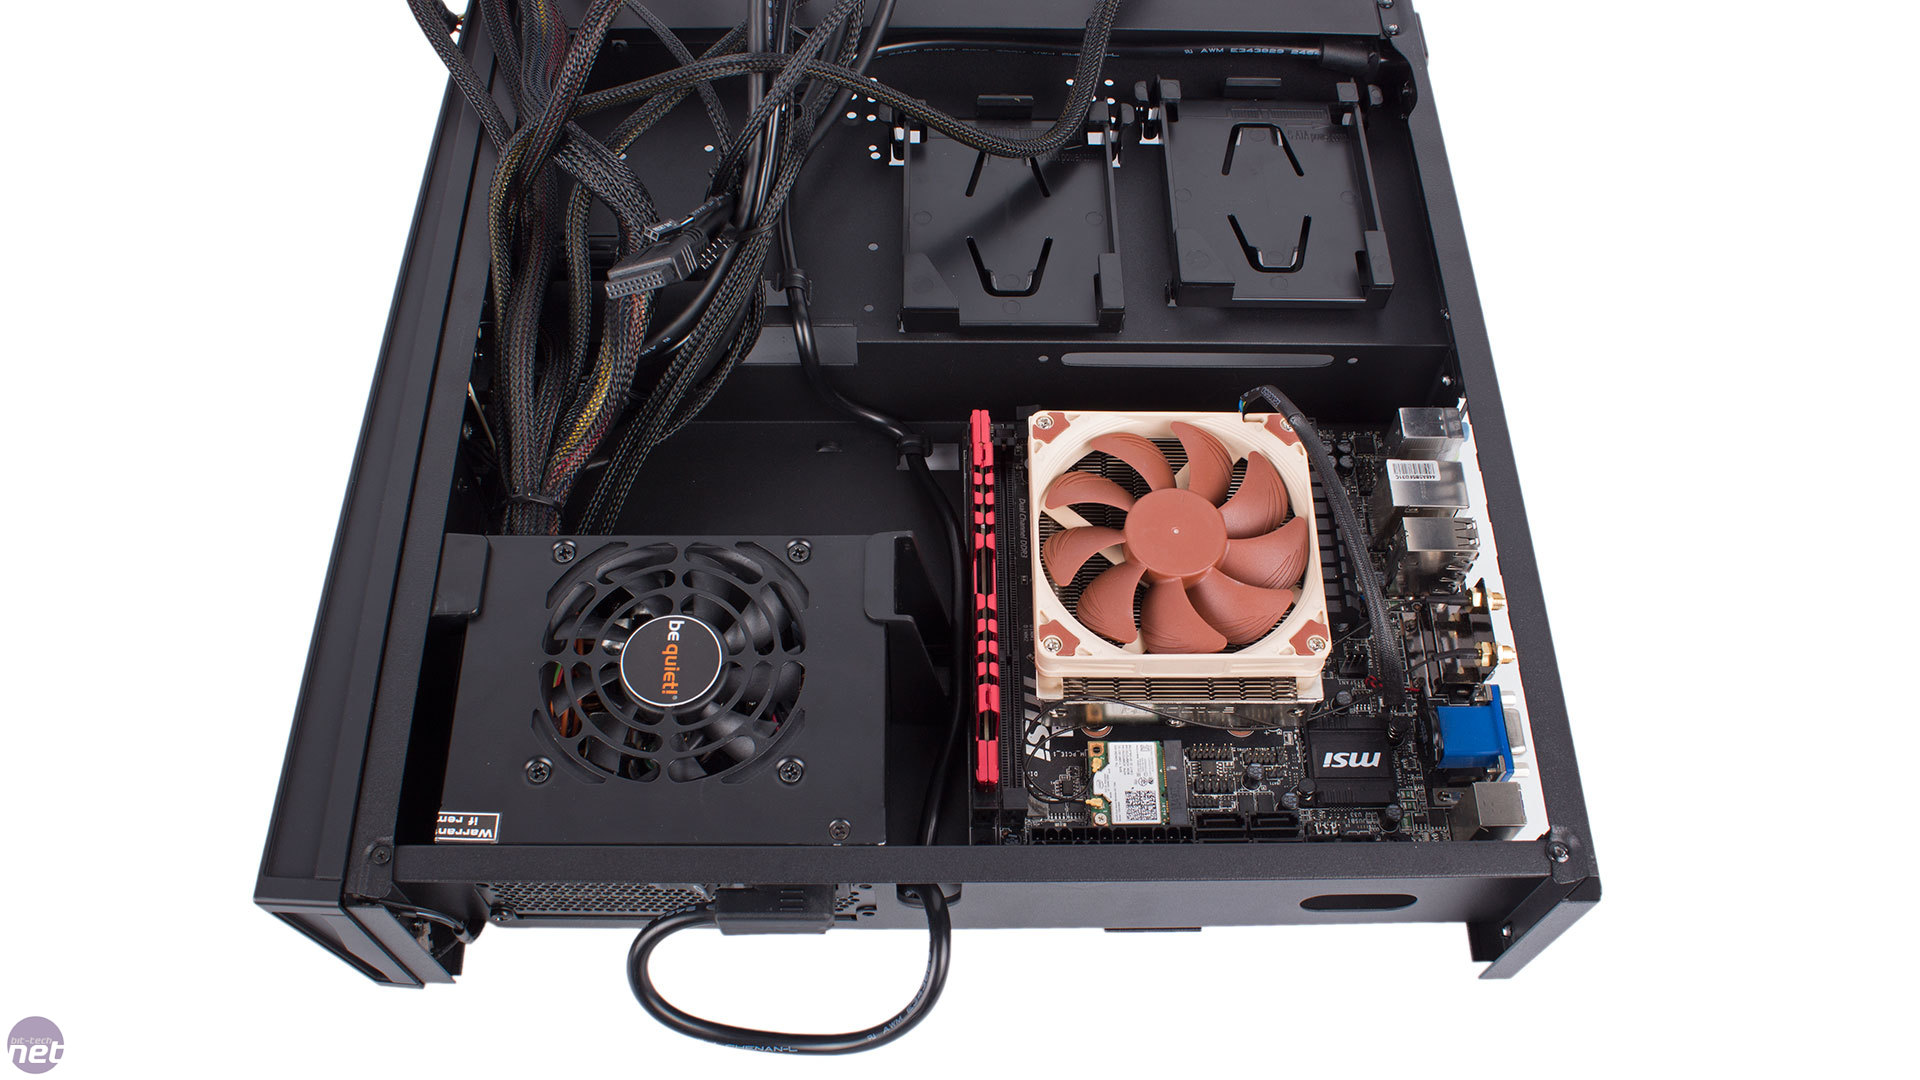
Click to enlarge - The PSU and motherboard are installed first (left) followed by the PCI-E riser PCB (right)
Your motherboard goes right next to the power supply and thankfully the standoffs are pre-installed. There's even a cutout in the tray for CPU cooler backplates, but it's definitely going to be easier to install your memory and cooler first, as then all you have to do is lower the motherboard in and secure its corners. On the subject of coolers, your limited to just 58mm of height, so pay attention to specifications when shopping around. With the motherboard in place, you'll also want to slot in the PCI-E riser card and secure it with a pair of screws from the other side in preparation for your graphics card.
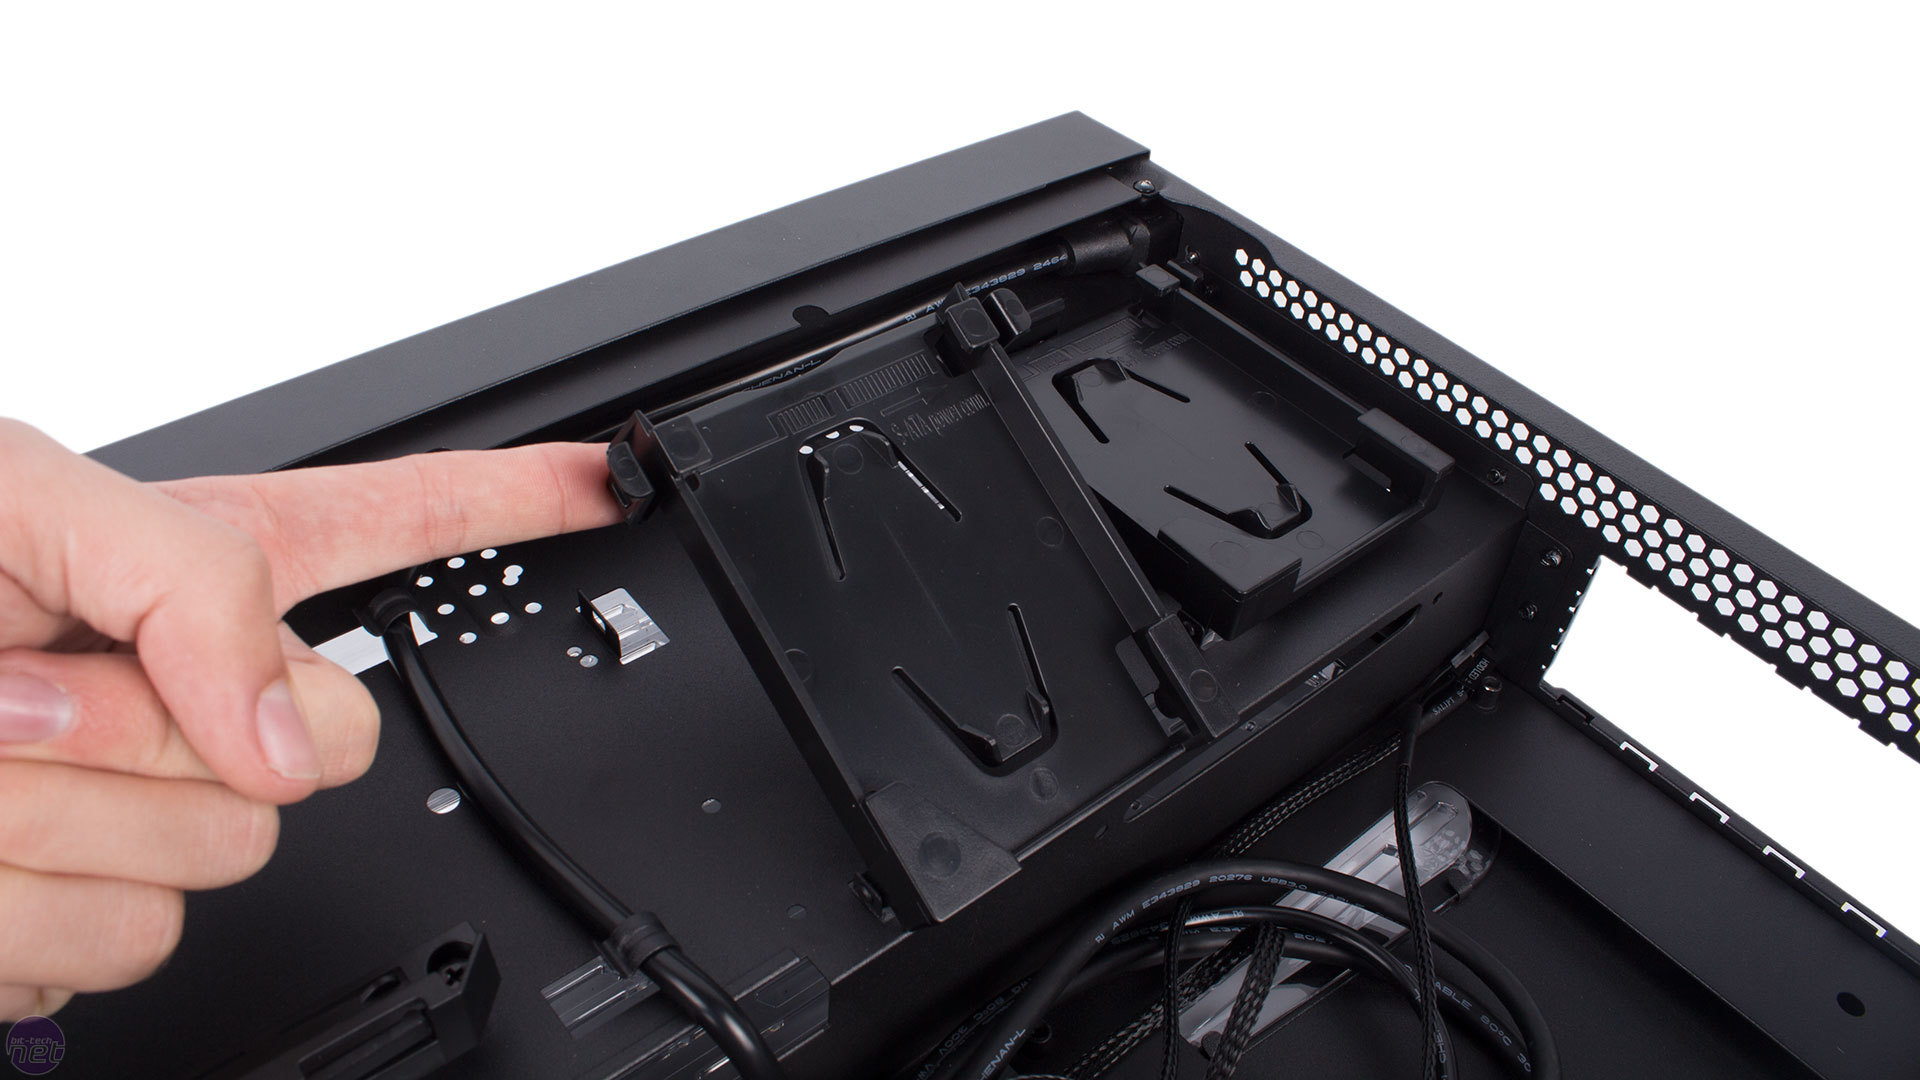
The raised section of this part of the case is where your drives go. The RVZ02 can take a single slimline optical drive, which simply slides in from the front. There are also two tool-free 2.5in trays, which you can squeeze to release and pull upwards, allowing you to again slide the drive into place. They work extremely well, but note there is no means of securing drives with screws here, nor are there any anti-vibration measures in place, so it's best to stick to SSDs in here.

Click to enlarge
At this point, it's worth routing the power, data and front IO cables. In a case this low on space, this is always going to be a bit more fiddly than usual, and mini-ITX motherboards can vary greatly in their header placement. Even so, we managed what you see in the photo above in about five minutes using just two cable ties – the space in front of the PSU is undeniably messy but it's also not impeding any airflow. There's just enough room between the motherboard and PSU for the thick, 24-pin ATX power cable. The trickiest part is likely to be the SATA data and power cables when using multiple drives.
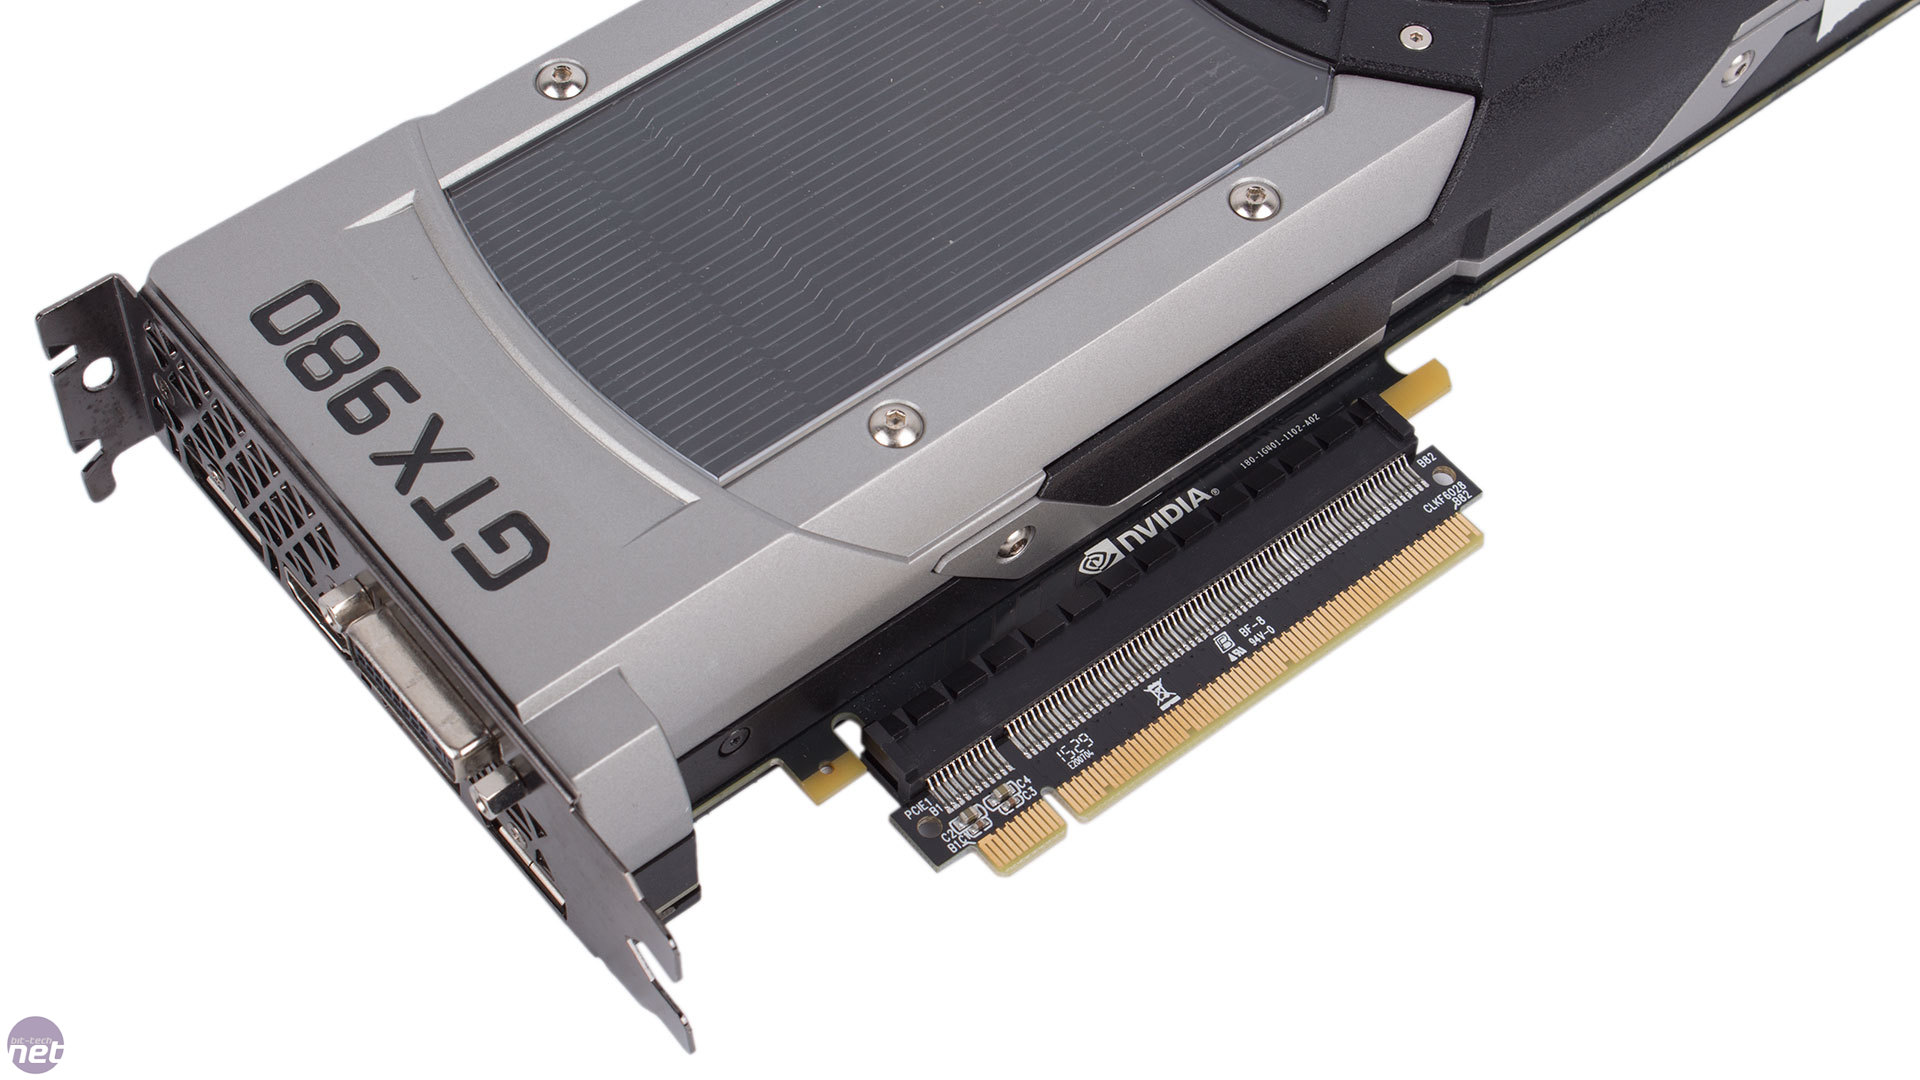
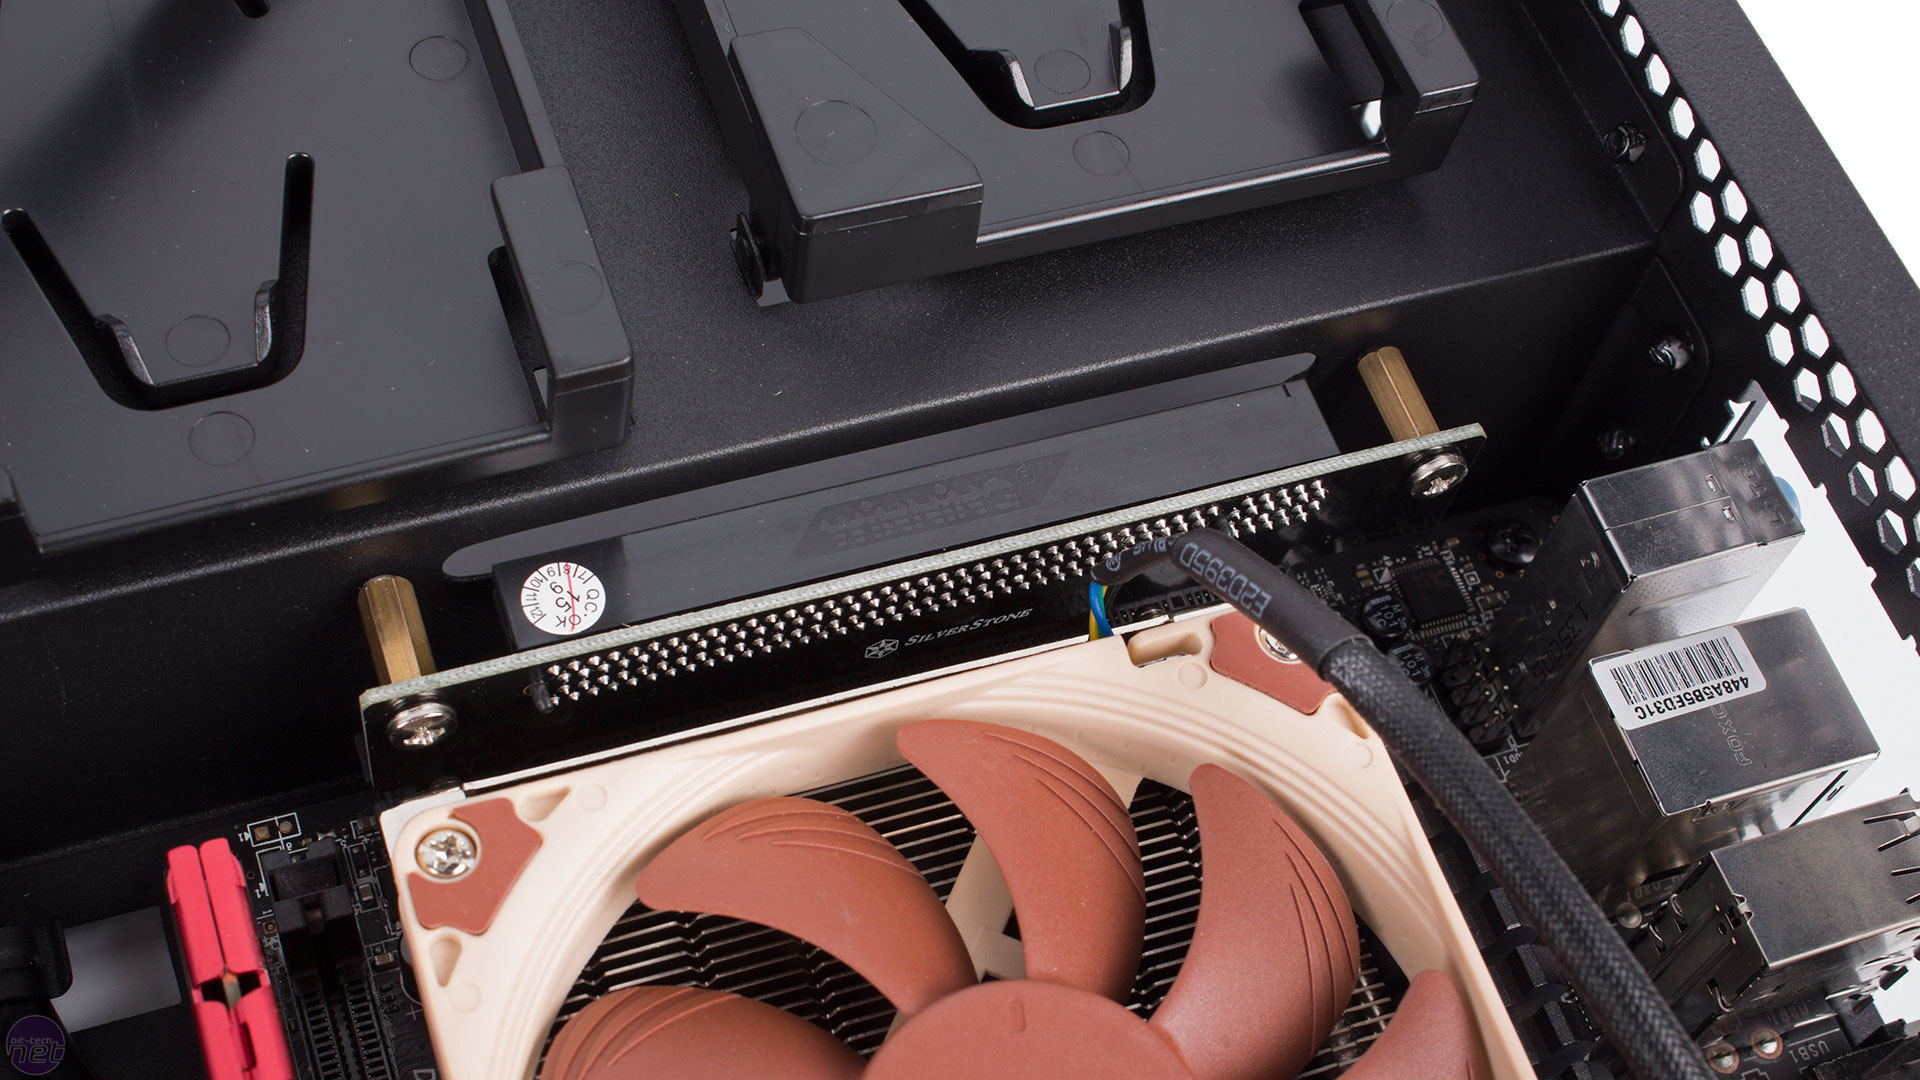
Click to enlarge - A PCI-E extension PCB is supplied to fix onto your graphics card (left)
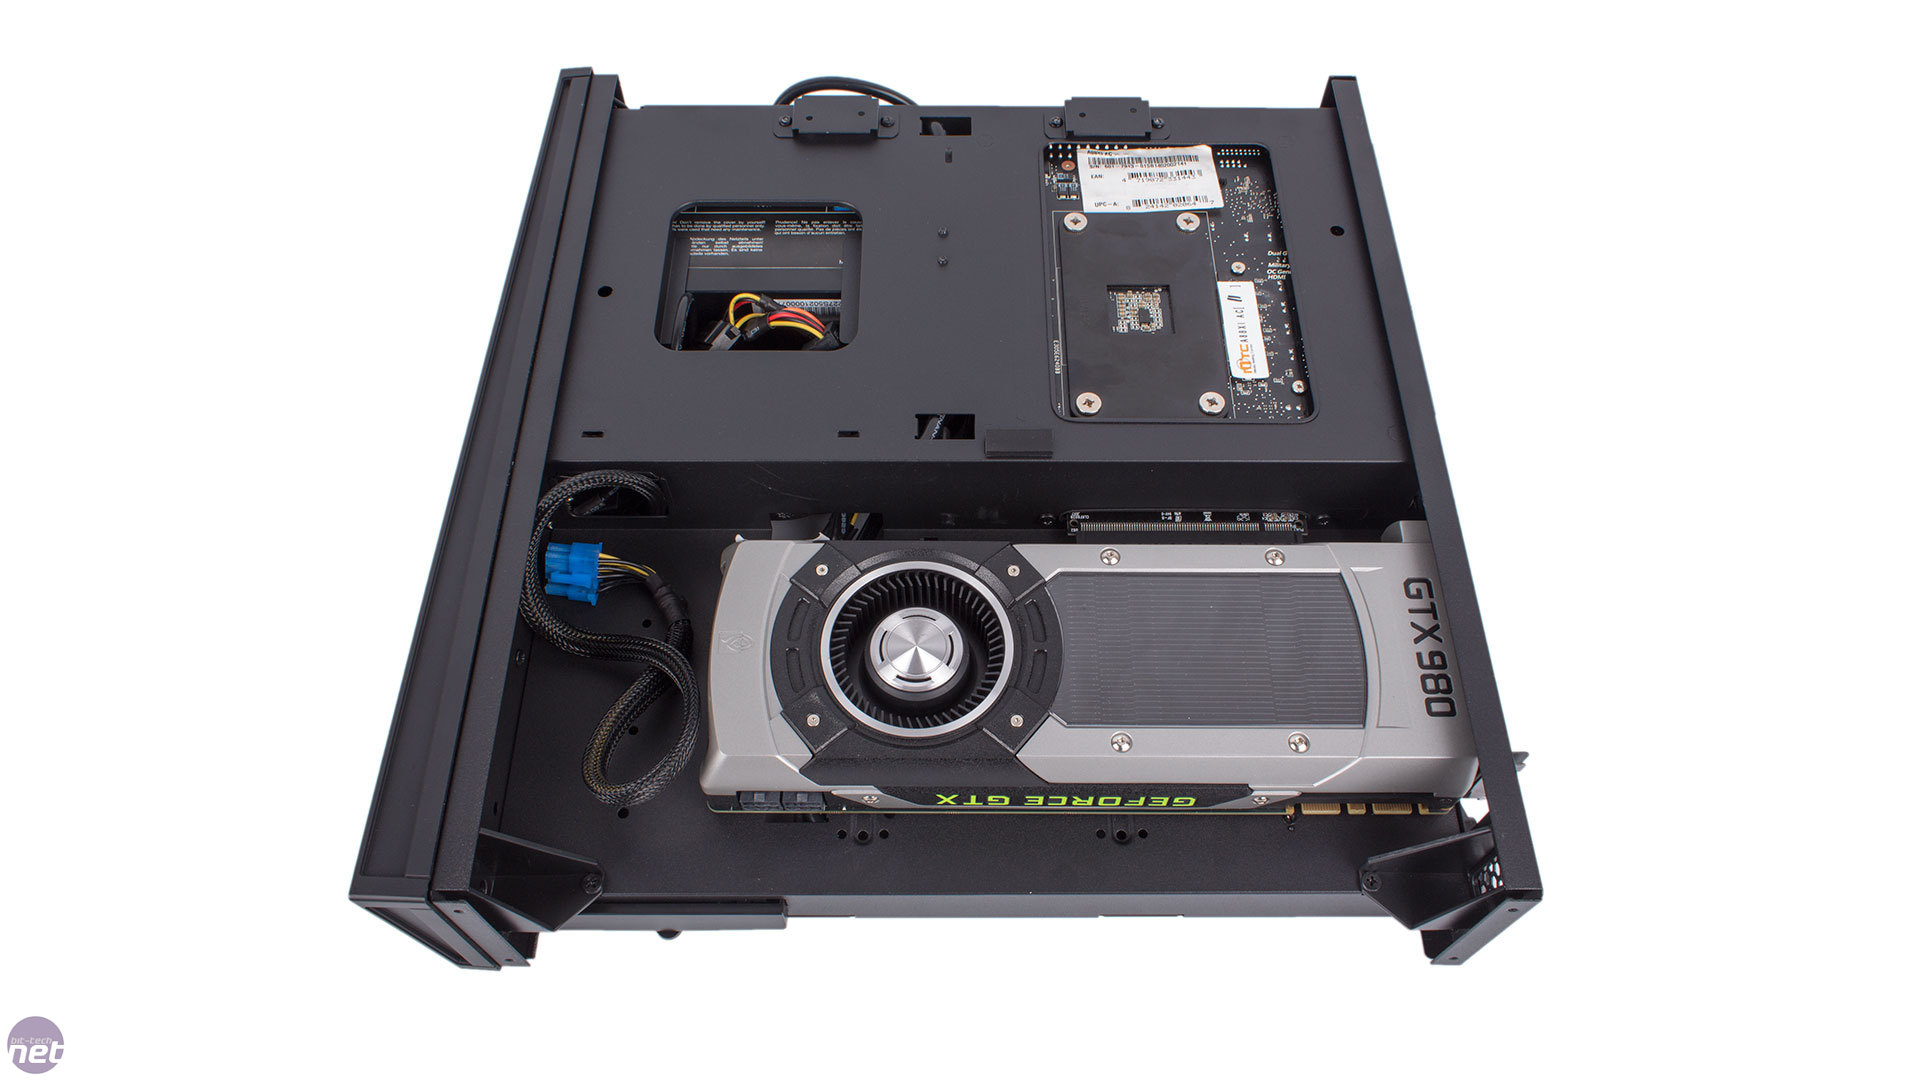
With this section taken care of, all that's left to do is install the graphics card on the opposite side of the case. To do so, you'll need to clip on the provided PCI-E extender, as shown on our GTX 980. While this isn't the GPU we use for testing cases of this size, we wanted to show that it's easily possible to install this card, and as you can see there's plenty of room around it. Cards up to 300mm in length can be installed, and there's also lots of extra space for bulky third party coolers that extend past the PCI bracket edge. SilverStone includes a support bracket for heavier cards in vertical orientation too - high end gaming systems are clearly within reach of the RVZ02.
Click to enlarge - The completed build
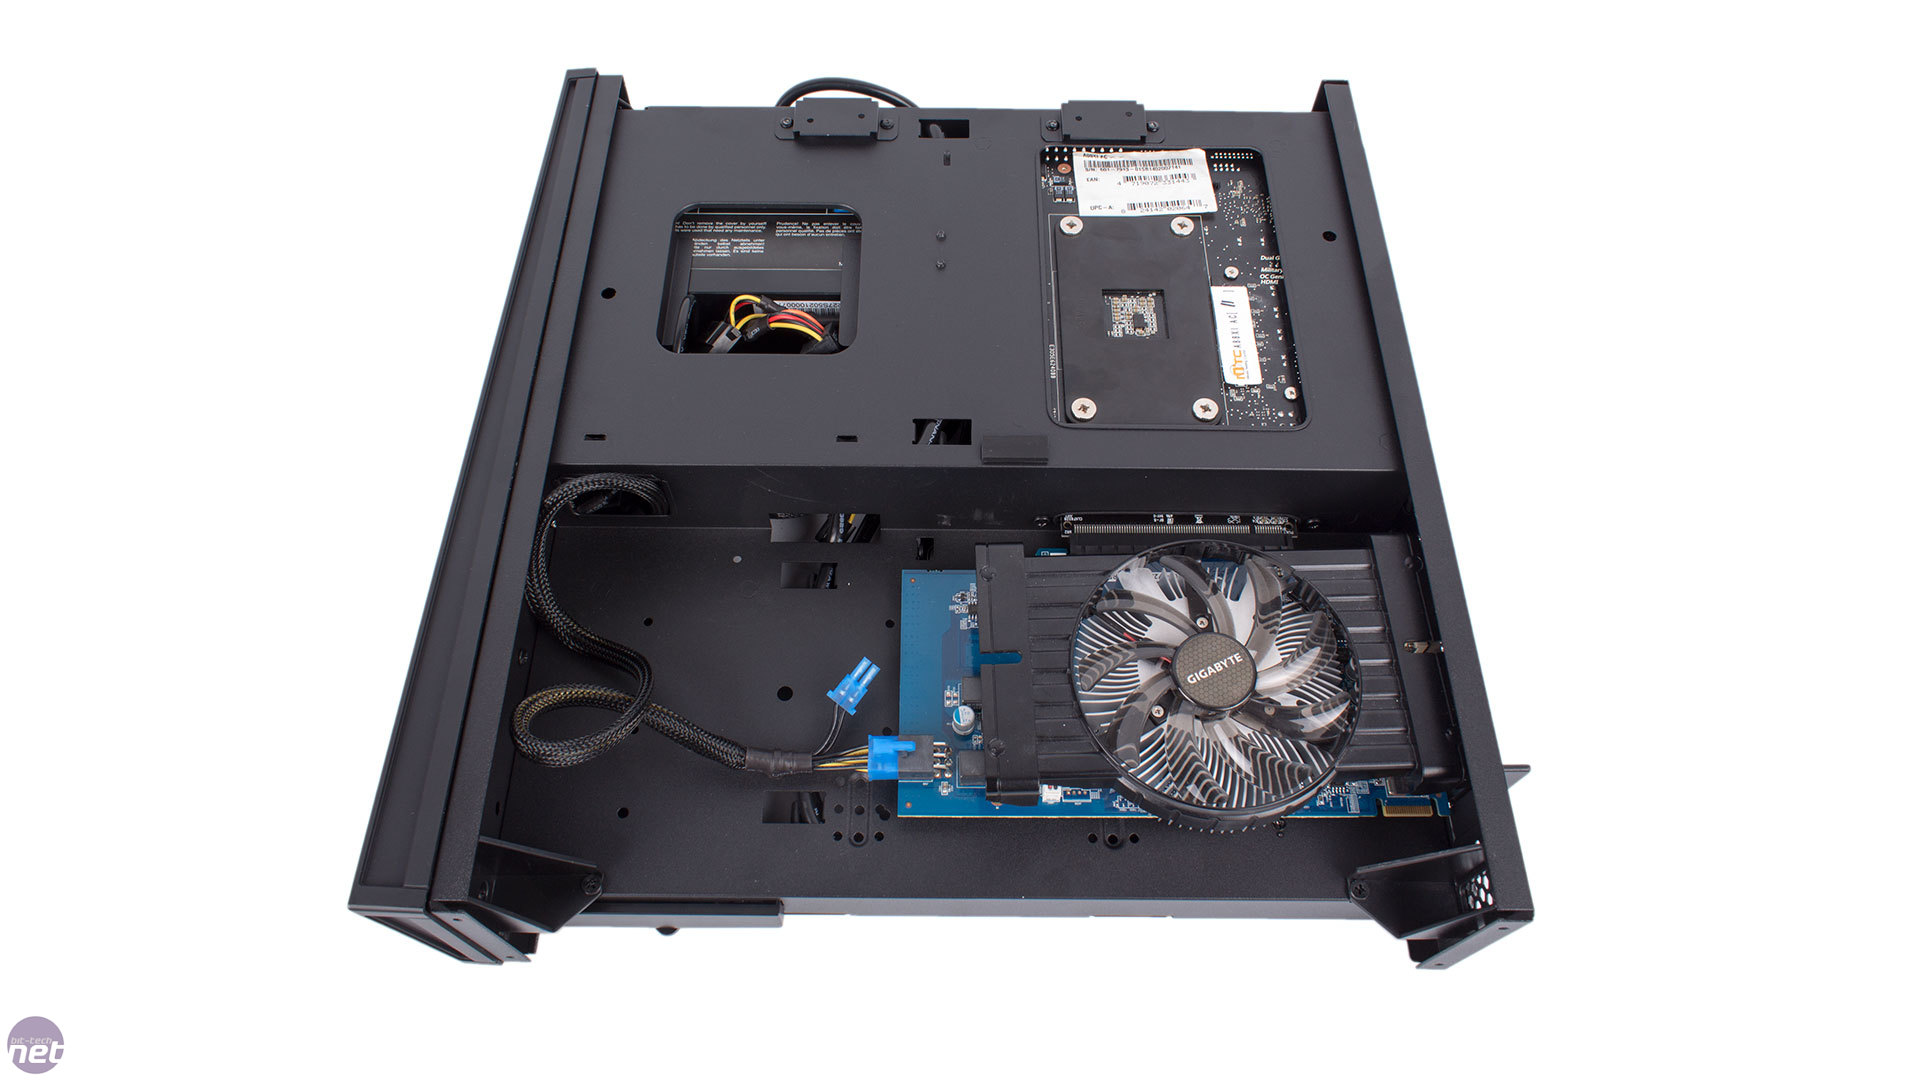
The last thing to note is that if your graphics card is 200mm long or less, there's space next to it in this cavity for an extra 3.5in or 2.5in drive (again though, there are no anti-vibration mounts) which you can secure with screws from the other side before you install the slimline optical. Thankfully, there are sensibly placed routing holes for all the cables you might need to connect in this section.


MSI MPG Velox 100R Chassis Review
October 14 2021 | 15:04

Want to comment? Please log in.