
Building
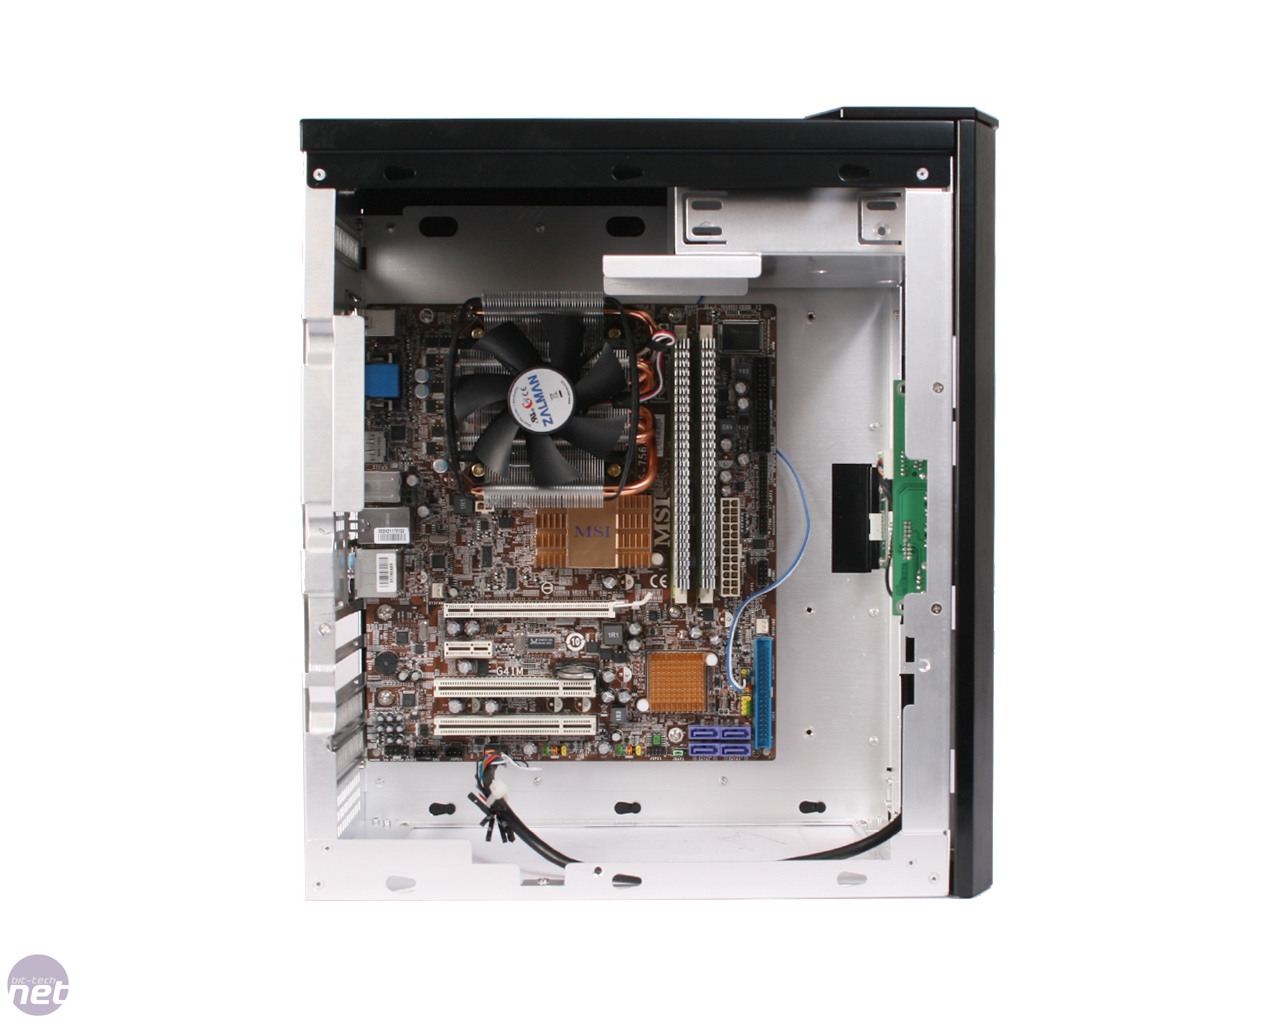
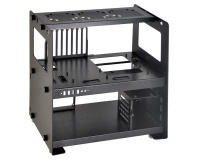
Building a PC inside the Sugo is a relatively stress-free way to spend your time but only if the various stages are executed in the correct order otherwise you could find yourself uninstalling and dismantling one part in order to gain access to another.For this reason we decided to give you a rundown of the process. Much like any other build, it’s a good idea to start by removing the side panels, brackets, and pretty much anything else that’s supposed to come off without applying force.
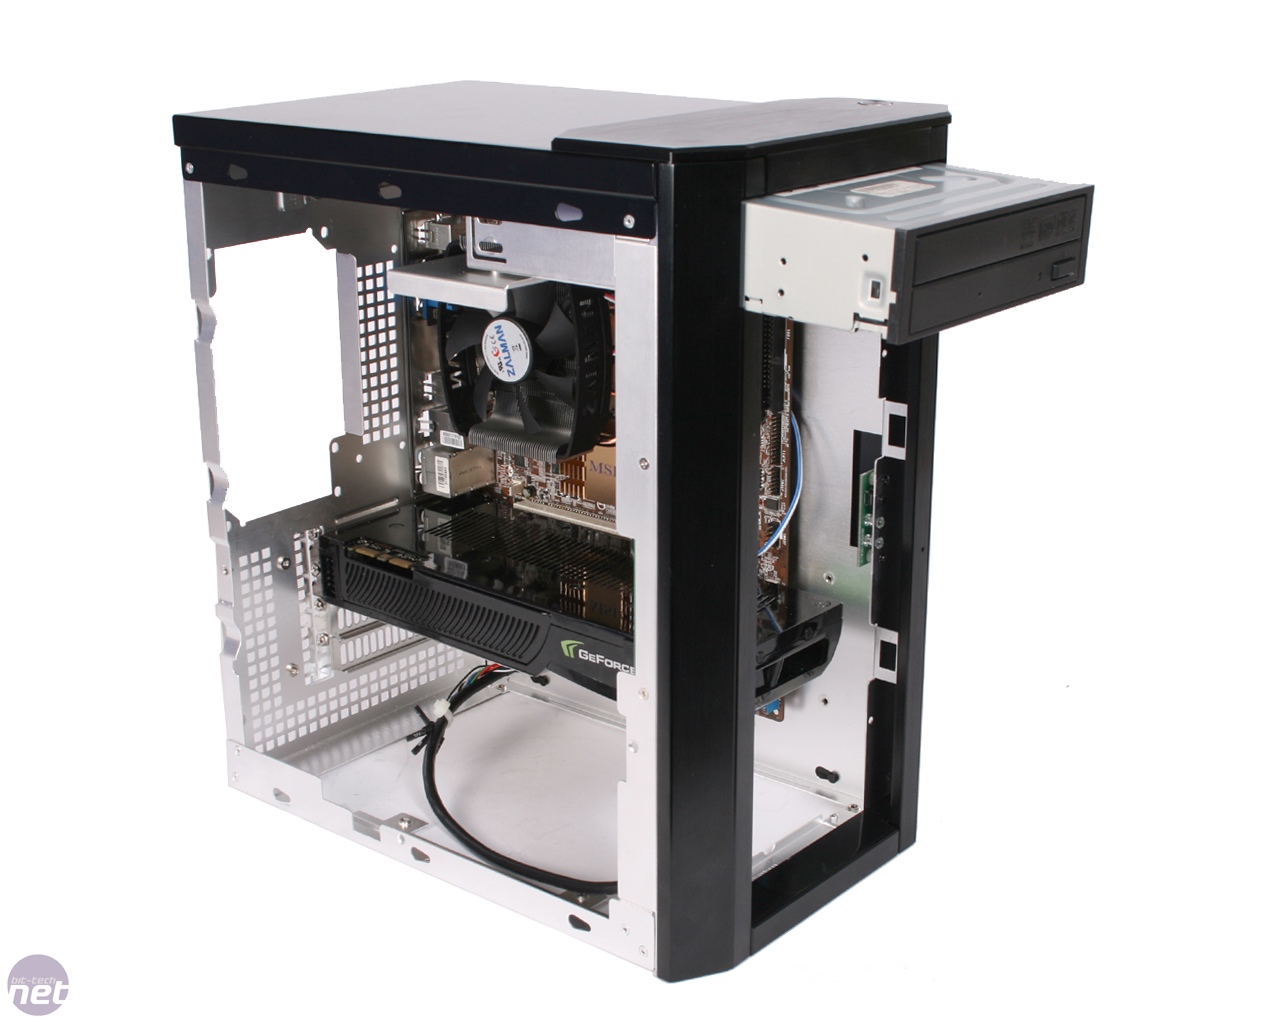
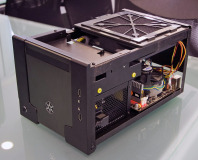
We started with the motherboard, CPU and memory assembly and moved on to our test kit graphics card. The 10.5in long GeForce GTX 280 installs easily with the mesh part of the fascia removed.
Using a graphics card of the same length with the power connectors at the end rather than to one side would cause problems though, as the end of the graphics card goes right up to where the fascia with the intake fans would be installed. A GTX 280, with its power connectors facing towards the side panel is no problem.
Click to enlarge
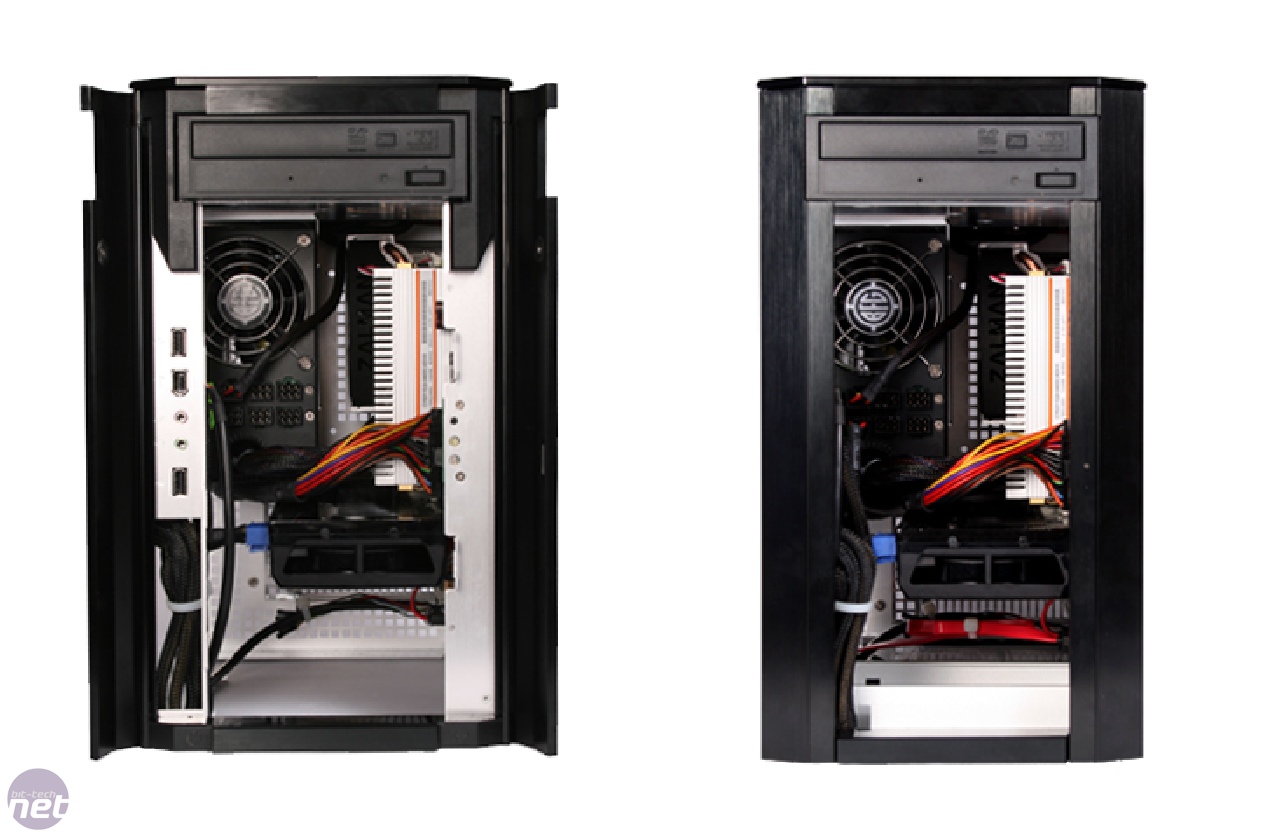
We installed our optical drive next which is one part of the build that will have little consequence on the general proceedings. With the motherboard installed, fit the PSU and perform what cable management you can while the fascia and 3.5in mounting bracket are still removed. It’s a good idea to turn the case on its back at this stage so as not to put unnecessary stress on the screws that hold the PSU in place until its time to install the 3.5in mounting bracket which provides support for its weight.
Click to enlarge
Cable management can be a royal pain the sausage at the best of times but when you're dealing with a case this size, it's even worse. However, because of the size it's even more essential so take a few deeps breaths, count to ten and get stuck in because your build will benefit from the extra time taken.
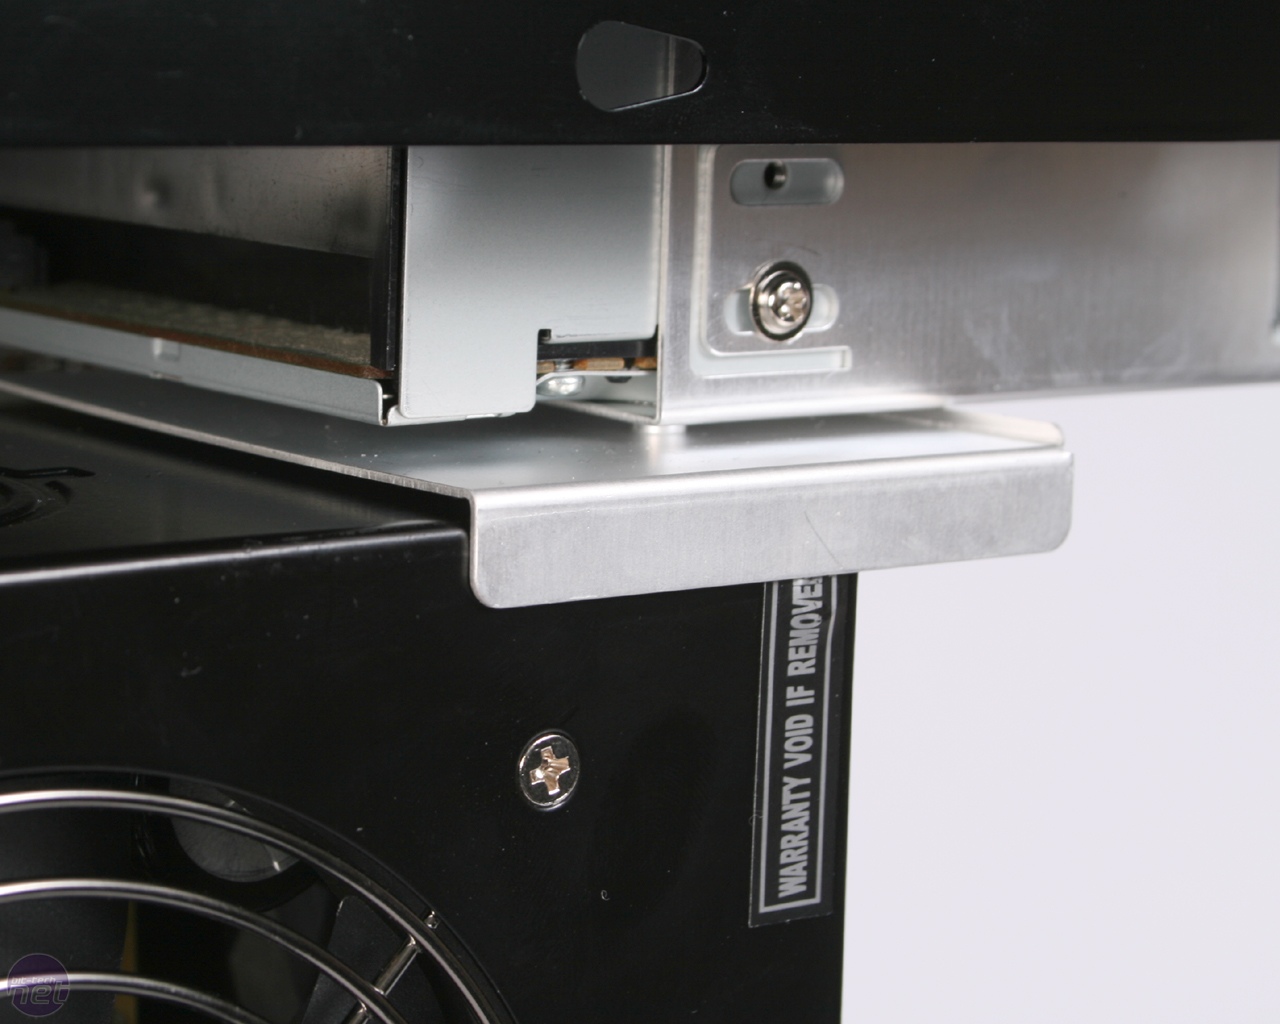
Next up, fit a 3.5in device to the bracket if you want one installed and then attach the assembly to the chassis proper. Once this is fitted, the hard drives can be installed without getting in the way. The tool-less mounting system is intuitive and secure in addition to providing a little vibration dampening.
Everything fits into this tiny chassis in a very clever way, though there’s scarcely enough room to swing a Russian hamster by the tail when it’s all assembled. Things are so closely packed inside that we couldn't re-attach the fascia with the fan grill on the 120mm intake on. The two or three millimetres gained by removing the fan grill provided us with enough space to fit everything back together.
RELATED ARTICLES


MSI MPG Velox 100R Chassis Review
October 14 2021 | 15:04

Want to comment? Please log in.