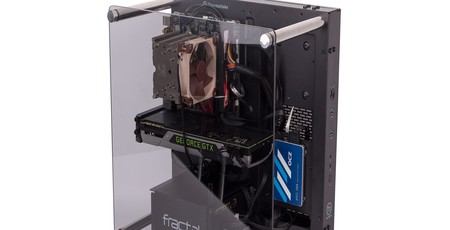
Interior and Assembly
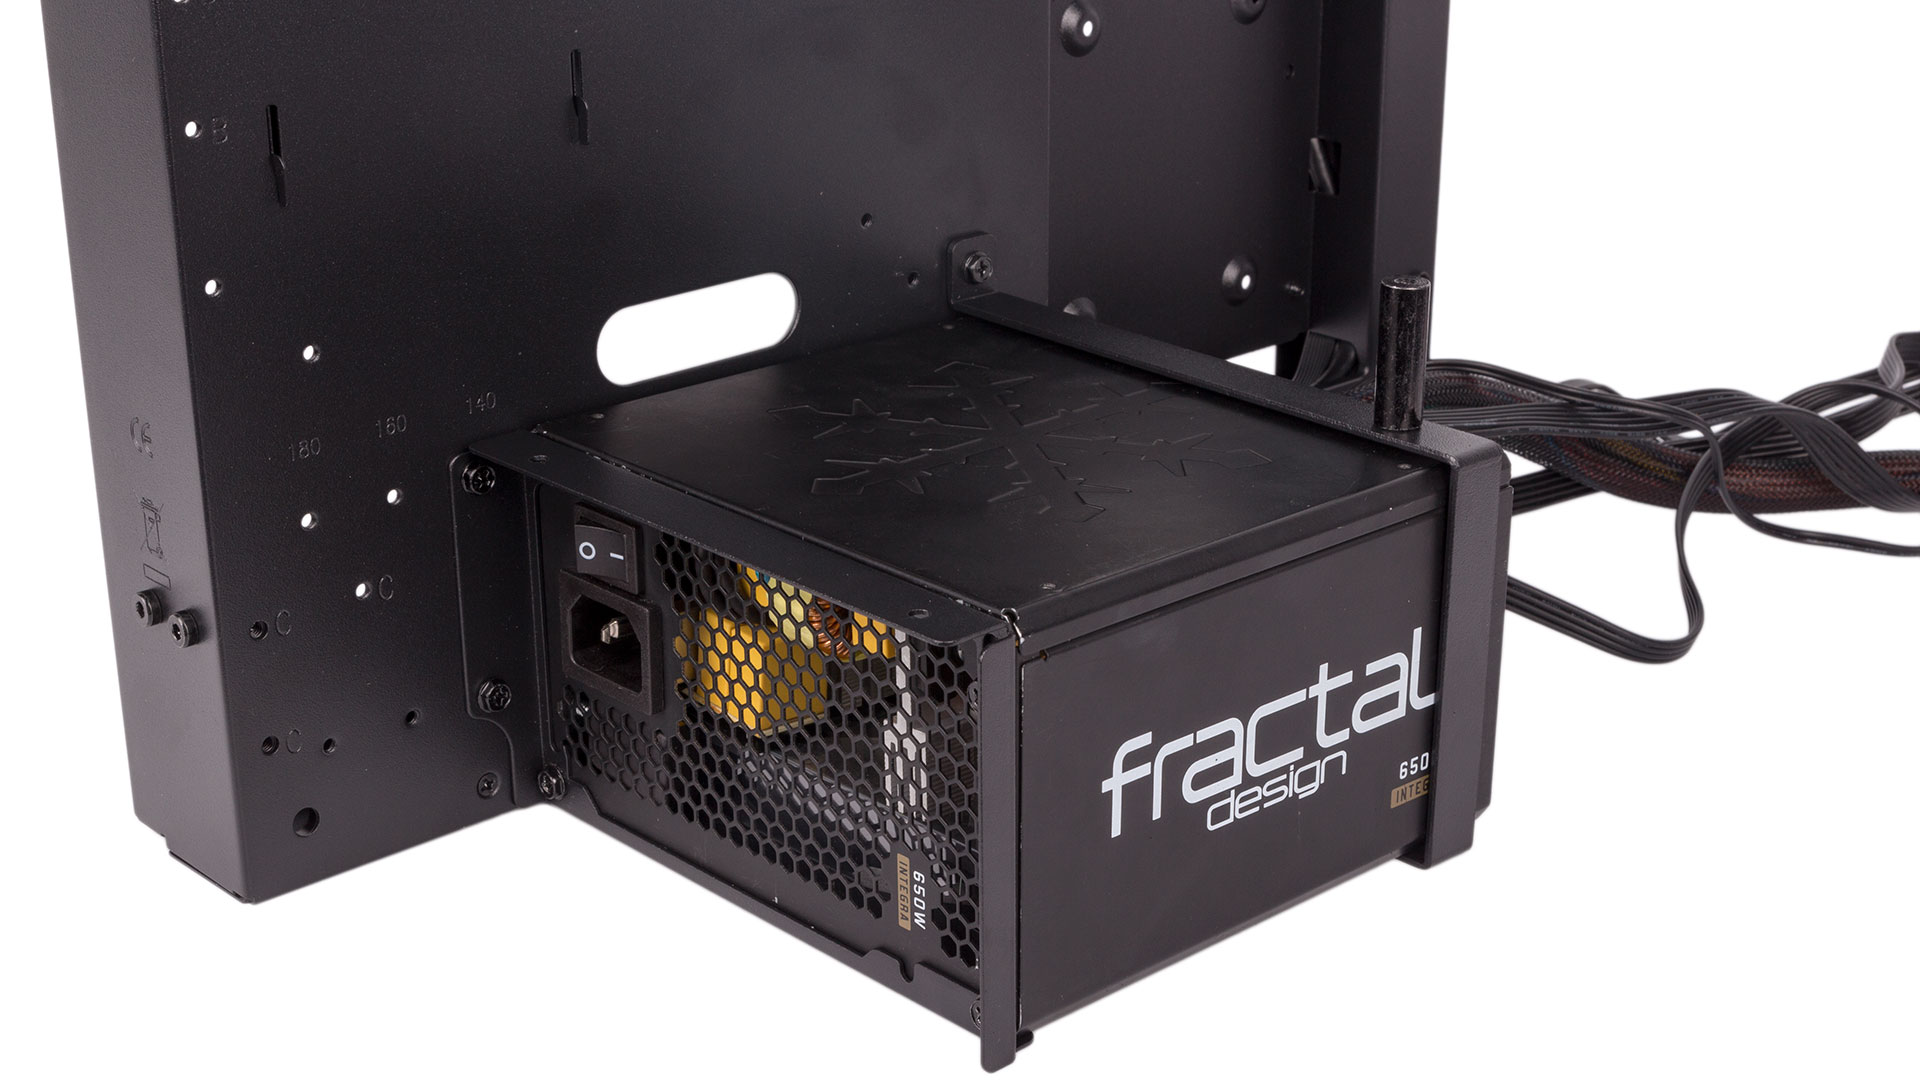
The PSU is the first component installed, and mounting points are used to support 140mm, 160mm, and 180mm long ATX PSUs. Note that there is no dust filter supplied for your PSU, so the occasional blast from compressed air wouldn't go amiss. This is, after all, a mostly open-air chassis, so that sort of comes with the territory.
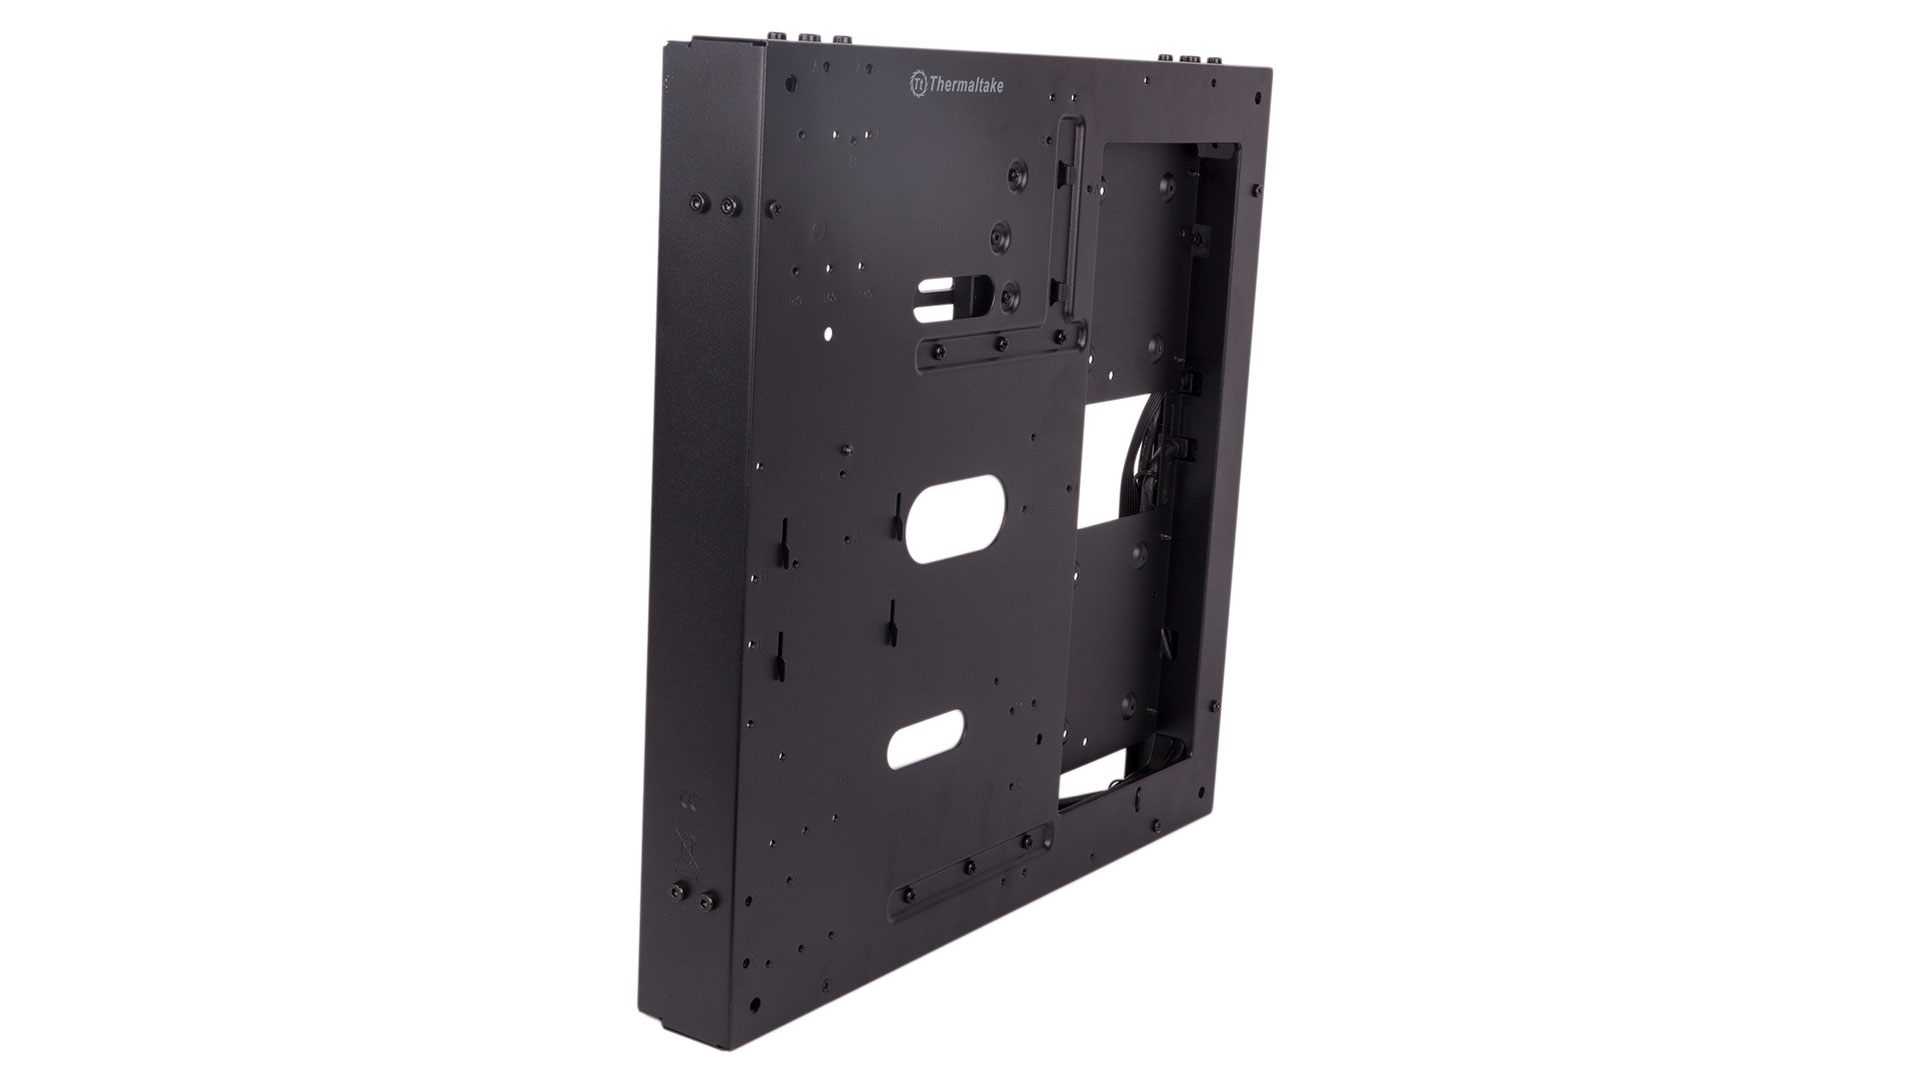
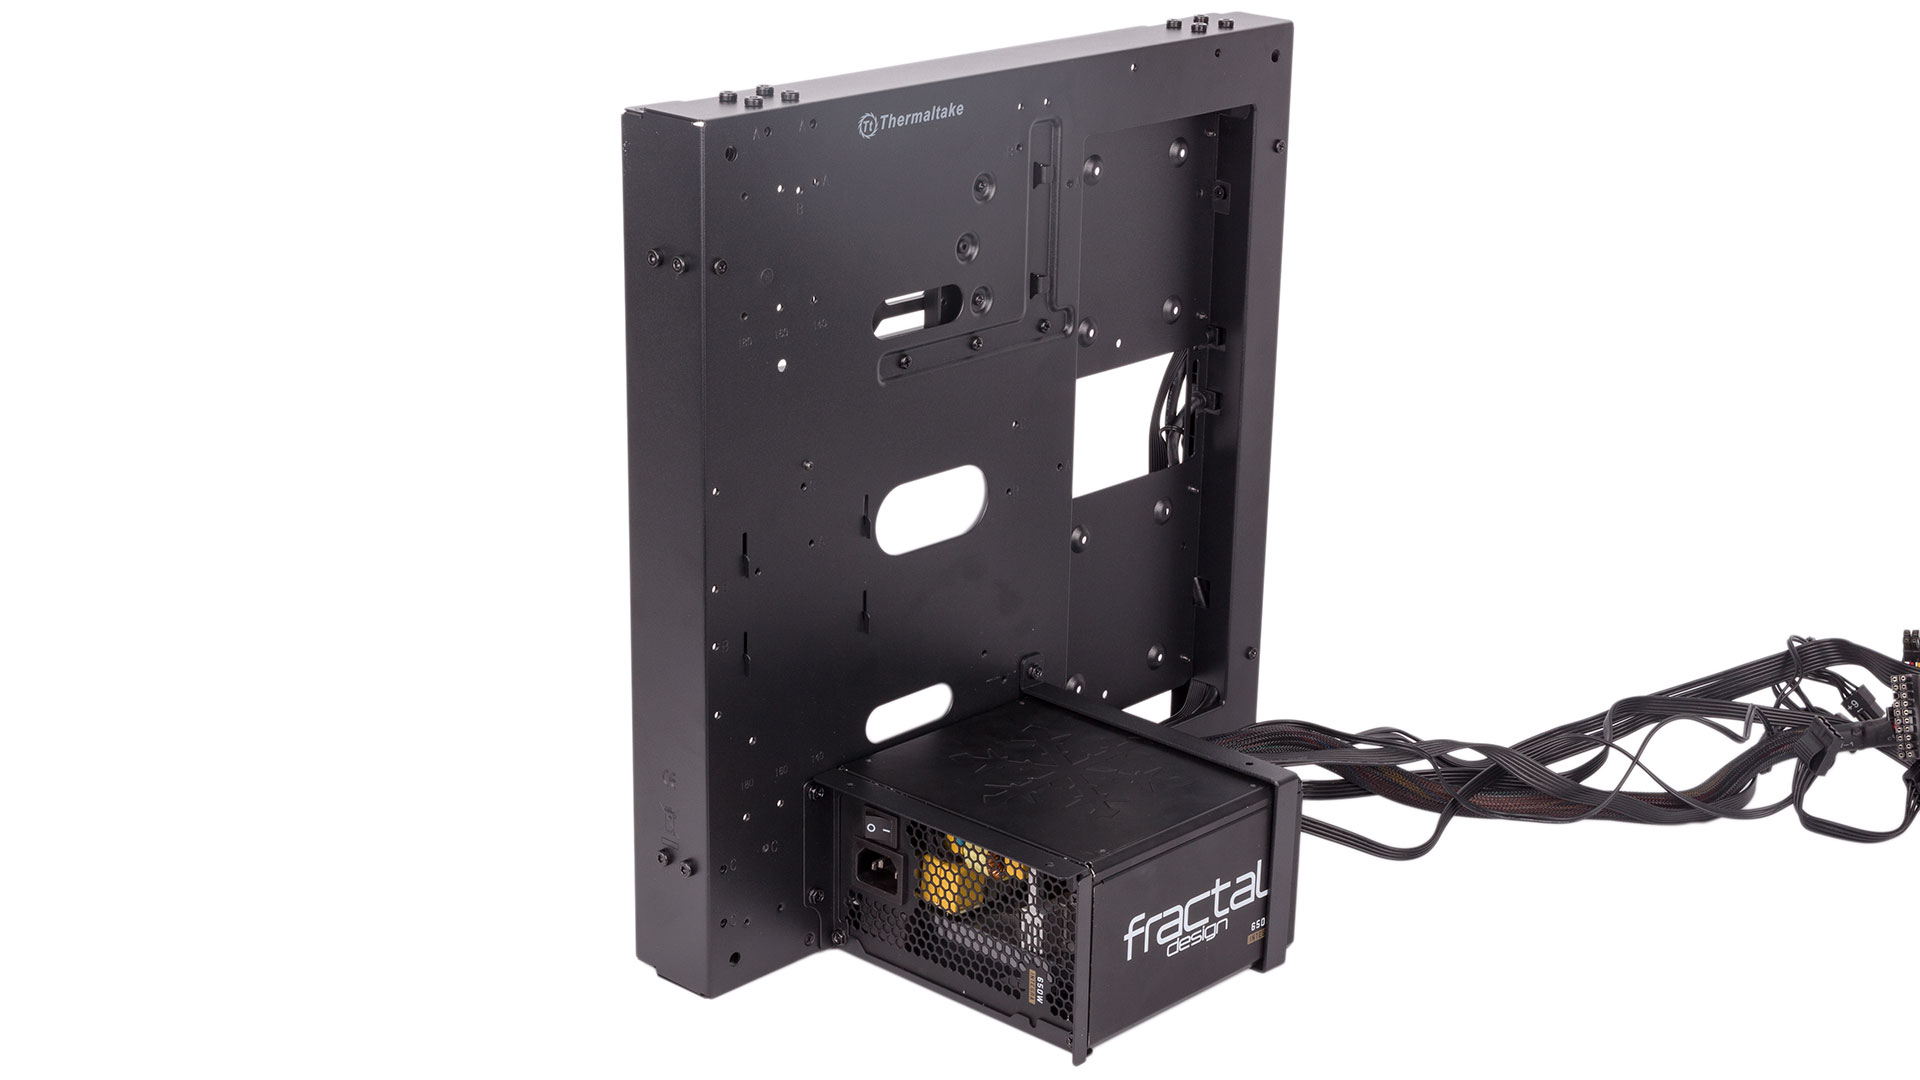
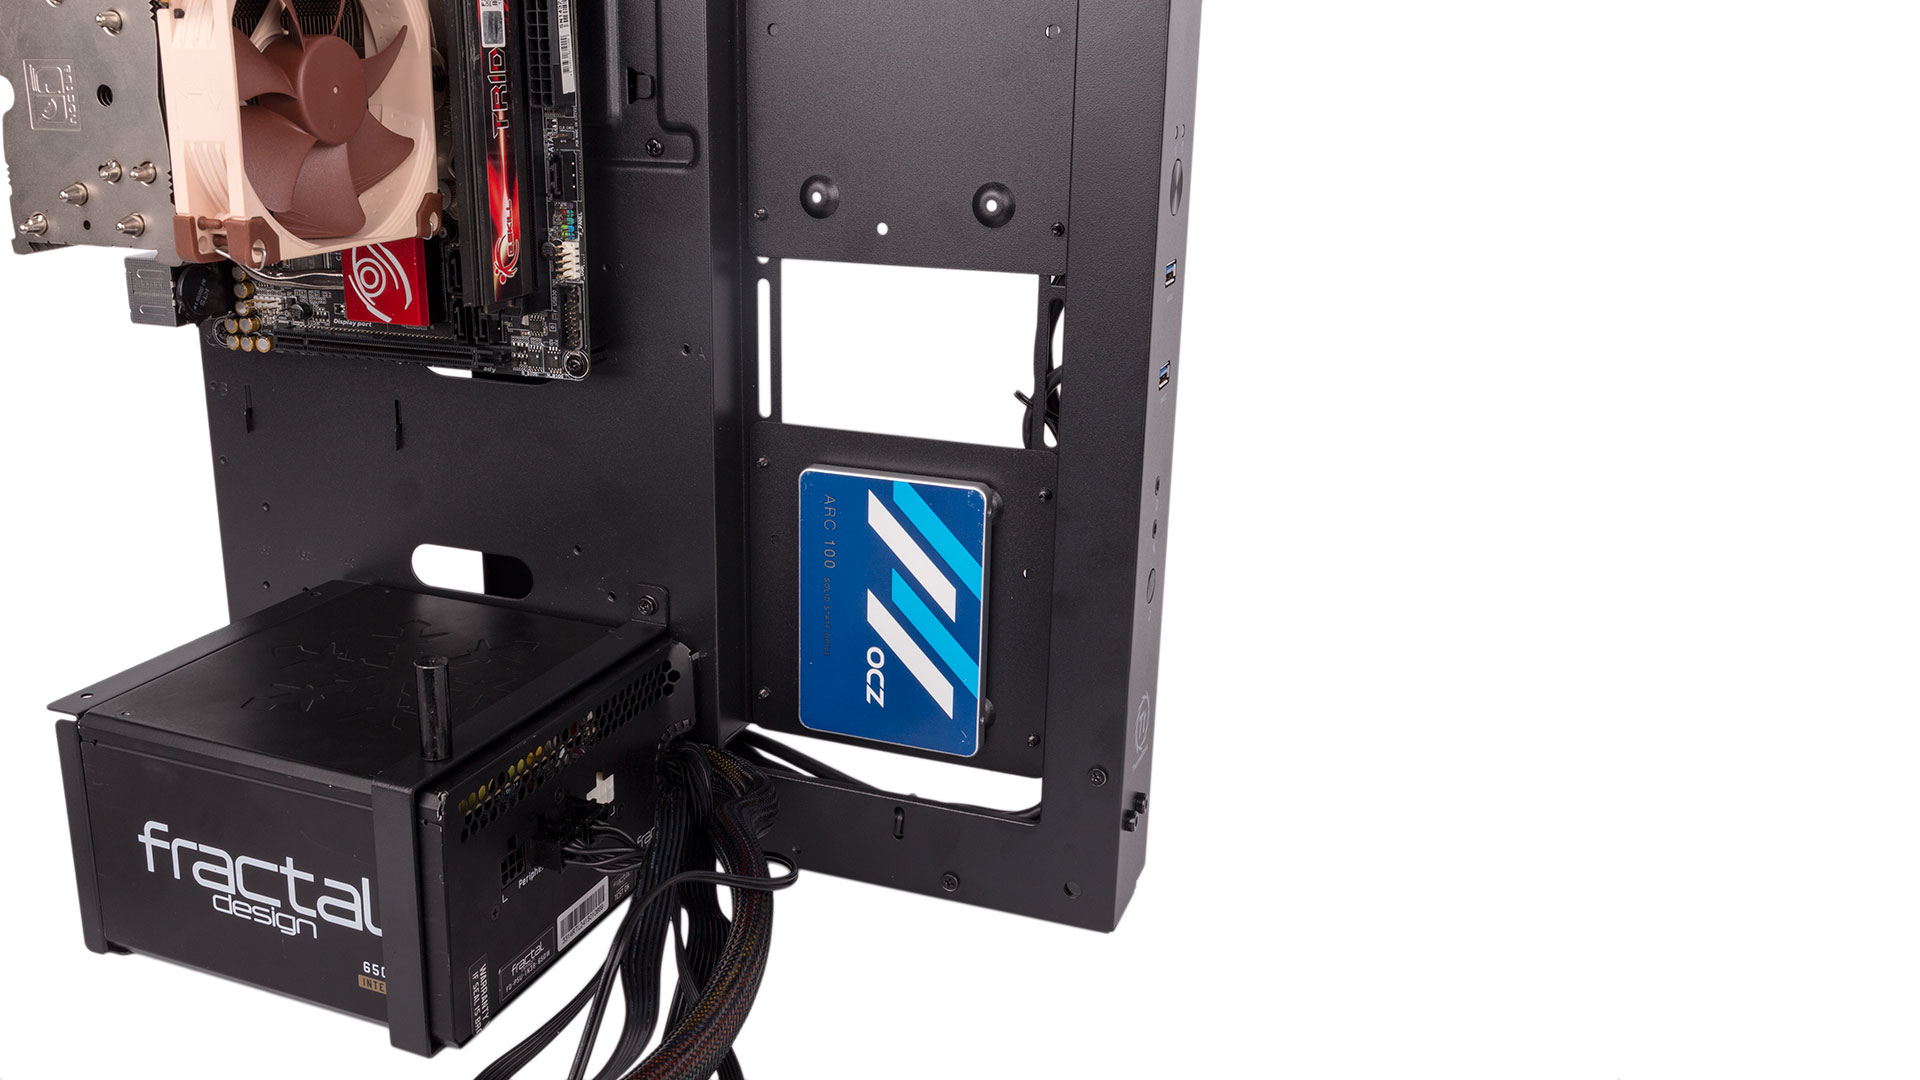
With the back panel removed, two internal drive mounts are revealed: one for 3.5” (tool-free) or 2.5” drives and the other exclusively for the latter. Each tray is held in place with a single thumbscrew for easy removal.
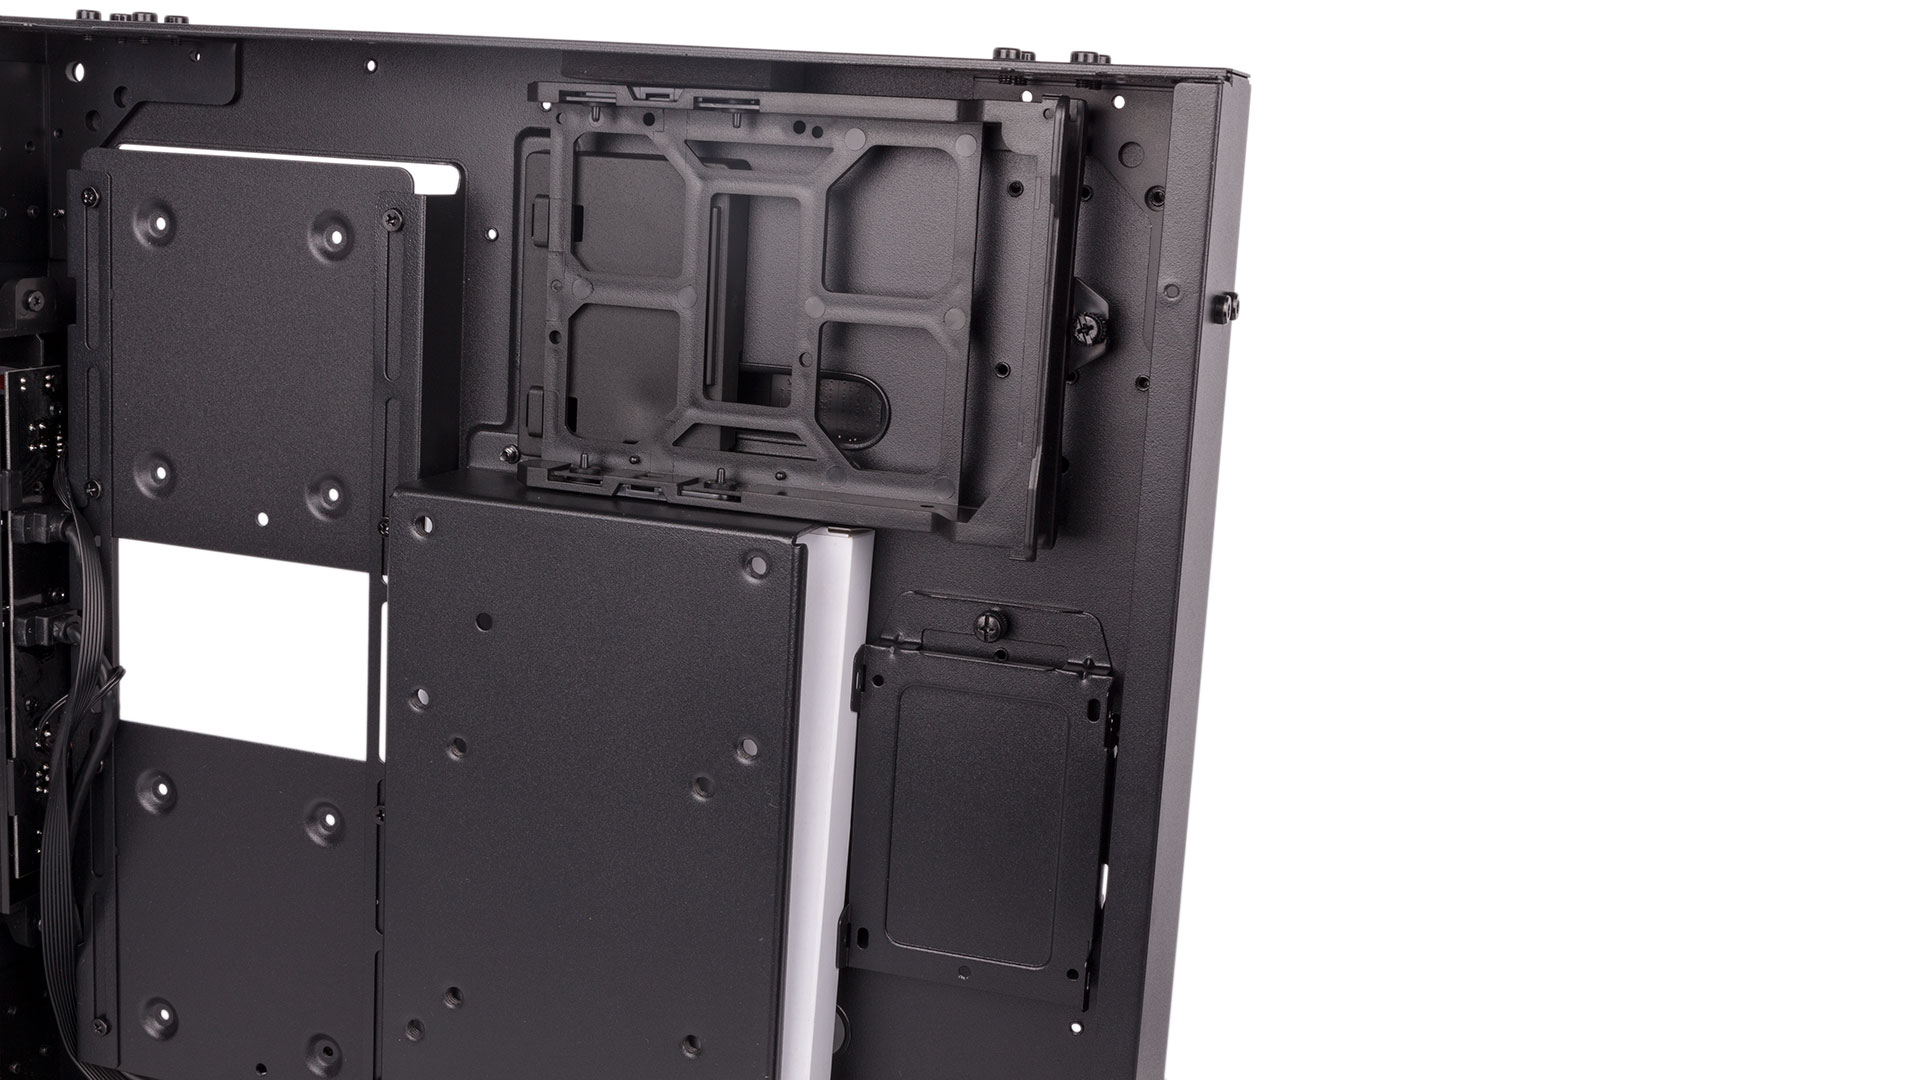
You can also have up to two front-facing 2.5” SSDs if you want to show them off. The brackets for these are attached to the same rails that radiators or fans attach to, so a single 120mm fan or radiator will stop one of these SSD mounts being used while two fans or a 240mm radiator will remove support for both.
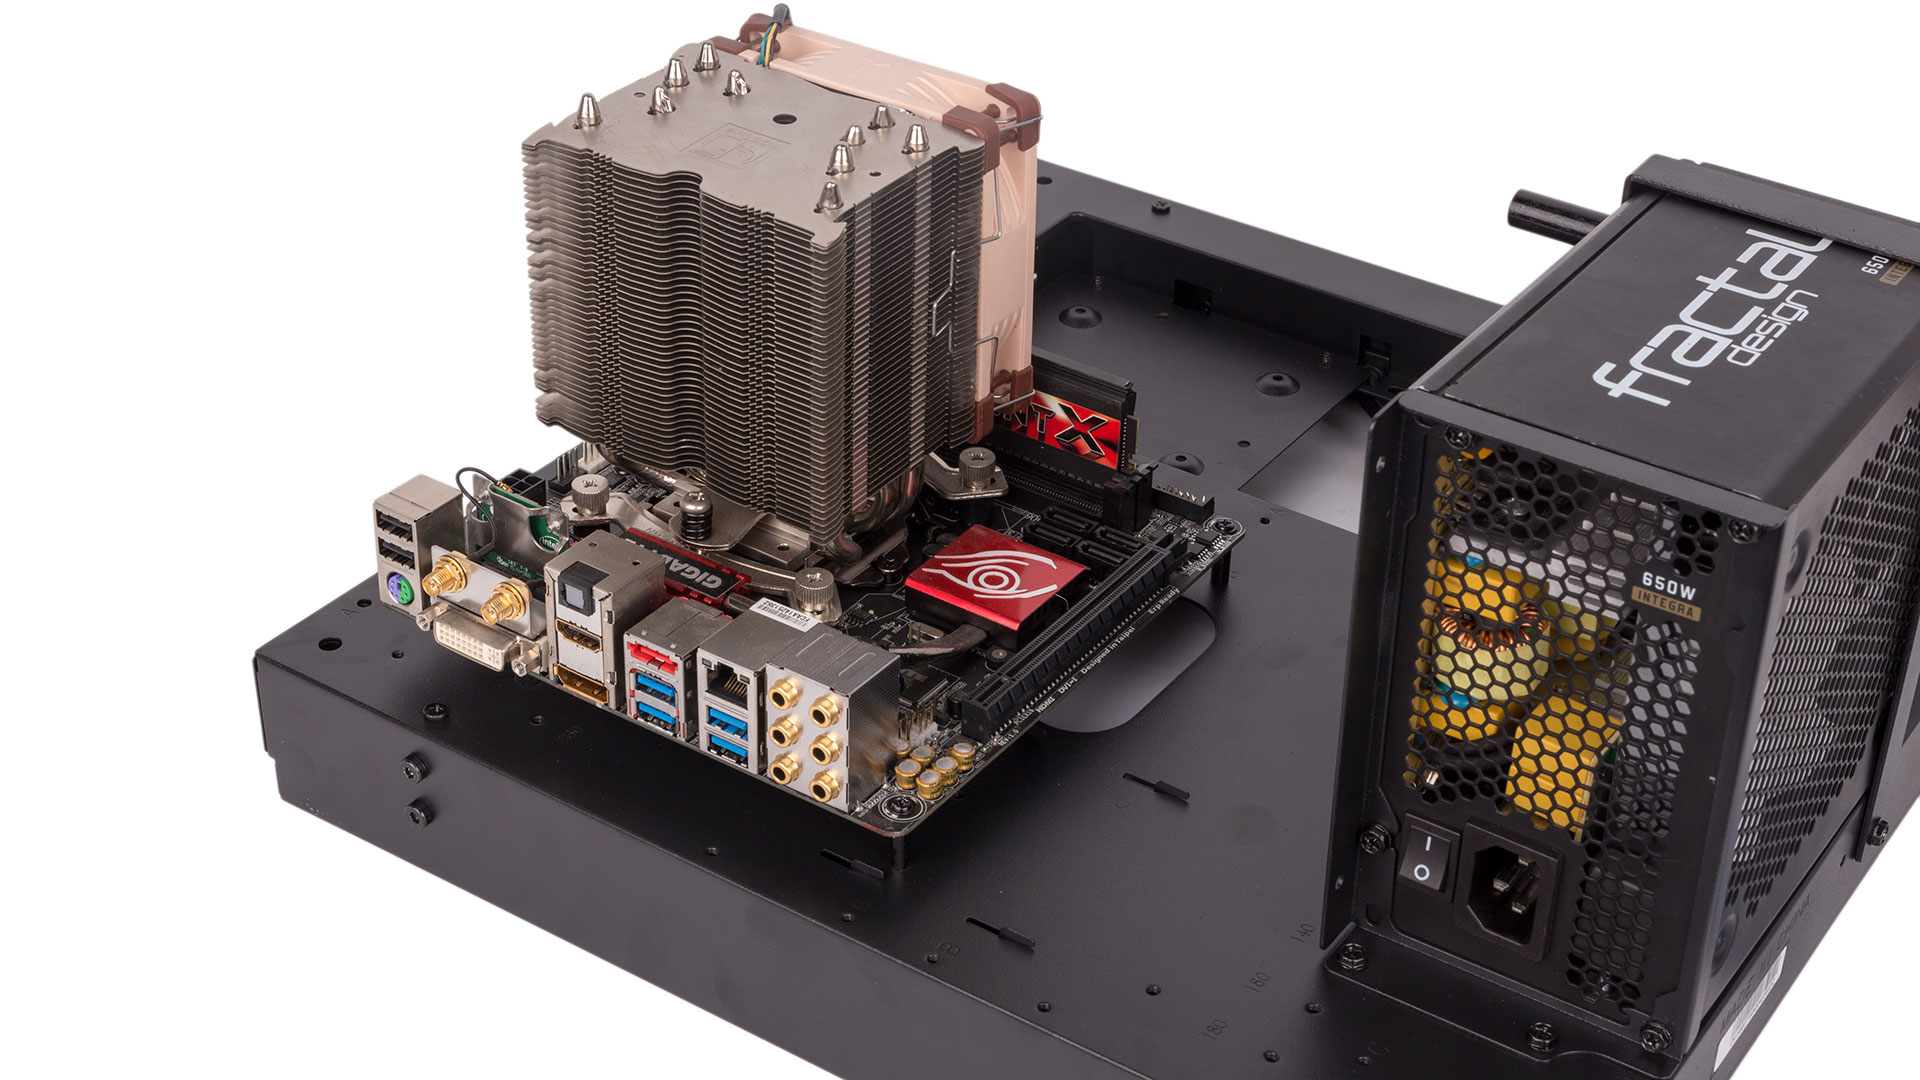
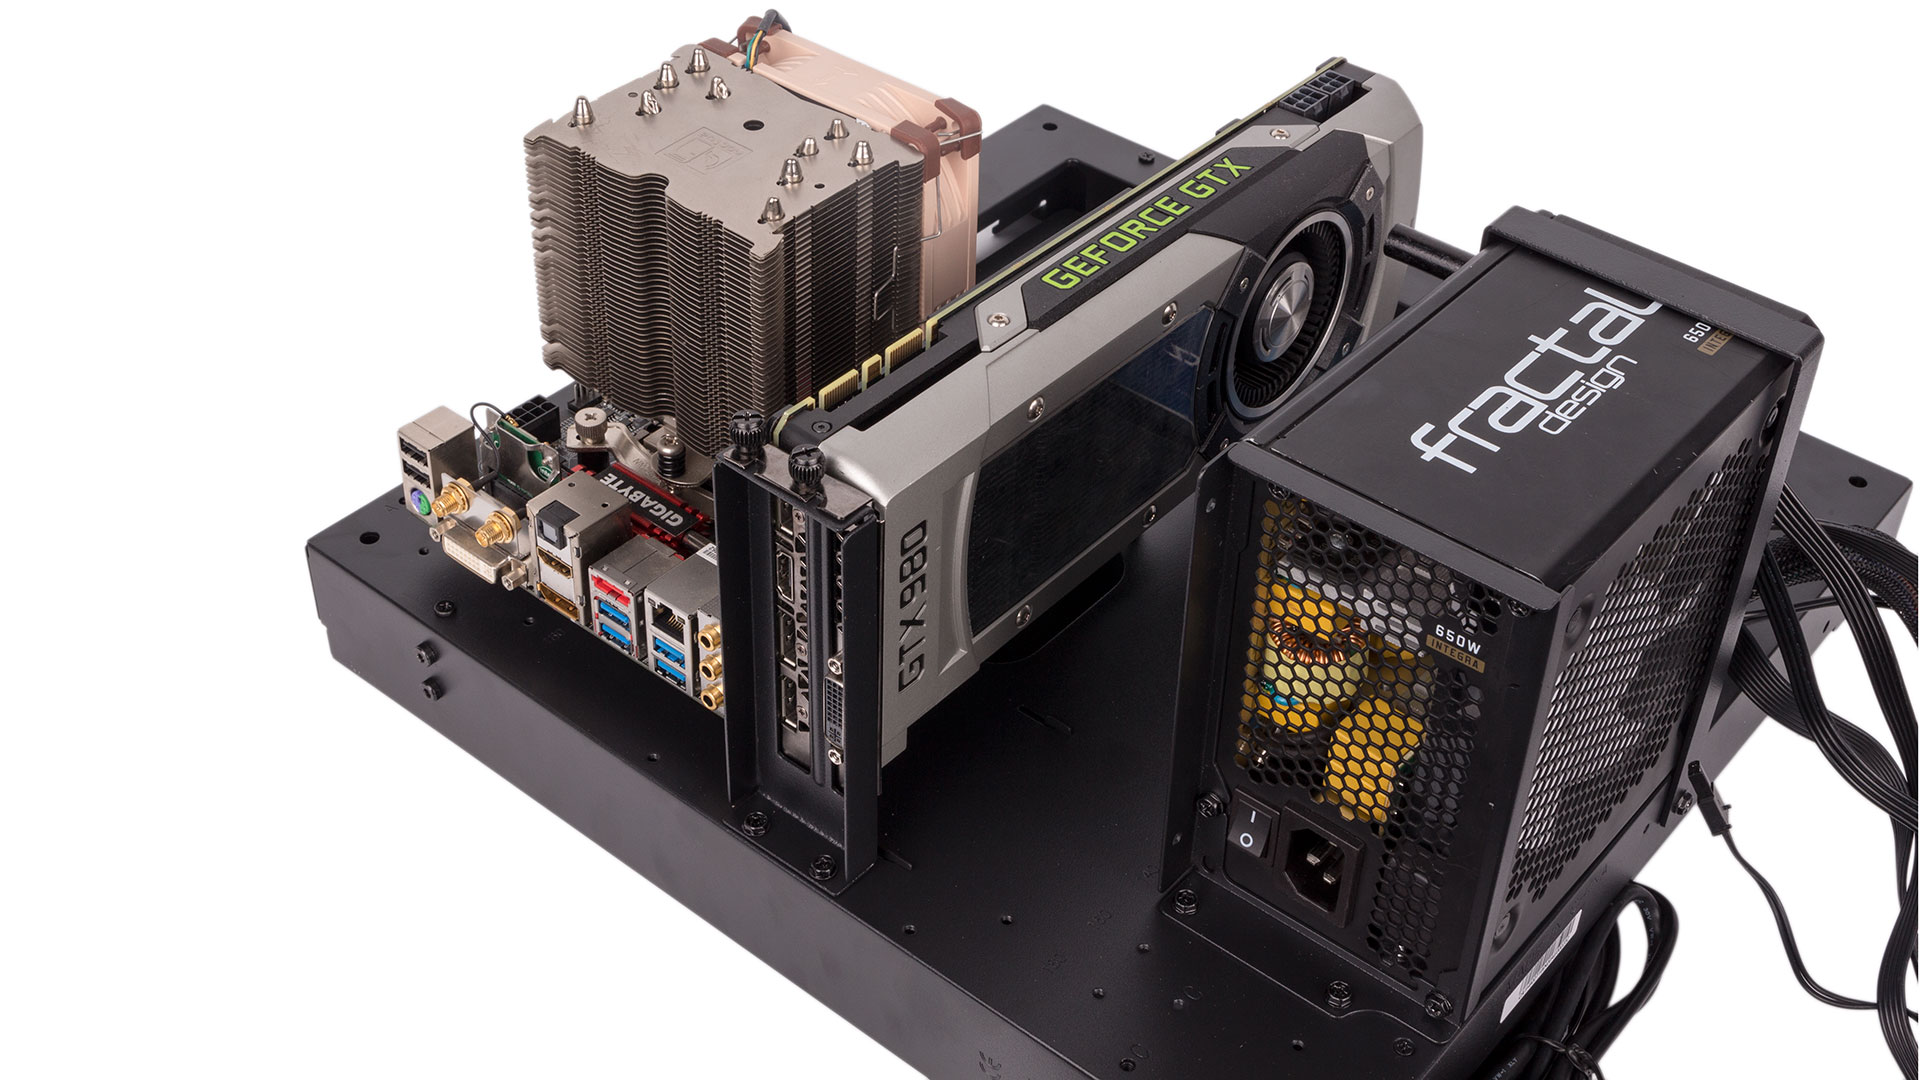
The motherboard is installed in the top-left, and CPU coolers up to 170mm in height are supported, so you can easily put in something beastly and apply a hefty overclock.
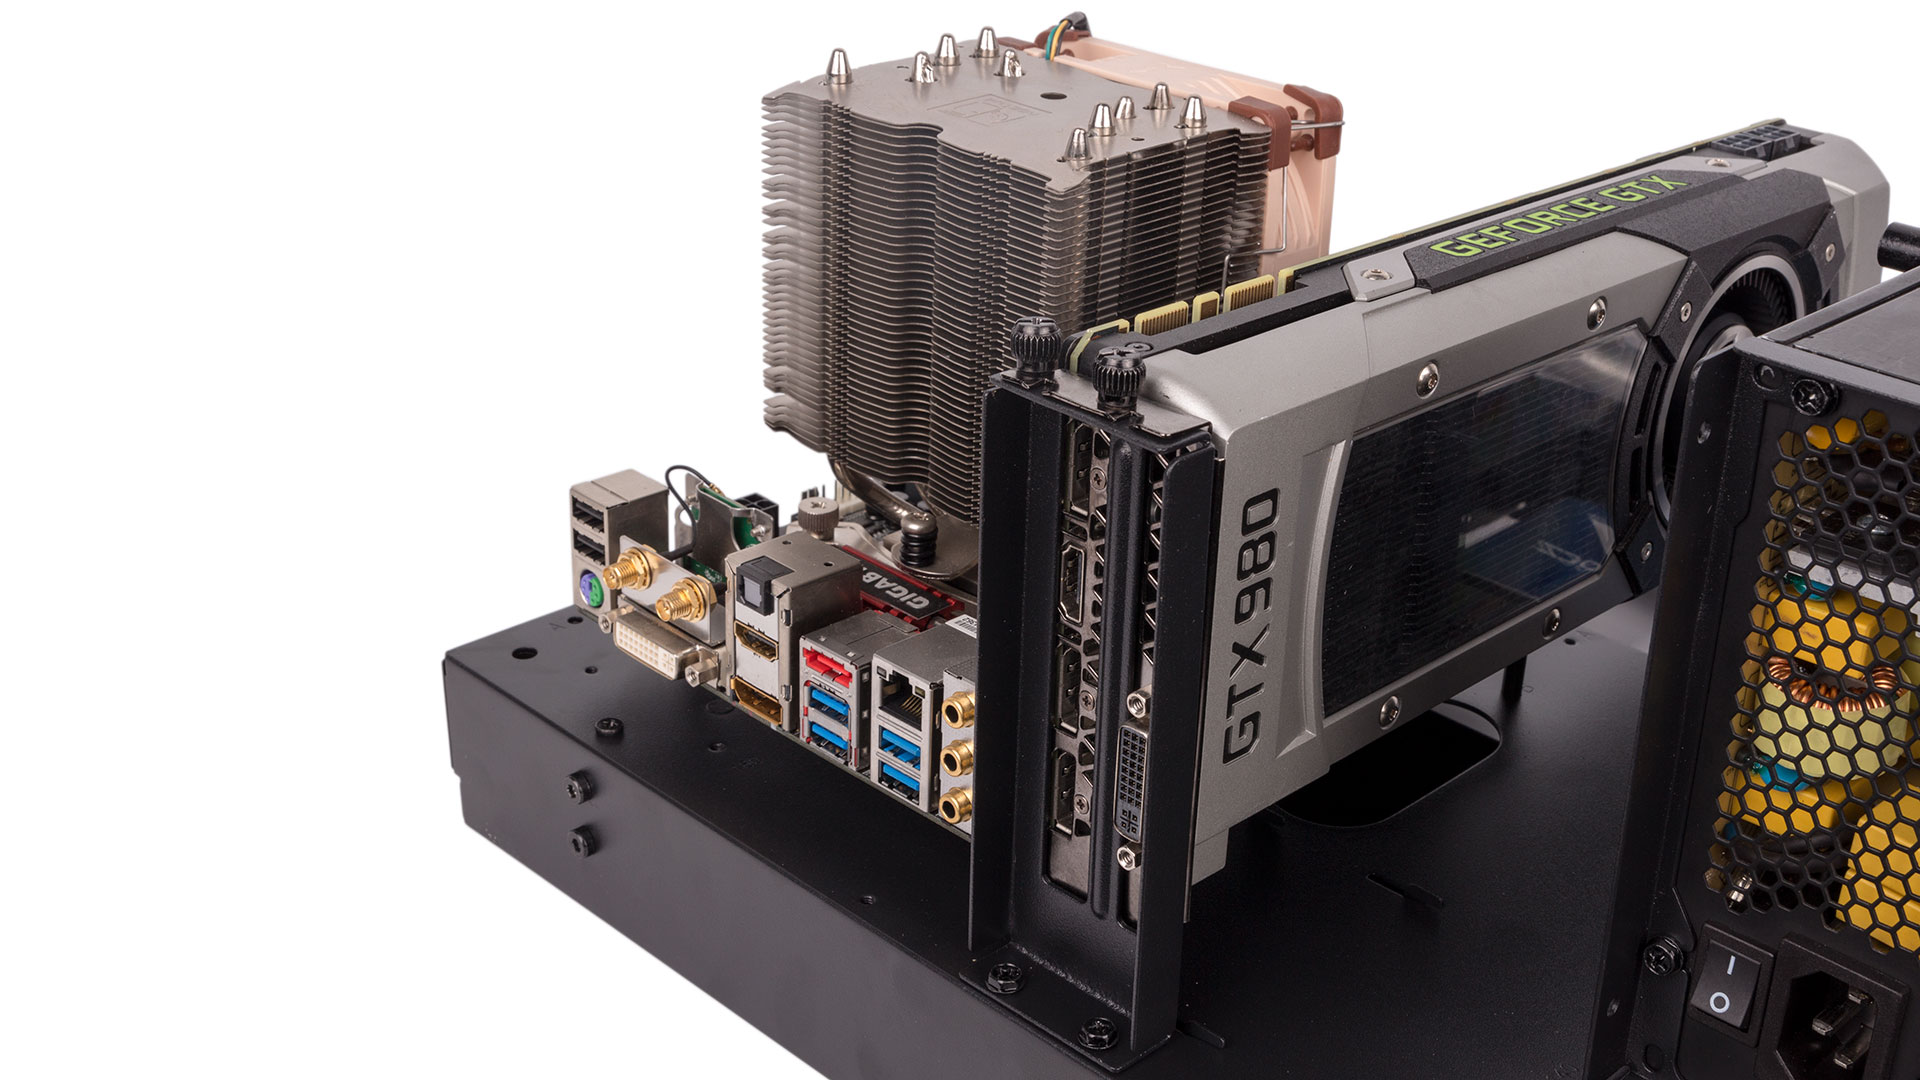
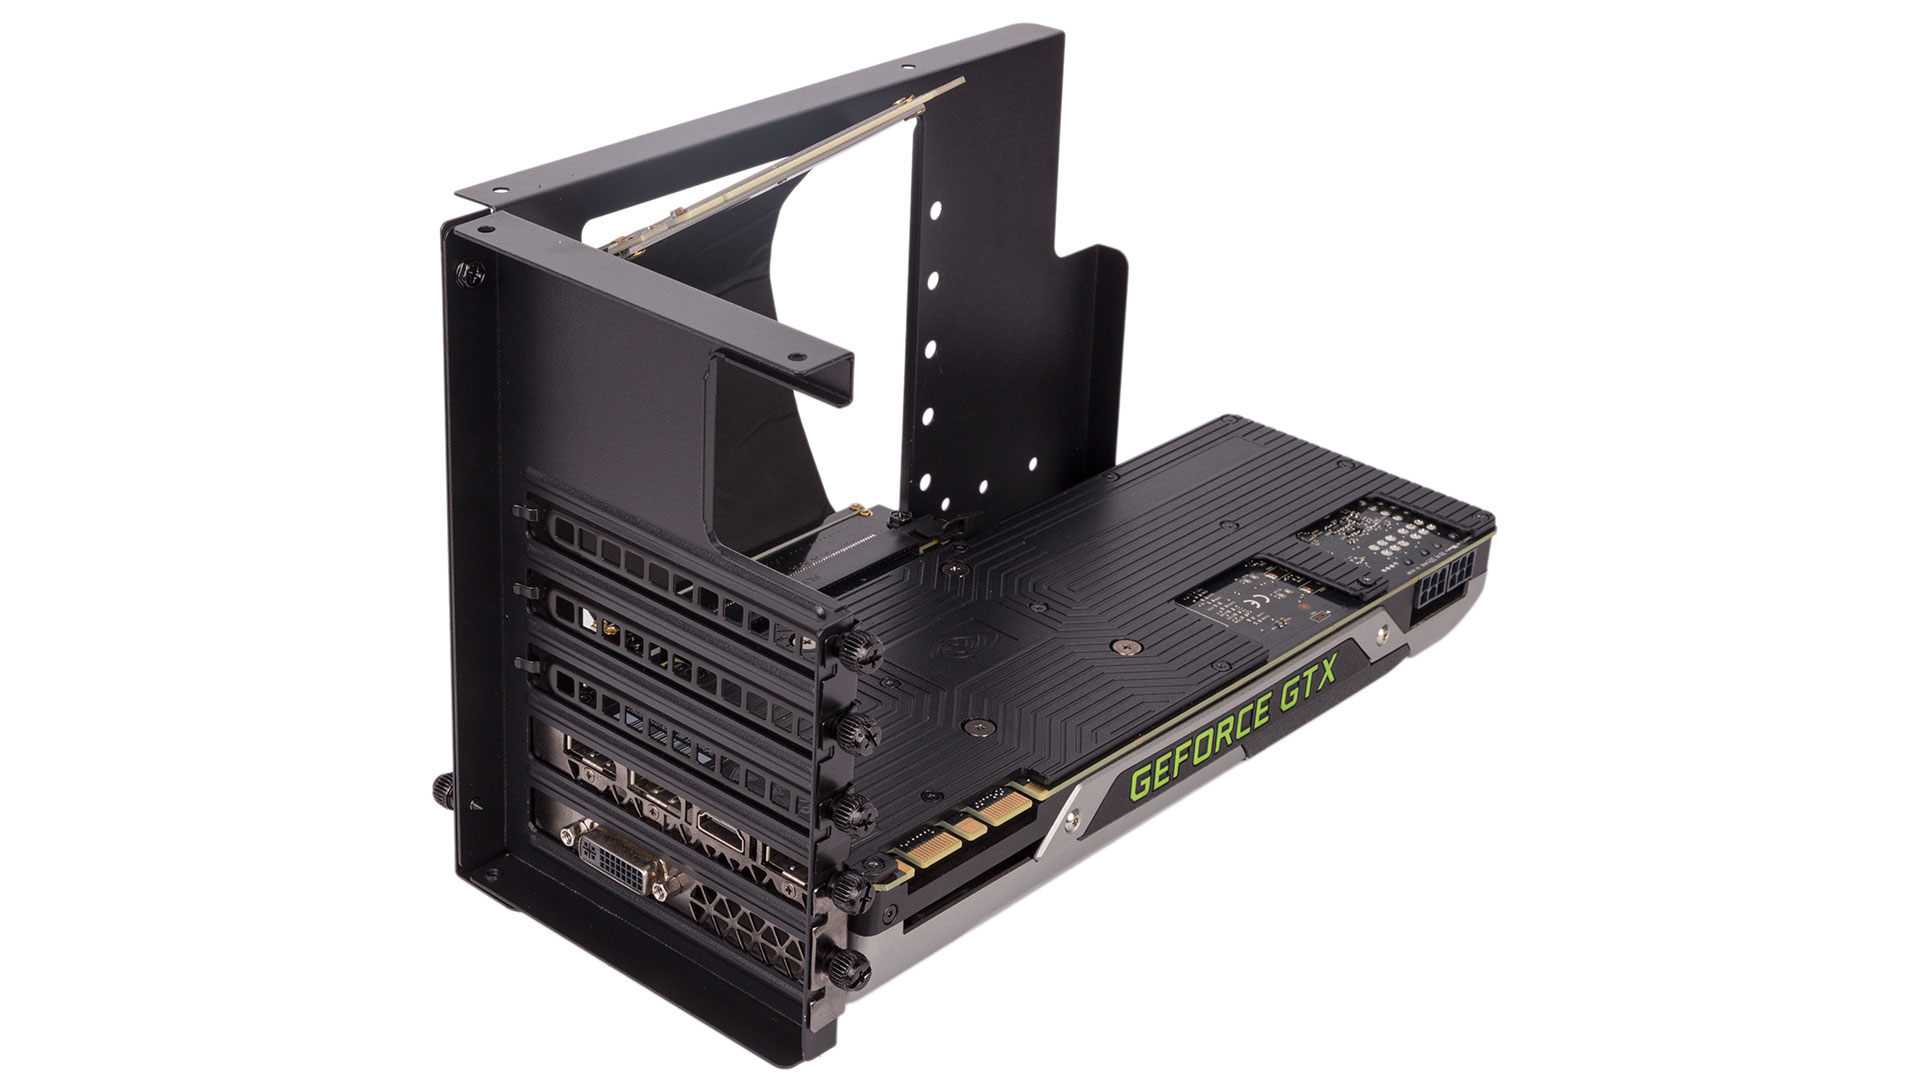
The graphics card can be installed perpendicular to the motherboard as usual with ease, or you can construct a more elaborate mechanism with a series of brackets and a flexible PCIe riser cable that lets you mount it vertically so that the front fascia (or water block) is visible through the tempered glass panel. This will cut down on available CPU cooler height considerably, however, so in that case you'll likely want to use an all-in-one liquid-cooler or even a fully custom solution. The vertical GPU mounting bracket lets you install the GPU in various positions closer to or further away from the motherboard as appropriate to the rest of your hardware, which is a neat feature. The entire frame can also be supported by a beam that attaches to the PSU bracket.

As mentioned, you can install 120mm or 240mm radiators, which gives the Core P1 TG some level of support for all-in-one liquid-coolers. Do note, however, that there is a 122mm width limitation on radiators being installed. Impressively, you can even install a pump/reservoir on a dedicator bracket which is secured to that it extends outwards in front of the PSU.
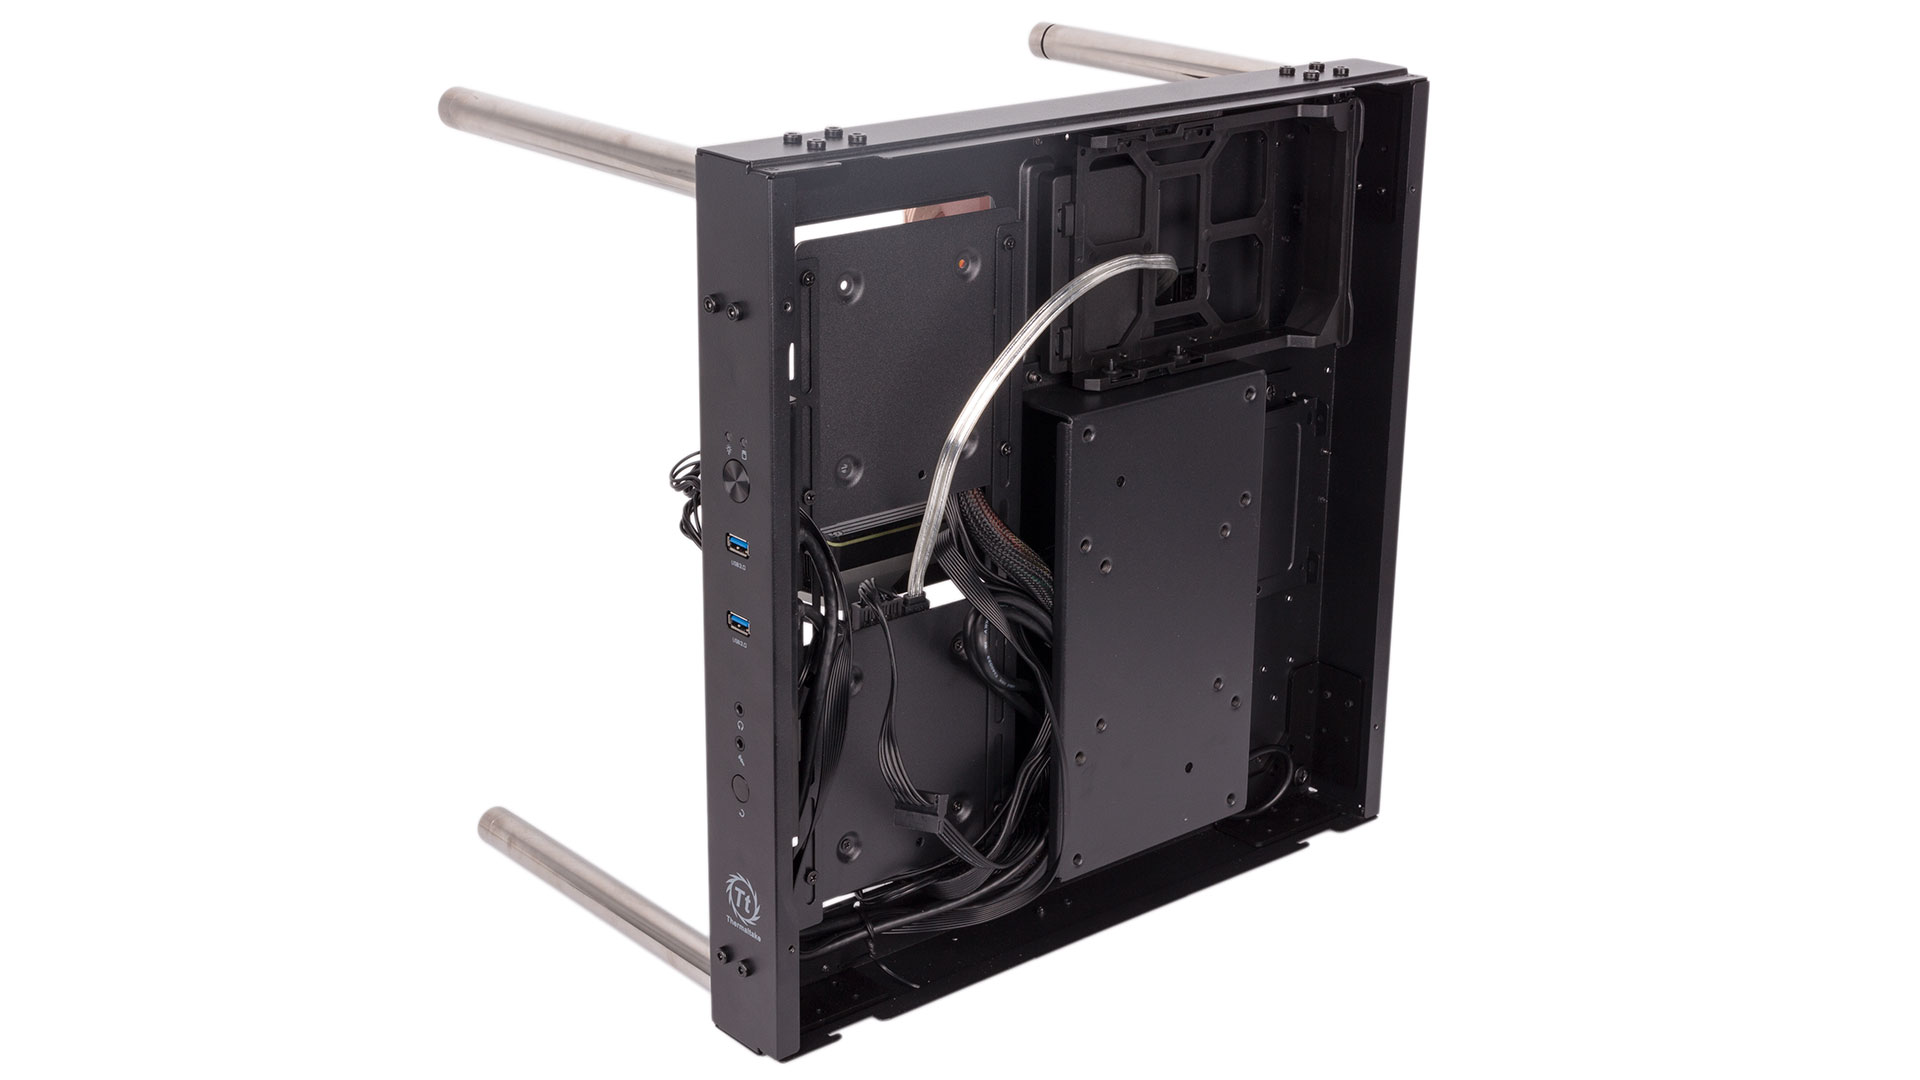
When it comes to cable routing, planning and patience is a must for a good looking build here. Your PSU cables have an easy route into the rear of the case, but the ends of them will still be exposed. Once they're back here, the dedicated bracket is pretty useful for stuffing extra lengths into. However, actually routing the main power cables (EPS, mainboard, and PCIe) to the right connectors without exposing them too much isn't especially easy, and this is probably a case where you'll therefore want a set of cables designed to be seen.
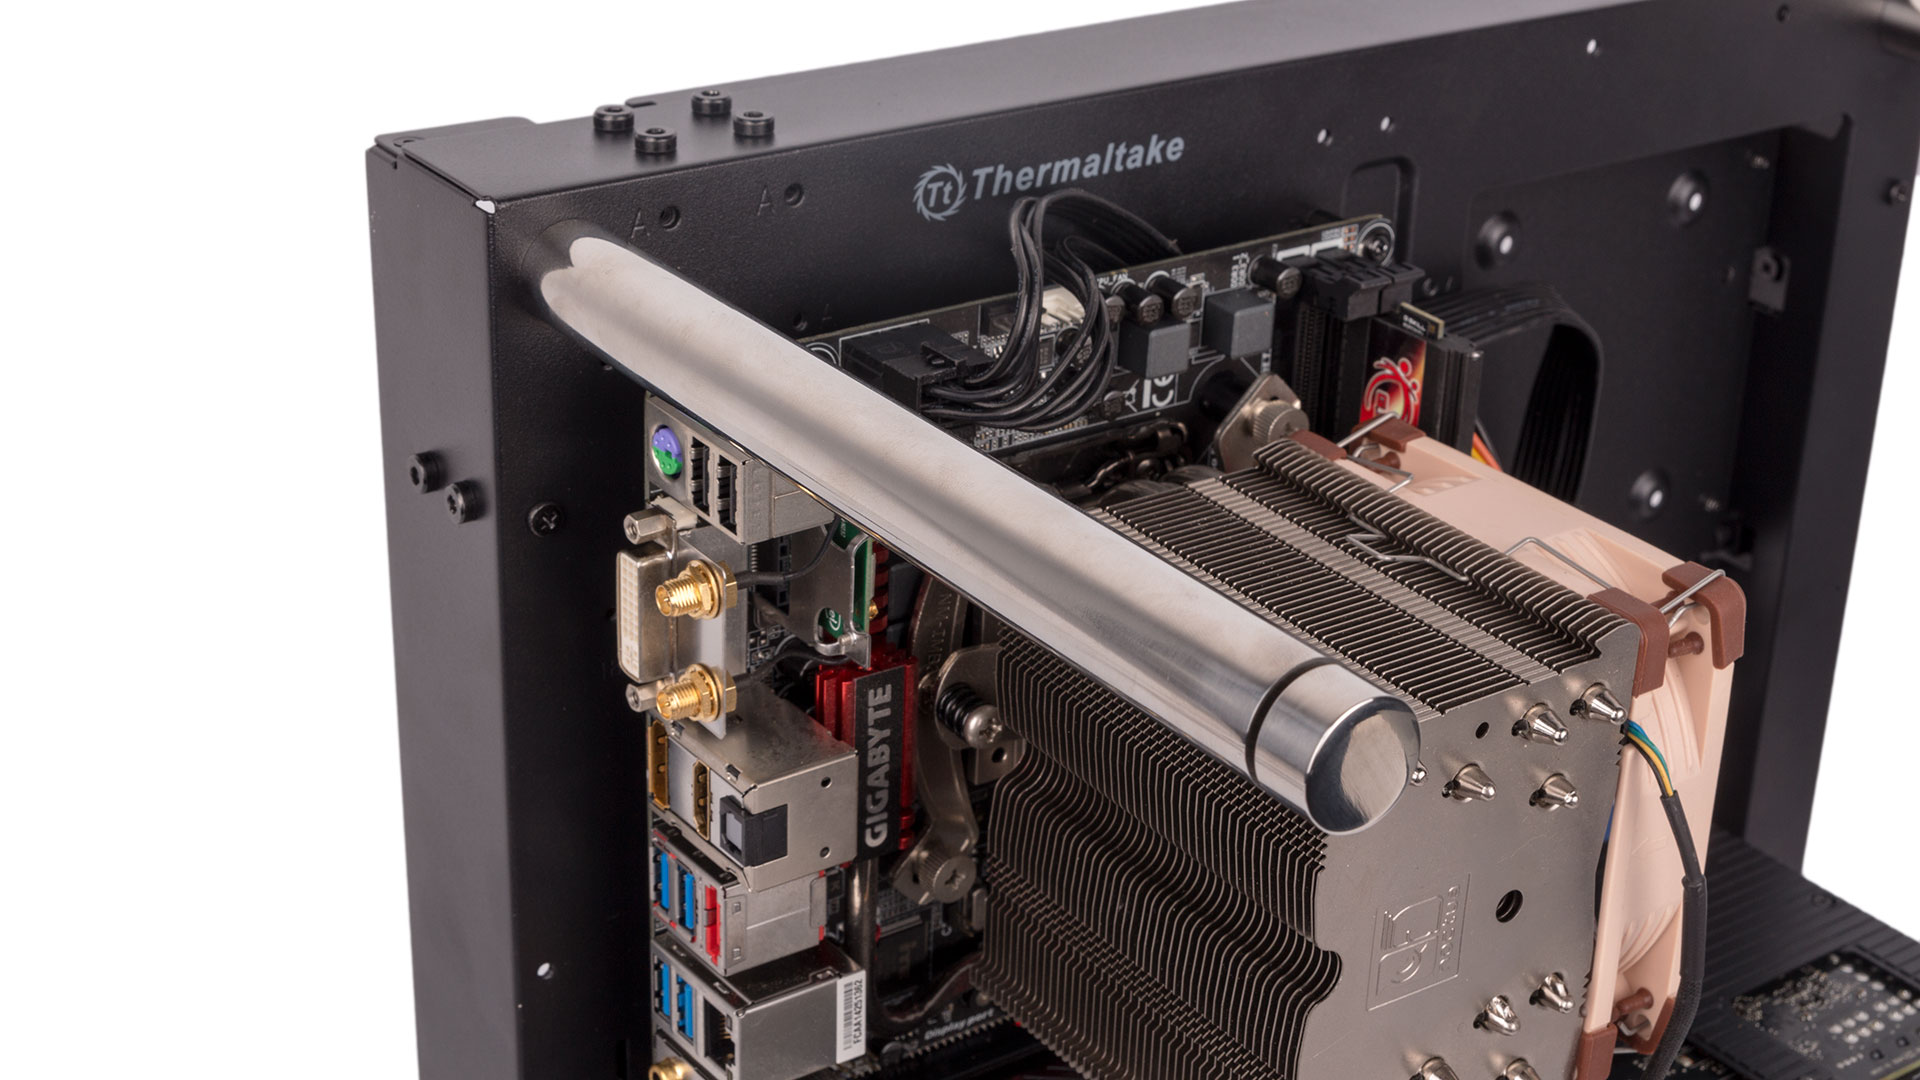
Completing the case involves fixing four very strong metal bars into place and then attached the thick tempered glass panel to the ends of these. Fully assembled, the Core P1 TG is reassuringly weighty and sturdy.
You'll also need to install some feet for the case to stand on. The regular ones that have the hardware displayed vertically are installed with four screws each, so again they are very strong despite being plastic. Alternatively, you can affix four thick rubber feet to the back panel and have a horizontal setup. One final option is to wall-mount the Core P1 TG, but given the niche appeal of this, Thermaltake does not include the necessary brackets by default; you'll have to buy them separately.

MSI MPG Velox 100R Chassis Review
October 14 2021 | 15:04



Want to comment? Please log in.