
Interior
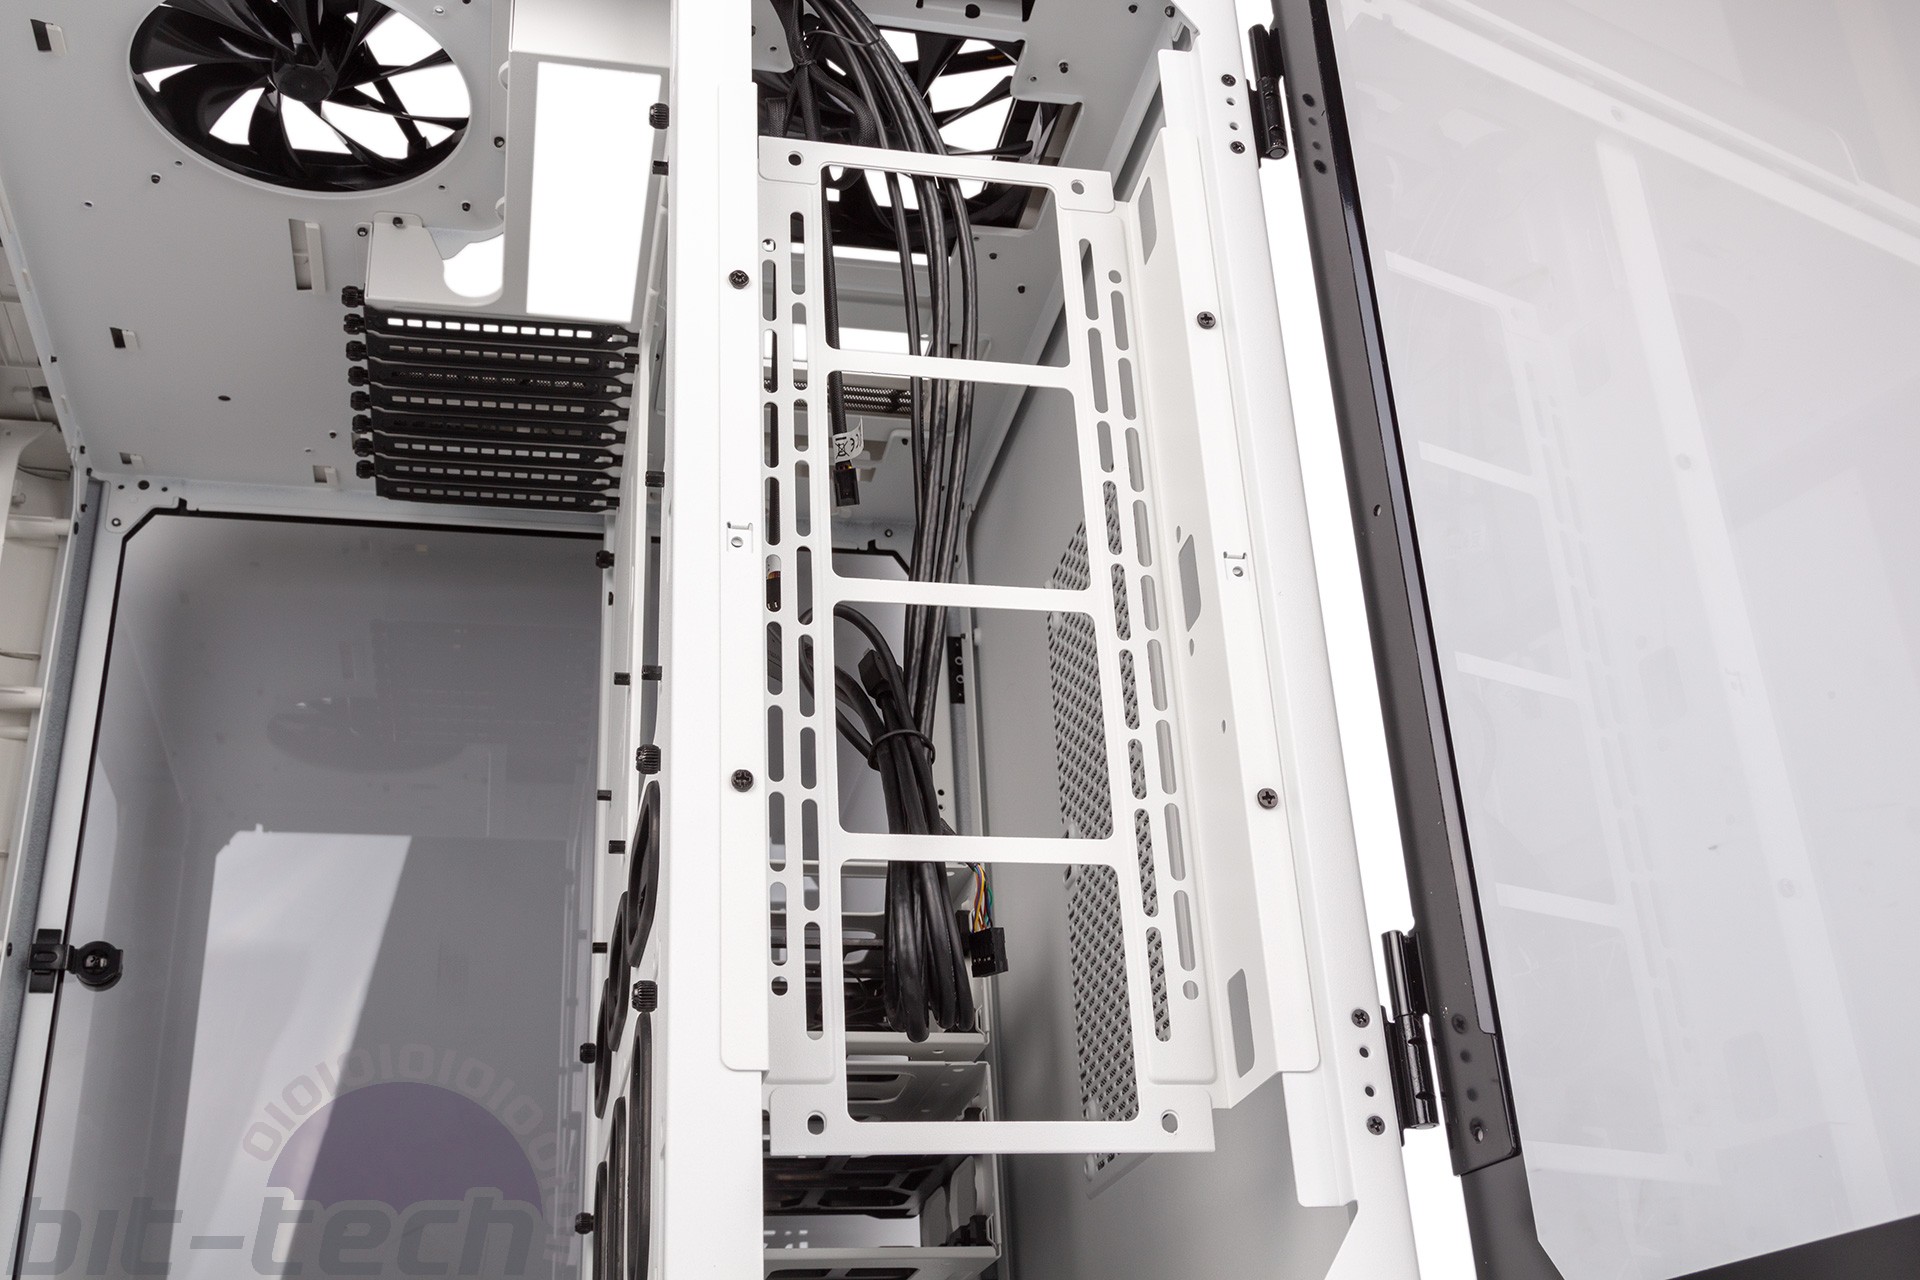
As discussed, accessing the Level 20 HT’s cavernous innards is easy if a tad clumsy. Once inside, you’ll find the rotated motherboard tray acting as the dividing wall, flanked to the south by a separate cable management bracket on the same plane. With the tray recessed as much as it is, component clearance levels are predictably massive: 260mm for CPU coolers and 400mm for graphics cards.
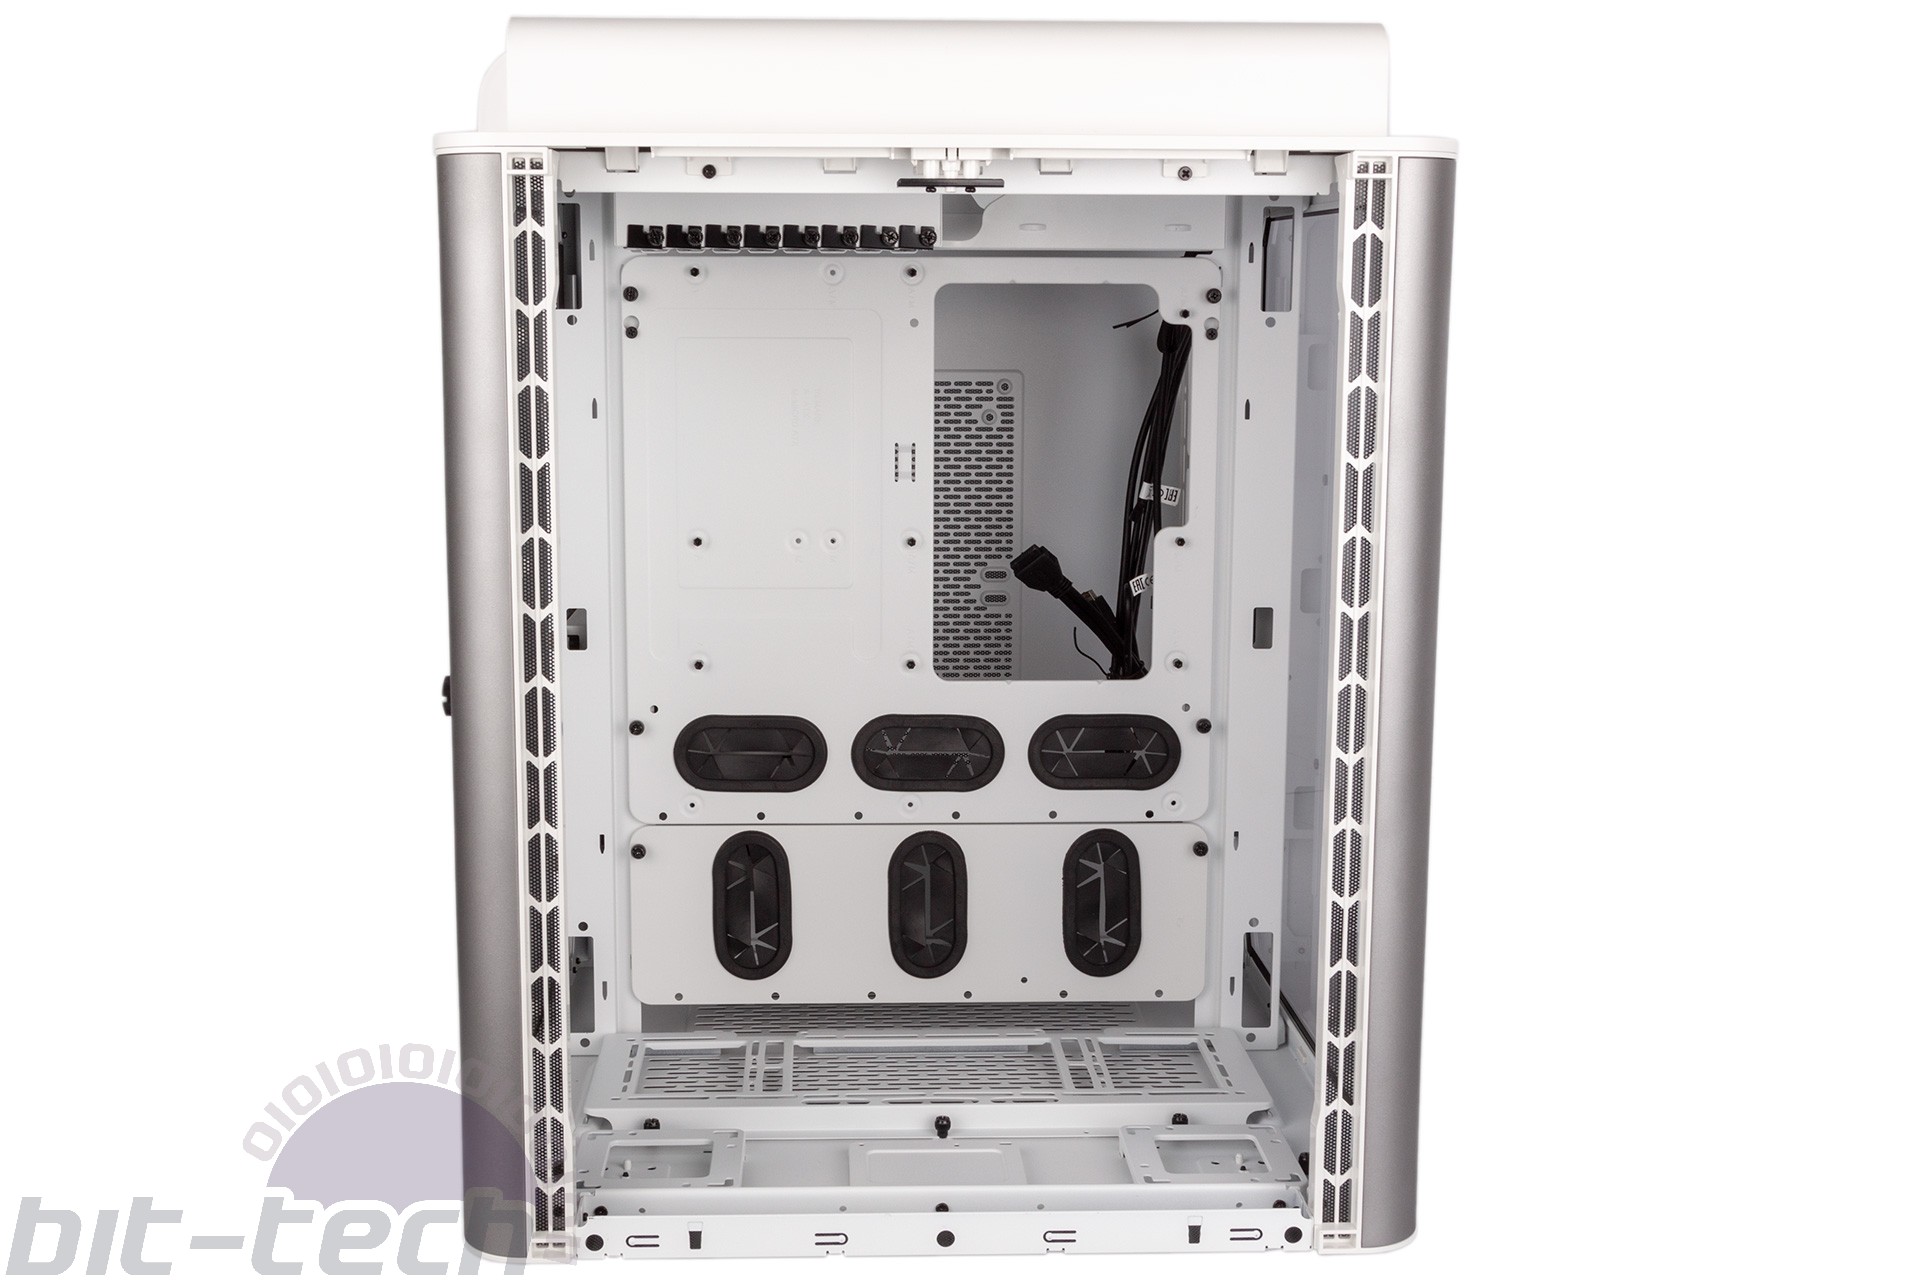
The interior is also rather modular, with many brackets and plates being removable, although this is more to aid installation than to enable alternative layouts – the core layout is fixed, but there is scope to swap the position of a few things. In the case of the motherboard tray and cable management plate, there’s room for improvement, as the thumbscrews used are not captive. The motherboard tray itself comes with pre-installed standoffs, a massive cutout for CPU cooler backplates, and thumbscrews on the expansion slot covers.
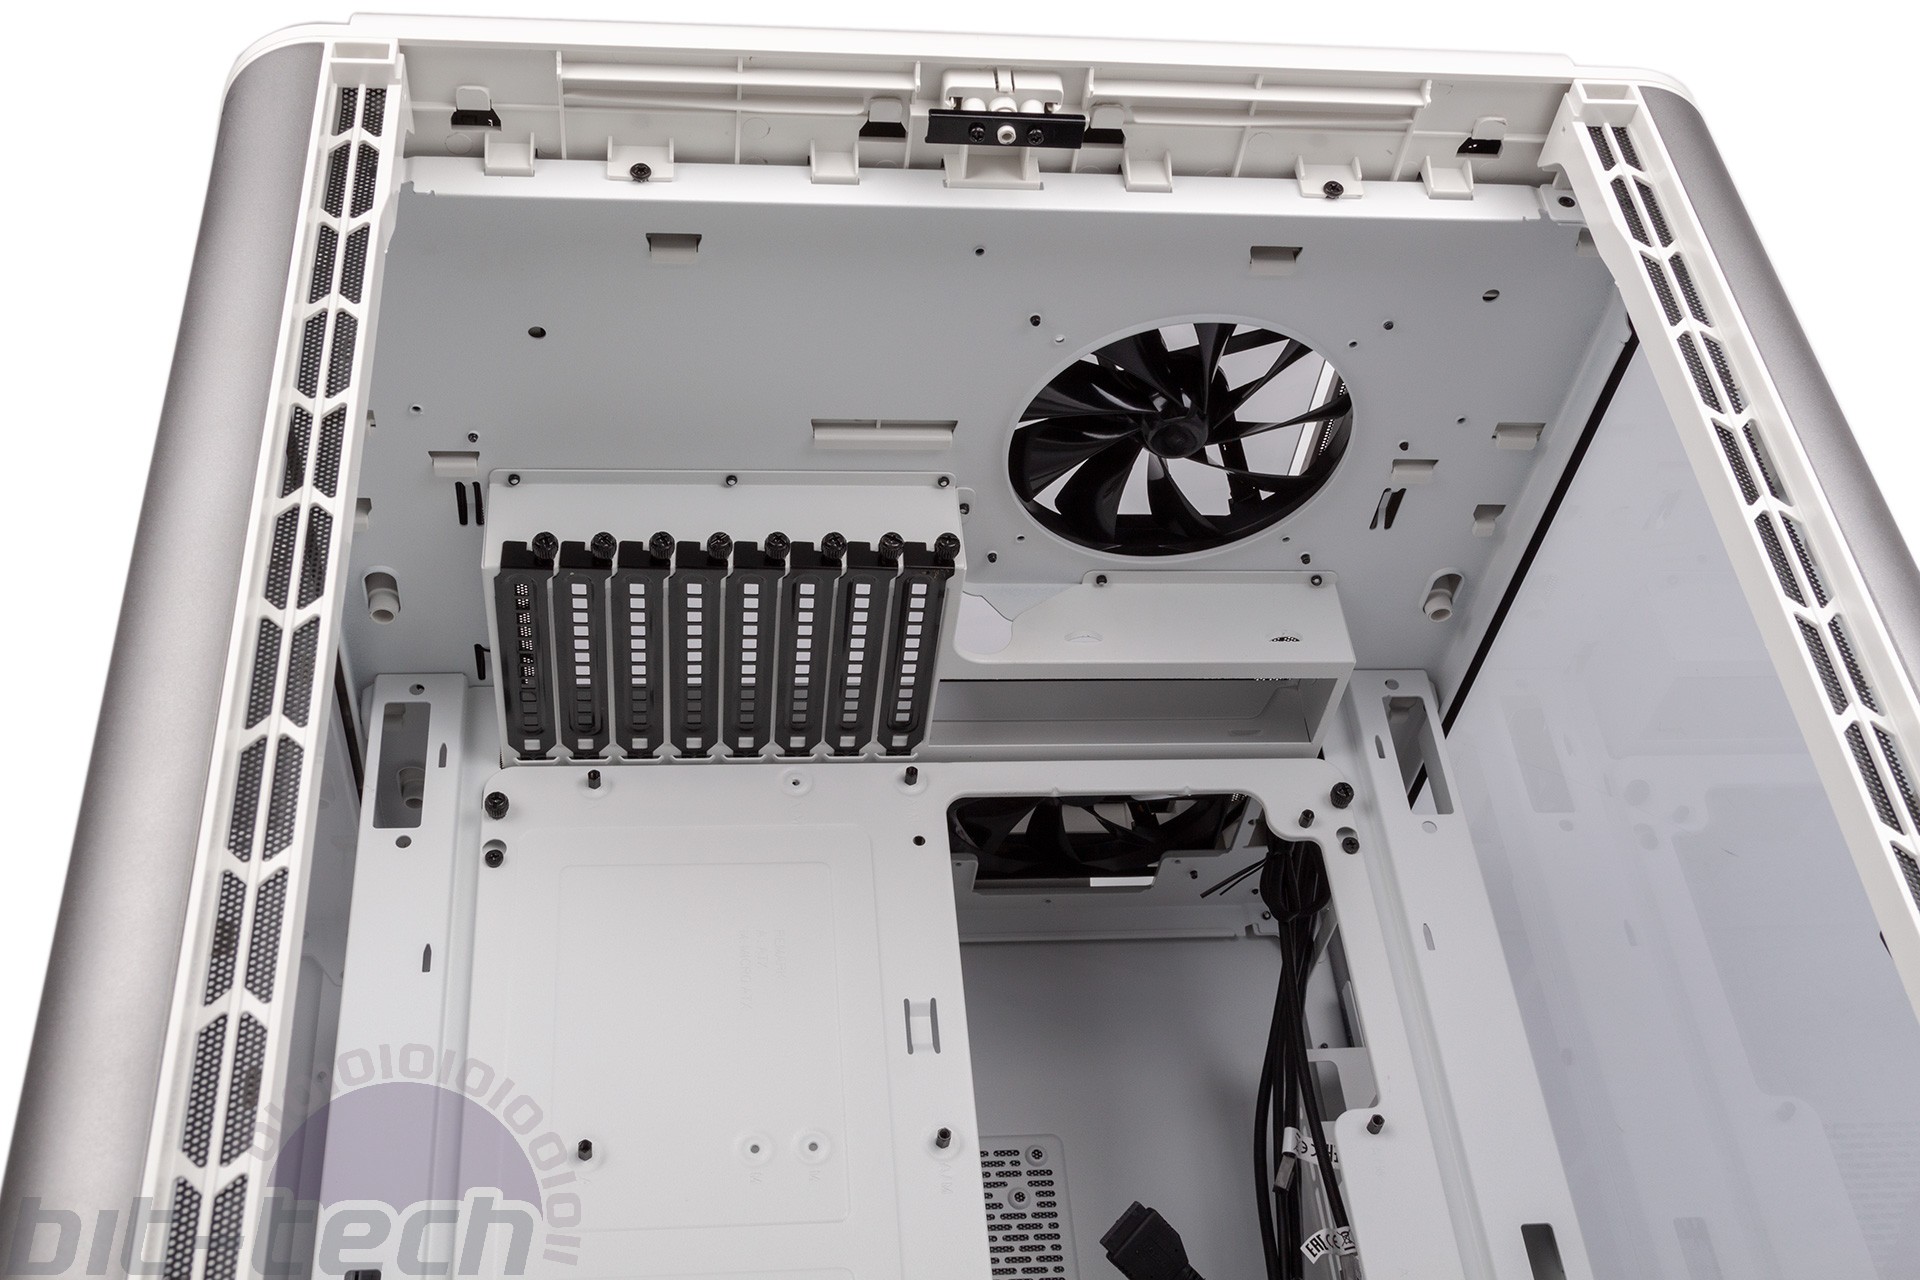
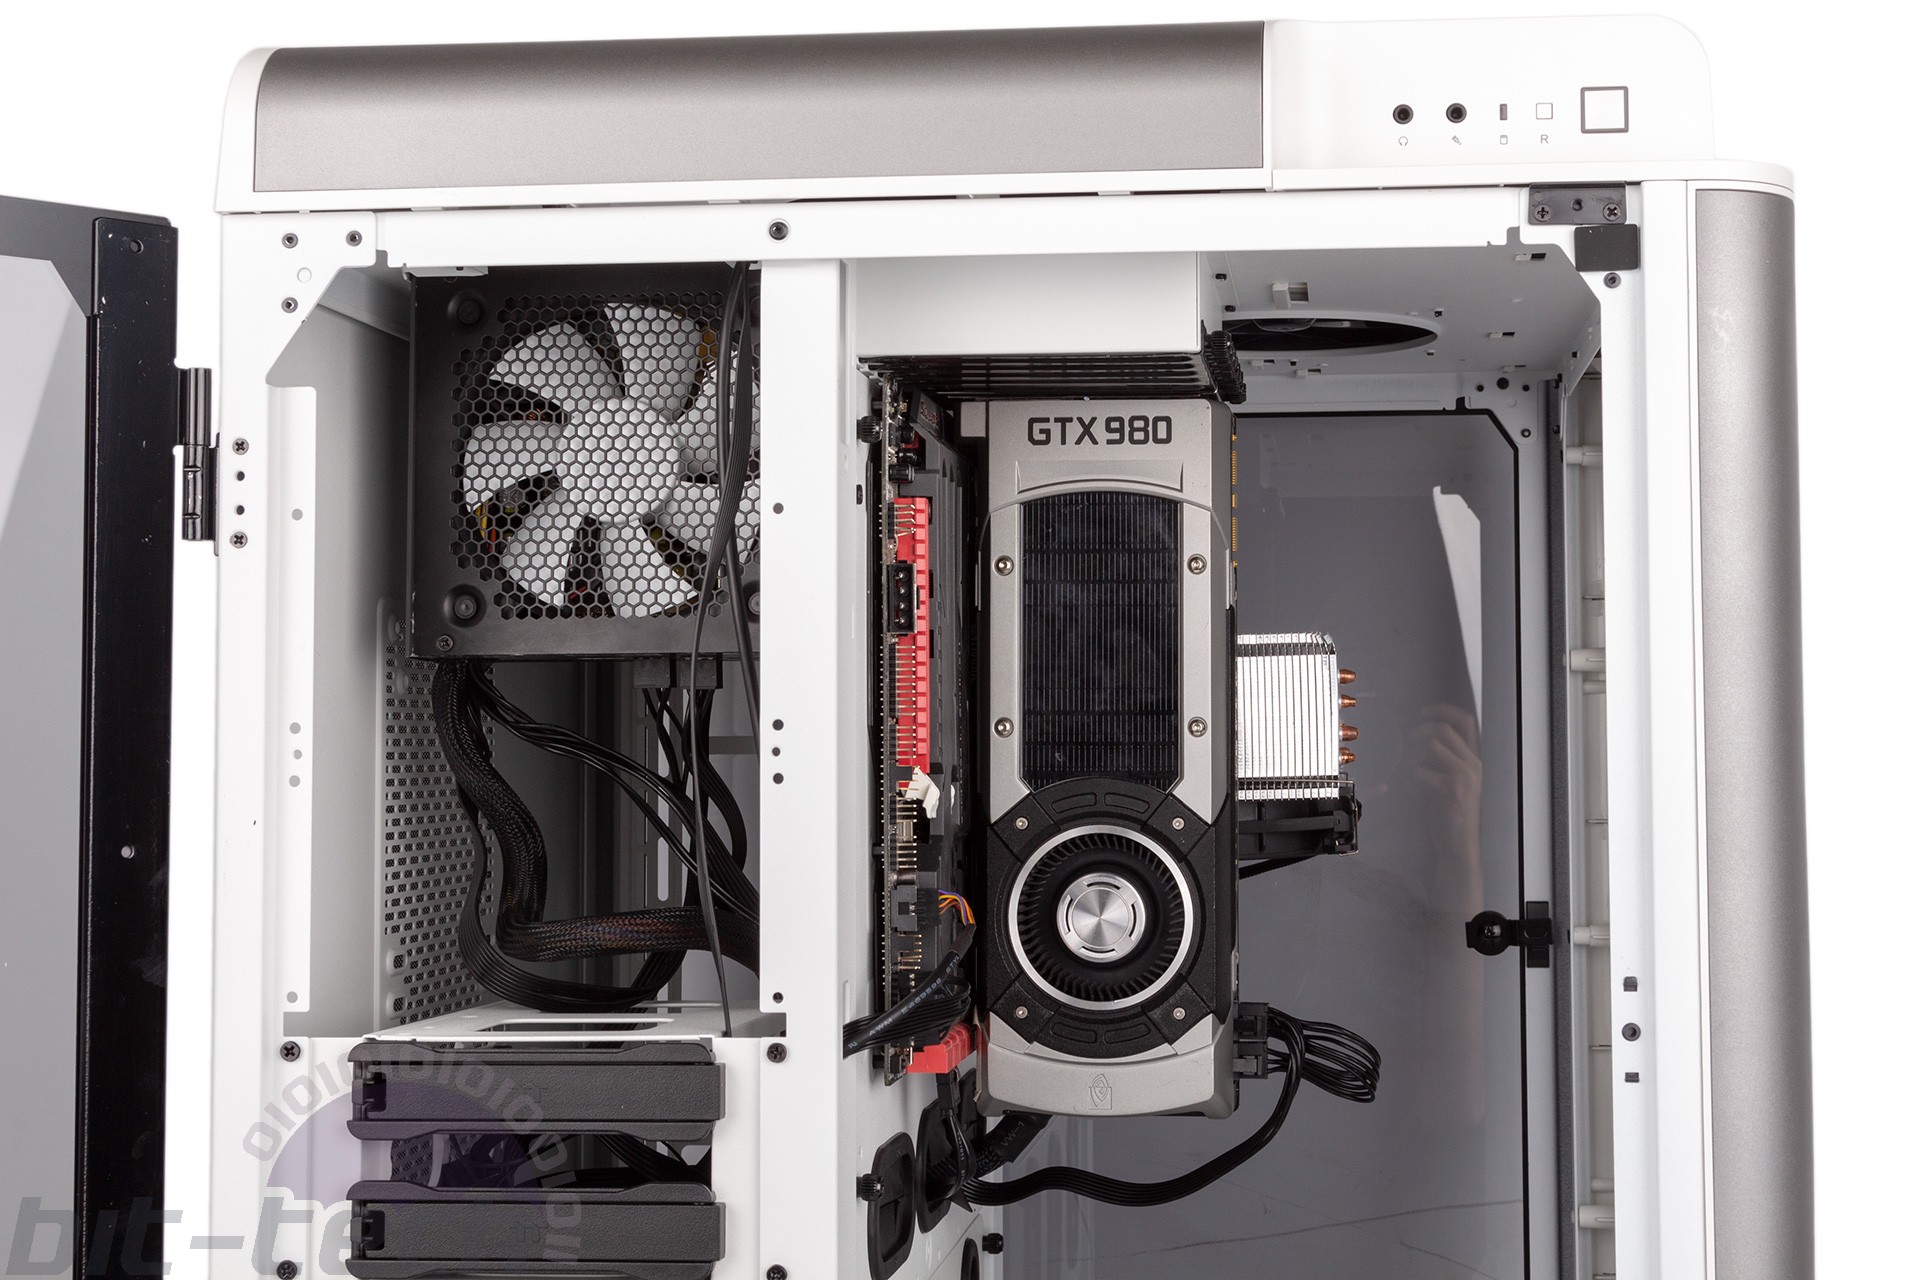
While users get a good view of the motherboard/CPU water block through the front, then, the same isn’t true of the GPU, which is best viewed through the side. It would have been a good idea to include a bracket allowing single-GPU users to rotate their GPU through 90 degrees and have the front of the cooler (or water block) also facing the front of the case – potentially very striking if colour-coordinated with fluid and/or RGB lighting.
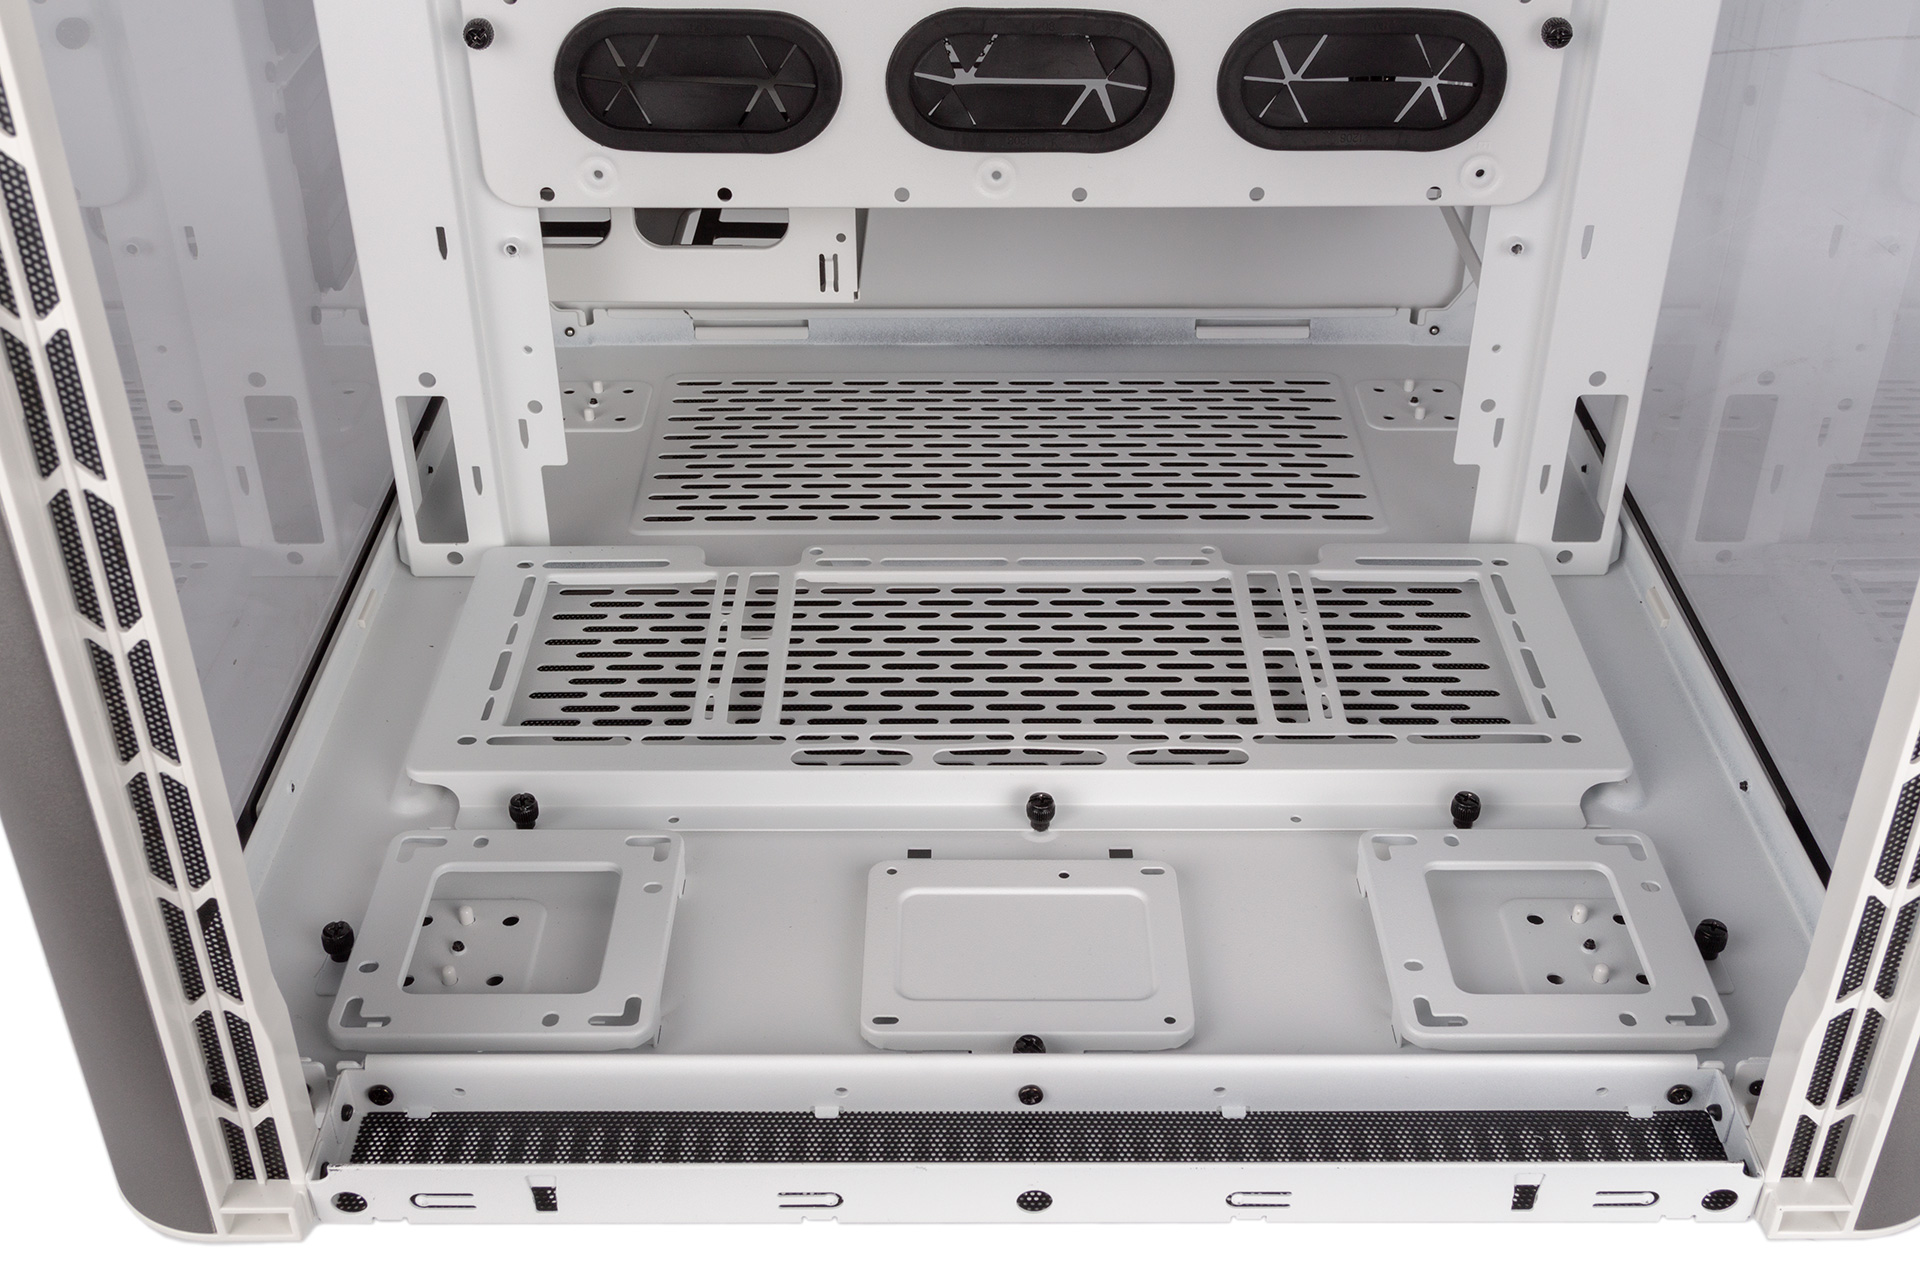
On the floor of the front chamber are four separate brackets, again all independently removable but again using non-captive thumbscrews. The large one is a fan/radiator bracket with 360mm radiator support and room above for very thick radiators in push-pull. Note, however, that push fans will be hidden by the radiator and pull fans will have their rear sides exposed rather than the more aesthetically pleasing front side – something to bear in mind given the showcase ambitions here. Also, thick radiators will really start to impede on the level of accessibility to the cable management/tubing bracket behind, although you could easily just leave it out of the build.
At the very front you have not one but two pump brackets and a single dedicated 2.5” drive bracket, and the position of these can be swapped around to suit your build. With the full height of the case above these, even massive pump/res units will see a fair bit of space wasted in this front cavern, but it makes sense to give users the option for dual loops, as you could run one colour fluid through the GPU(s) and one through the CPU. However, we think Thermaltake has missed another trick but not incorporating anti-vibration rubber into the design of the pump brackets.
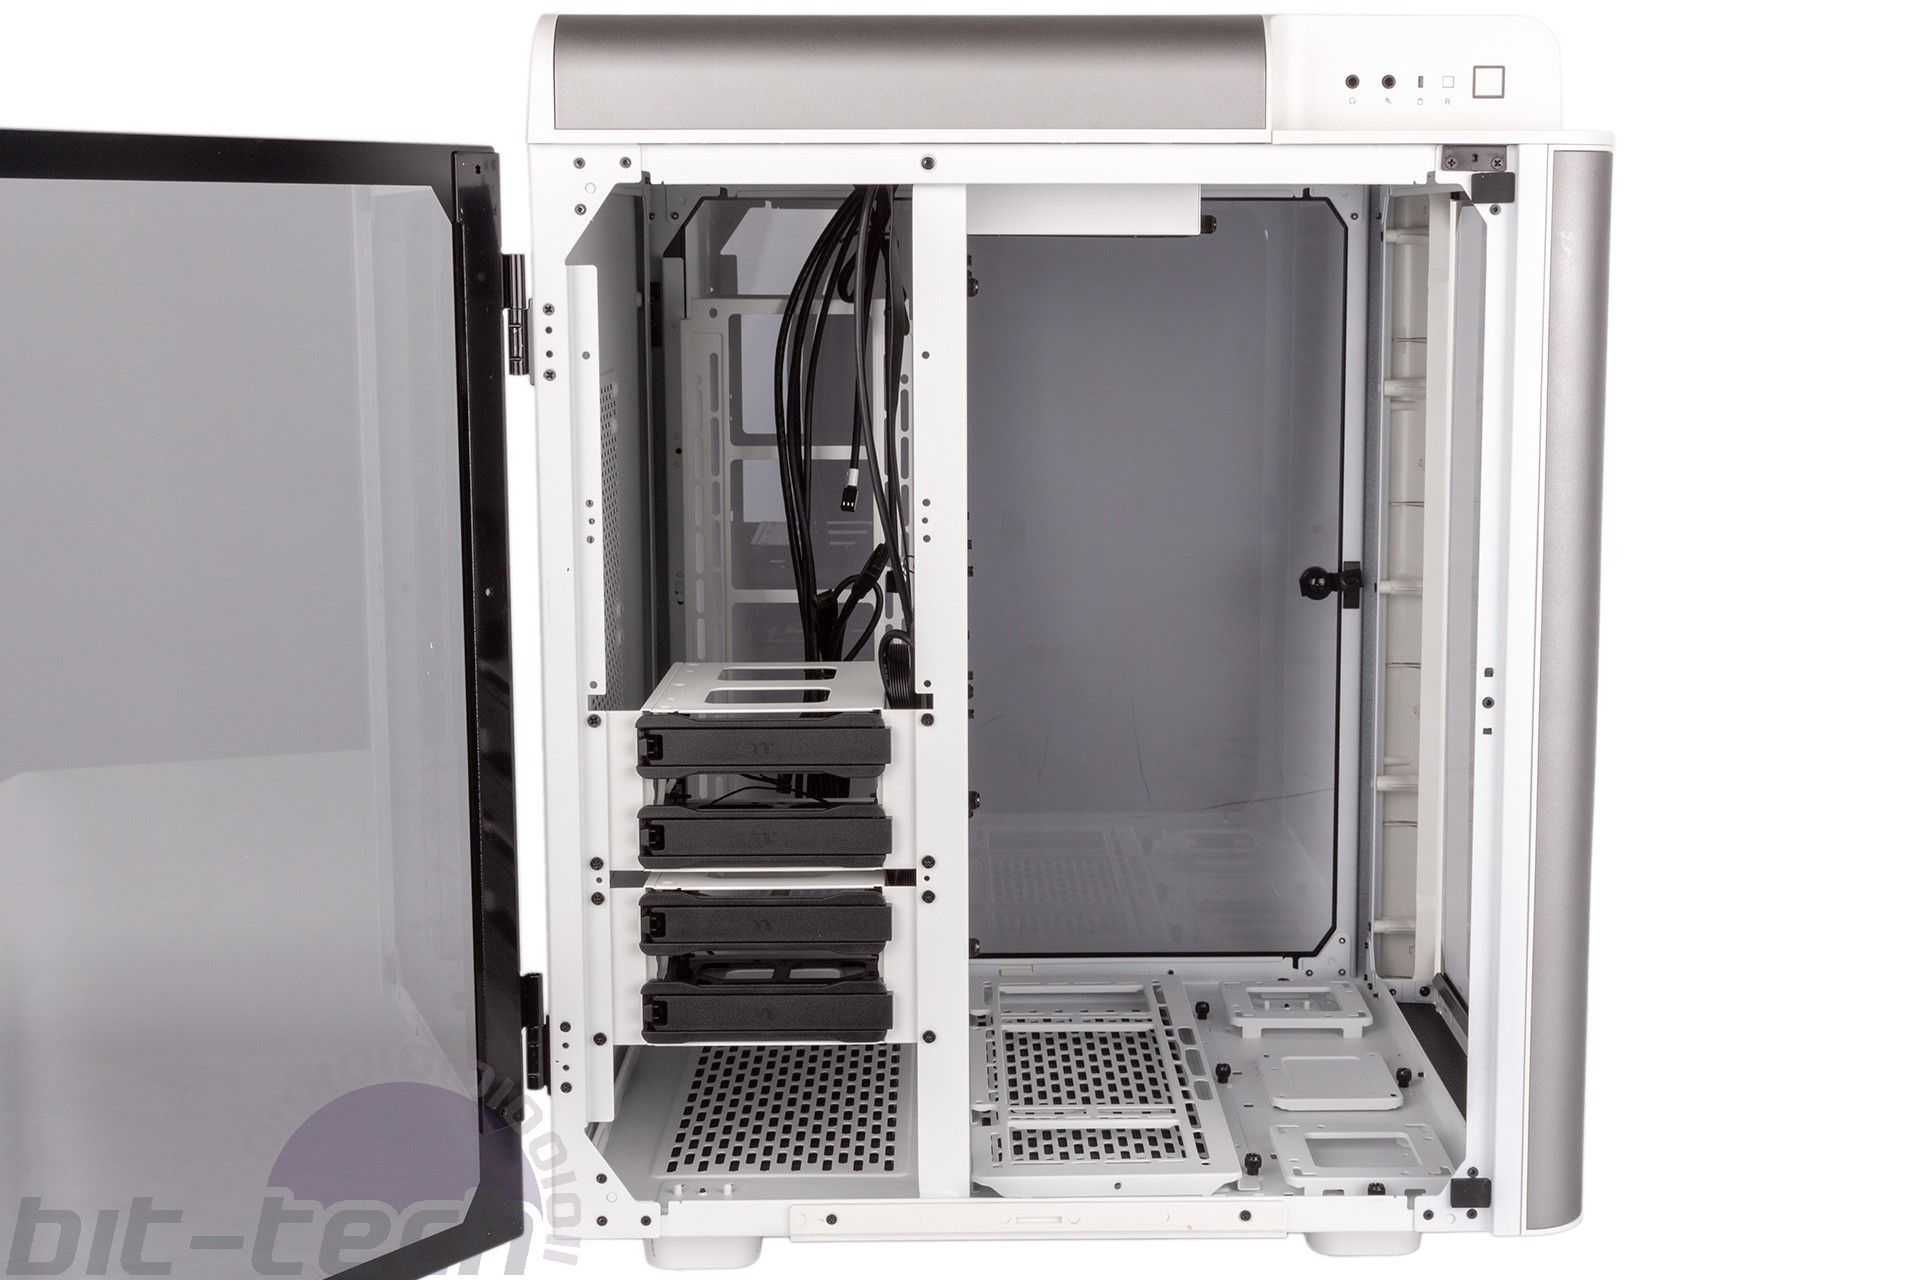
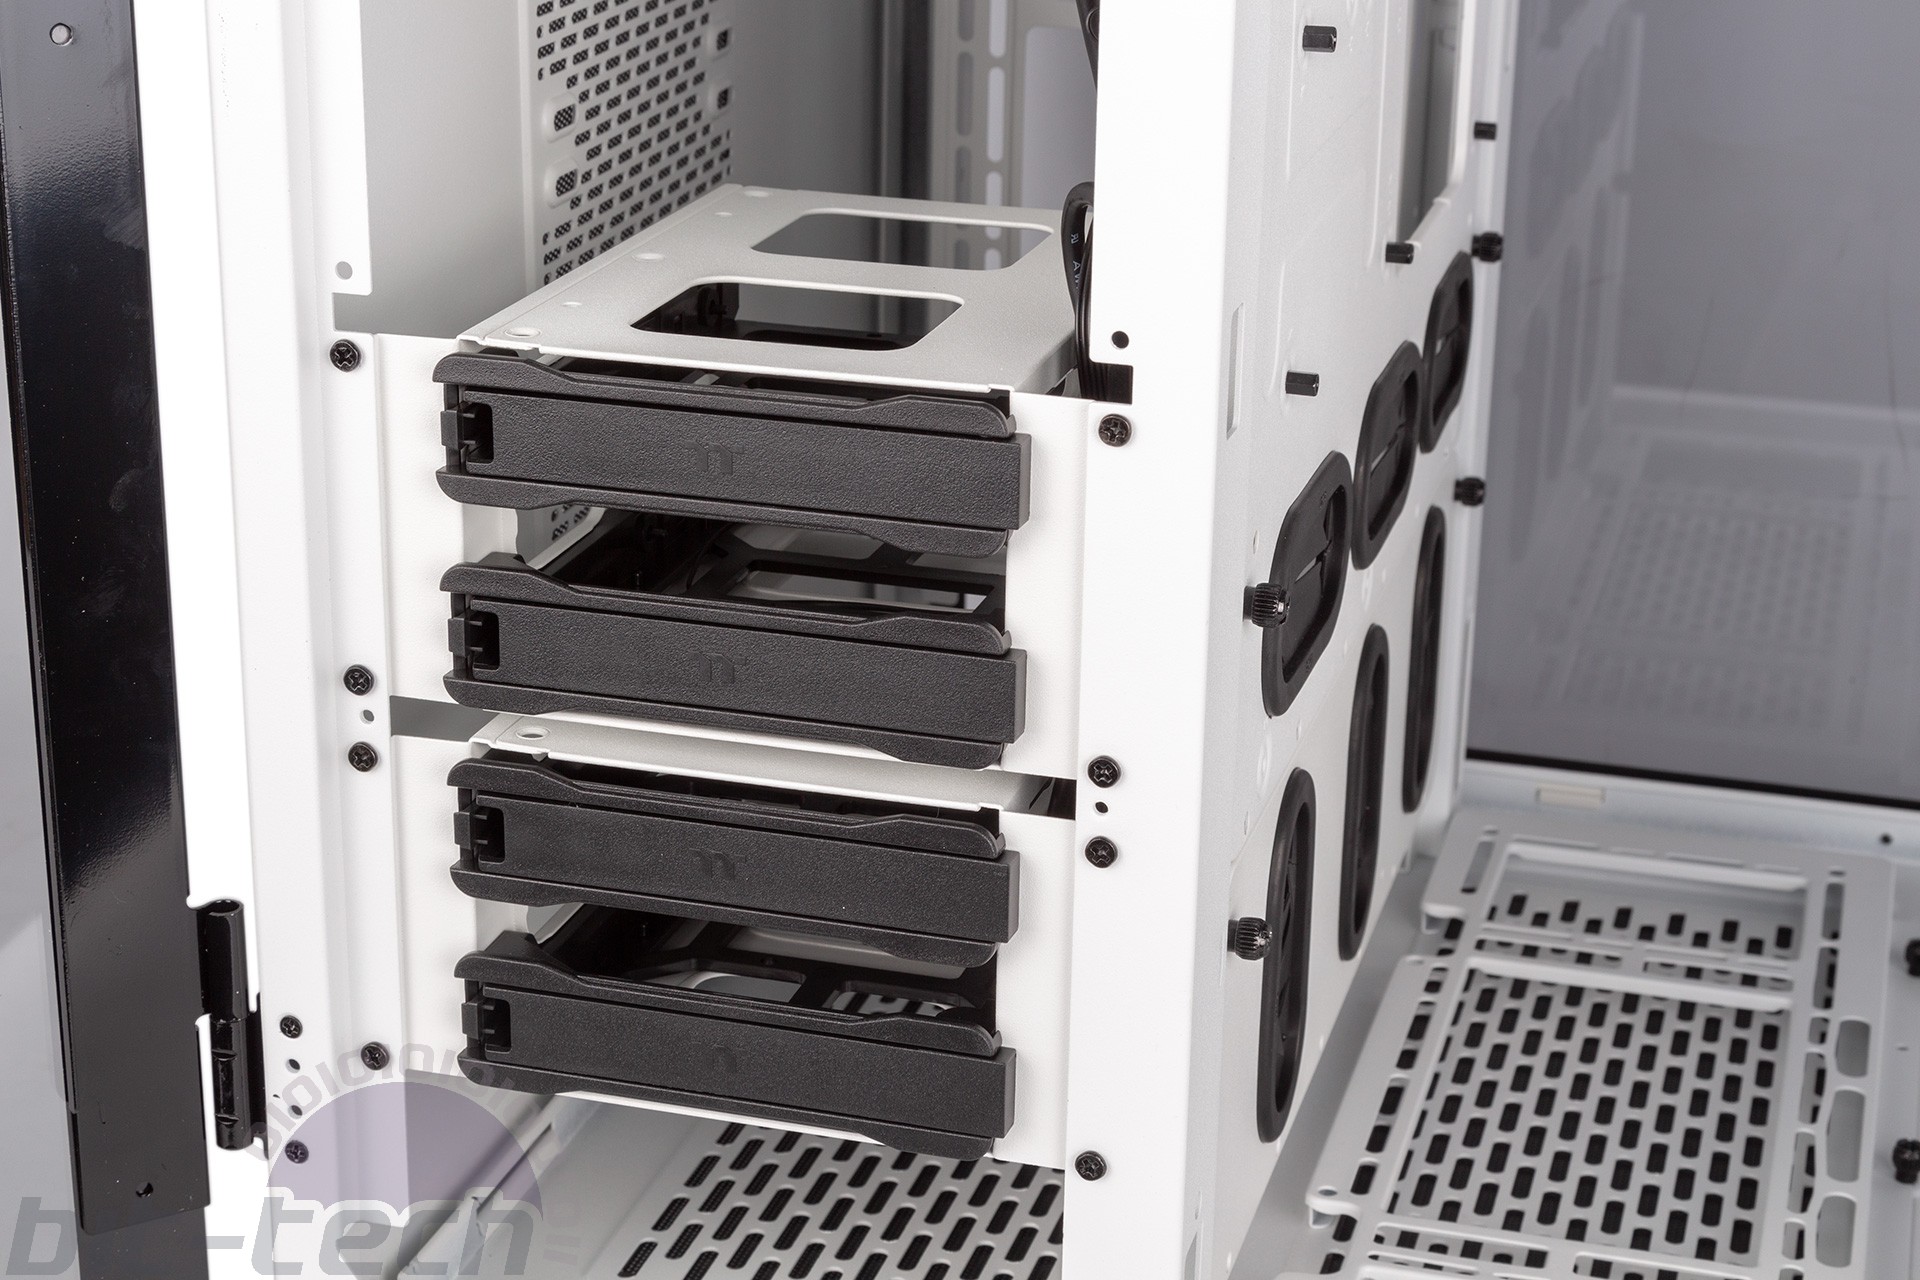
By default, the rear chamber has the PSU mount on the roof to the left with a pair of two-bay HDD cages secured to the vertical rails below, while on the right you have a 140mm exhaust fan up top and a 280mm/360mm radiator bracket on the rails below. The modularity allows this entire arrangement to be swapped (including the PSU and fan), but there are problems here too, most notably with that radiator bracket.
Regardless of which side it’s on, any fans here will be attempting to pull air through solid glass, and there’s extremely little ventilation around the bracket. This will absolutely limit the effectiveness of radiators here and will lead to either higher temperatures or more noise or a combination of both. The sheer size of the case does at least mean that very thick radiator/fan setups are possible, and this time the front of the fans will be seen through the glass.
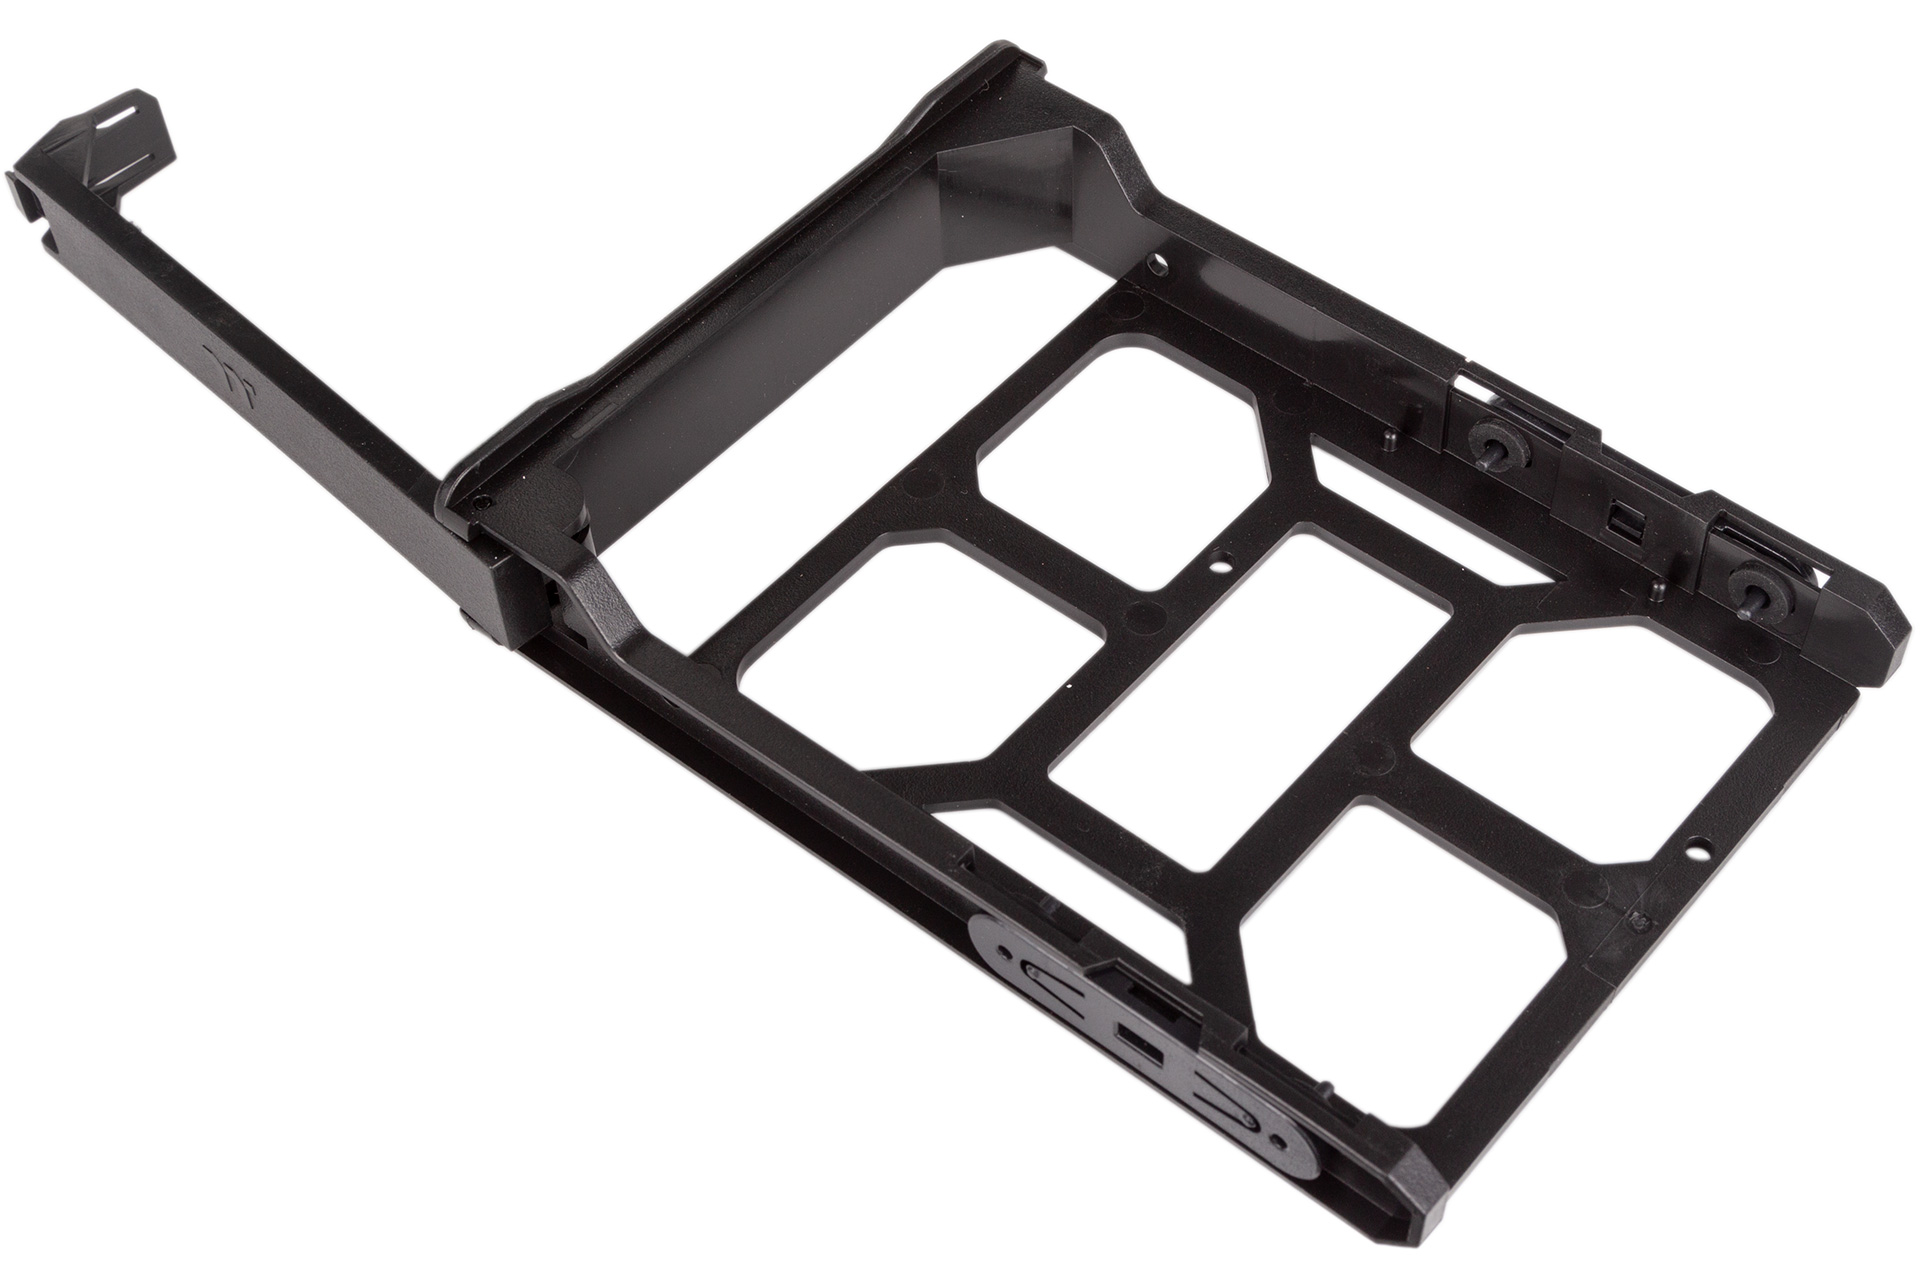
By default, the PSU has a length limitation of 200mm, but this could easily be extended by removing the top HDD cage. The drive sleds themselves are standard plastic contraptions with a tool-free locking arm and pins flanked by rubber washers for mounting 3.5” drives, though 2.5” models are supported when using screws.
When it comes to building a system worth showing off, cable management is critical, and this is again an area where we think the Level 20 HT needs work. It’s perhaps made more obvious by us having the white version, as this clashes heavily with the black sleeving most cables use – Thermaltake could have sleeved the I/O cables here in white, however. But with so much glass, it means that all your imperfections will be on show.
The cables sprouting from your PSU are close to the side panel, and cables in the main chamber often have to travel further than is ideal to reach their connectors. You might also struggle getting tubing through to the back cavern depending on your exact setup, although at most you should only need to feed through two to reach the rear radiator. What about power/RGB cables for pump/res units up front, plus the floor-mounted SSD and the front radiator fans? That’s potentially a lot of cables trailing on the floor of the case. It’s certainly possible to make things tidy, but it’s likely to involve a great deal of work. Having the rear segments of the glass side panels blacked out or having a cable management bracket on the back of the motherboard tray and in the front section might have helped here.


MSI MPG Velox 100R Chassis Review
October 14 2021 | 15:04

Want to comment? Please log in.