
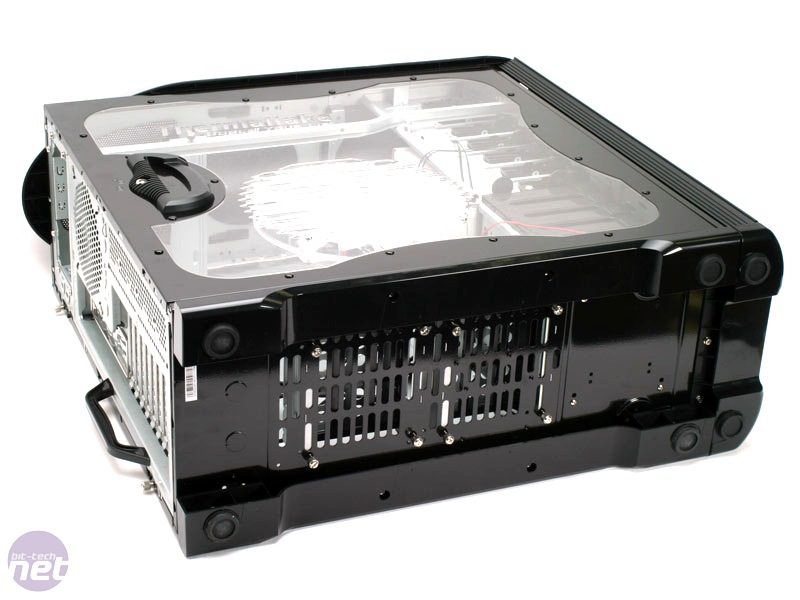
Donning The Armour
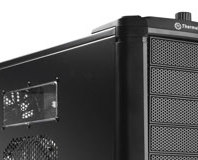
Removing the side panels we take a peek underneath the armour. Well, OK, we were already looking inside of it through the window on the bezel, but you get my meaning, right?Unfortunately, the actual process of removing these panels proved to be a bit of a headache in itself. The main panel, which when removed gives full access to the interior, had a lock on it for some reason in addition to being screwed in. I suppose this is to do with the LAN case focus – the keys will prevent someone pilfering your graphics card.
Of course, it won’t really stop them taking the whole PC, but that’s an entirely different conversation.
So, I unscrewed the thumbscrews, unlocked the sidepanel and tugged. Nothing. I tugged again, still nothing. I pulled, pushed, fiddled and clawed at the case until I finally spotted the answer – sprung catches on the rear of the chassis which hook the panels in place. Nothing wrong with that, though the security measures were now getting a bit excessive if you ask me, except the catch which needed to be lifted was flush with the rest of the case.
It took a good few minutes of painful levering with my fingernail in order to do lift it and then I had to tug the panel off at the same time. Maybe the knowledge of that über-fiddly feature will stop people stealing the whole case.
Click to enlarge
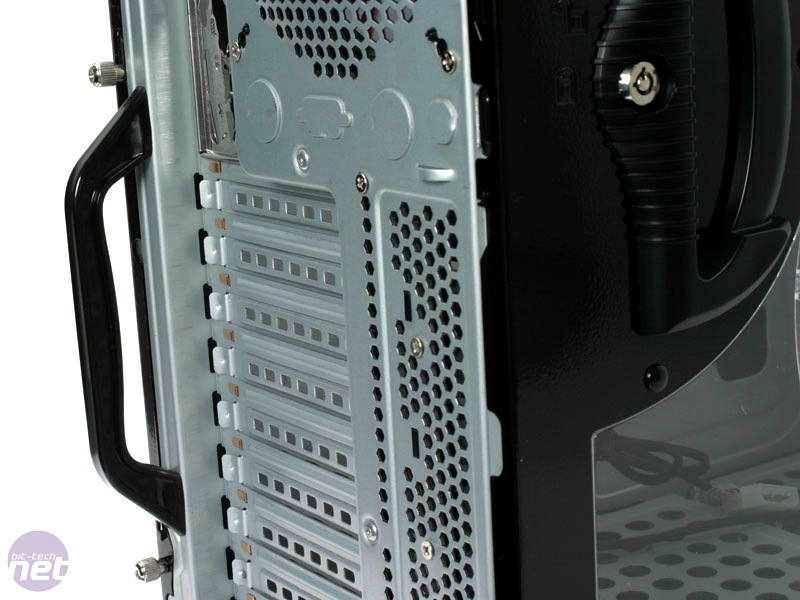
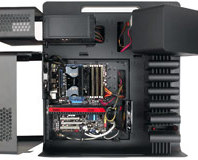
I repeated the process for each side of the case and got down to the nitty-gritty. The interior of the case is a lesson in excess. Not only is there room for six 5.25” drives, but also seven HDDs and a massive ten PCI devices just in case you want to build a monster system akin to Tim’s eight core, multi-GPU machine.
Absolutely everything in the case is tool-free too, though that isn’t always a good thing. The HDD trays are good enough, with quick release handles and a fairly smooth action, but the PCI slot covers are held in by plastic clips which have a tendency to fly off when pressed, which makes them kind of a hazard.
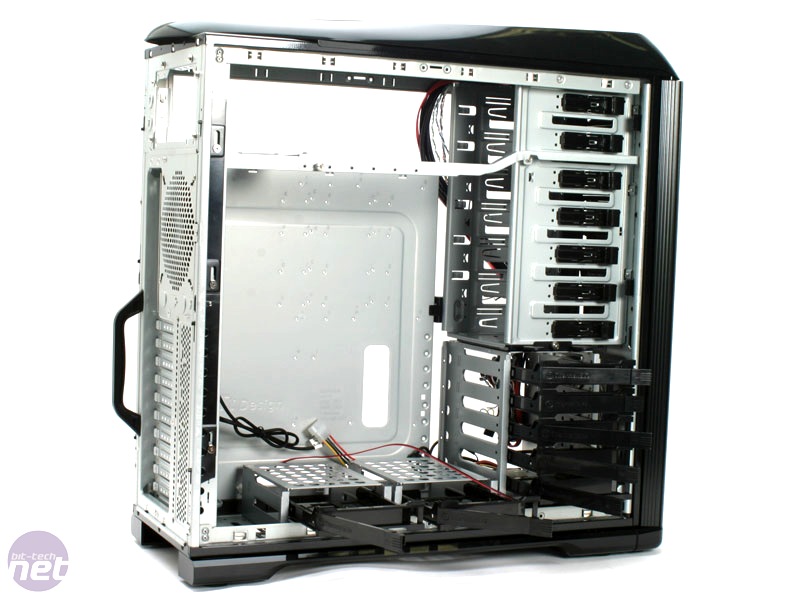
Thankfully, it’s possible to avoid bumping your motherboard with these clips quite simply – you just take advantage of the removeable motherboard tray.
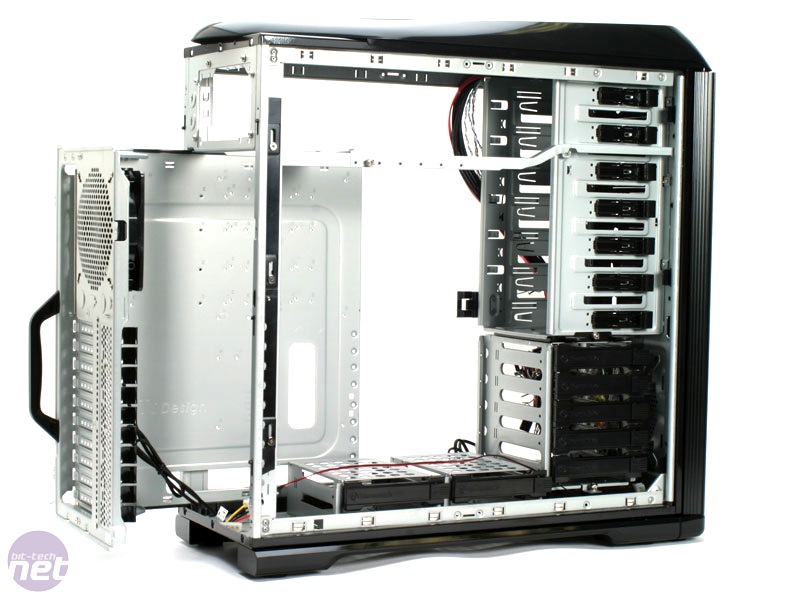
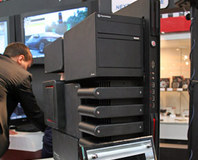
The tray is held in by four or five tiny screws on the back of the case. When these are unfastened then its simply a matter of pulling the entire tray out by the solid black handle on the back of the chassis. The handle adds an extra inch or two to the depth of the case, if that is a consideration for you. The Armour+ is a bit of a whopper in all directions really.
Click to enlarge
The motherboard tray slides in and out smoothly and is nicely labelled to boot with indicators engraved into the metal so that you always know where to screw in the included stand-offs. It also features several portholes through which you can feed various cables to keep things neat & tidy, similar in theory to the much-favoured Antec P182. ThermalTake has also bundled a selection of cable-ties to help tame that jungle of cables.
Speaking of cables, you may be pleased to know that the big side fan on the window not only has a power wire which is plenty long enough, but also has a break-away segment. This is especially hand for those who are dipping in and out of their cases all the time and who may forget to delicately detach the cable as they take the side panel off – here, even if you did forget then you wouldn’t really damage your PC.
Finally, up top there’s that marvel of evolution, the sliding PSU support bar. The bar itself is pretty self explanatory: it slides back and forth underneath the PSU to support it, d’uh. It also screws into place so you can be sure it won’t slide out when you move the case about.
RELATED ARTICLES


MSI MPG Velox 100R Chassis Review
October 14 2021 | 15:04

Want to comment? Please log in.