
Akasa Nero S CPU Cooler Review
Manufacturer: AkasaUK Price (as reviewed): £35.83 (inc VAT)
US Price (as reviewed): N/A
Weight: 640g
Size (mm): 120 x 87 x 163 (W x D x H)
Fan Speed: 600-1600 rpm
Noise Level: 6.9 - 25.9dBA
Warranty: 1 Year
Supported Sockets: Intel LGA775, Intel LGA1156, Intel LGA1366. AMD Socket AM2, AM2+, AM3
With the LGA1366 socket getting a couple of excellent CPUs recently in the form the Intel Core i7-930 and Core i7-980X Extreme Edition there’s never been a bigger demand for a high-performance, overclock-friendly aftermarket CPU cooler. There have certainly been a number of quality offerings recently in the form the reigning performance champ, the Titan Fenrir, or the more subtle and quiet Gelid Tranquillo.
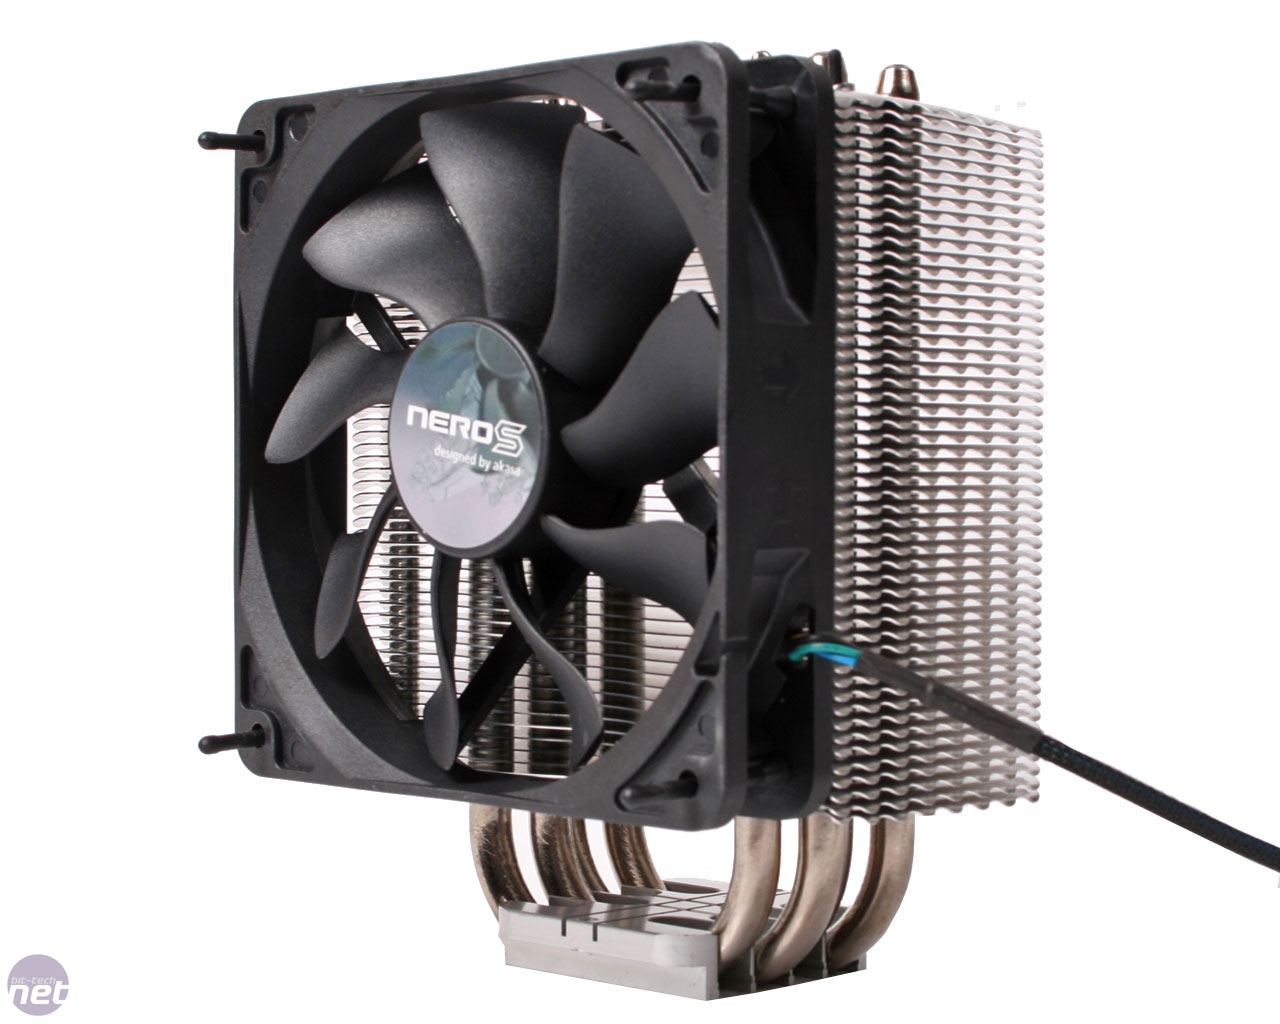
Look back to the launch of the first LGA1366 CPUs though, and it was the Akasa Nero that was adorning our newly bought Core i7-920s thanks to some great cooling and an affordable price. In fact, we still use these excellent and easy to fit coolers in our graphics test rigs today. Now the follow up, the Nero S, has arrived and it looks to be every bit as good as its predecessor.
The original Nero was one of Akasa’s first direct-contact heatpipe coolers, replacing the traditional moulded base and allowing heat to transfer directly from the CPU’s heatspreader into the three copper heatpipes and up into the fin stack. This is the same basic idea as other successful coolers such as the Titan Fenrir. The heatsink element of the Nero S has improved on the design of the original by adding a forth 8mm nickel-plated copper heatpipe to the array.
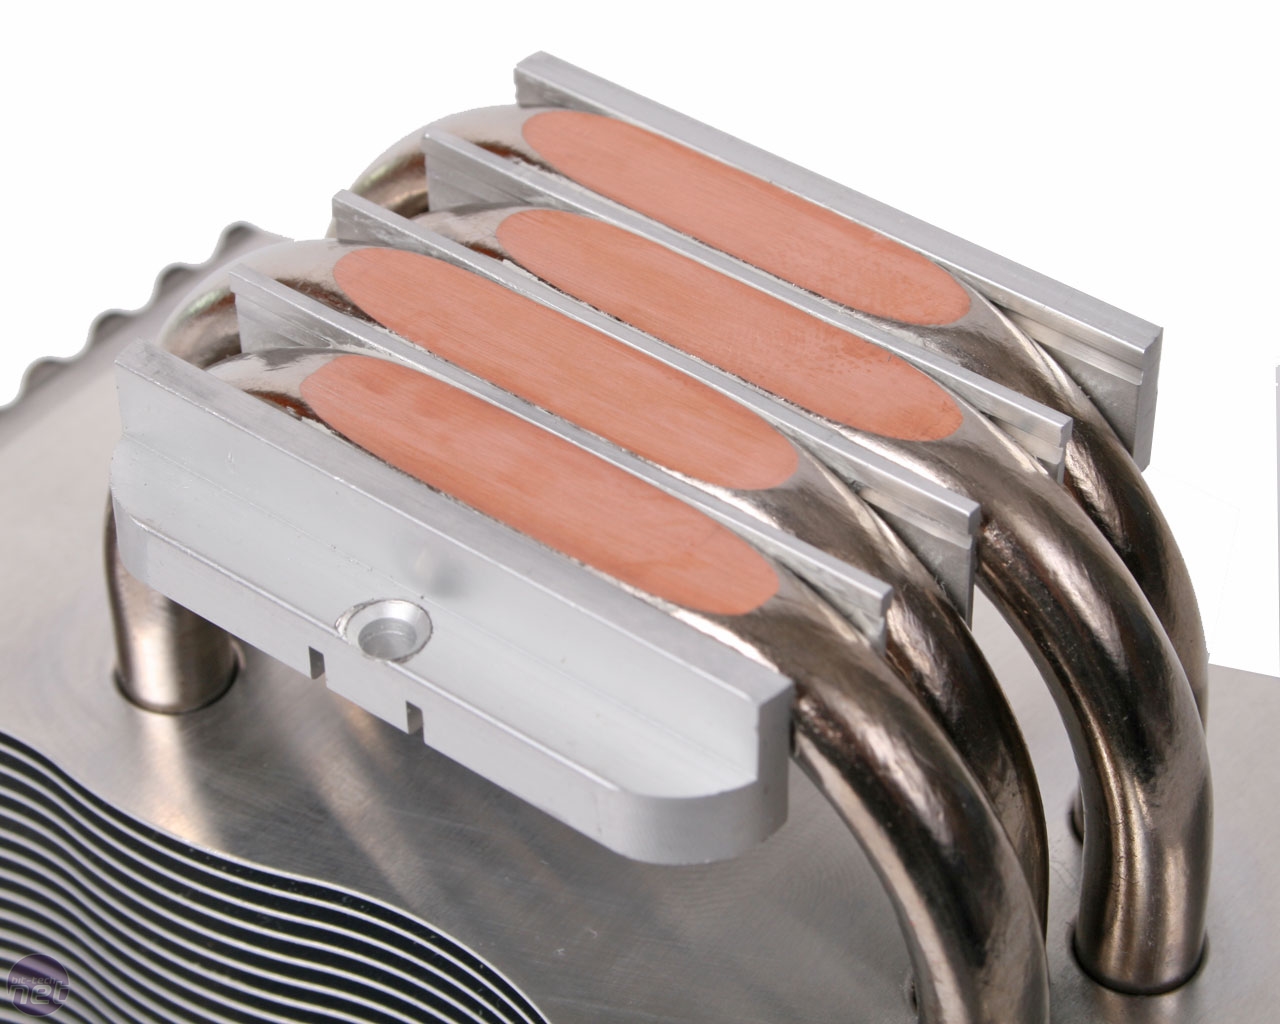
Click to enlarge - the four-heatpipe contact area is very large
This means that the contact area of the base is very large, with the heatpipes slightly offset from each other in order to maximise surface area. However, the use of four separate heatpipes does also mean that there are three aluminium separator bars in the base to keep the heatpipes separate - these separators have notably lower thermal conductivity. The sheer size of the base may also present a problem for those using CPUs with smaller heatspreaders such as those of the LGA775 and LGA1156, as not all of the heatpipe will contact the heatspreader.
The four U-shaped heatpipes rise though 52 curved aluminium cooling fins, cut in a waved shape on the edge. The fins are also made in such a way as to leave a recess to allow air to flow into the dead zone behind the fan’s motor. The entire fin stack and heatpipe assembly is very sturdy, and while aluminium cooling fans aren’t well known for their durability, the Nero S holds up to clumsy hands very well.
Like the original Nero, the Nero S uses rubber grommets fitted into groves cut into the cooling fins to secure the included 120mm cooling fan. This is just as fiddling a mounting method as using mounting wires, but does deaden vibration and thus noise. The 120mm fan itself is also a bit special, eschewing traditional fan blades for curved ‘S Flow’ blades. According to Akasa, these deliver stronger and more centralised airflow, as well as a more airflow for the same rpm and noise output as a standard fan. The stated 70cfm from the fan at full speed (1,600rpm) is perfectly respectable. The fan has a 4-pin PWM fan header, which is able to adjust the fan speed all the way down to a paltry 600rpm.
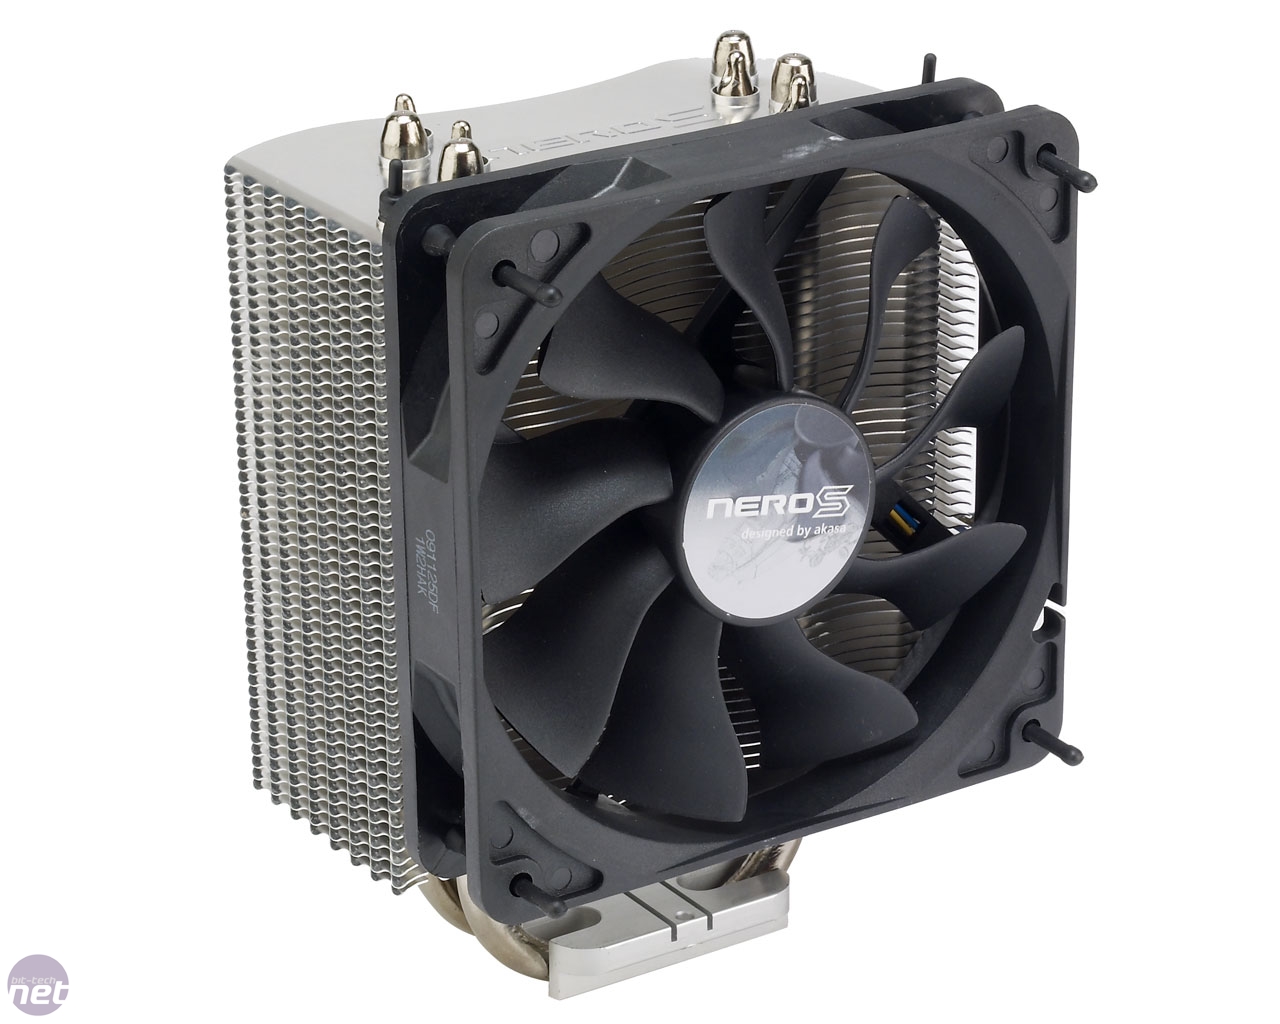

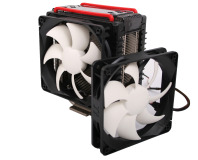
Click to enlarge - curved fins behind the fan motor help to eliminate any dead zones
Installation
While it might only involve a tiny fraction of the time you spend with a cooler, having a simple mount is still a major perk with any cooler. The original Nero’s use of push pins and the more recent Akasa Freedom Tower certainly demonstrate this, but sadly the Nero S is a little trickier to fit.Akasa includes a multi-socket backplate and an accompanying mounting bracket for LGA1366, LGA1156 and LGA775 sockets; the cooler is secured via four sprung screws fitted from the topside of the motherboard. Although the arrangement of mount holes means that when it’s correctly mounted on both LGA1366 and LGA1156, the backplate is actually slightly off centre, the use of sticky pads makes it easy to hold in place while you install. You’ll need a steady hand with the sprung screws however, as they require pressure on them in order to initially reach the backplate’s screw thread – one slip and you could gouge your motherboard.
Installing on Socket AM3 is, as usual, very simple, with a catch-equipped cross bar easily clamping the cooler down. However, this means that the Nero S can only be installed in the same orientation as your motherboard’s socket mount.
RELATED ARTICLES


MSI MPG Velox 100R Chassis Review
October 14 2021 | 15:04

Want to comment? Please log in.