
Installation
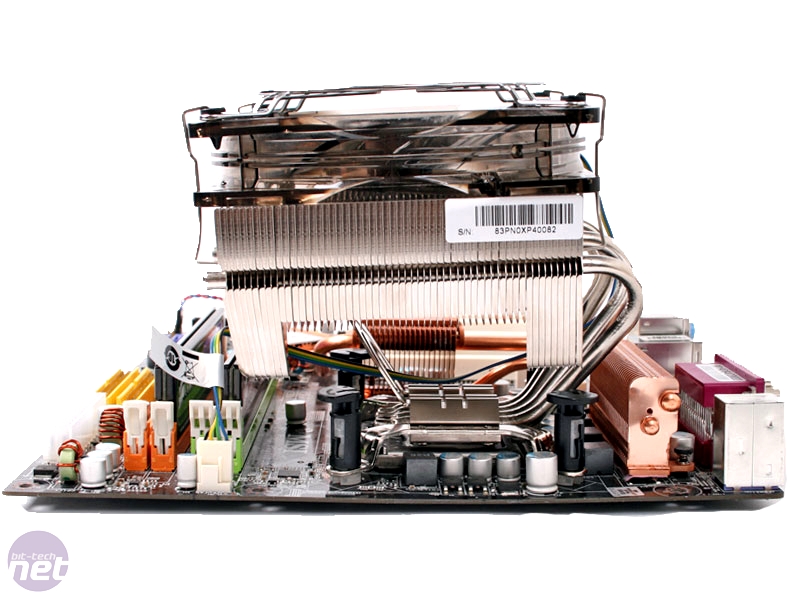
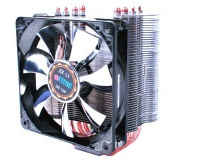
The Asus Triton 85 uses ourThe mounts are easy fitted to the heatsink base with the included screws (don’t lose them though, you don’t get spares!) and then fit to the motherboard in the same way as the stock Intel HSF: by pushing down the pins. In theory this works, but in practice due to the push pins being situated directly beneath the heat sink’s fin array, you’ll need to have consumed a fair few dexterity potions to reach under and secure the heatsink while it rests in your case.
Even after we’d removed the motherboard, reaching into the gap between the northbridge/PWM coolers and the cooling fin array to push down the retention pins is pretty difficult, and on more than one occasion had me grasping for the screw driver rather than once again sacrifice my fingers to the cooling fins.
Unsurprisingly the same problem presented itself when trying to remove the cooler, and twisting the push pins to release them was just as frustratingly difficult. While the Intel heatsink mount might solve compatibility problems, it just doesn’t seem suited to a larger cooler where the cooling fin array can get in the way.
Click to enlarge
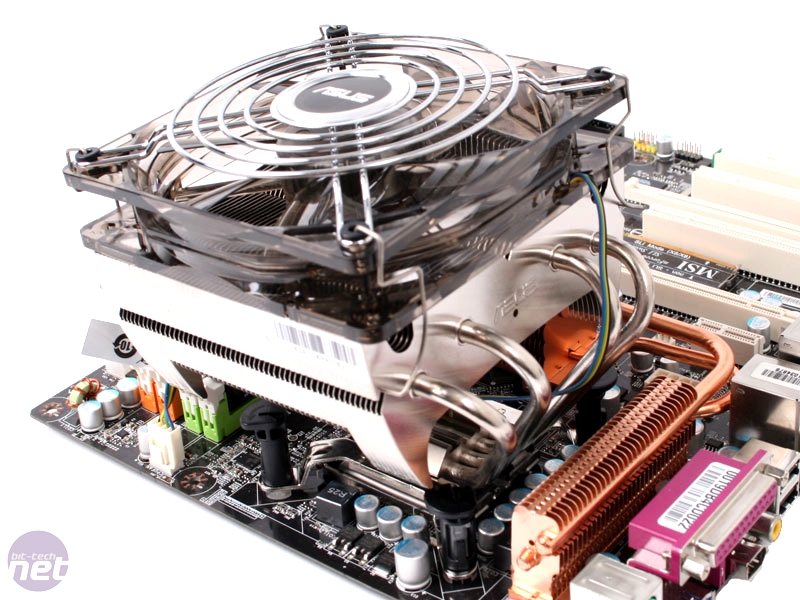
We were also puzzled as to which way around we should mount the cooler, directing the airflow from the 120mm fan either slightly towards the motherboard PWMs, or the memory. The quick install guide indicated we should mount pointing towards the PWMs, while Asus’ promotional photos showed the cooler mounted with airflow towards the memory. After a quick preliminary benchmark though, there wasn’t any noticeable difference between the two mount orientations, so we mounted as the manual told us to.


Click to enlarge
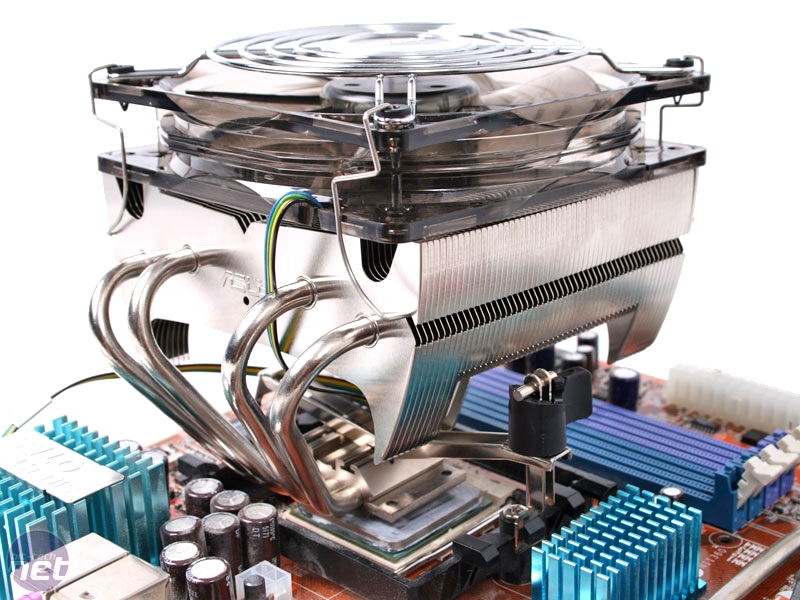
Predictably the AM2 mounting process seemed to be lot simpler, with the standard arm bracket combined with a twist and lock mechanism to secure the heatsink into place. Sadly the mechanism didn’t survive 20 seconds in our hands, and quite literally broke in two as we tried to mount the cooler onto an AMD motherboard.
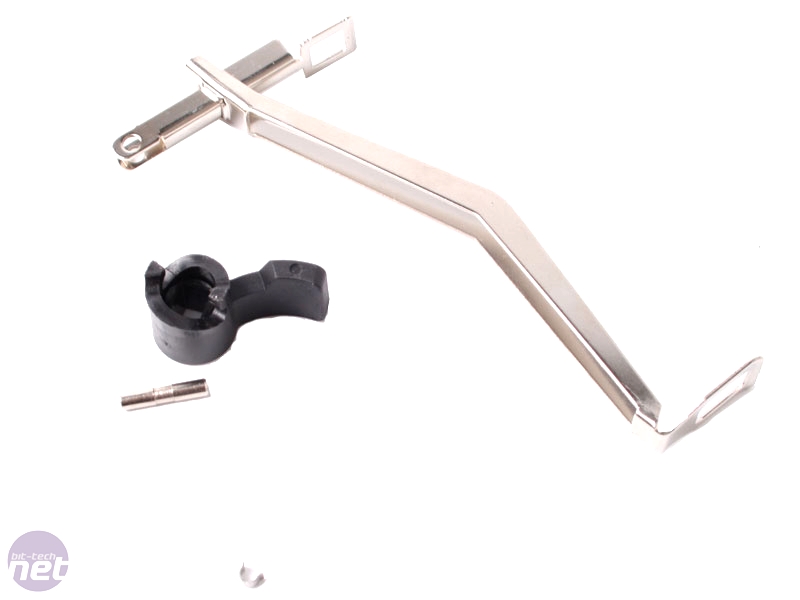
Click to enlarge - as you can see, the AM2 bracket broke in two while trying to fit the cooler
However, we weren’t about to let a little think like broken hardware stop us, and were able to hold the mount mechanism together long enough to fully fit the cooler. This was a clear and disappointment and something we’re not used to in Asus’ build quality – someone in design needs to find that drawing board. At least we were able to successfully mount the Trition 85 to an AMD motherboard once, unlike other coolers we’ve recently tested.
RELATED ARTICLES


MSI MPG Velox 100R Chassis Review
October 14 2021 | 15:04

Want to comment? Please log in.