Installation
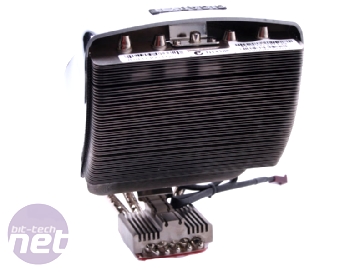
Like many heavier coolers, the Gigabyte G-Power II Pro uses its own provided back plate mount to keep even pressure over the whole CPU, and ensure a secure fitting to the motherboard; the Intel pins just couldn’t hold the weight and high centre of gravity on their own.The CPU back plate might be a pain in the backside to use, because it means completely unscrewing your motherboard, however that's more down to the fact that Intel insisted on using push-pins for the LGA775 socket design in the first place. The back plate is therefore "a controversial necessity" of the G Power II Pro’s design.
Many other coolers turn back plate fitting into something of a nightmare between all the screws and nuts and washers , but fortunately the G Power II connects directly to its version. This aids in installation ease significantly, as the motherboard can rest on the heatsink at an angle instead of having to be upright. The back plate itself also has some double-sided tape to keep it held in place.
If that’s not your cup of tea though or you find yourself changing system hardware around more than Richard when he’s showing off to girls (Ed - or yet again fixing Joe’s PC), then you’ll probably need a third hand to install the G-Power with the plastic washers.
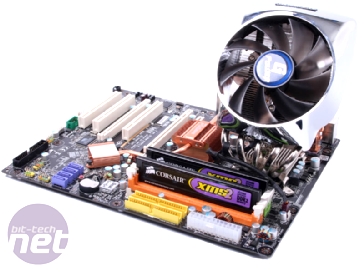
There are four holes which the appropriate brackets screw onto: if you’re using an AMD system then you can theoretically leave the motherboard in the case, rather than having to remove it to screw it down, but it will still be fiddly due to the huge shroud.
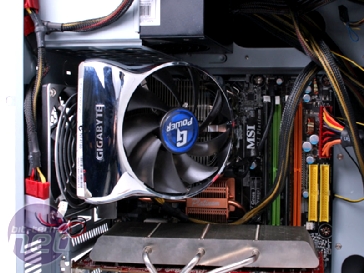
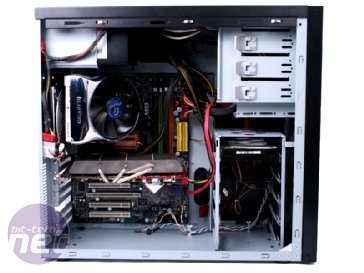
As is usual, fitting it to an AM2 board was much easier, although the cooler’s sheer size still might necessitate removing your motherboard for easier access to the mounting clips. When it comes to installing the motherboard back into the case though, again the epic shroud gave us a headache because it obscures the motherboard mount screw hole in the top left corner. Unless you have an incredibly long screw driver, you just can't get to it.

MSI MPG Velox 100R Chassis Review
October 14 2021 | 15:04


Want to comment? Please log in.