
Installation
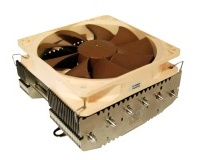
As with the original Vendetta, OCZ has chosen to use the push pin based standard LGA 775 mount - a surprising choice considering the fairly significant weight of the Vendetta 2 at 746 grams! As a general bit-tech rule of thumb, any cooler over 500 grams is best equipped with a back plate mounting system, which although more laborious to fit requiring the removal of the motherboard, results in a more secure and less board bending mounting solution. The original Vendetta was pushing this rule weighing just over 500 grams and frankly the Vendetta 2 should have adopted it.To compensate for using the standard push pin setup, the Vendetta 2 has had to use very high tension push pins. These require a large amount of pressure to fit, and the result is a noticeably bent the motherboard we installed it on. Fitting and releasing the push pins with the 120mm fan mounted was even more difficult thanks to the enlarged dimensions of the cooler almost completely obscuring some of the push pins.
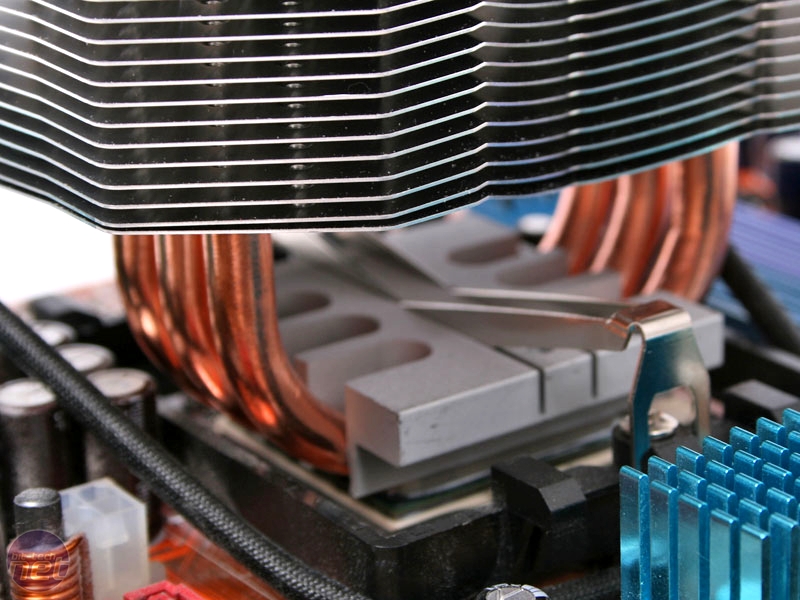
Fitting the fan itself wasn’t exactly a piece of cake either, where
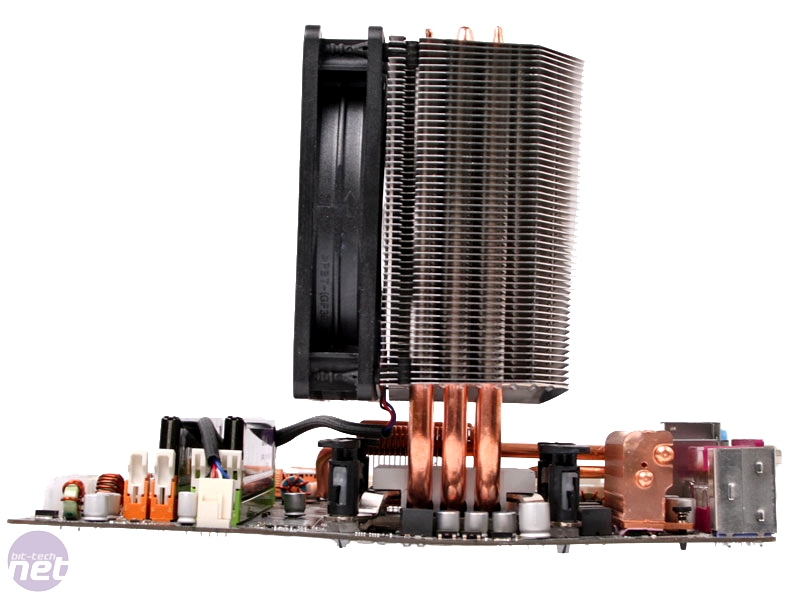
Click to enlarge - as you can clearly see, the Vendetta 2 is a real board bender!
Removing the cooler was even more difficult, rummaging around under the heatsink trying to twist release push pins under a lot of pressure did not prove the easiest tasks. On a few of our cooler re-fits we just gave up and removed the motherboard from the case to facilitate the removal with a pair of pliers, completely losing the ease of mounting advantage of push pins.
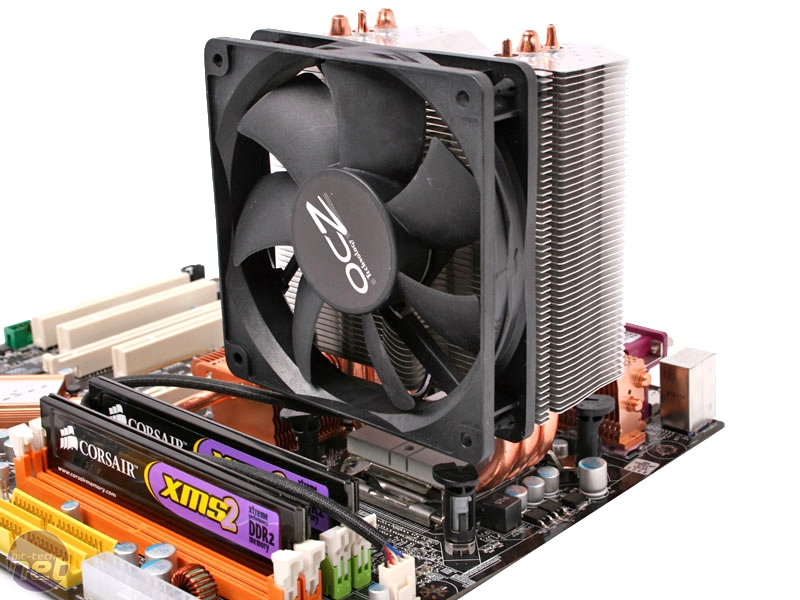
As usual, fitting the cooler to an AM2 platform was a doddle though, with the included tension arm easily fitting into the pre cut grooves on the base of the Vendetta 2 and securely fitting to the motherboard. It is worth noting that it’s possible to mount the cooler off centre on AM2 processors if you’re not careful. However, there's no option to mount the cooler from either side, so those with older AM2 or 939 boards will find the heatsink orientated in the wrong direction, as it was on our test board. Obviously mounting the heatsink like this will seriously interrupt case airflow so be aware of this if you're thinking of opting for the Vendetta 2 to cool an AM2/939 based system and check your motherboard's mounting bracket orientation.
Click to enlarge
So a fairly tricky mounting procedure, featuring frustrating rubber grommets and over taught push pins. Let’s hope the thermal performance of the Vendetta 2 can make up for the frustrating mounting process.
RELATED ARTICLES


MSI MPG Velox 100R Chassis Review
October 14 2021 | 15:04

Want to comment? Please log in.