
Diving Inside
As it's an all aluminium body you have to be careful how often you take it apart - it maybe simple to get into but the screw threads will wear out quickly.A simple Allen key, a Philips head screwdriver and some patience will get you in easy, as all the sides fall apart from each other and are simply held together by the blue silicone tubes inside.
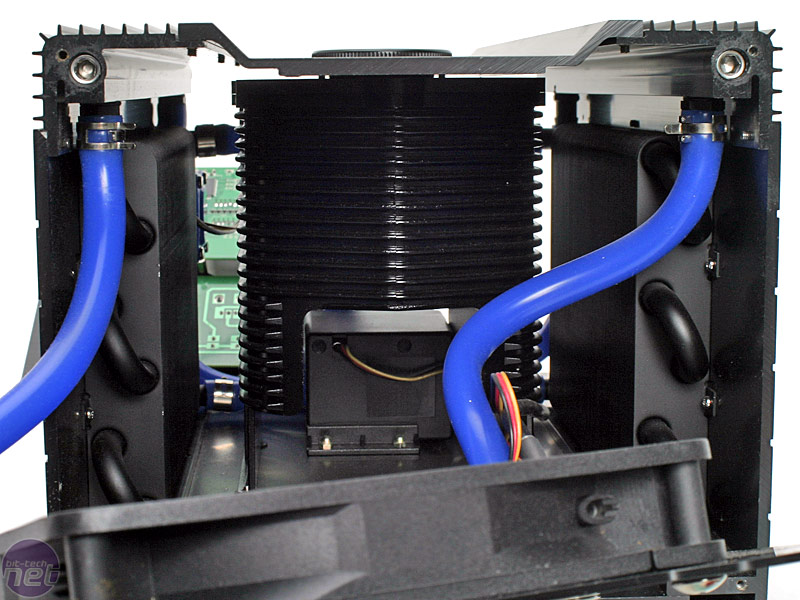
The insides are quite neat, and we can finally see that the fan sucks in air from both the side mounted radiators and expels it out the back. While not the most efficient solution considering the internal capacity is quite large, it does mean the aluminium finned radiator can also take part in radiating a little heat as well.
The water is also passed through the sides of the case twice, where the aluminium case acts as part of the radiator. Again, while this is not an optimal solution considering it requires four extra 90 degree connections and no extra turbulence to increase heat loss, it does show Zalman is trying to use everything possible and that the aluminium case is not just for good looks.
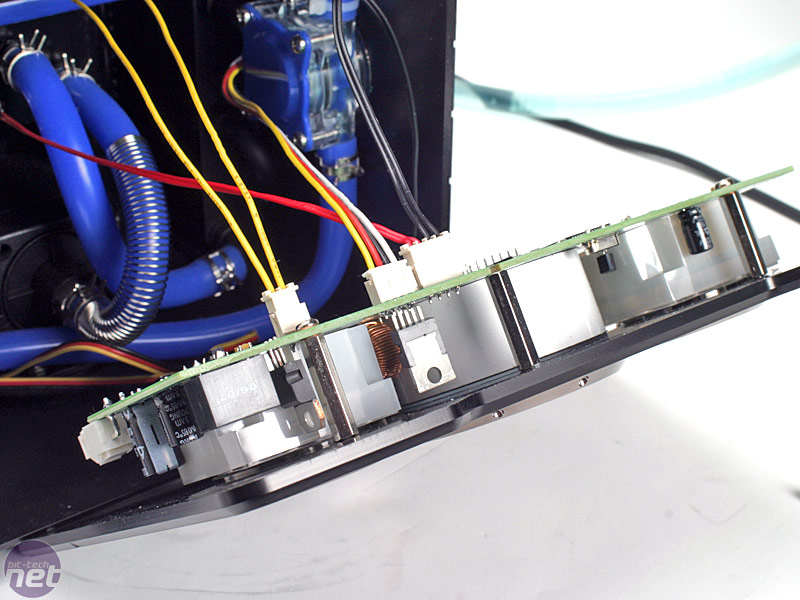
The temperature gauges connect to both the reservoir and internal air temperature, and both are hooked up to rather a neat electronics setup inside the front of the box.
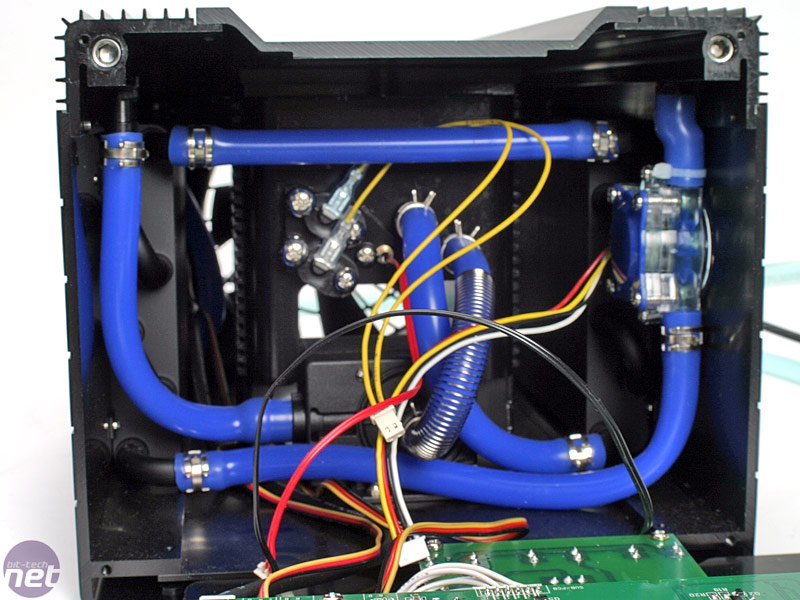
The loop is designed to be laid out as follows: pump - waterblock - flow meter - radiator - radiator - reservoir and the tubing has just one tight bend in the middle between the reservoir and pump, but it's nothing of concern since it's not an area critical to flow.

Installation
Installation of the CPU block is pretty easy, although we found many motherboards had capacitors or chokes (the black squares) around the edge of the CPU socket that kept us from using the simpler clip, so instead we had to use the screw hold down instead. The block itself is well machined and the base is lapped to a flat mirror finish for the best contact possible.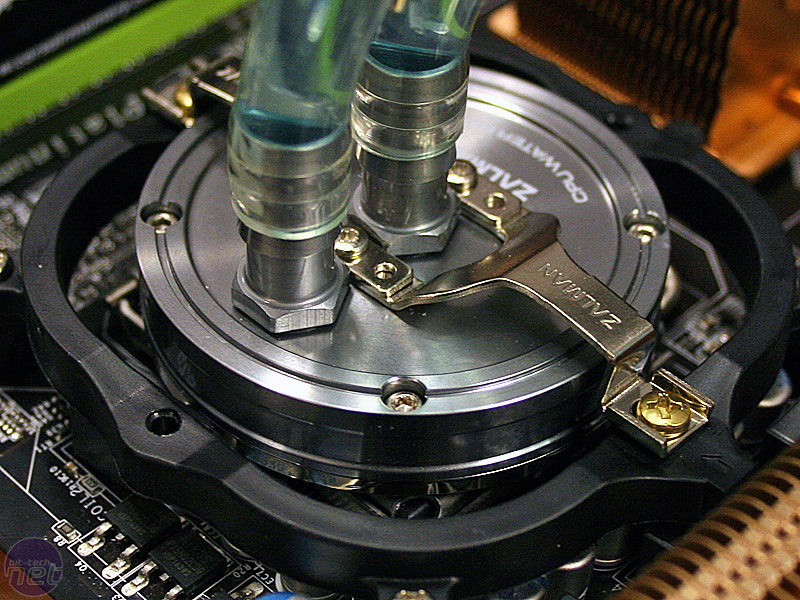

To be honest I don't see the point in the degassing tube, just simply build it like normal and run the system for a few hours using the jumper cable in the ATX socket to run the air bubbles out. If you use the degassing tube you still introduce air into the system from the tubes going to the waterblocks - it's completely pointless.
If you get bubbles stuck in the tubes a quick flick on the side should liberate them and if they persist don't worry because when the water warms during use they should dissolve. Unfortunately because the top is not clear like the WB4-Gold you can't check to see if there are any air bubbles stuck in the block, hindering performance.
The Reserator needs to be placed above or at the same height as your PC due to the fact that air rises so it will be easier pushed out into the reservoir. Ideally you want to run the Reserator XT system a full 24 hours before turning the PC on (a typical leak checking practice for any new watercooling loop). However that doesn't compensate for the increased temperature the water will have when running which will expand the tubing slightly - so remember to keep an eye on the system for a little while.
RELATED ARTICLES


MSI MPG Velox 100R Chassis Review
October 14 2021 | 15:04

Want to comment? Please log in.