
Building the system
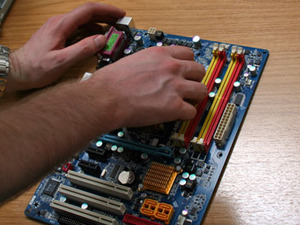
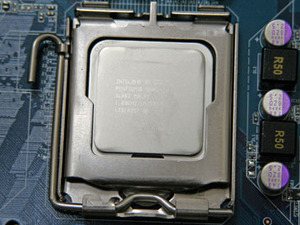
Once the components we’d ordered from Scan had arrived, it was time to build the machine and then tweak it before we started measuring performance. There was nothing particularly special about the build – we used stock cooling on all of the components and built the system in the same way that any of you would have.Because we were using the stock Intel heatsink, we didn’t need to apply thermal paste because it comes pre-applied on the bottom. As a result of this, we moved straight onto installing the heatsink once we had installed both the CPU and memory into the motherboard.
Intel’s stock heatsink is fairly easy to get a good contact with even if it was really tiny! However, before we installed anything into the case, we fired up the board to make sure the temperatures were fine in the BIOS (which they were). Then we moved onto getting the power supply inside the case and keeping the cables as tidy as possible (after all, we have a reputation to uphold)!
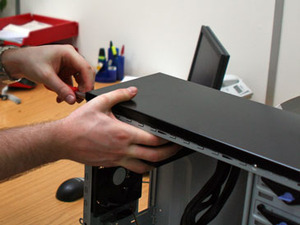
In all truth, the PSU proved to be a bit of a hassle, and it required more than just a pair of hands to get installed properly. However, once we’d got a couple of the screws secured, the other two followed in quick succession. We then moved all of the cabling out of the way so that we had the maximum amount of room possible to work with the motherboard inside the case.
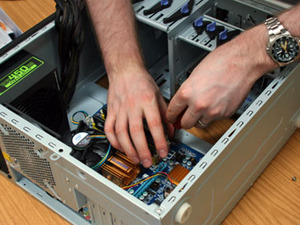
We’re often spoiled by removable motherboard trays, but it’d be wrong to expect one in a case as expensive as the RC-331. Before actually fitting the board, we worked to get all of the case’s front panel connector cables routed behind the board, to ensure a relatively neat build – the benefit of this is that great cable management means optimal airflow and that’s especially important when you’re overclocking.
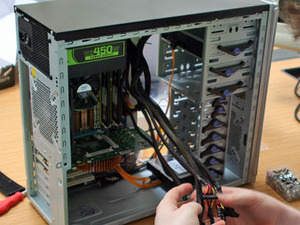
When we came to installing the hard drive and optical drives, we took cable management into consideration again. We installed the hard drive in the case backwards, so that the cables were kept out of the way of the intake and then installed the DVD drive in the second bay down from the top – the reason for this is that it gives us a place to stuff unused cables to, again, ensure optimal airflow.
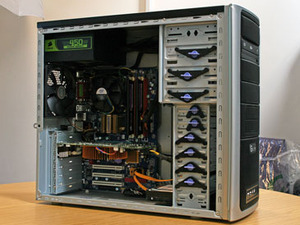
Cables were then routed and everything was plugged in – we then fired the system up and it booted up without hiccup, so we got to work on installing Windows Vista.

MSI MPG Velox 100R Chassis Review
October 14 2021 | 15:04



Want to comment? Please log in.