Let's take it apart...
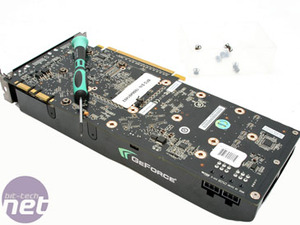
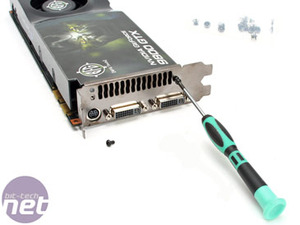
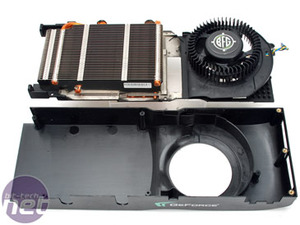
Note: taking your graphics card apart will void your warranty in some cases, although it's worth mentioning that some board partners do allow the user to switch coolers and not void their warranty.Unlike the GeForce 9800 GX2, the GeForce 9800 GTX is relatively easy to take apart. It requires the removal of a total of 19 screws—17 on the bottom and two on the PCI bracket—with a Philips head screwdriver.
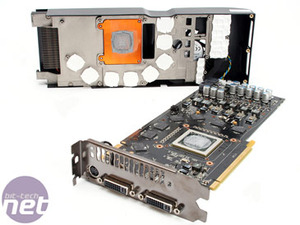
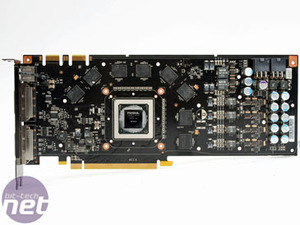
Once you’ve removed this, the heatsink is fairly easy to prize away from the PCB. It’s covered in a decent helping of thermal paste—probably too much in the case of this card, as it’s spilled out over the rest of the chip packaging.
The eight GDDR3 memory chips, on the other hand, make thermal contact with the heatsink via thermal pads.
The power arrangement on the card is quite interesting – it looks to be a four-plus-two configuration, with four phases for the GPU and two for the memory. The GeForce 8800 GTS 512, on the other hand, has a three-plus-one arrangement, with three phases for the GPU and just one for the memory.
Remember that the GeForce 9800 GTX is one of the first to support Nvidia’s HybridPower technology, which allows the graphics card to be shut down into a very low power state, with only the SMBUS channel enabled. Therefore, the additional phases on both GPU and memory make sense – they enable both to shut down properly in HybridPower mode. For those wondering what all of this HybridPower talk is all about, I suggest you give our two Hybrid SLI articles a read.
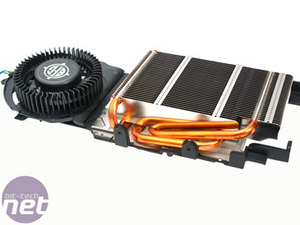
Next up for a bit of a butchering was the heatsink, which is predominantly made from aluminium, but there is a copper insert that comes into direct contact with the GPU. In order to transfer heat away from this as quickly as possible, there are three copper heatpipes transferring heat away into the array of fins that have air from the fan flowing over them.

MSI MPG Velox 100R Chassis Review
October 14 2021 | 15:04




Want to comment? Please log in.