

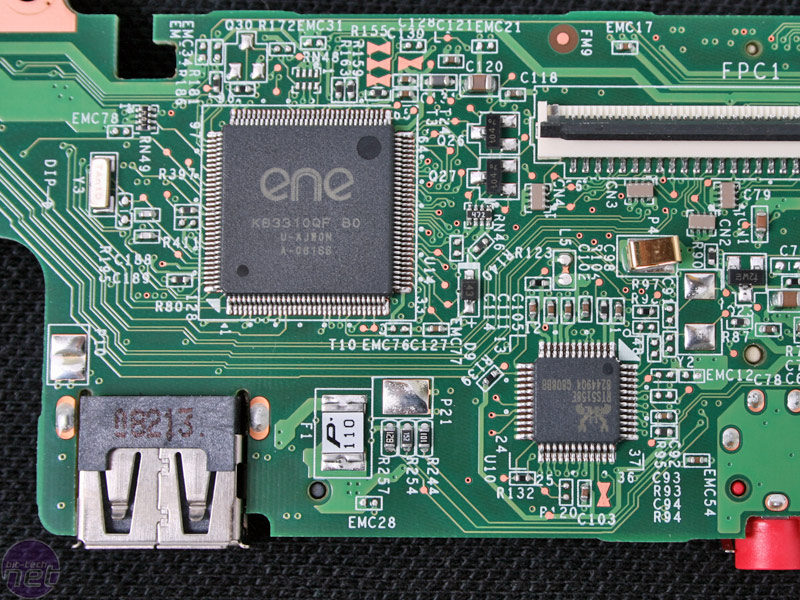
The Western Digital hard drive (left) pops in and out exceptionally easily thanks to it's SATA connector, and in the right photo MSI uses the Realtek chipset for the card reader, and the ENE system controller right by the third USB port.

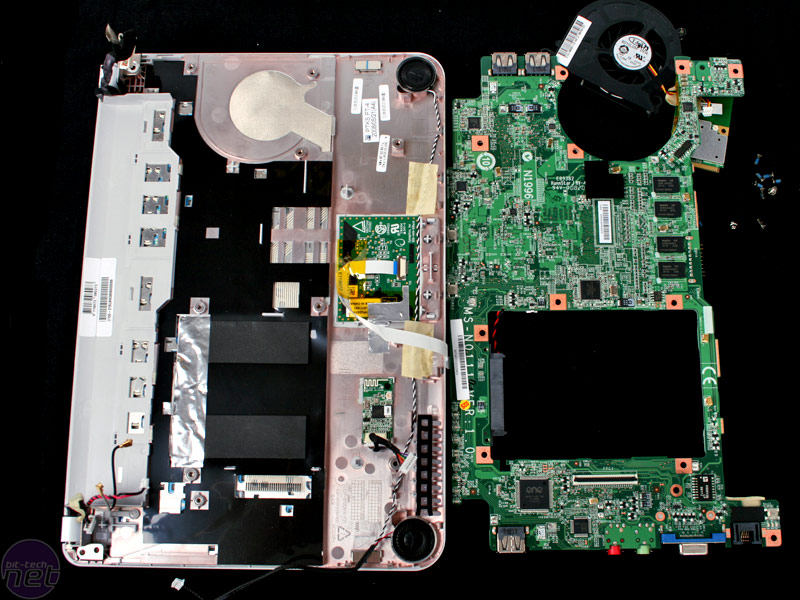
By taking off the fan that cools the Atom and northbridge under the heatspreader to the right you can get to the other side after some careful wiggling of the PCB.
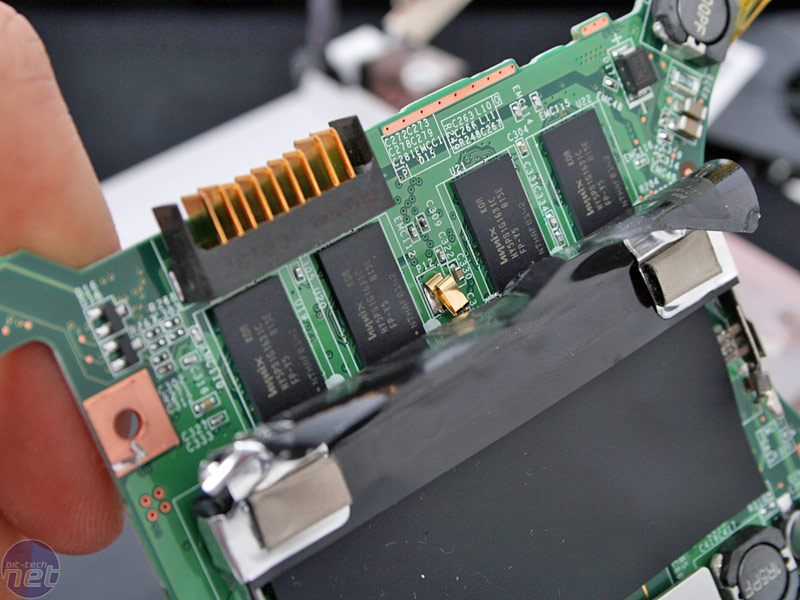
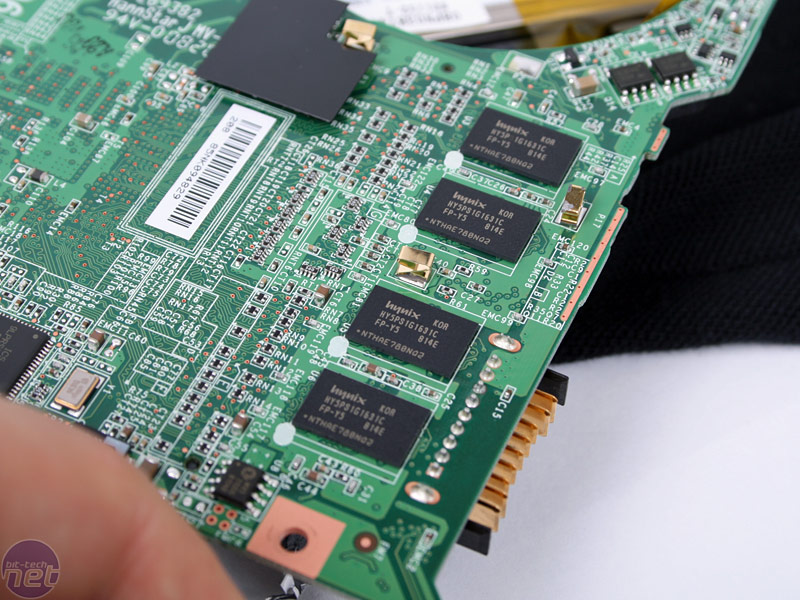
One thing we found interesting is that there is a DDR2 SO-DIMM slot to upgrade the memory, unlike the Eee, which means the Wind has a much more simplified future expansion compared to your average cheap sub-notebook. However, it is a complete oxymoron considering there's no specific access panel to do this easily. Just like how Asus solders part of it's SSD to the PCB, MSI has soldered eight memory chips to the PCB (four on either side) in the Wind, for the standard 1GB of system space.
Because of the intricate design there's very, very little extra space to play with unlike the Eee, so internal modding is quite limited. However putting it back together was far, far easier than the Eee, providing you remember what screw and what cable connector goes where.
Got any ideas or actual Wind mods? As always, let us know in our modding forum!
RELATED ARTICLES


MSI MPG Velox 100R Chassis Review
October 14 2021 | 15:04

Want to comment? Please log in.