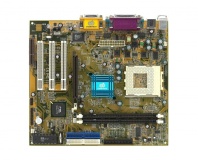
Asus Maximus V Gene Layout
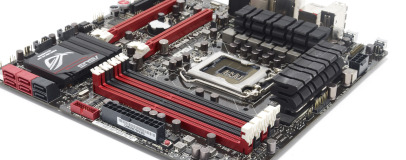
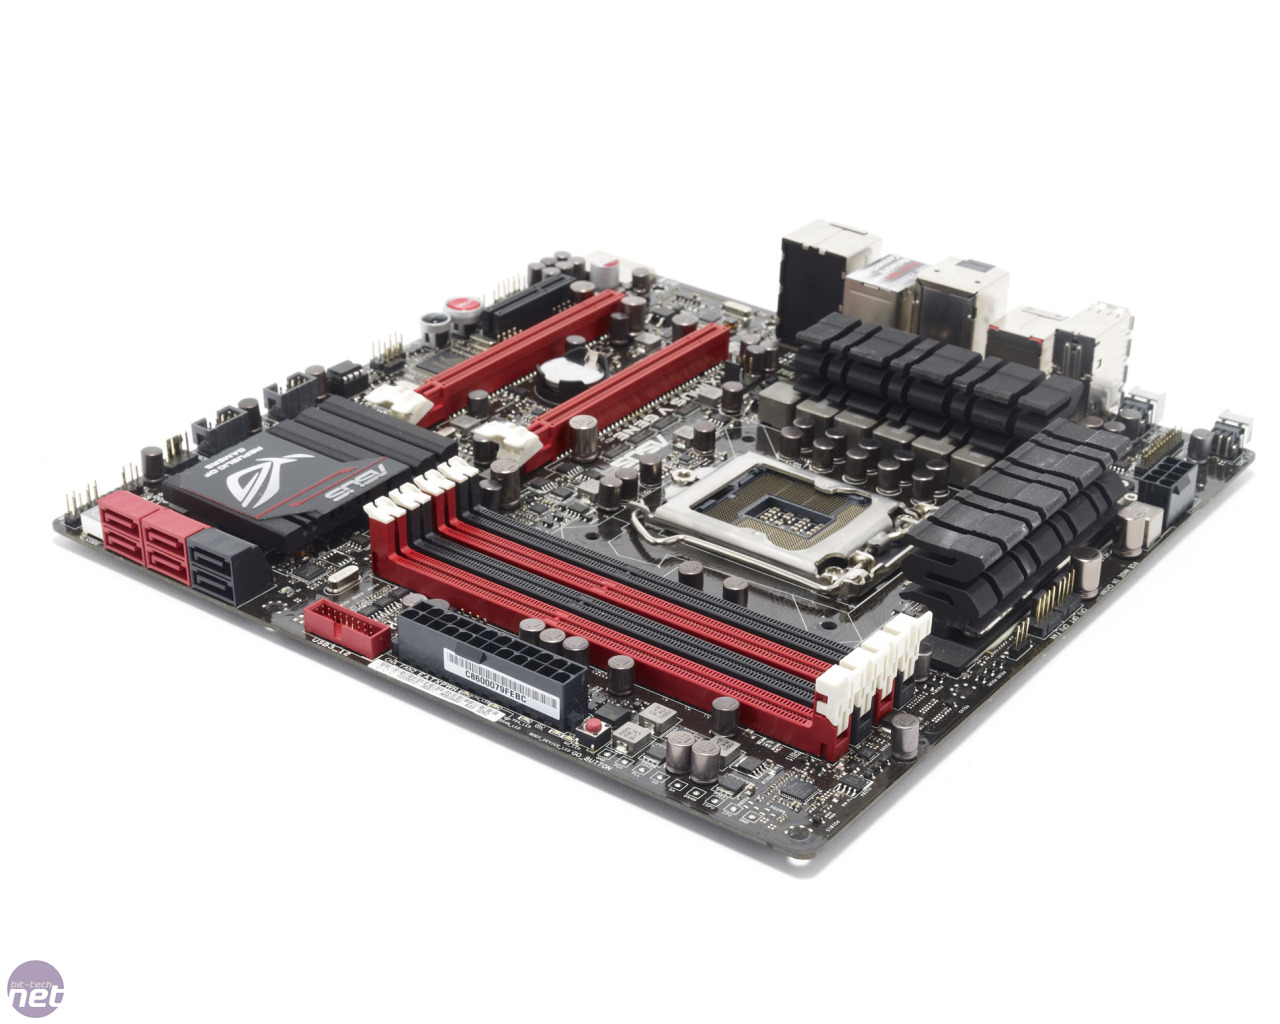
On the face of it, all is still well in world Gene; the board looks great and the pleasingly chunky heatsinks are firmly clamped to the PCB and lend the motherboard a reassuring weight and solidarity. As with most m-ATX boards though, some slight compromises have had to be made when it comes to the layout.The RAM slots for example are located a little closer to the CPU socket than we’d like, meaning you’re more likely to have a RAM/CPU cooler snafu, and the expansion slots are a little limited too; there is only three of them. This is an unusually small number even for an m-ATX board (most have four) and is as a result of the fact that the space between the two PCI-E slots is crammed full of capacitors and components, leaving no room for an extra expansion slot. We’re not getting too uppity about it however, as even three slots allows enough room for a double slot graphics card and a sound card, which is what most self respecting gamers should be running.

Click to enlarge
Asus has also attempted to make up for the reduced number of traditional expansion slots by adding a mini-PCI-E header in the top left of the board. This, when fitted with the bundled ‘mPCIe Combo’ board, can be used as a mini-PCIe or mSATA connector, giving the scope of fitting a dinky mSATA SSD, or a small wi-fi card to the board.
Not that Asus would suggest that you need any extra audio oomph however, as it’s gone to a fair old amount of trouble to make sure the sound processing on the Maximus V Gene is as good as it possibly can be, theoretically doing away with the need for a dedicated sound card altogether. To this end it’s actually isolated the corner of the PCB on which the sound processor and associated capacitors are located, leaving a gap of clear, unsullied PCB between them and the rest of the PCB. This is an interesting move, as it should cut the sound circuitry off from the noise produced by the rest of the board.
Click to enlarge
This unprinted gap in the PCB also performs an aesthetic as well as technical role, as it allows some of the light from the red LEDs mounted on the rear of the PCB to shine through. This looks frankly awesome, like a river of molten lava running around the corner of the PCB, and it’s something we wouldn’t be surprised to see done to a greater degree on Asus forthcoming ROG boards, and aped by competitors too.
Asus Maximus V Gene Overclocking
As with most LGA155 motherboards, overclocking the Gene was a simple task. It was almost too simple in truth, there is defiantly a little part of us that longs for the days past, when overclocking a board used to be a challenge - a constant balancing act between the FSB and multiplier. All we needed to do to raise the i7-3770K up to a heady 4.8GHz was to shove 1.34V through the Vcore, flick load line calibration to its ‘extreme’ setting and ramp the CPU multiplier up to 48x.Once there though the Gene proved rock solid, and it’s worth noting that a number of the other boards that we’ve looked at (reviews coming soon) required more than the 1.34V Vcore we put through the Gene to hit the same 4.8GHz. Overclock recovery was also particularly good on the Gene, with the EFI recognizing a failed attempt and dumping you back on the AI Tweaker page as standard.
RELATED ARTICLES


MSI MPG Velox 100R Chassis Review
October 14 2021 | 15:04

Want to comment? Please log in.