Exploring PSU Design and Testing with Cooler Master
December 17, 2014 | 12:58
Companies: #cooler-master

How to Test a PSU with Cooler Master
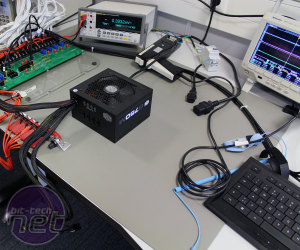
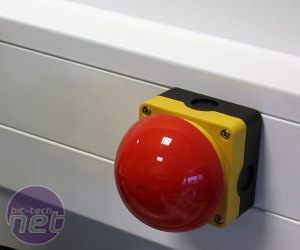
Testing electrical equipment can be dangerous work. As such, testing of all PSUs is carried out on a conductive mat connected to a safety switch. Breaker switches are also used and, of course, there's a Big Red Button on the wall just in case anything goes seriously wrong – this will shut down the main supply of electricity to the entire lab.While this article is focussed on testing a PSU's electrical characteristics, another important consideration for end users is fan noise. However, the testing equipment generates a lot of noise, which makes it impossible to test fan noise in the same room. The solution is to use a laser tachometer to gauge the RPM of a PSU's fan when it's under sustained full load. The fan is then removed and tested in a separate, quiet testing space, with its voltage adjusted so that the RPM is the same as the previously recorded value.
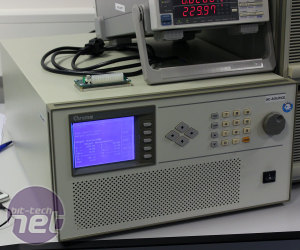
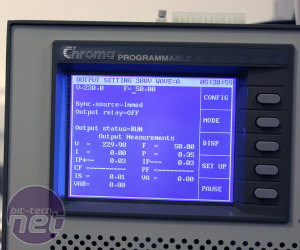
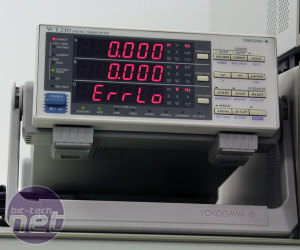
To test any PSU you first need a supply of electricity. For this, a Chroma AC Source is used, which allows you to program in the volts and frequency of the supply so as to match those commonly used in various regions (e.g. 120V and 60Hz for the US). The AC Source outputs to 10A and 16A kettle leads (the larger 16A lead is used for ultra-high wattage power supplies). ATX PSUs need to be able to operate within the 90-264V and 47-63Hz ranges, although lower ranges can also be used for region specific models. A Yokogawa WT210 digital power meter measures the power draw of any connected PSU. It's able to give readings both in VA (apparent power) and watts (real power), so that at any load level the power factor (real power divided by apparent power) can be determined – it must always be at least 0.9 at 100 percent load to meet the 80 Plus and ecoPSU certifications.
Each rail in a PSU has a current rating, which defines the maximum load that can be drawn through it; e.g. a 3.3V rail with a 20A rating can be loaded with up to 66W. The sum of these maximum loads often equates to more than the rated wattage, which means applying 100 percent load isn't as simple as loading all rails up to their maximum rating, since that would exceed the total power that PSU is capable of supplying. Instead, the full wattage (e.g. 750W on a 750W PSU) will be divided between the rails based on their proportion of the sum of the maximum load ratings, as this is what the 80 Plus and ecoPSU standards dictate. Cooler Master has a handy spreadsheet that tells the tester the exact current he needs to draw through each rail at each load level (e.g. 100 percent, 50 percent, 20 percent and 10 percent load).
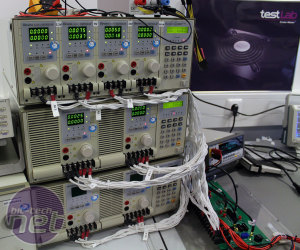
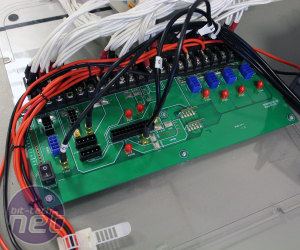
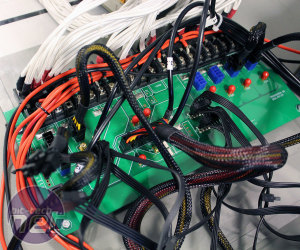
The relevant power connectors of a PSU are connected to a specifically designed PCB, and this is in turn linked to a series of Chroma DC load generators. To load a rail, you simply punch in the desired current as determined by the spreadsheet.
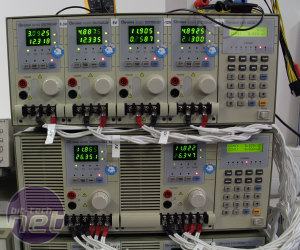
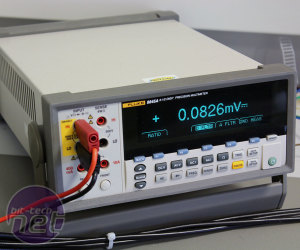
Click to enlarge - The load generators with voltage and current readouts, and the precise multimeter used for more accurate voltage readings
With the load applied, the load generators display the current and voltage on each rail. The voltage should be as close as possible to the nominal voltage, but the Intel ATX specification allows for up to 5 percent variance on most rails e.g. between 11.4V and 12.6V on the 12V rail. However, as voltage is lost along the cables coming from the load generators, voltage readings for the three mains rails (12V, 5V and 3.3V) are taken from a Fluke 8845A precision multimeter with connections that use deliberately low resistance cables soldered direct to the PCB so as to bypass the load generators .

MSI MPG Velox 100R Chassis Review
October 14 2021 | 15:04



Want to comment? Please log in.