Details
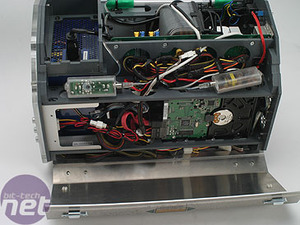
Before getting down to the insides, we wanted to show you around this unique chassis so you get an idea of exactly what this machine is.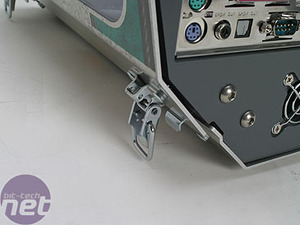
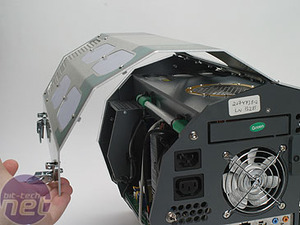
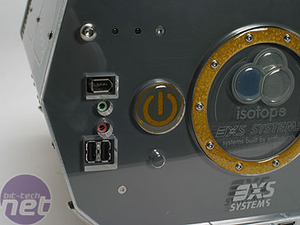

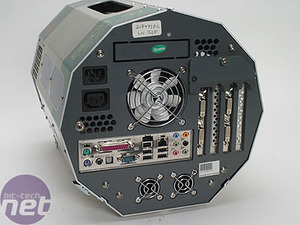
An 80mm intake fan drags cool air into the case and onto the processor heatsink. To the left of that there are power jacks for the computer itself and for connection to a monitor, whilst below that is a switch which will switch the side-mounted green cathodes on and off.
Build Quality
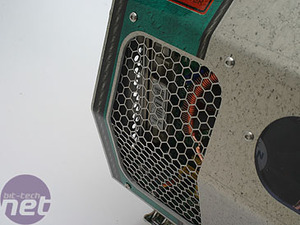
Because the case is so small, there is really a minimal amount of room for cabling, as you can see above. As a consequence, the whole thing has been exquisitely cabled, tied, routed and organised to provide the maximum amount of room possible. The chassis itself is solid and feels good quality, with a suitable sturdiness. The metal top section is strong and unlikely to bend, and the artwork on top is actually a very high quality decal which we felt is unlikely to scratch or damage.If we had one problem with the overall build and design, it would be that the large open areas - the top of the case and the mesh vents on the side - are likely to pull in dust, which could make this a high-maintenance system. Considering the design and the amount of hardware inside, however, this is something we'd be prepared to put up with.
Noise
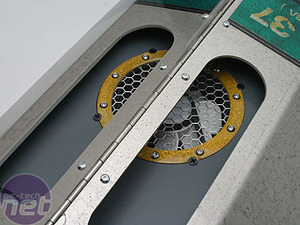
The system isn't quiet, we'll say that much. It certainly isn't the loudest we've heard, but the sheer amount of kit packed into the small space means that decent cooling is a must for system stability - and, to be fair, this machine didn't conk out on us once during testing. The rear 80mm intake is pretty quiet, although if the two 60mm fans below had been fitted, we would expect them to produce a high-pitched whine which would spoil the fun. Both the fan on top, and the fan in the power supply, are whisper quiet.The processor fan is also very quiet, and the Zalman coolers on the graphics cards (which we'll get to in a minute) are also very good. However, lots of even very quiet fans add up to quite a lot of noise, and whilst this won't be the noisiest system at your LAN, you've heard quieter. Thankfully, the top, rear and processor fans are connected up to the fan controller on the front, allowing you to throttle them back where possible.

MSI MPG Velox 100R Chassis Review
October 14 2021 | 15:04


Want to comment? Please log in.