un-Tee-idy
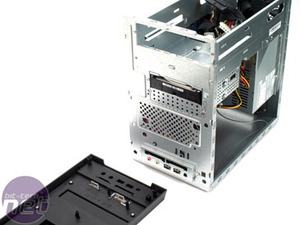
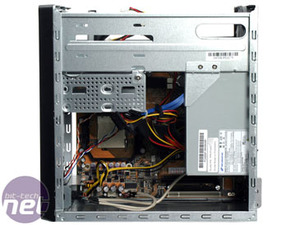
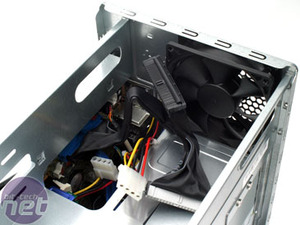
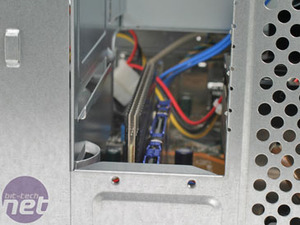
The first thing you notice is that there is no CPU cooler included and the fact there are a ton of cables strewn everywhere. We are so used to Shuttle's legendary cable management techniques that this almost seems criminal in comparison. Cables get in the way of the chipset fan, CPU heatsink and graphics card once everything is installed. The nanoBTX case design makes the whole internal arrangement very awkward in places, and adapting it for an AMD platform means certain things barely fit while other places have oodles of room.
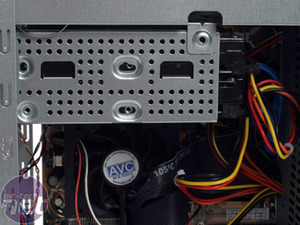
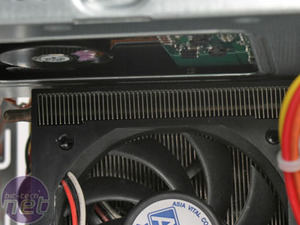
For example, no CPU cooler is provided, and anything even slightly larger than a standard AMD heatsink won’t fit because the hard drive cage sits just millimetres above it. This means you have to be very careful with what cooler you buy, because despite it seeming like there is lots of room the reality is that there isn't much room at all for anything big and quiet.
The chipset and BIOS aren’t at all tailored towards high end performance, so heat output shouldn’t be an issue. However, extra airflow is always good for keeping things stable and working in the long term because cooling-running components are usually longer-lasting ones.
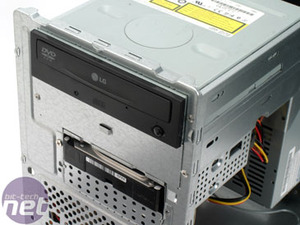
The optical drive cage (which the hard drive cage attaches to) also sits right above the memory meaning it gets absolutely zero airflow and only standard height modules will fit. To get to the drive cage you firstly have to remove the front panel. This requires a careful removal of the top lips first, subsequently making the rest of the panel flex a bit and feel like it's going to break, but thankfully it never did. The drive cage then slides forward directly out the front of the case. The optical drive is also installed from the front, too.
PCI-Express cards are now installed at the bottom and face upwards instead. The problem is, the front USB and audio port cables have to be routed around it. Also, due to the fact the PCI-Express x16 slot is above the PCI slot, this means that no dual height cards can be installed. Even single slot cards that require a PCI-Express 6-pin connector are out of luck since there is only a single rail of with two Molex connectors and those are for the optical drives.
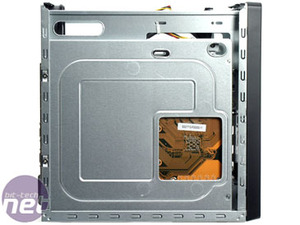
Even though the CPU socket is so close to the front of the case there is no room for a fan, if necessary you could screw an 80mm fan to the case side where the grill holes are, but the socket could really just do with being moved about 20mm from the front of the case. The only case fan in the system is an 80mm in the top rear of the case, and even though does heat rise, it isn’t placed near any particularly hot components and the entire top half is almost compartmentalised away with a sheet of steel between the optical bay and rest of the PC.
Ideally though, Shuttle could have moved the 250W PSU to the upper rear end of the case and moved the case fan down to be far more useful. In addition this would have eased the space behind the hard drive rack and allowed dual height PCI-Express cards or a rearrangement of motherboard hardware and cables.
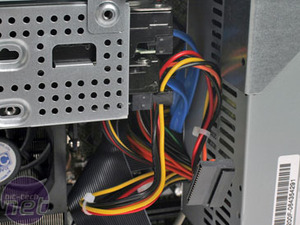
Only the SATA and floppy cables are perfect length, however even the floppy cable could do with being rounded. Some of the PSU connectors could also be re-jigged, for example, considering the only place to put two hard drives is right on top of each other, why is there such a large piece of wire between the SATA power connectors? In the same vain, the IDE cable may be rounded, but it’s twice as long as it needs to be.
But there’s no doubt you get what you pay for, and you really need to employ your own cable management. Having owned other XPCs you might be spoiled, expecting Shuttle to do it for you. This is essentially a “build one and leave for years” case for business or general family usage. How many places have you worked for or how many family PCs are still running several year old hardware and never once as anyone changed the hardware, let alone cleaned out the 2” of accumulated dust inside?

MSI MPG Velox 100R Chassis Review
October 14 2021 | 15:04




Want to comment? Please log in.