
The Build
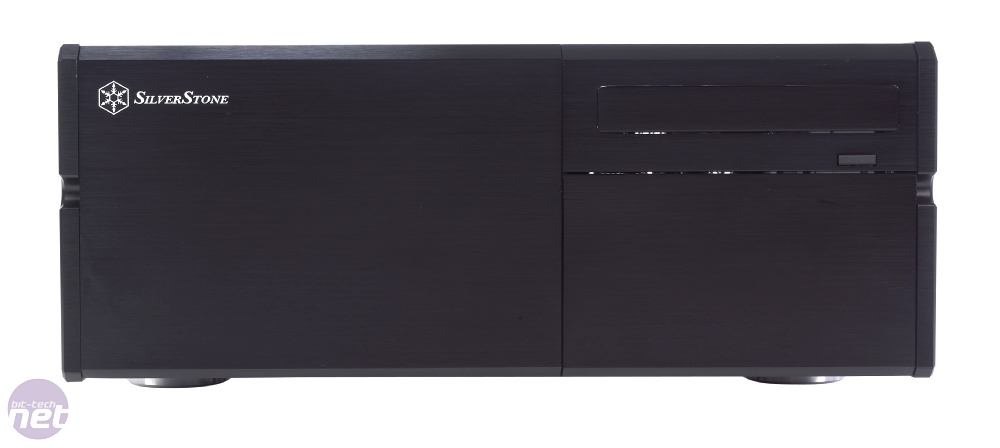
We sometimes include an image or two of the bits box in our reviews, but there wasn't many to speak of with the Silverstone so we didn’t bother. It comprises of a re-sealable bag of standard PC screws, a couple of bits of double-sided foam adhesive and a numpty-proof assembly manual that looks like it's been printed on reclaimed 70's wallpaper.The foam adhesive is for the brushed aluminium fascia panel for the optical drive. It's a chunky strip that sticks to the front of the eject tray, hiding the nasty Blu-ray logo from anyone that cares enough to notice. It's a nice touch, and keeps things looking elegant, but you'll need to get the stickiness off if ever you want to use the drive in another computer without all the fluff in the world sticking to it. TIM cleaner is a good candidate for the job.
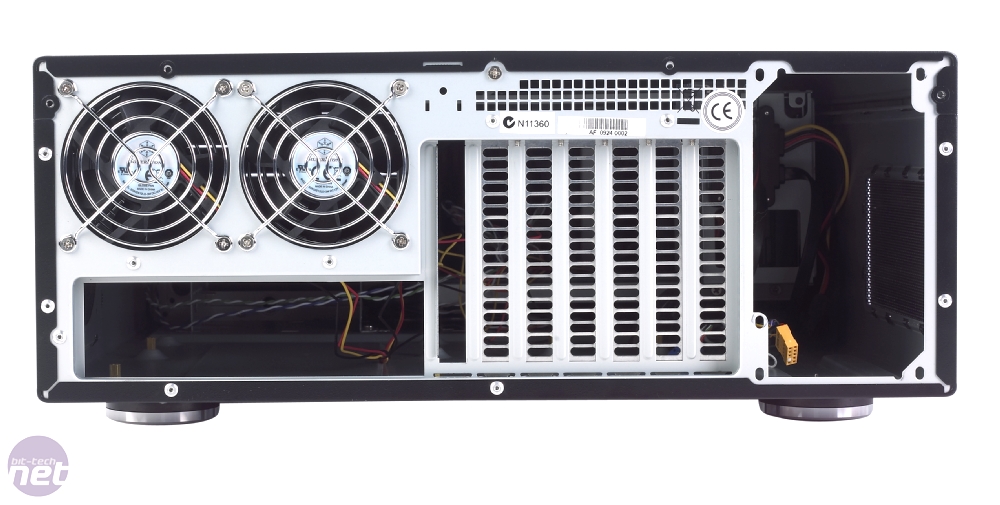
The four 3.5in bays tucked behind the duo of fan mounts at the front are the only ones in the entire case that have any sort of vibration dampening, with four dense rubber strips running through the bay. The supplied screws don’t use rubber grommets. Both the hot-swappable bays make direct contact with the chassis, as does the external 3.5in bay.
Click to enlarge
As a result, the noise from a hard disk in one of the hot-swap bays sounds as though Zeus is exorcising his anger on the human race for making media PC cases with no sound dampening. This is a particular issue, as the disk drives that you'll want to swap out often are likely going to be the ones that get accessed a lot – ie, the ones that are likely to make the most noise.
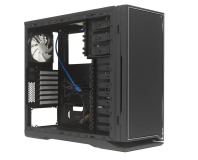
Building a PC inside the Grandia is a pleasant experience, as far as media PCs go. Oftentimes, there isn't enough room to swing a pygmy chameleon by the tail, let alone stuff a load of excess cable lengths somewhere that won't embarrass you should a friend take a peek inside. The way the drive bays are situated means that there are nooks and crevices just about large enough for intermediate pot-holing - hiding cables in these is a doddle.
Click to enlarge
Another factor in the ease of build is the elevation of the motherboard on the motherboard tray. Small mounts that look like mole hills are raised up from the tray, and then the spacers are screwed to these prior to adding in the motherboard. This leaves a good-sized gap under the board, which can be used to route any cable that has to make its way across the main chamber
These gaps and holes are particularly welcome in a media PC case, as a neat build will not only help airflow, and thus reduce noise, but will help should (okay, when) something goes awry and you need to do some problem spotting. Trust us, you’ll thank SilverStone for allowing such a neat build as soon as you start poking at headers and swapping memory around.

Click to enlarge
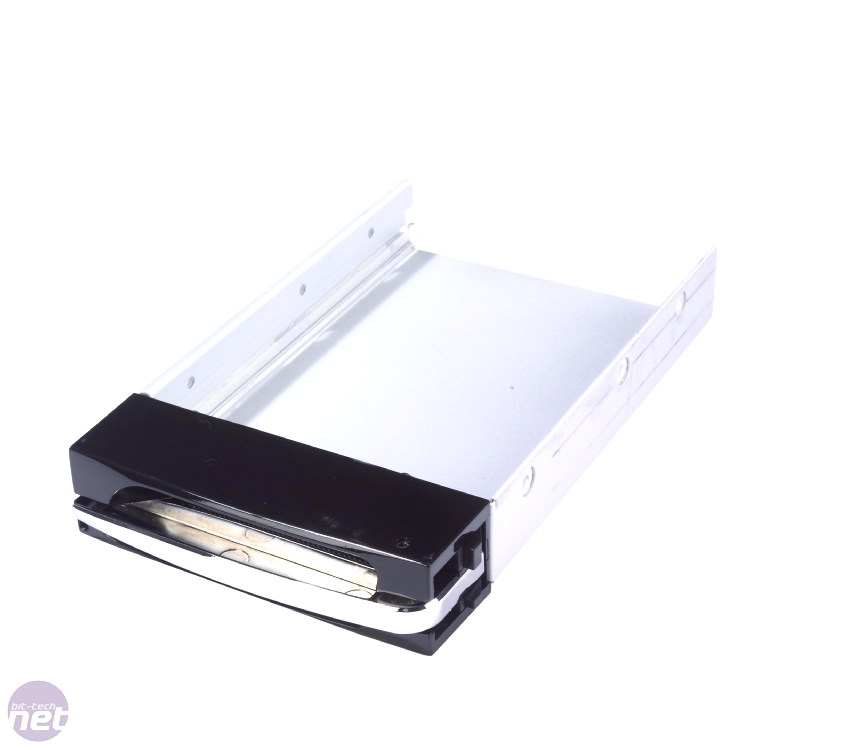
However, one thing that disappointed us a little was that the smoothness - or lack thereof - of the hot-swappable disk bays. Not only are there no rails for smoothly sliding a disk in or out, but the caddies make something of a racket too. The mechanisms sound more like that of a twenty-year old server than a brand new £145 media PC chassis.


MSI MPG Velox 100R Chassis Review
October 14 2021 | 15:04

Want to comment? Please log in.