Installing FreeNAS
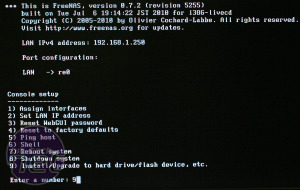
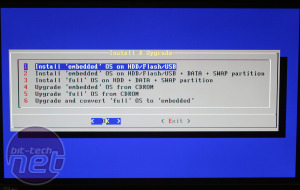
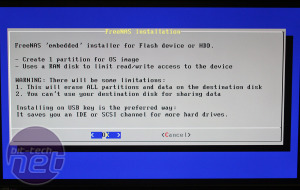
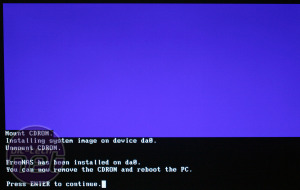
This guide assumes that you're going to install FreeNAS onto a dedicated USB stick, as we recommended earlier. Firstly you'll need the latest ISO and a CDR. Yes, it's archaic, as many of us don't use an optical drive let alone CDRs, but it's the recommended way. If you have a better and still easy method, then please let us know.Burn the disk, format the USB key as FAT and then boot from the CD with only the USB key plugged in and the SATA controller set to IDE mode rather than ACHI. If all goes well with the boot, select option 9 to install FreeNAS onto USB stick and follow the prompts. It shouldn't take too long.
Unplug the optical drive, then plug in all your hard drives and fire up the system, making sure to change the boot option to your USB stick. Once FreeNAS has booted, you can assign a specific or DHCP Ethernet address with option 2 (make sure your network cable is plugged in).
Configuring FreeNAS
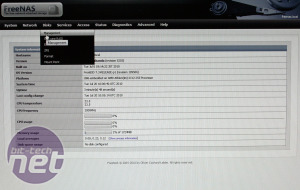
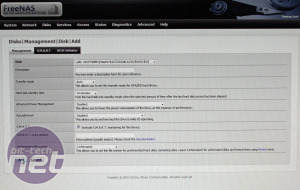
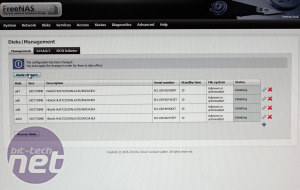
Next, jump on another PC and fire up your web-browser to the IP address you set above, or hit //FreeNAS (this doesn't work in Chrome though). For our guide we'll show you how to setup a four disk software RAID 5 array.Select Disks -> Management, then add the each drive successively with the plus button to the right. Finally hit 'Apply Changes' and they should all read 'ONLINE'.

MSI MPG Velox 100R Chassis Review
October 14 2021 | 15:04




Want to comment? Please log in.