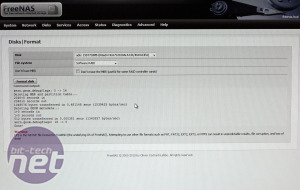
Next Select 'Disks -> Format' and format each disk successively with the Software RAID option. This preps each drive, allowing them to be bundled together into a RAID array. Please note, if you're using one of the latest 4K advanced format drives on sale now, then there's a specific option for these drives that needs to be checked.
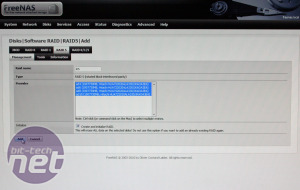
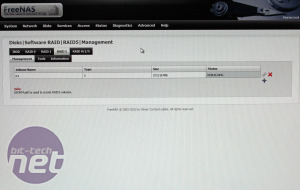
Next 'Select Disks -> Software RAID', then click the RAID 5 tab and under the management tab below hit the plus button and add all the drives you want in the array. Remember to check the box 'create and initialise the array' otherwise it won't work; I've no idea why it isn't checked automatically. Hit Apply and it'll create the array.
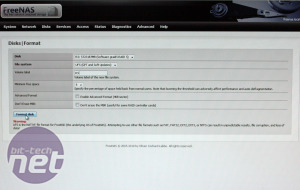
Next go back to 'Disks -> Format' and select the newly formed array from the list. This time Format it in UFS. Depending on the size of the array it might take a while - this four 2TB drive array took several minutes to complete.
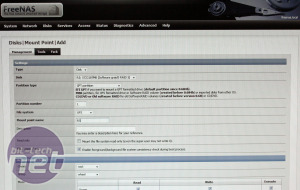
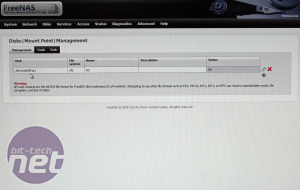
Finally you can mount the array from 'Disks -> Mount Point'. Hit the plus button, select the array from the drop down list and give it a mount name. Add that and Apply Changes and you're done.
You'll want to enable the services to start throwing data on it next - go to 'Services -> CIFS/SMB' and check enable on the right hand side. Save and restart at the bottom before going into the 'Shares' tab and setting up a directory other PCs can find.
If you prefer to access your NAS box via iSCSI or FTP then there are separate services for those as well. At the bottom there's also the inbuilt Bit Torrent client: Transmission. That is accessed via a different web interface shown at the bottom.

MSI MPG Velox 100R Chassis Review
October 14 2021 | 15:04




Want to comment? Please log in.