
How to setup iSCSI storage in Windows
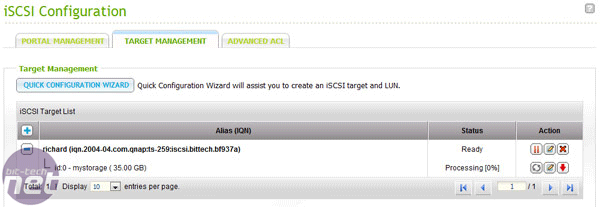
QNAP provides two options for space allocation. The Target disk is first divided up according to the administrator's set requirement and each user LUN gets its own space; that user space can be either provisional (i.e. it can grow as long as there's space on the drive) or the admin can bolt everything down to a fixed size.QNAP explained to us that the provisional space option is far quicker because it only requires a software setting, whereas the 'instant allocation' choice actually takes longer because the device physically marks out an area of disk free of data for the LUN to use.

That's basically it for the NAS box end, but don't close the administration window because you'll need the unique target address to input into Windows. In the Windows control panel then, select the iSCSI Initiator option. It may ask to turn on the iSCSI service - if so, click yes.
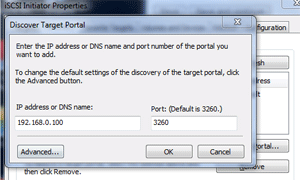
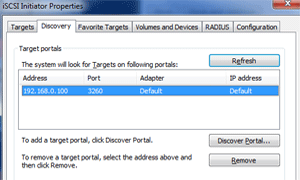
Under the discovery tab, input the IP address of your NAS box and change the port if you used a non-standard one.
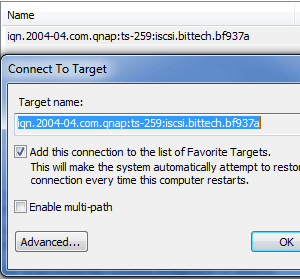
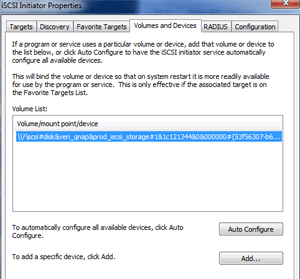
After finding the target, click the targets tab and connect to it, then click the volumes tab and hit Auto Configure.
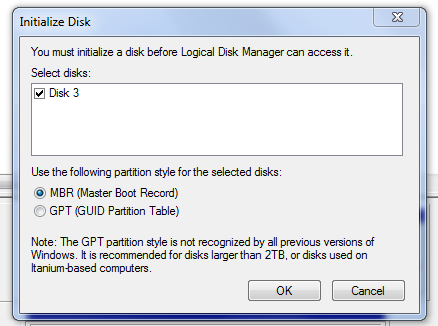
The drive volume is now seen by Windows as a blank disk so you'll then need to enter the control panel - administrative tools - disk management and mount and format the disk volume in NTFS.

After which, it will appear in Windows as a normal, local hard disk.
If you use iSCSI yourself or have alternative network setups for your NAS boxes and servers - let us know!

MSI MPG Velox 100R Chassis Review
October 14 2021 | 15:04



Want to comment? Please log in.