
Interior
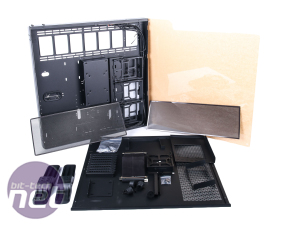
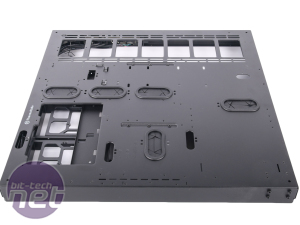
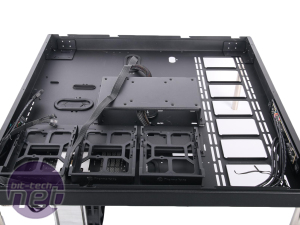
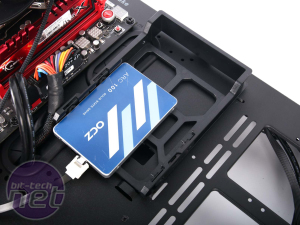
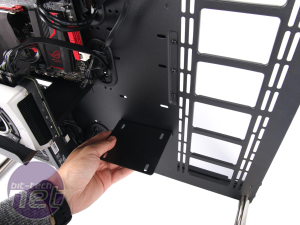
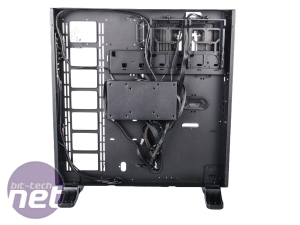
So, what can you actually fit into the Core P5? It might look like a rather sparse front end but part of the reason for extensive depth is that there's a bunch of storage bays behind the motherboard too. There are three removable drive mounts that support both 3.5in and 2.5in devices plus there's an additional mount that can sit on the front side of the motherboard tray too.Click to enlarge
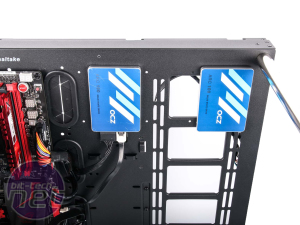
In addition to these are two more 2.5in mounts - actually just a selection of screw holes, which are available at the top of the fan mounts on the right. If it's all about SSDs then you can ditch the front 3.5in mount and there's a third 2.5in-sized group of holes underneath allowing for a trio of SSDs to be installed here in total. It would be useful if Thermaltake could have included something more elaborate for mounting SSDs, but we're guessing keeping the price to a minimum was the goal here. Some tool-free mounts would have been useful though, even if they were located just on the front panel.
Click to enlarge
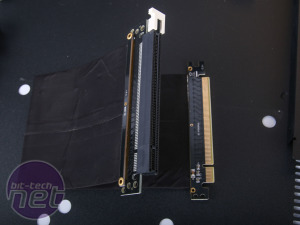
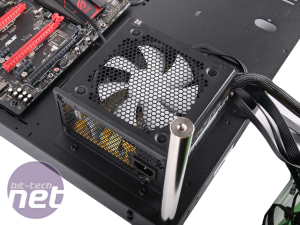
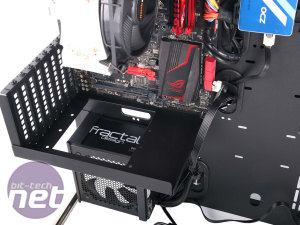
There's a fair degree of DIY work needed to get the chassis in a usable state as you have to build the PSU and GPU mounts yourself. The former comprises two plates that simply hold the PSU fan-up in place at the bottom of the case. The graphics card mount included a shielded PCI-E riser cable that allows you to mount GPUs parallel to the motherboard - great for ogling at fancy coolers or waterblocks, plus the mount supports up to three GPUs too (you'd need to buy two extra riser cables though).
Click to enlarge
Speaking of cables, routing them is a fairly easy task as there are lots of grommet-covered holes around the motherboard and PSU although not that many anchor points inside. Still, a quick run round with the included cable ties would be enough to suit most people and there's no need to do this to imnprove thermals either as the rear section only has a few hard disks to worry about. There are also several covers too that you can run the cables under to gather them together.
Click to enlarge
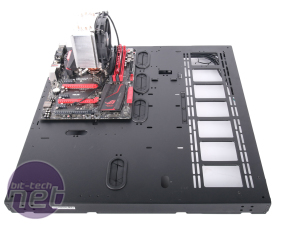
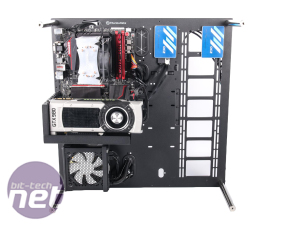
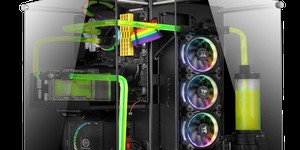
Cooling-wise, as we've already said, this is an open-air case but there's a focus on water-cooling systems here and a significant one too. There's enough of a gap between the motherboard tray and front acrylic window to route rigid tubing and there's a massive radiator mount to the side. This supports either a quad 120mm-fan or triple 140mm-fan radiator and there's room for full-height models in push/pull fan configurations too - even monster size radiators would fit.
Click to enlarge
Next to this is a row of reservoir mounting points and there's a mount included too that you could use for pumps as well. The obvious option here is to use a combined pump and tube reservoir and there are plenty of options out there from the likes of XSPC and EK.
Click to enlarge
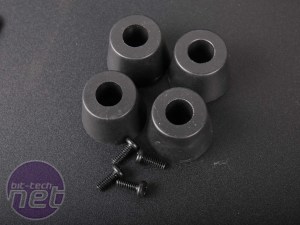
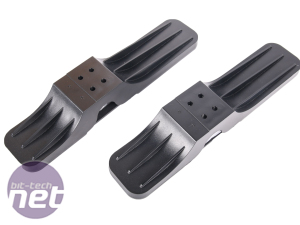
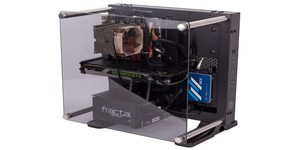
Once you're done, four hefty steel poles - one in each corner - mount the acrylic window to the case with colour-matched thumb screws. A pair of large support feet allow it to rest upright on flat surfaces (as pictured) and there are four smaller rubber feet to allow you to lay the case down, although here it would take up a ridiculous amount of desk or floor space.
Click to enlarge
Finally, of course, there's the wall option. There's a dedicated support bracket inside the case with a VESA mount as well as plenty of screws for wall runners or brackets. It's a hefty case though, and with water-cooling thrown in too, you'll easily be needing a wall mount capable of 20kg+.

MSI MPG Velox 100R Chassis Review
October 14 2021 | 15:04



Want to comment? Please log in.