For many modders, Computex can be one of the busiest times of the year as companies scramble to ensure they have specially-crafted mods on display rocking their latest gear. Well, we're no different, as G.Skill got in contact with us to have us produce a scratchbuilt rig that shows off its Trident Z Royal RGB Silver memory! I figured it would be fun to bring everybody along for the ride in bringing this rig to life.

So, what sort of specs are we talking?
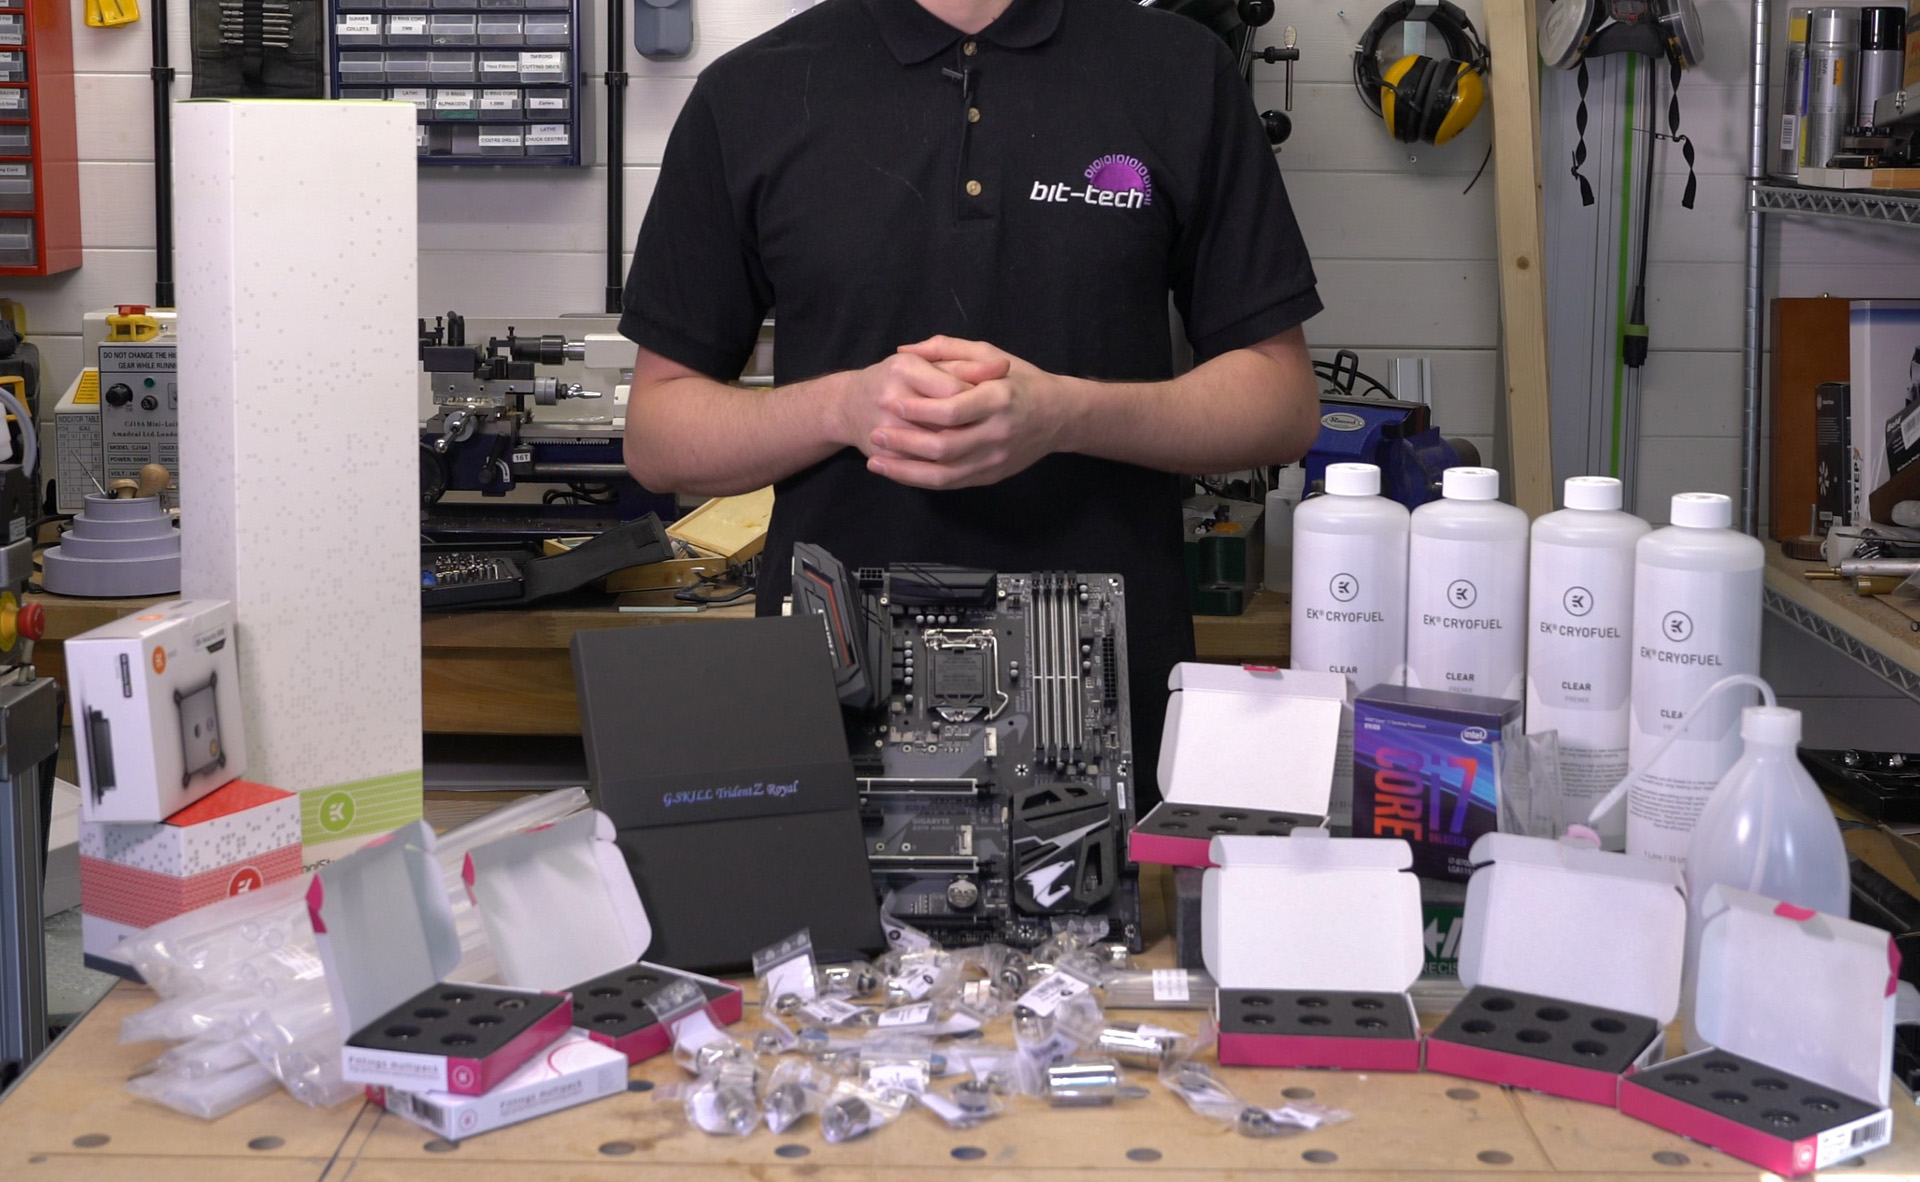
This one's going to be fairly interesting in that, frankly, I don't know what most of the rig will be... sound familiar? This is what we have to work with at the start:
- CPU Intel Core i7-8700K
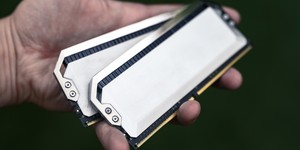
- Memory32GB (4 x 8GB) G.Skill Trident Z Royal RGB Silver 3,200MHz DDR4
- Motherboard Aorus Z370 Ultra Gaming
- GPU TBD
- Storage TBD
- PSU TBD (likely Corsair SF600)
- Cooling - Full EKWB custom loop
Is there a plan?
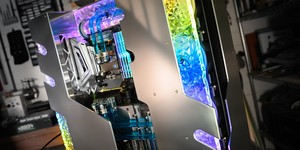
Oh yes, there is indeed, although you'll have to bear with me on this one, as we're staying nice and vague for the time being. As this is a scratchbuild, we're not really limited to the shapes and forms offered by standard chassis. The focus should also be the memory, as G.Skill are the ones commissioning the build. As such, to me it makes sense to go with an open-chassis design, something that will have all the components on show and very visible.
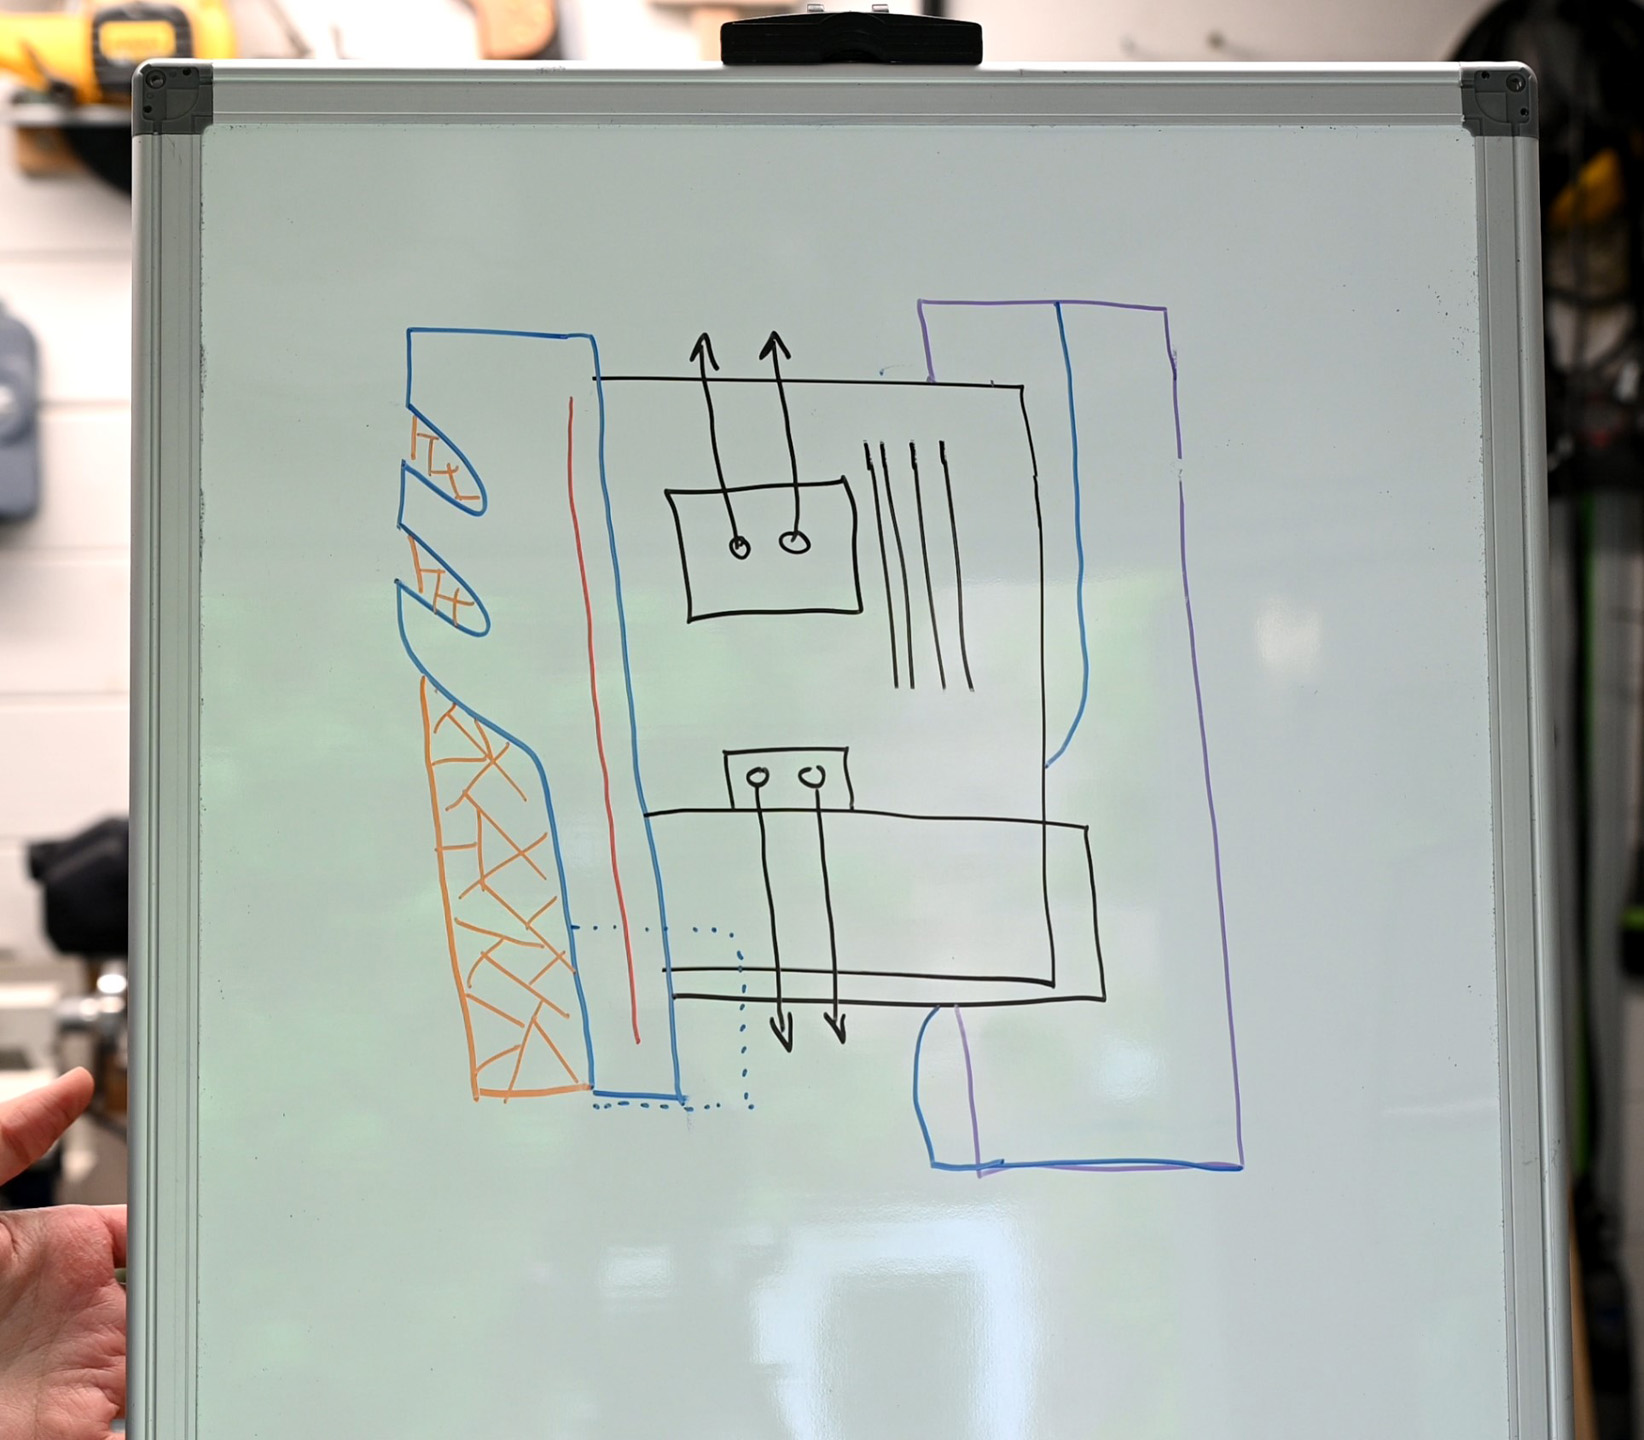
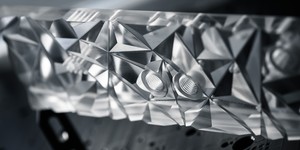
To that end, I thought it could be cool to have a shot at using the shape from the Trident Z Royal heatspreaders as the basis for the rig. Unfortunately my whiteboard drawing skills are somewhat lacking (it's at an angle, please it's hard, okay) but hopefully this conveys a little of what I'm hoping to do. The plan is to have the leftmost side have an aluminium cover that follows the shape of the heatspreader, behind which will sit an acrylic layer that carries the signature crystalline look of the lighting strips found on the memory.
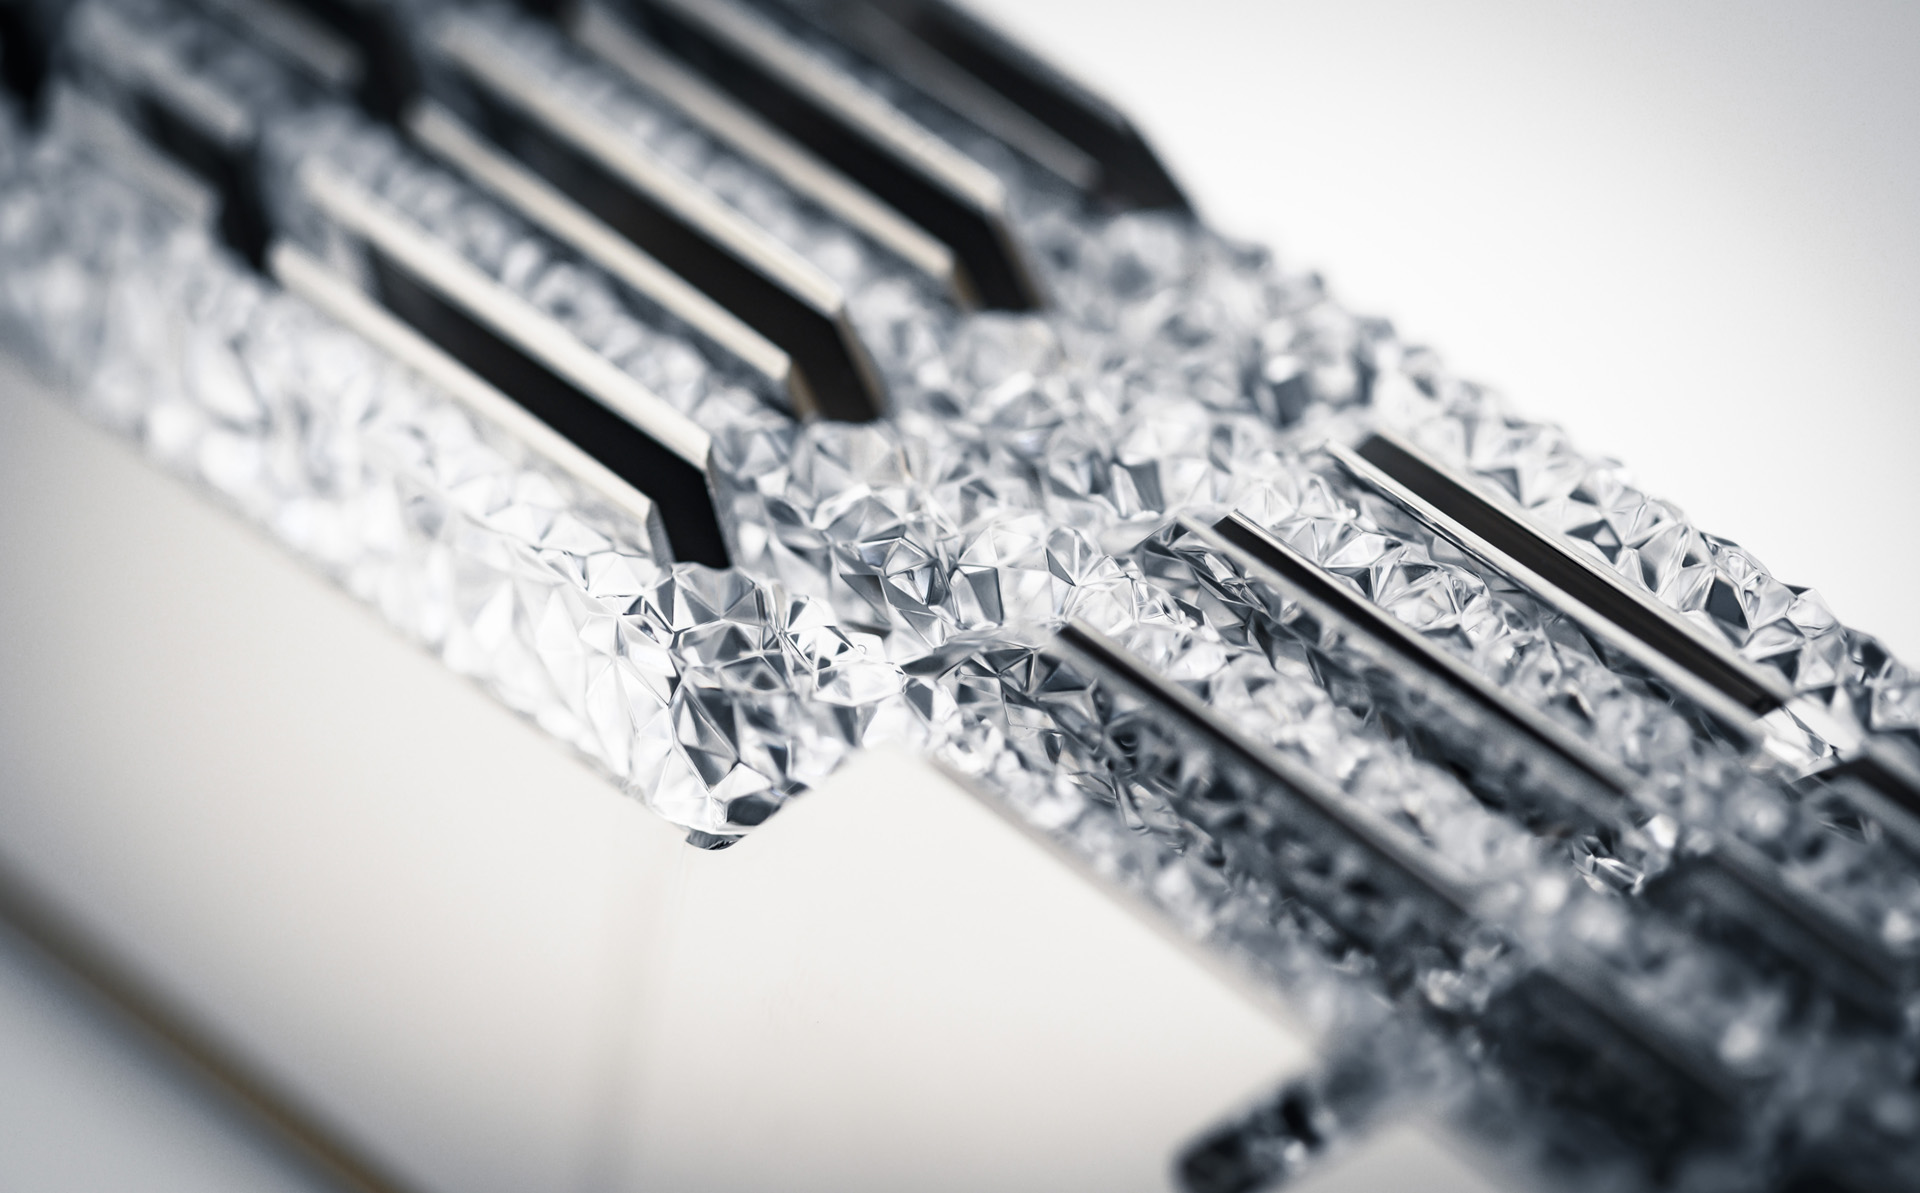
I'm looking to machine the crystal accents from thick acrylic, which should be a fun challenge, as I've never really done a lot of 3D machining work. Inside those sections will sit LEDs that can be synced up to the memory. All the remaining aluminium portions will be polished up to add that signature sparkle. This look will be emulated on the right hand side too, behind which will sit the 480mm radiator. For the water-cooling, my current plan is to have the CPU tubes head straight upwards to a motherboard distro plate, inside of which will be fitted a DDC PWM pump.
Let's get started!
I'll be digging into the structural parts in the next update, as I still have much to draw up before I can commit to any particular cuts. For now, let's begin with a seemingly simple mod to be done to the CPU water block.
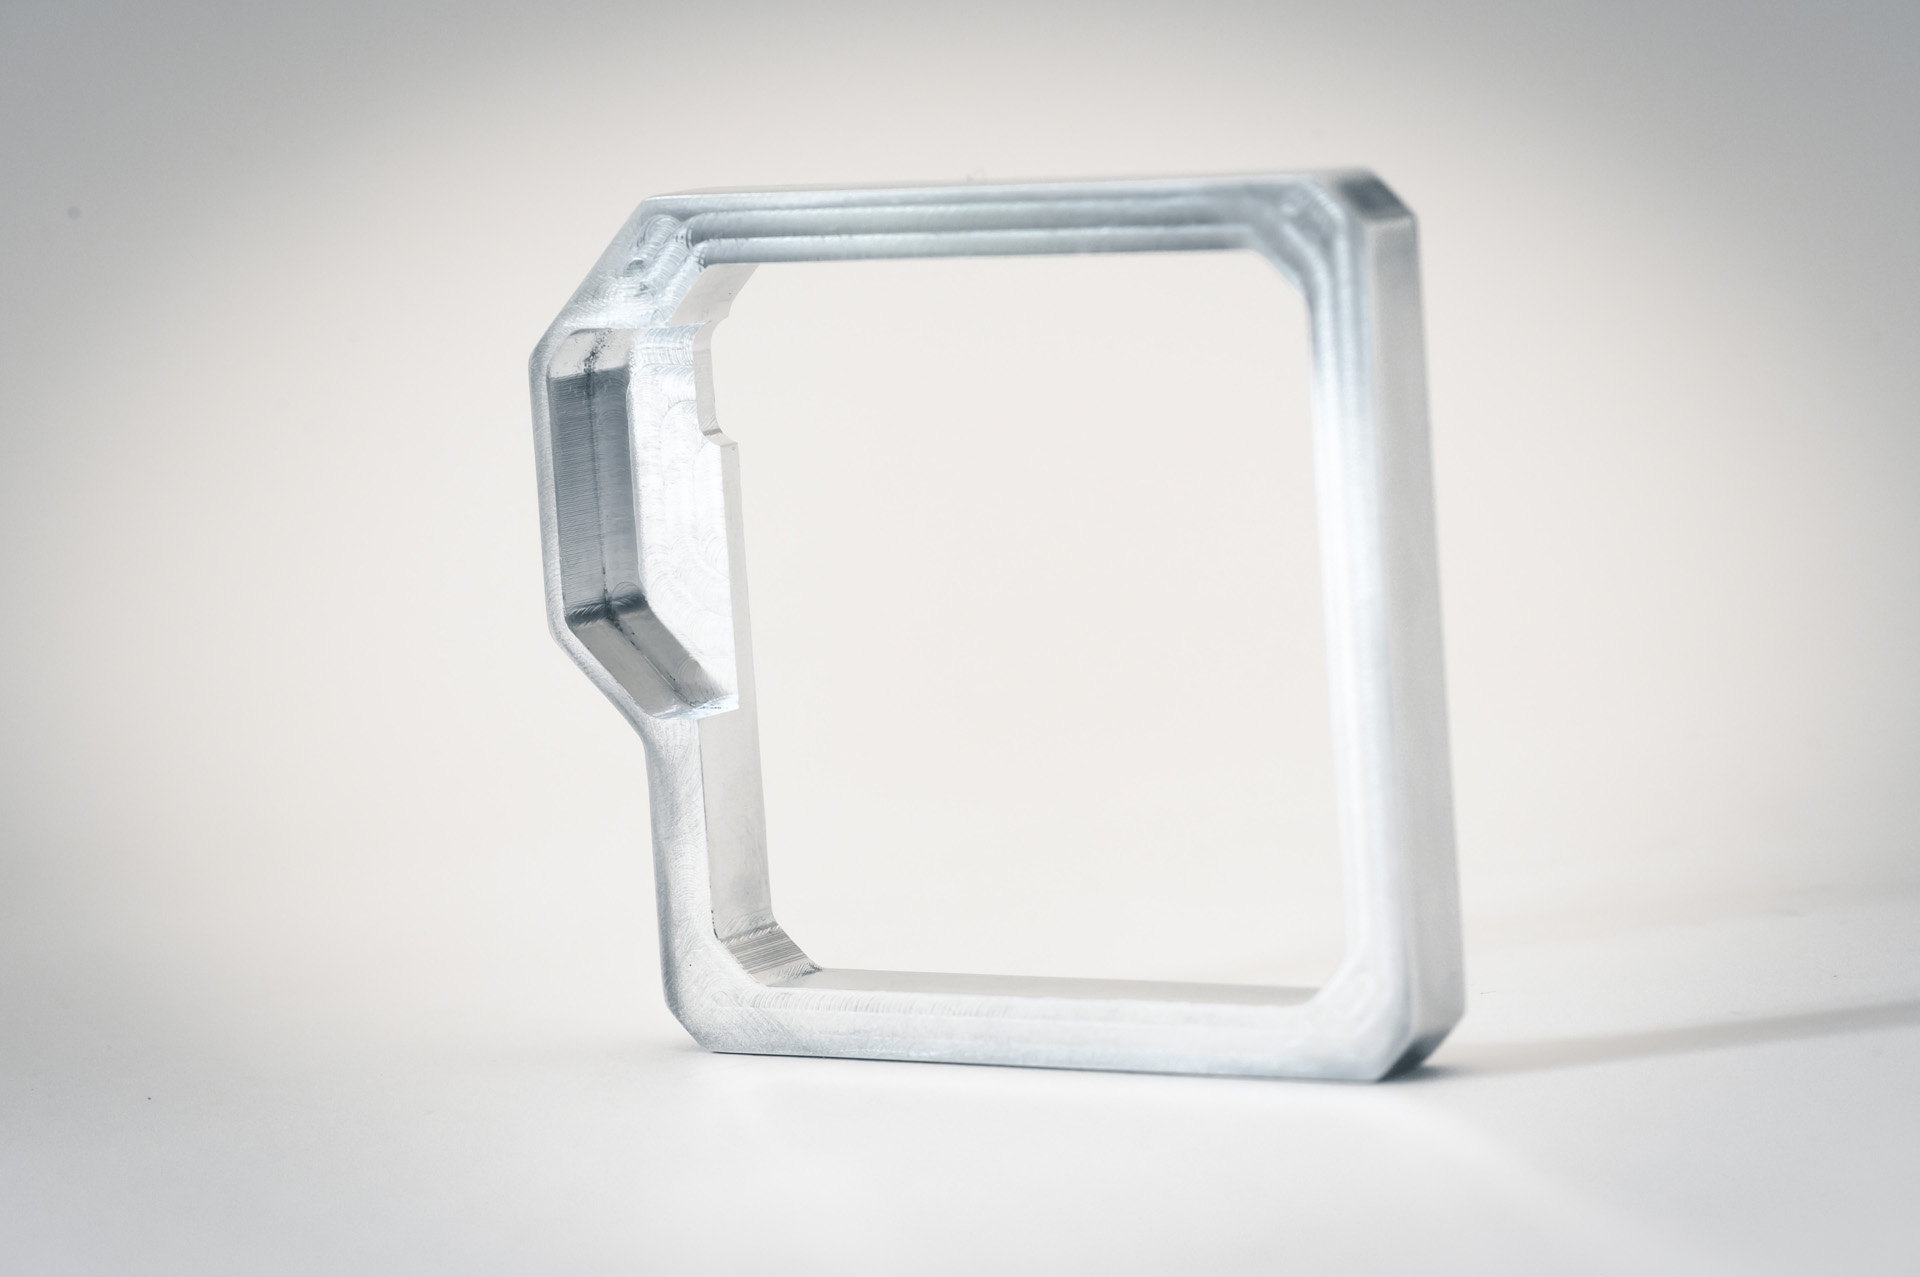
One little thing that's never really gelled with me is how the EKWB Velocity CPU blocks have a little plastic collar on them. I do understand why this is so, but it definitely feels a little at odds with the general heft of the water block, especially the full nickel one that I'll be using. As such, it seemed a good idea to begin by making a custom accent piece from solid aluminium instead!
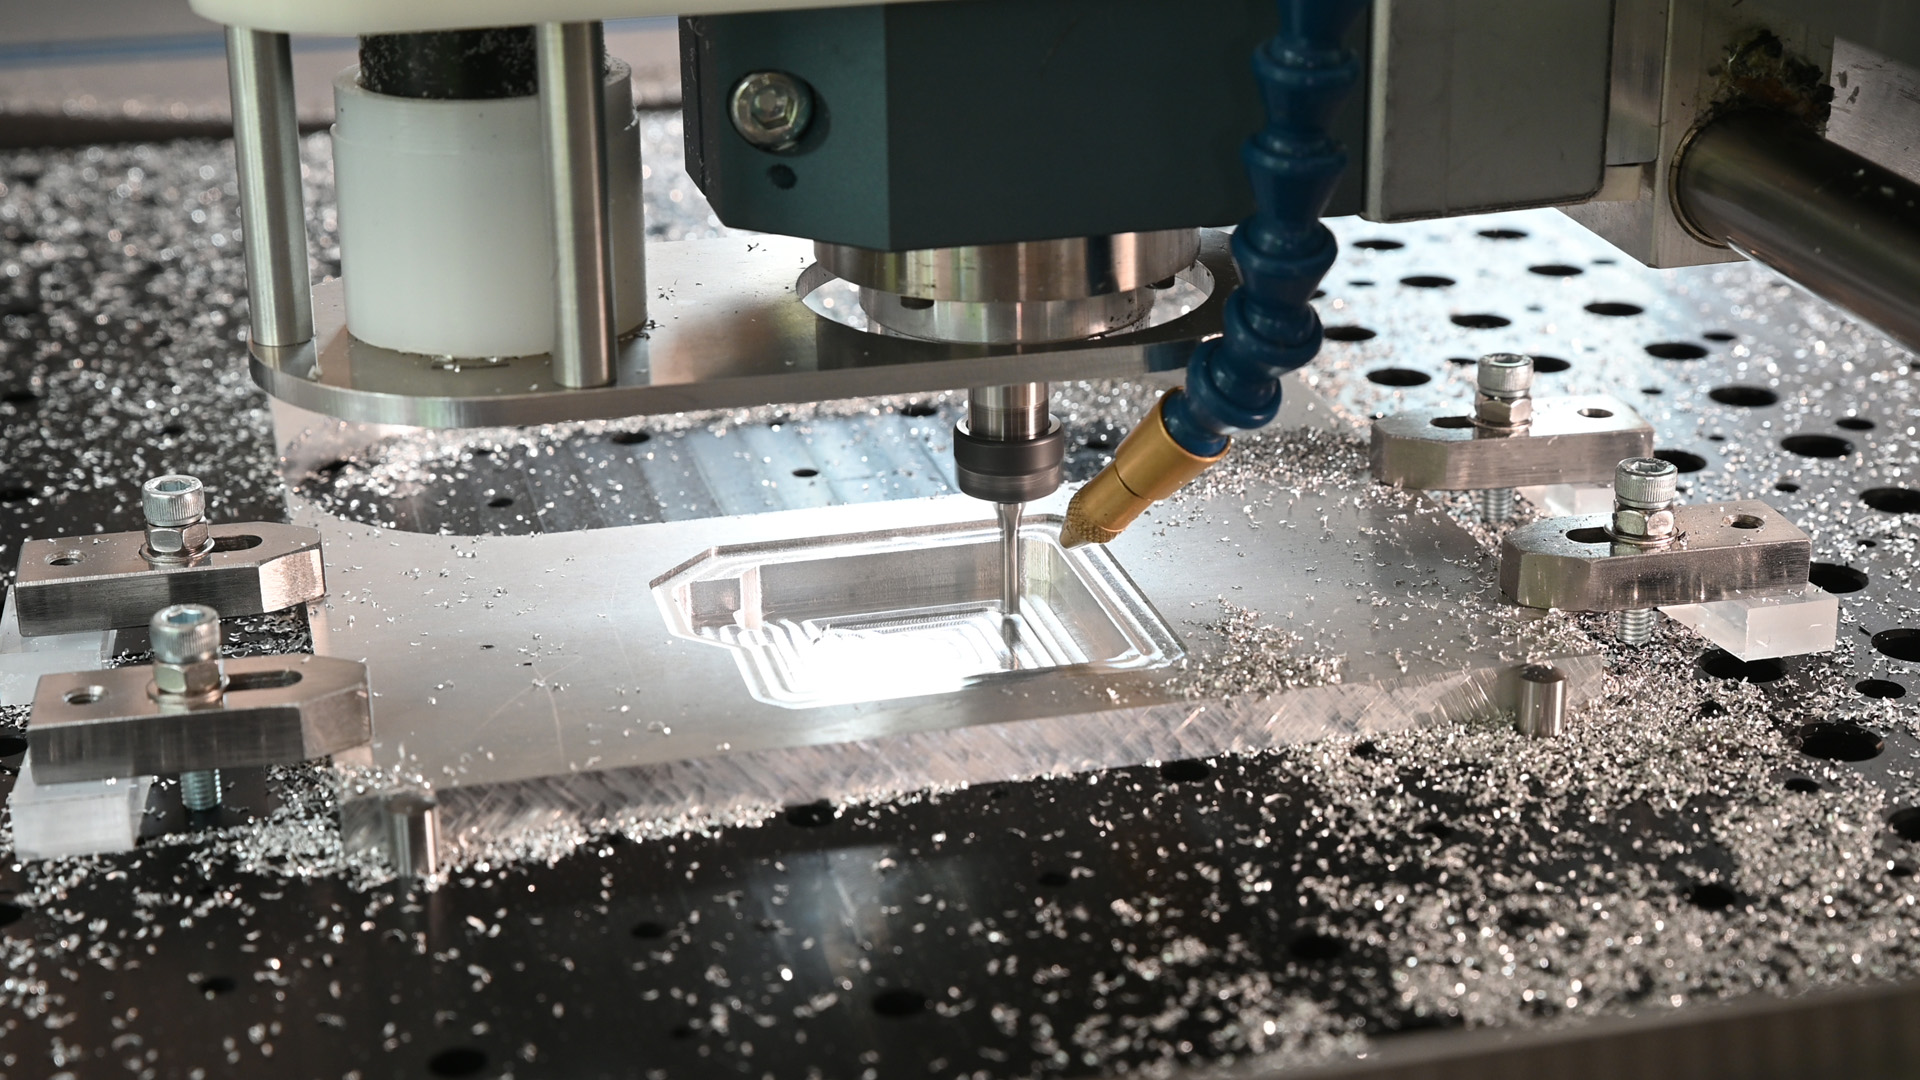
This piece is a fairly interesting machining job for somebody with a setup like mine, mostly because it's a double-sided operation where most of the sides will want to be accessed on the second op. Conveniently, I'd recently set up my fixture plate to accommodate a Saunders Machine Works Modular Vice system, which seemed like the ideal workholding solution for a part like this.
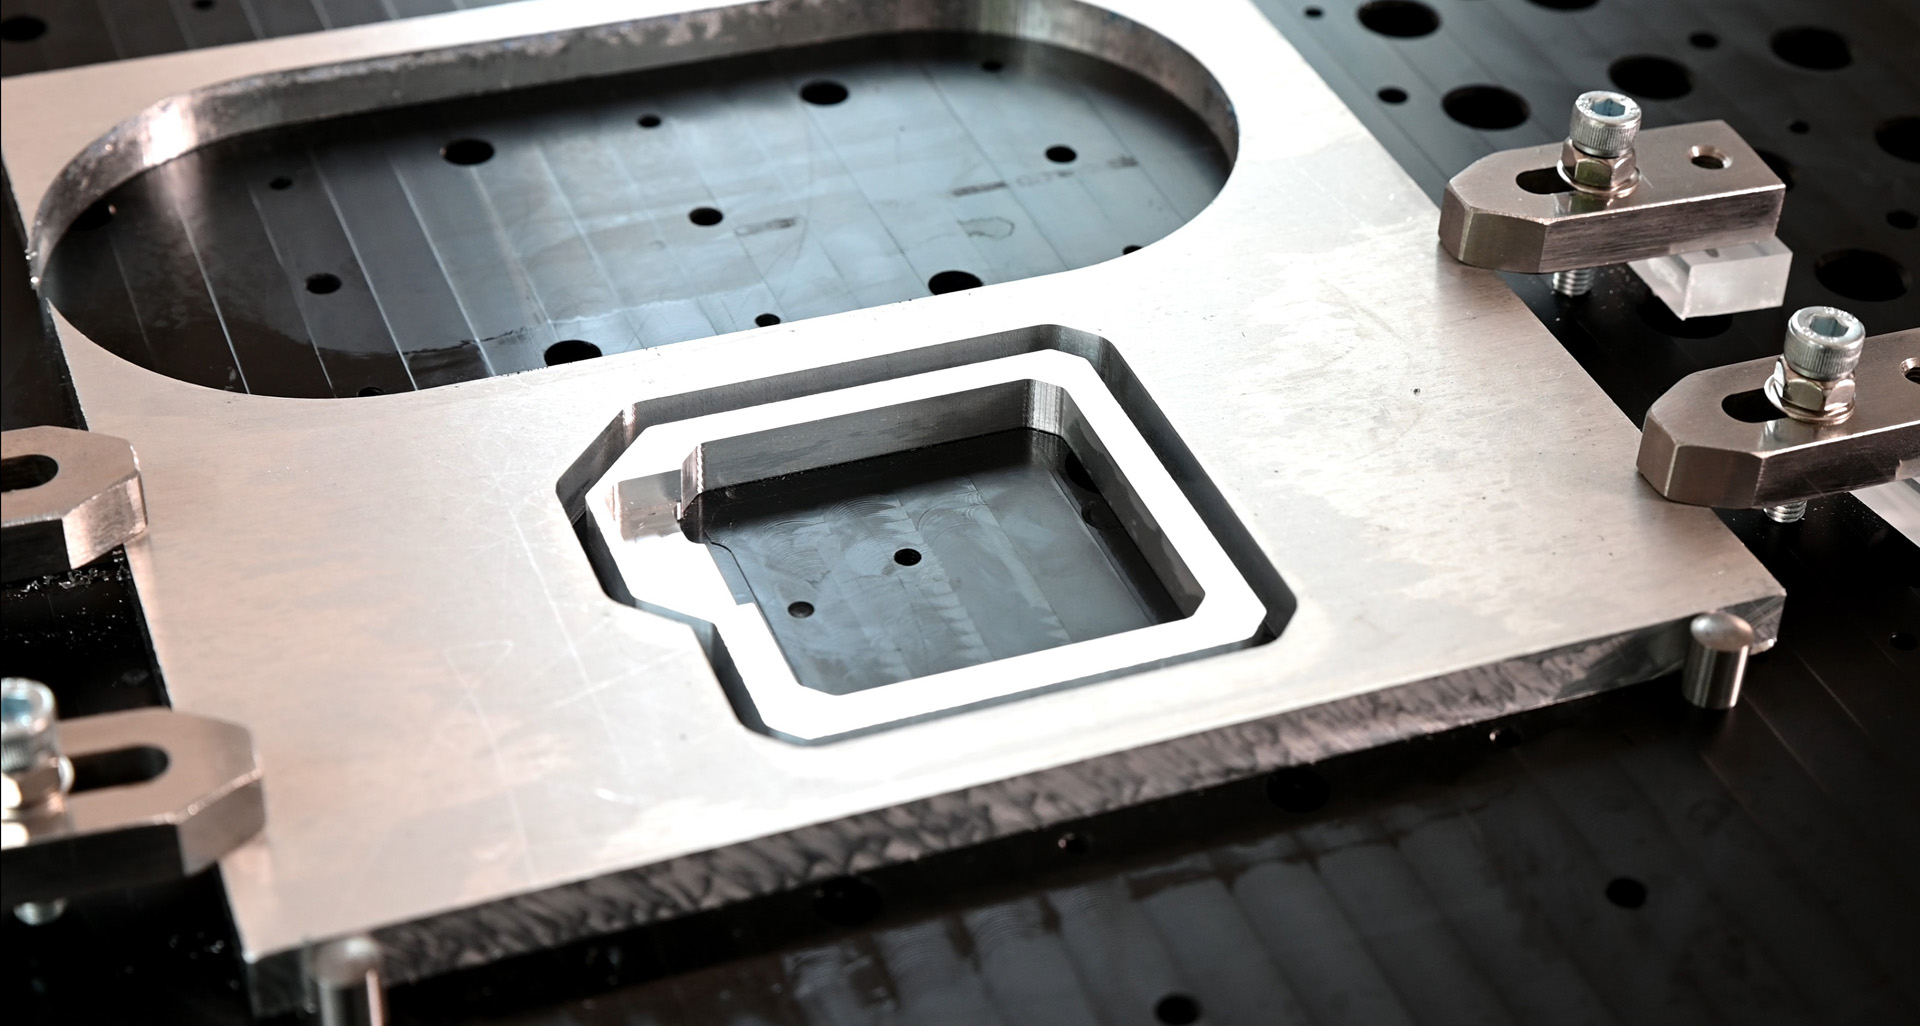
The majority of the cutting was for making the interior pocket; I wanted to make sure that the LED cable would still fit with the new collar installed, which meant machining out a recess. I used a 4mm Datron 4-in-1 single flute endmill for this, then slot cut around the exterior to cut the part out from the stock. To ensure it remained affixed to the material, I added 4 little tabs to the perimeter which can be snipped off and cleaned up afterwards.
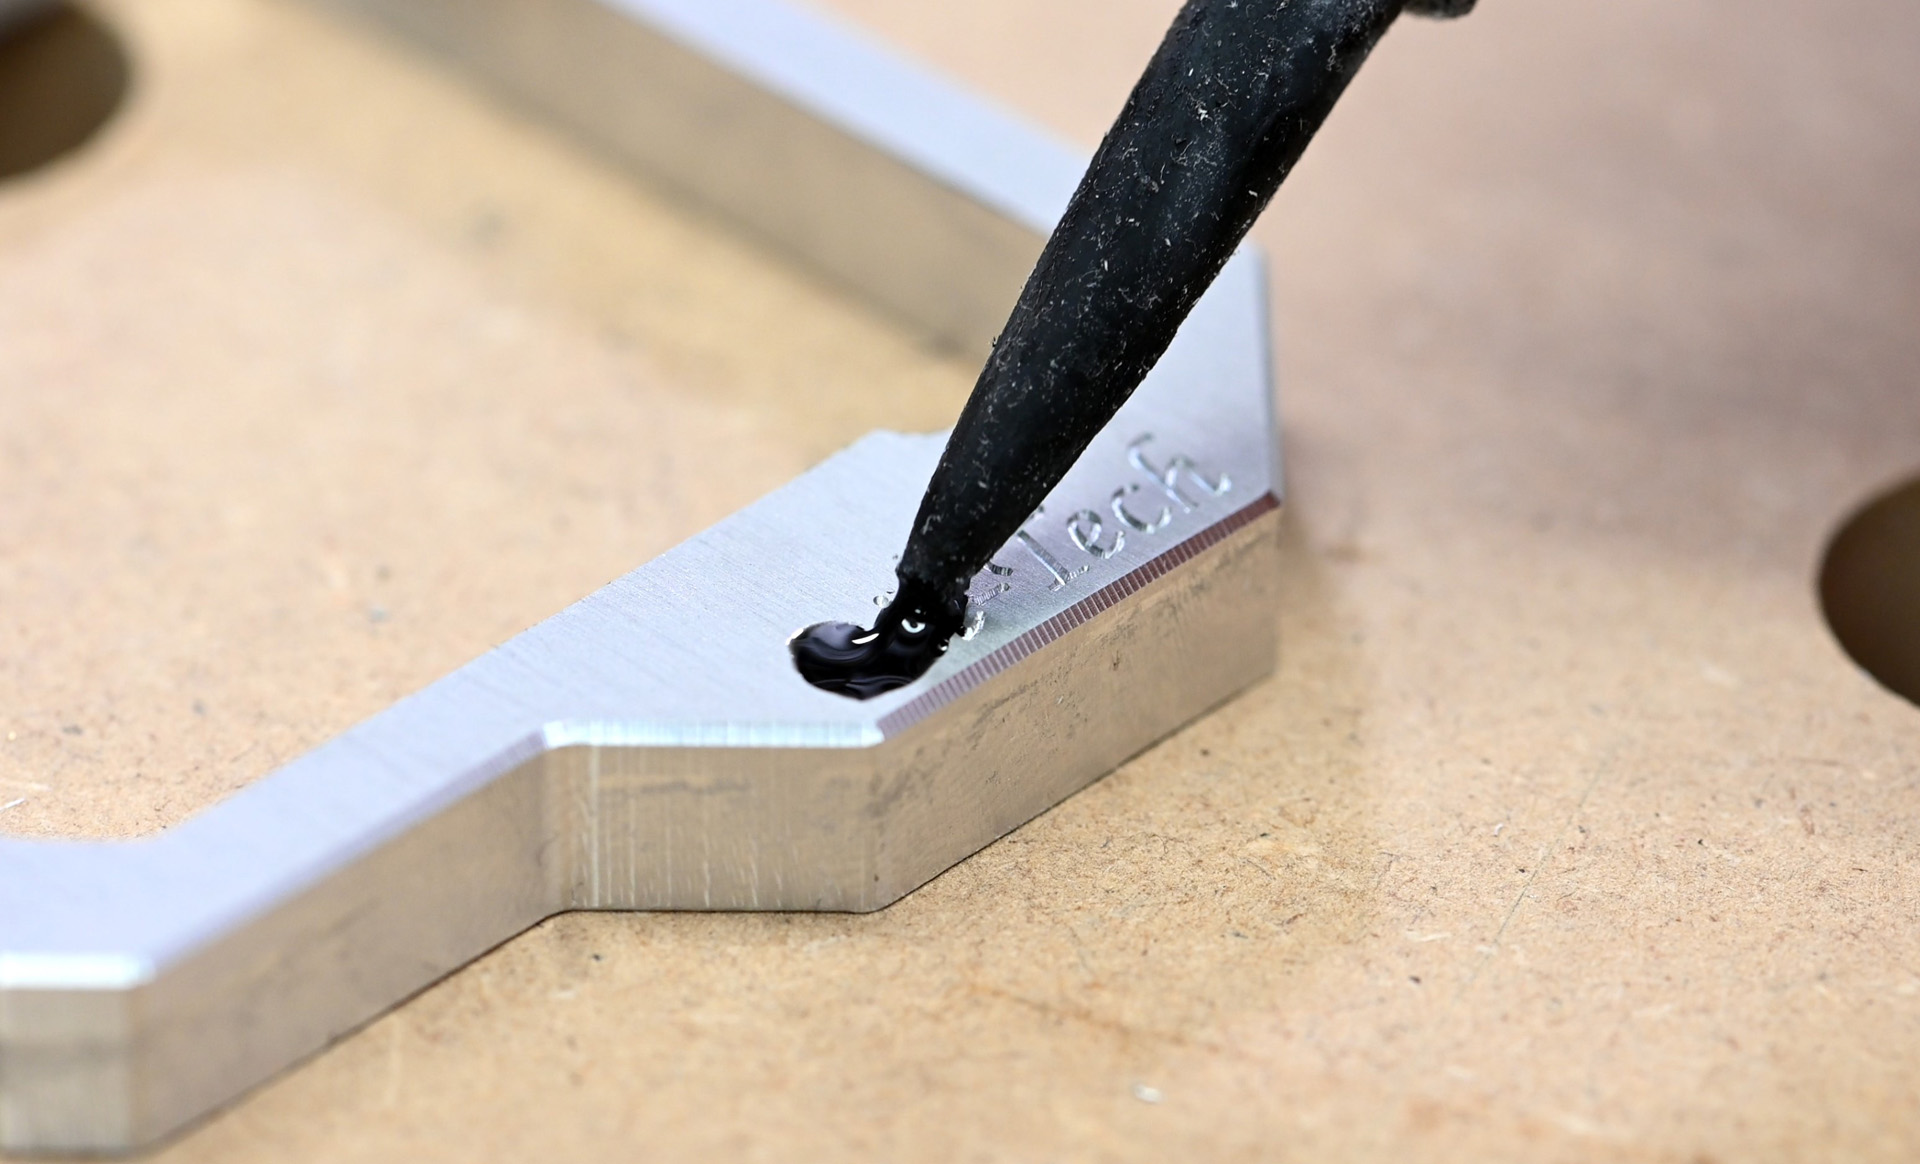
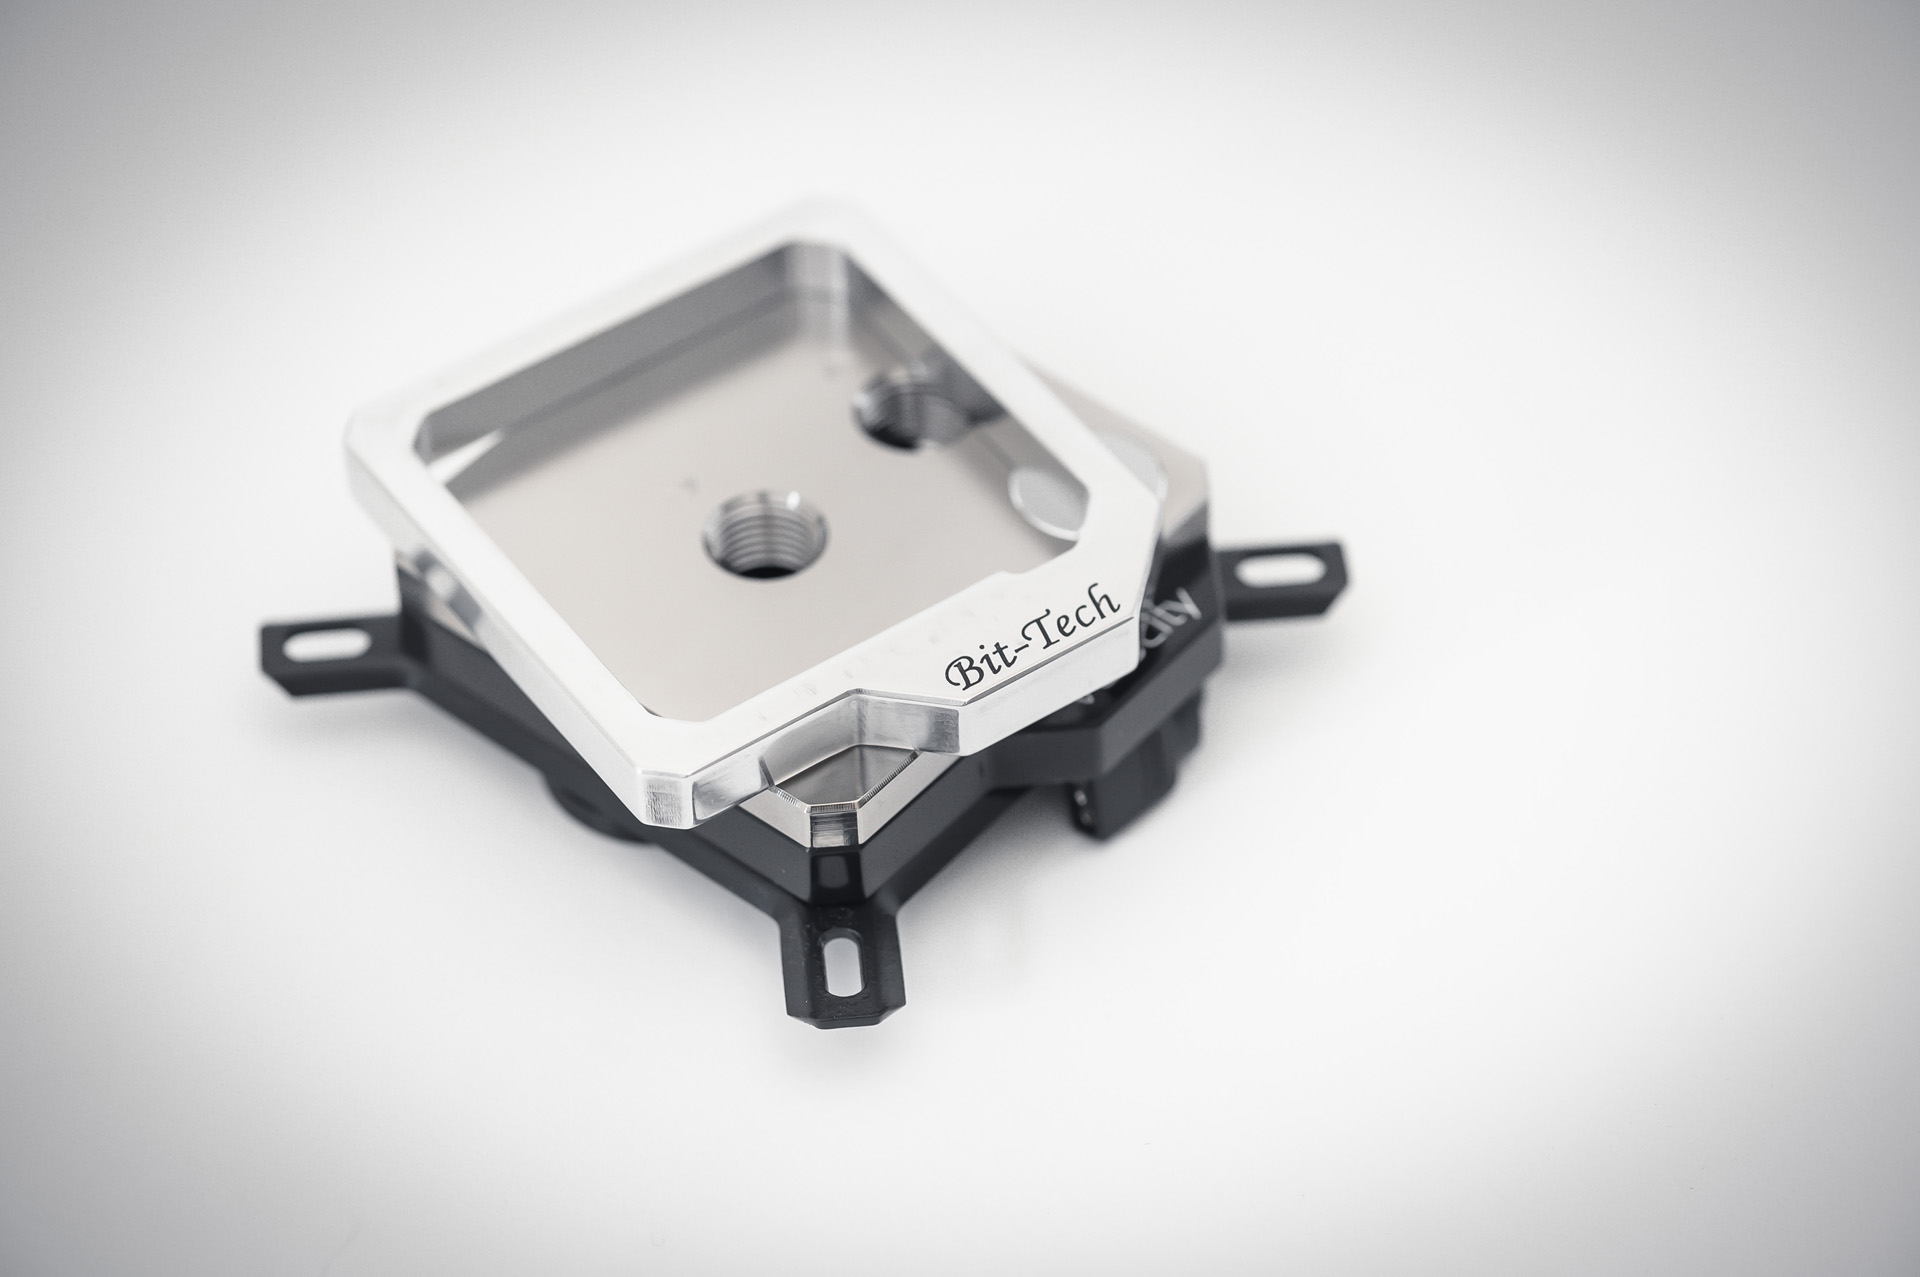
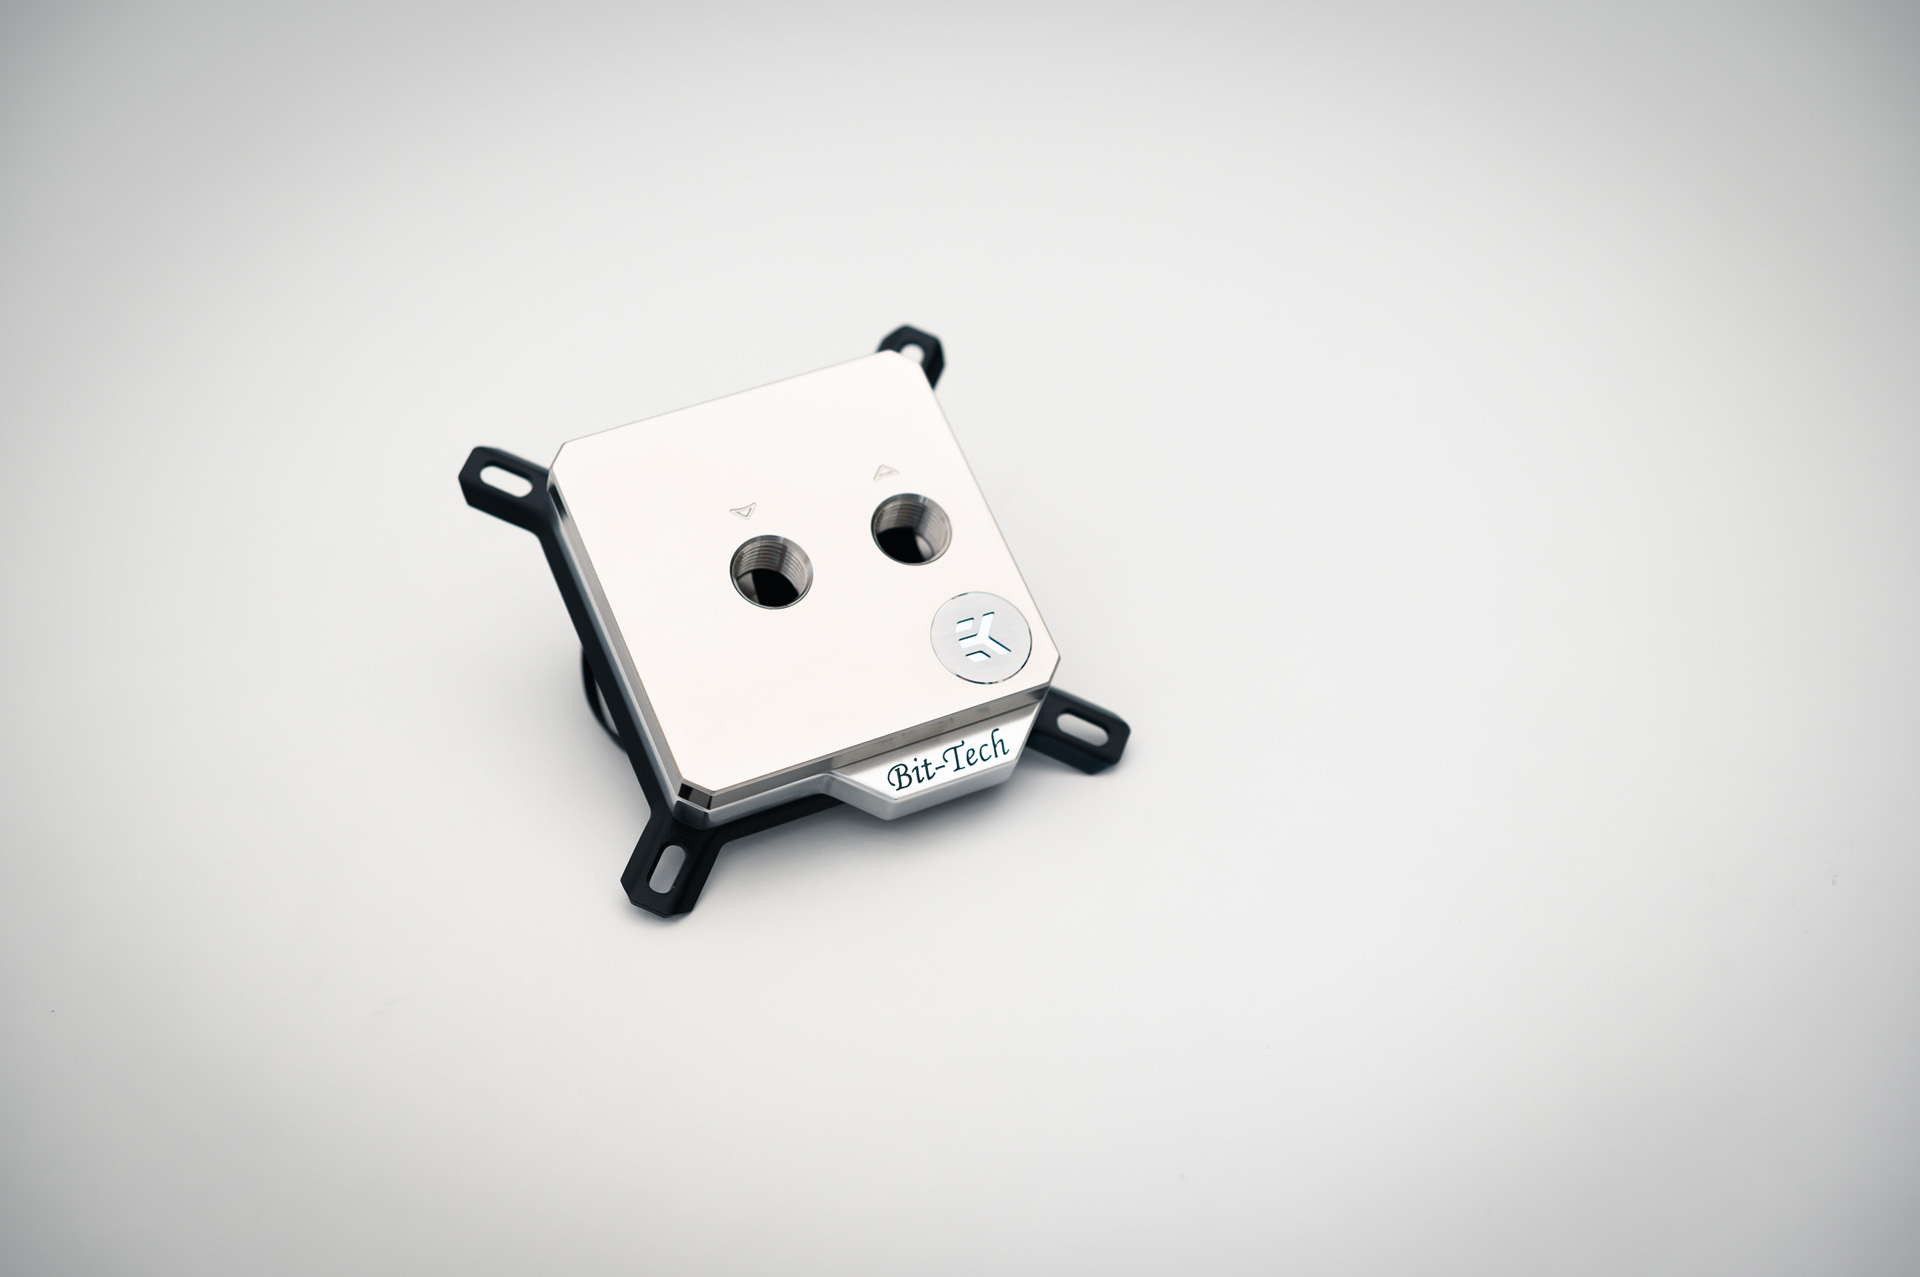
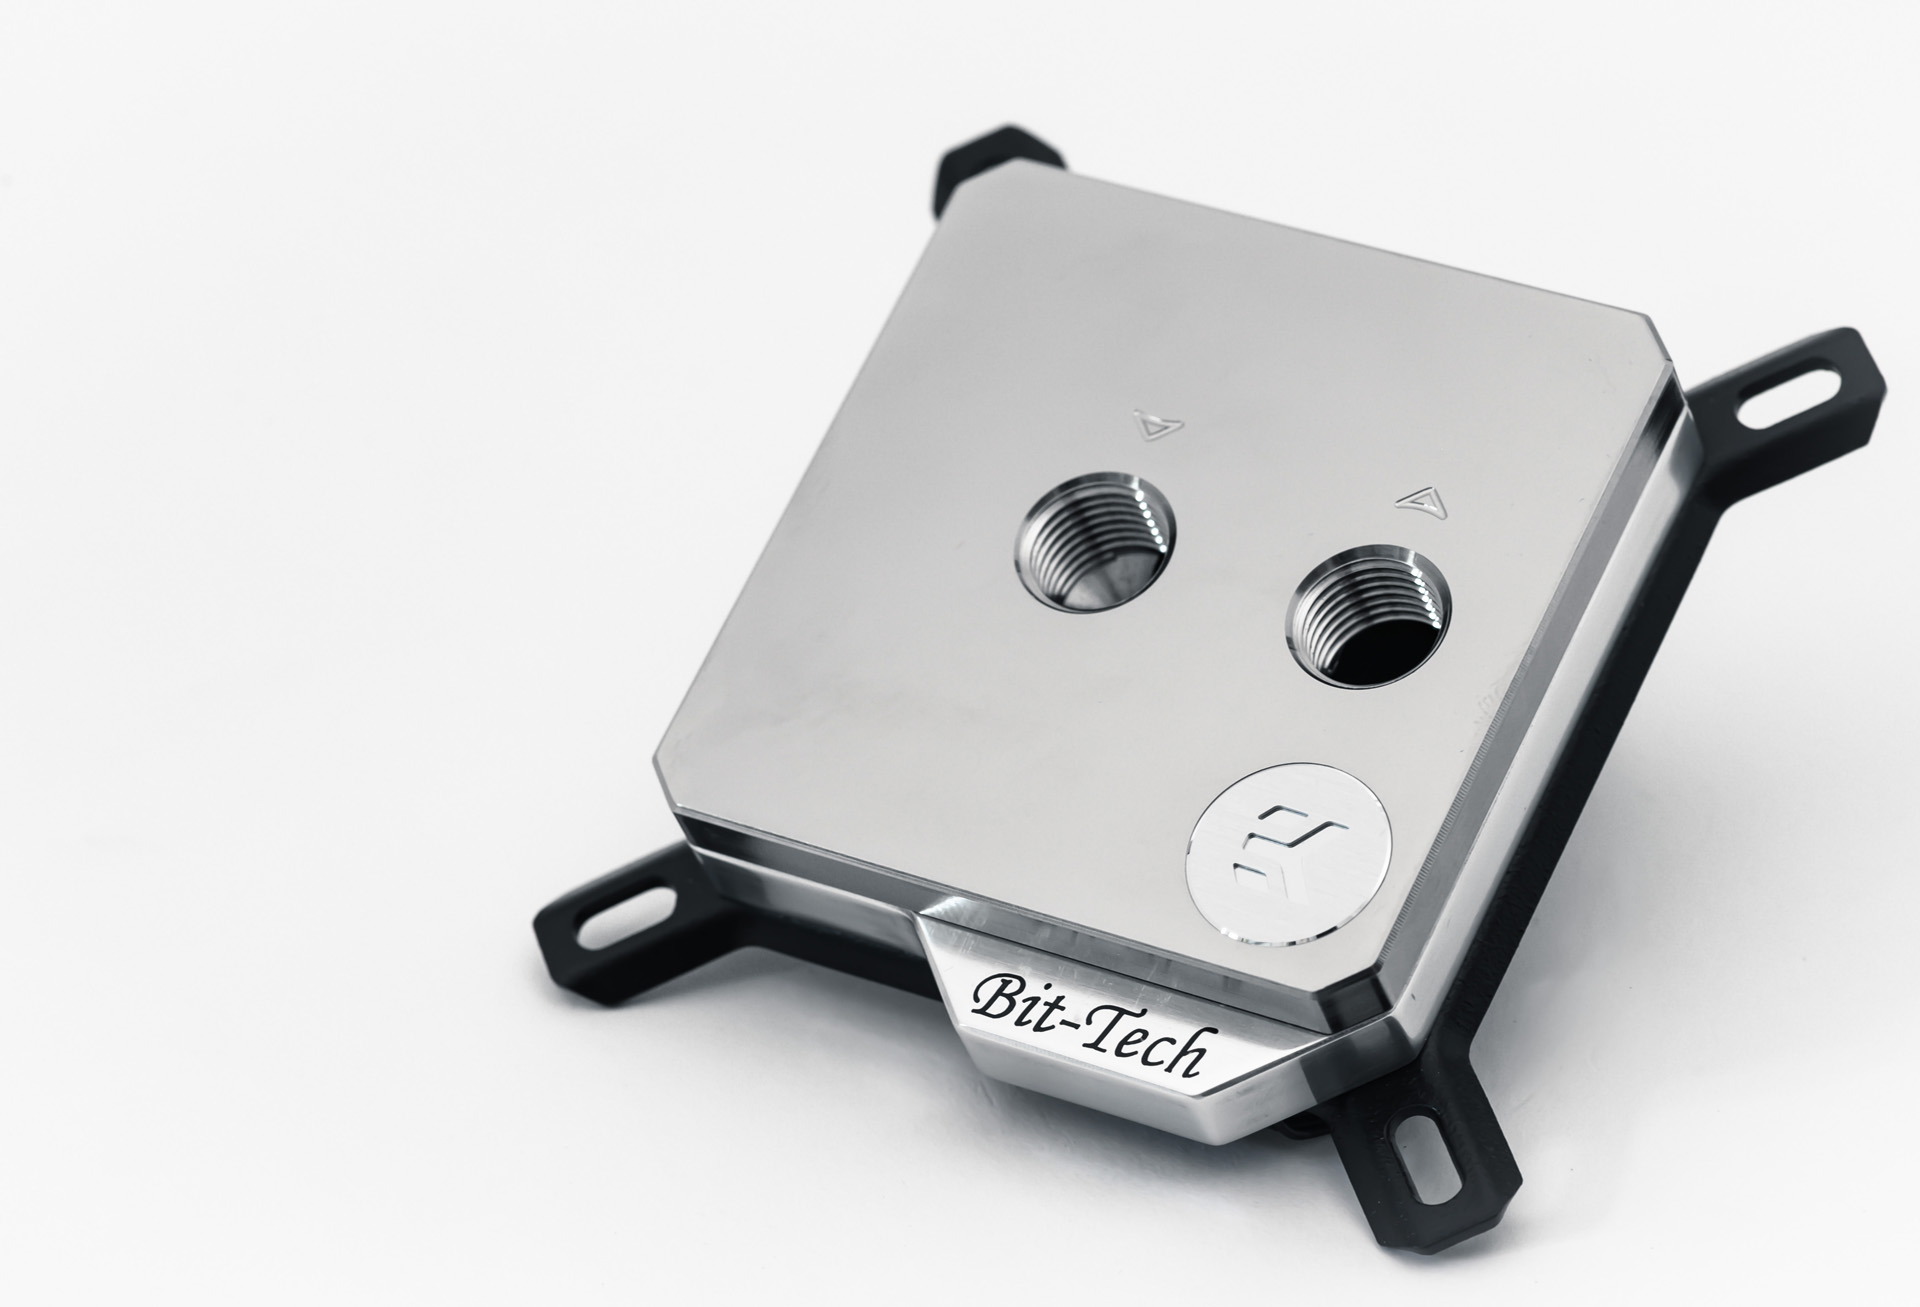
Flipping this part was interesting, as I've not really had to do this sort of work before. After installing the vice, I fitted the part and found the zero point. I was careful to make sure that the tabs wouldn't be on the edges held by the vice, else they could throw off the measurements. I decided to pass on facing the part since I would need to be sanding it later anyway. Using a 6mm chamfer mill I went around the outside of the part, applying a 0.5mm cut. I then finished up with an engraving bit, cutting 0.2mm into the material surface. In case you're curious, the font is the same one as used by G.Skill on the memory heatspreaders.
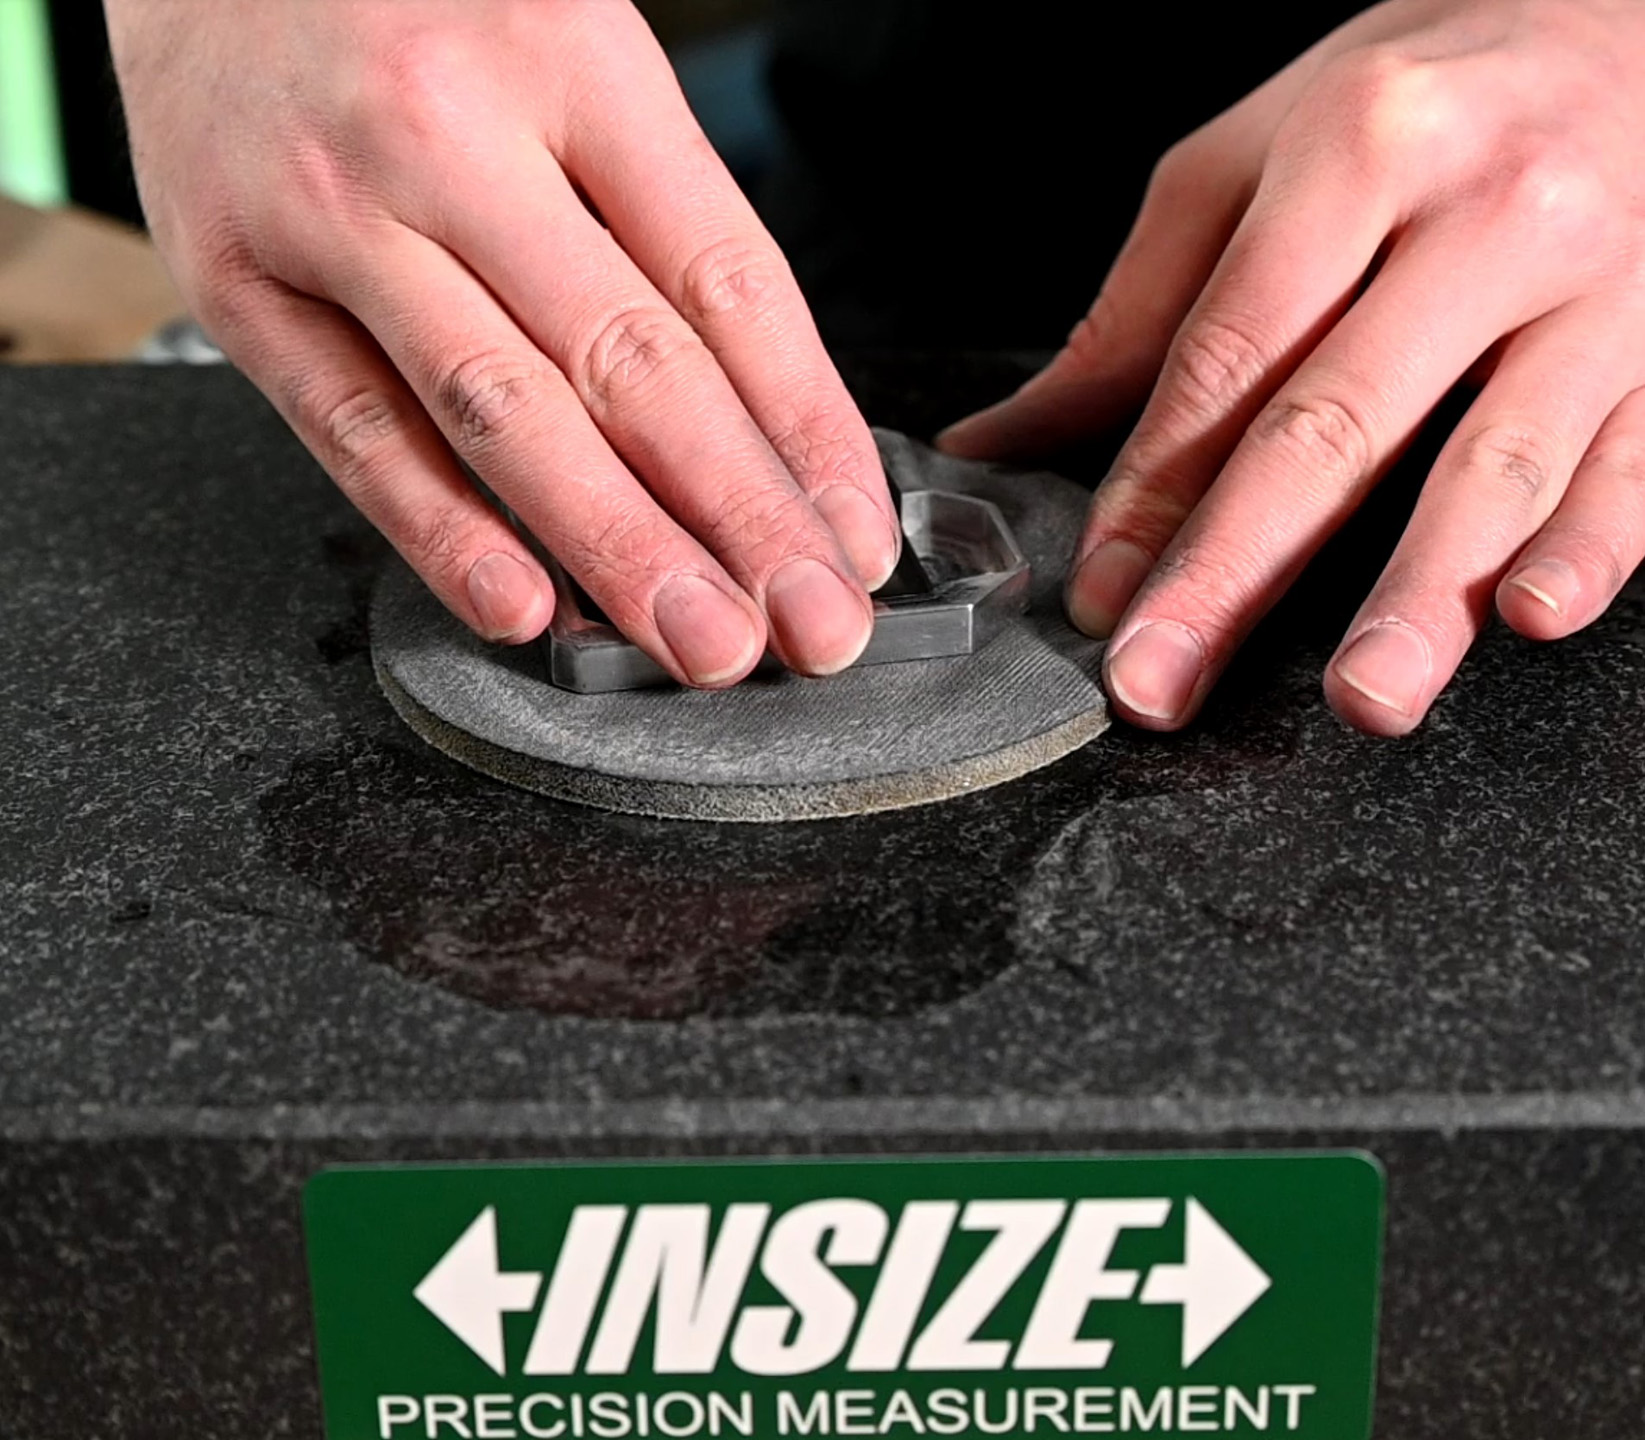
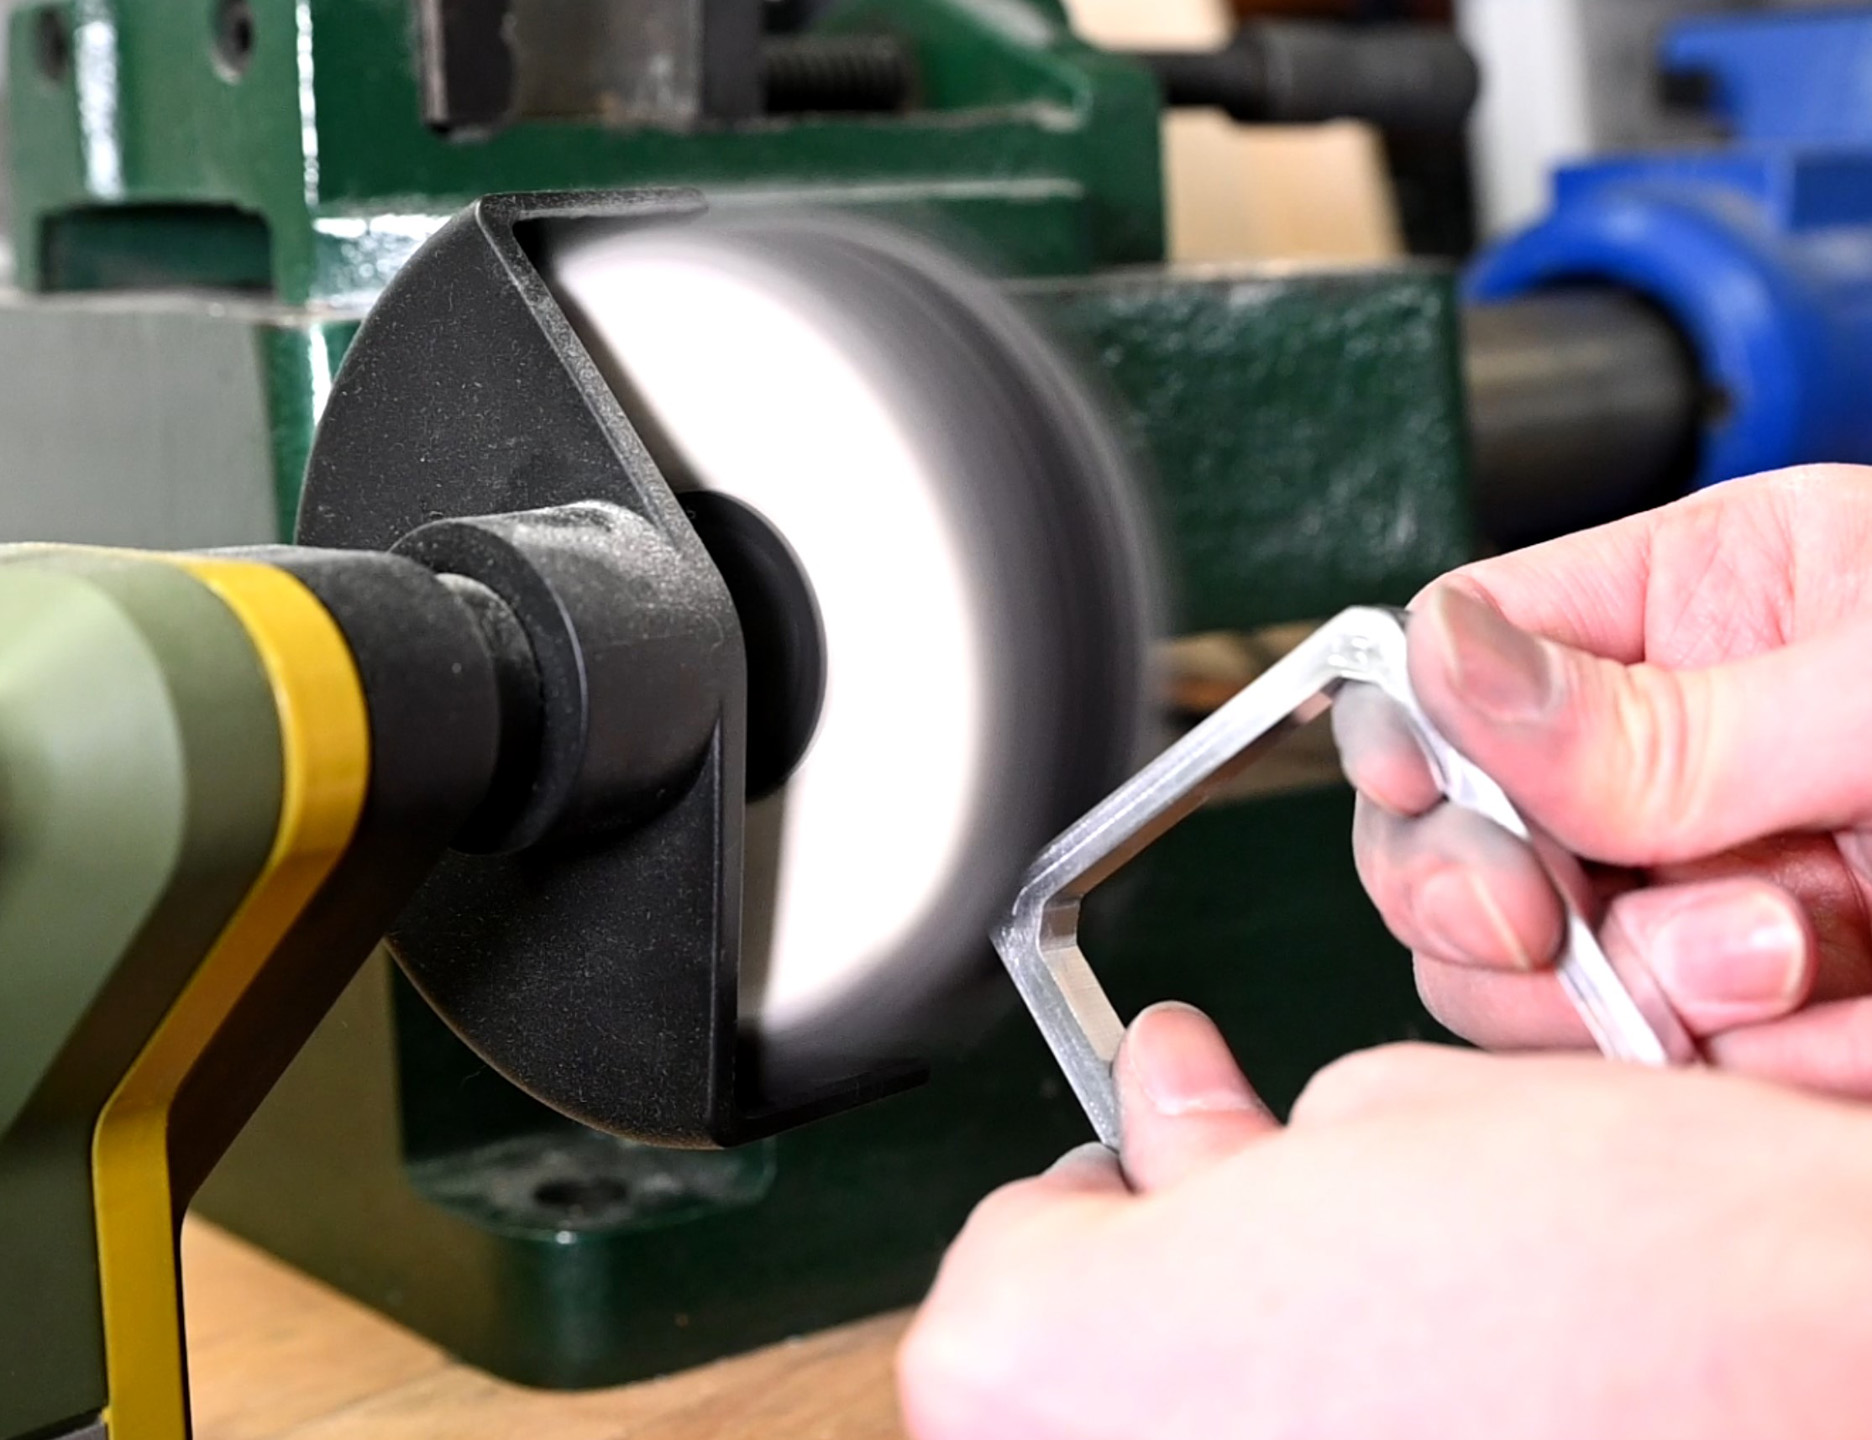
With the milling complete, it was time to move onto the finishing. This part needs to be shiny to be in keeping with the other components going into the rig, so that meant going through all the grits from 320-4000 and a lot of elbow grease. To help with the interior corners I first went at it with a rotary bristle disc on the Foredom. For the lettering, I used black superglue as an infill material, which was then sanded down to be flush with the surface. Finally a trip to the buffing wheel ensured it was suitably shiny and chrome!
Stay tuned for Part 2, but in the meantime enjoy the beauty shots below!


MSI MPG Velox 100R Chassis Review
October 14 2021 | 15:04

Want to comment? Please log in.