Corsair 460X Build for BoMenzzz: Part Two
Well, you saw all of the hardware we are going to be using in part 1 of this little build for Twitch streamer BoMenzzz, but now it is time to actually do a bit of modding. There isn't going to be a crazy amount happening as we do need to make the build usable for BoMenzzz - she needs to be able to upgrade parts as time goes on, even if it is just the GPU or RAM,
As with all of these little feature builds, my methods are not the only way to do things and sometimes they are not even the best way to do them. For me, it is just the way I can do them with the tools I have currently. I don't have a workshop or a crazy, endless budget, so I do my modding like the majority of you guys, in my living room or office.

Click to enlarge
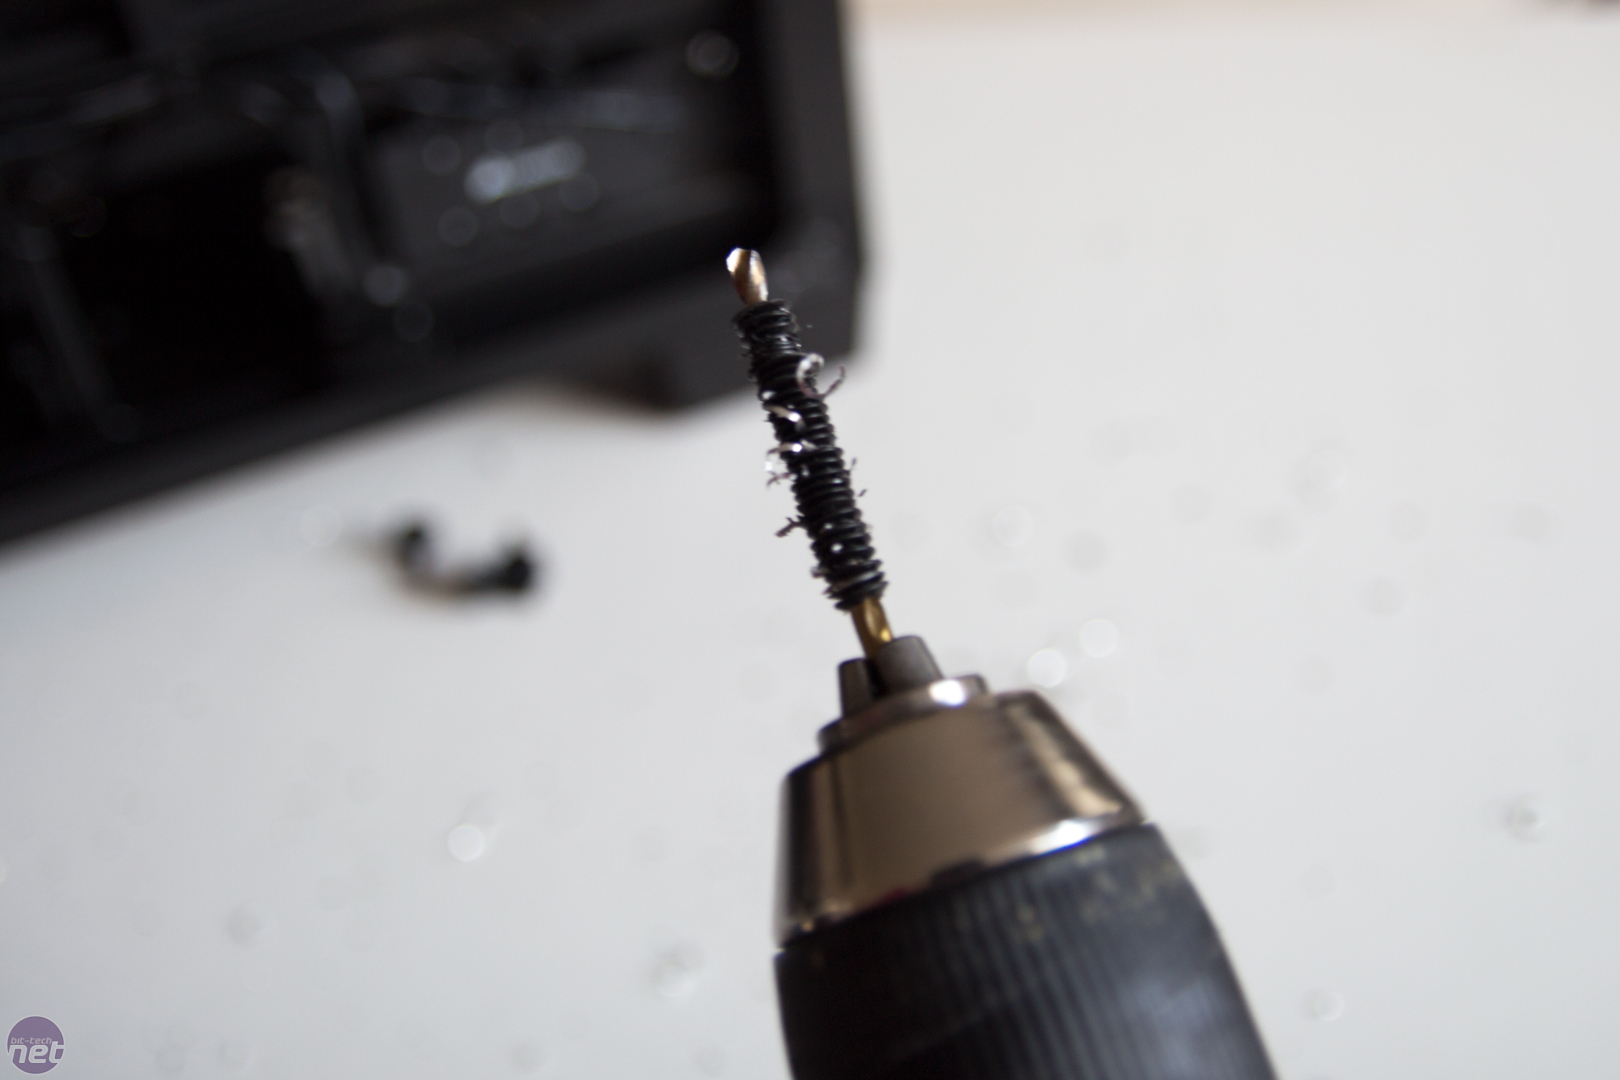
The first thing we needed to do was to strip the case down. Everything on the Corsair 460X is black, and we want to change this asap. To strip the case I just used a 3mm HSS drill bit and my trusty cordless drill. Let the drill do most of the work but do give it a little bit of a push still, and if the rivets start to spin inside the hole, I usually just angle the drill a little and it stops that from happening.
Click to enlarge
There are a lot of rivets to drill out and you will have to clear your drill-bit a few times. I have been asked a few times on previous build logs how I clear drill bits once they get like this. It is simple enough, so either use pliers, a work bench, a vice, or anything that can be made wider than the drill bit, so that isn't clamped, but not as wide as the rivets. Simply put the drill into reverse and pull. I know for most of you that is pretty obvious and this might seem a little simple, but if you ask questions I will try and answer them.
Click to enlarge
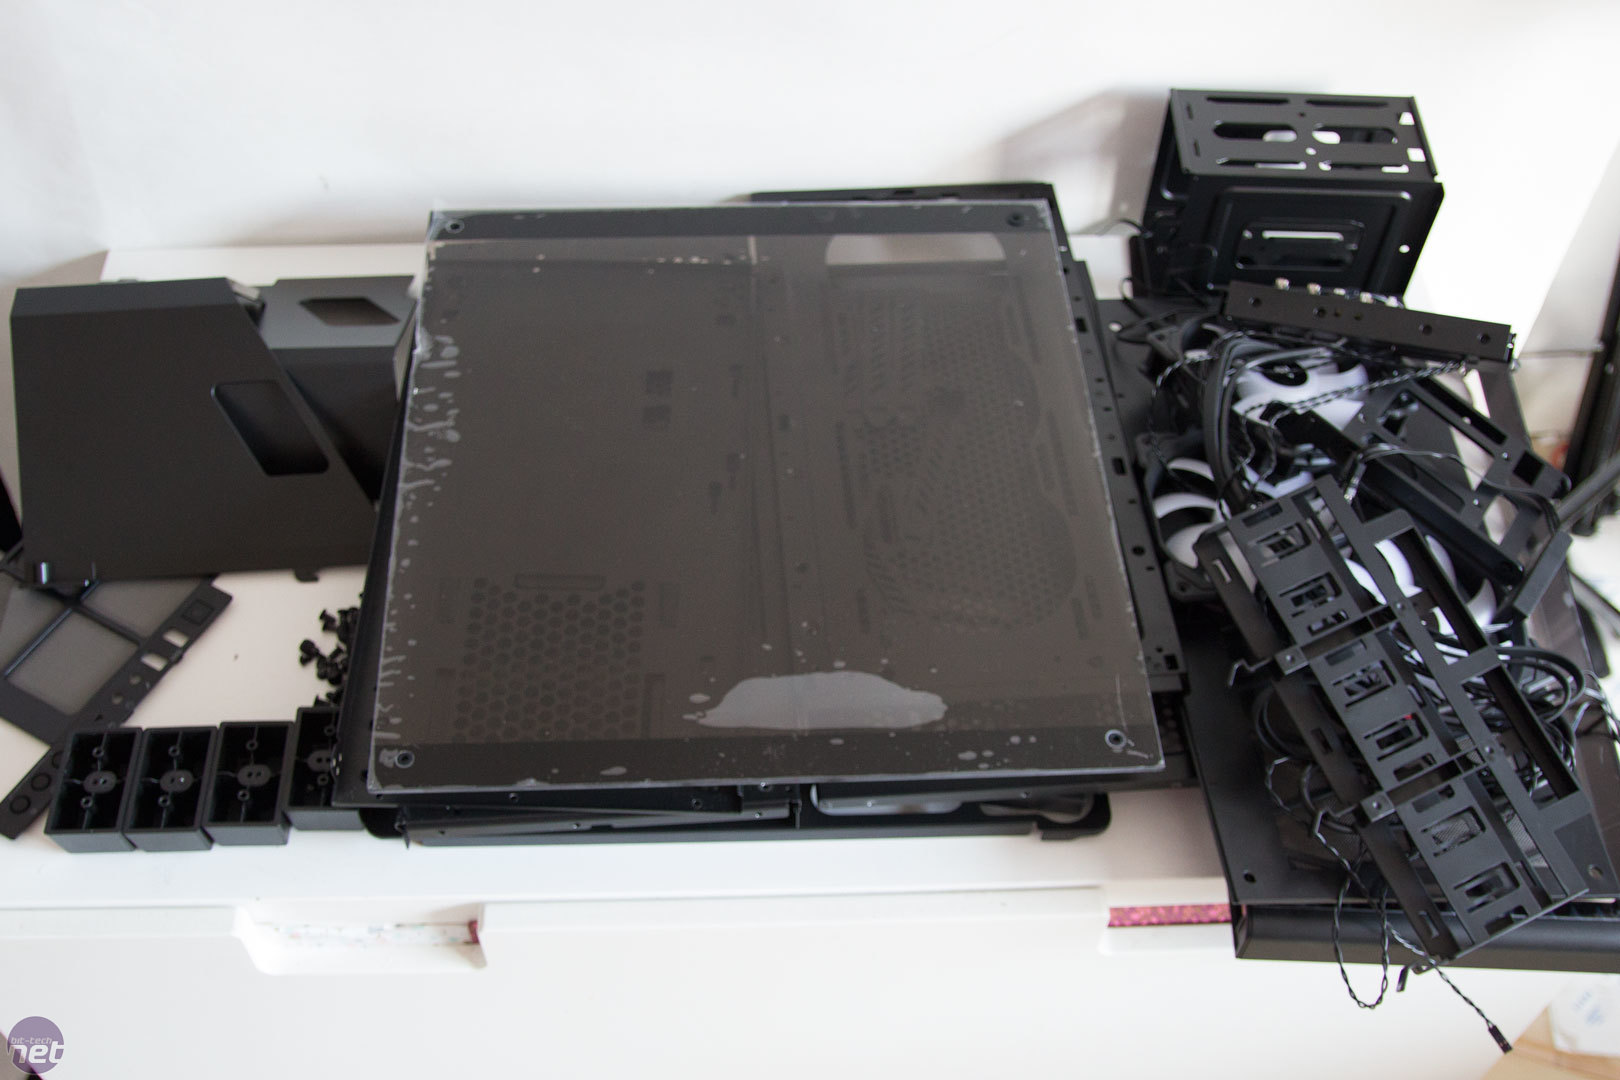
Once the case is stripped I separated the parts, and anything metal I popped along to the powder coaters as it just saves a lot of time for me and the finish is great. It is a little pricey, but when you consider how many panels and little parts there are and how much you would have to spend on painting them, it is acceptable.
Click to enlarge
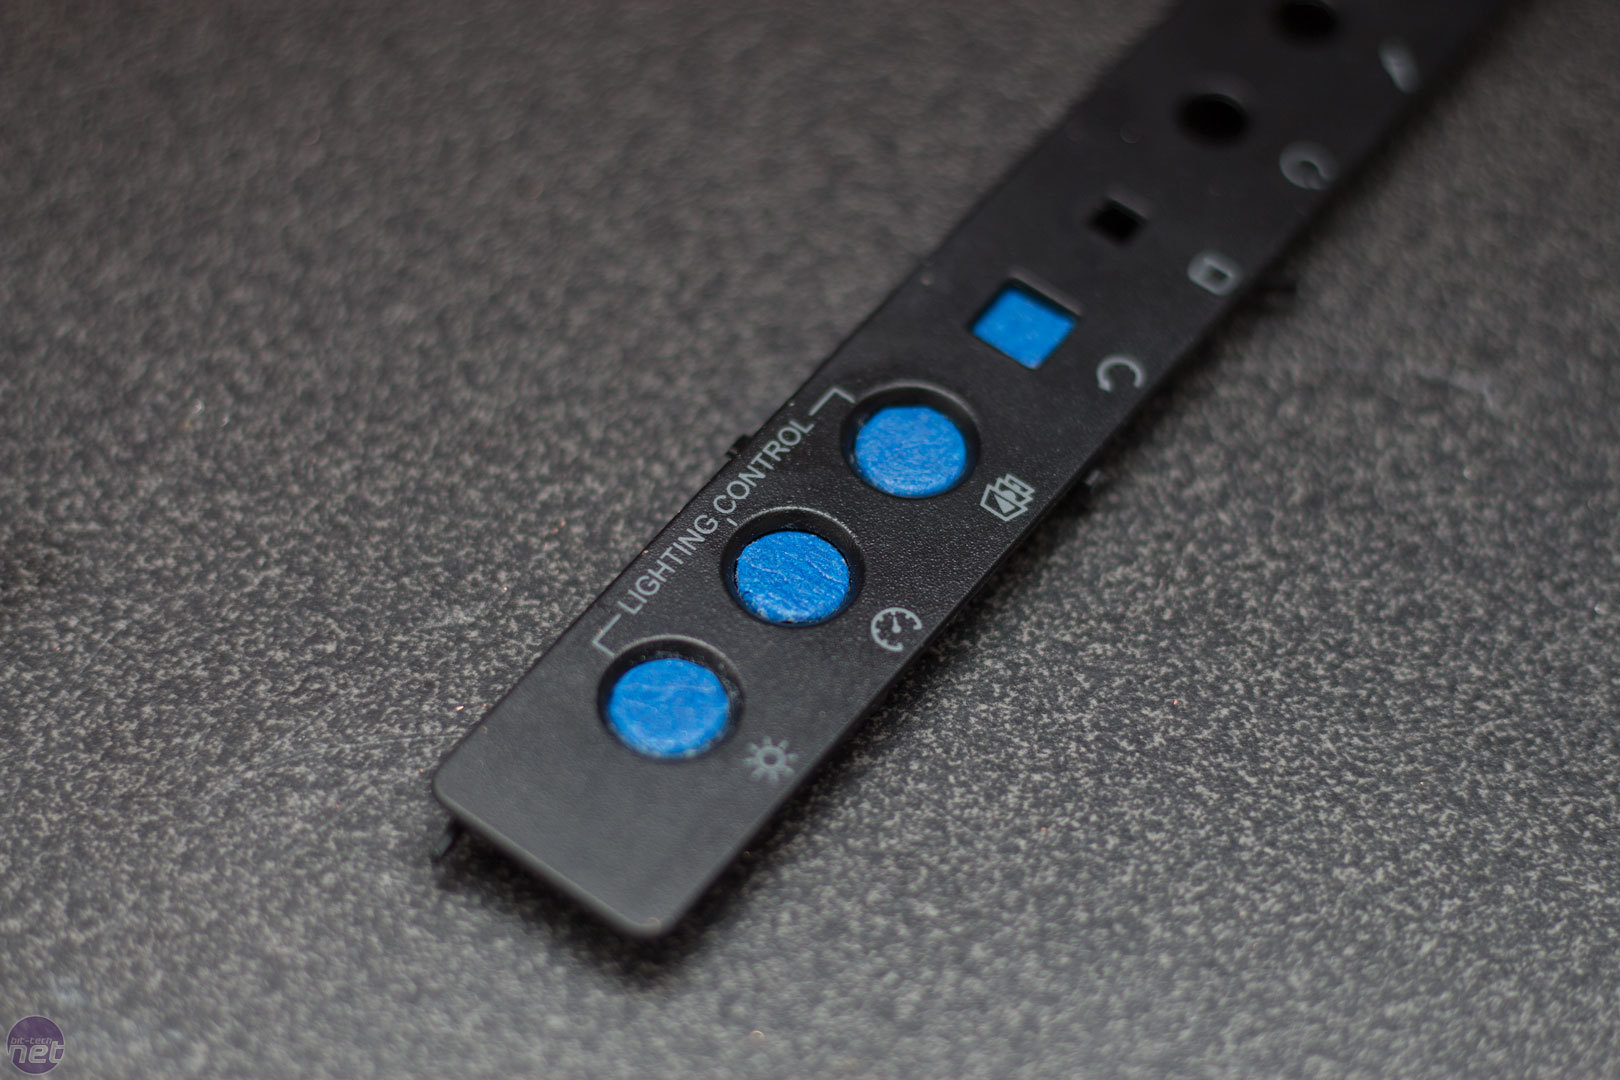
Anything plastic needs to be prepped for painting. Sometimes, this will mean sanding down the item or using tape to cover anything you don't want coated. For the buttons that are on the top of the case, I covered them with tape and used a craft knife to cut around the actual button.

Click to enlarge
If we had sprayed those buttons, like we left them in the above image, we would have had a bit of a problem, as the paint would puddle and when we removed the tape everything would look awful. To combat this, I used some cut-up cable ties to pull the buttons backwards slightly. This does two things; one, stops the puddling like I mentioned above and secondly, allows a really nice finish around the edges.
Click to enlarge
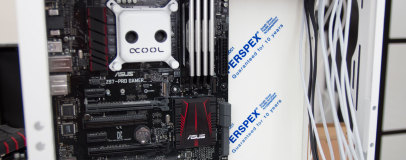
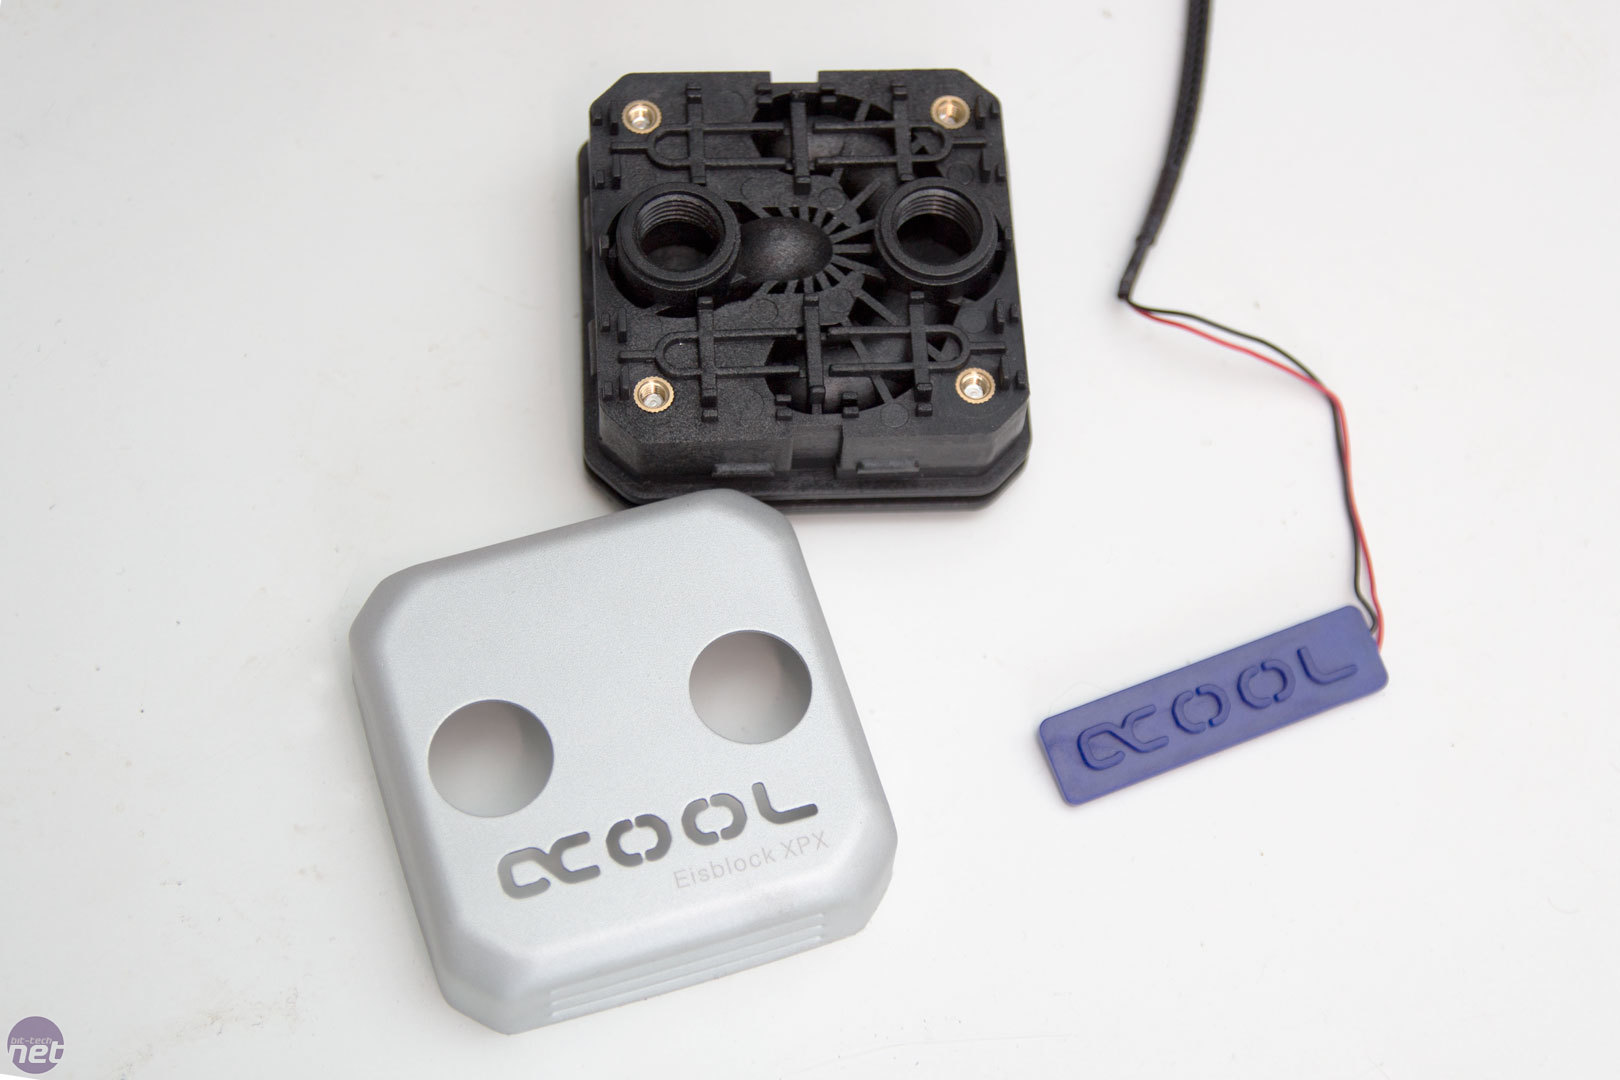
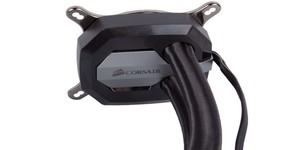
The last part we need to prep is the CPU block; the cover can be removed with a safe-pry tool and then you can paint it easily. I don't want the blue LEDs so they will be taken away. Once I removed the CPU block cover, I gave it a bit of a rub with a bit of 1,000-grit paper just to take away some of the shine gloss finish, to help the paint stick better.
Click to enlarge
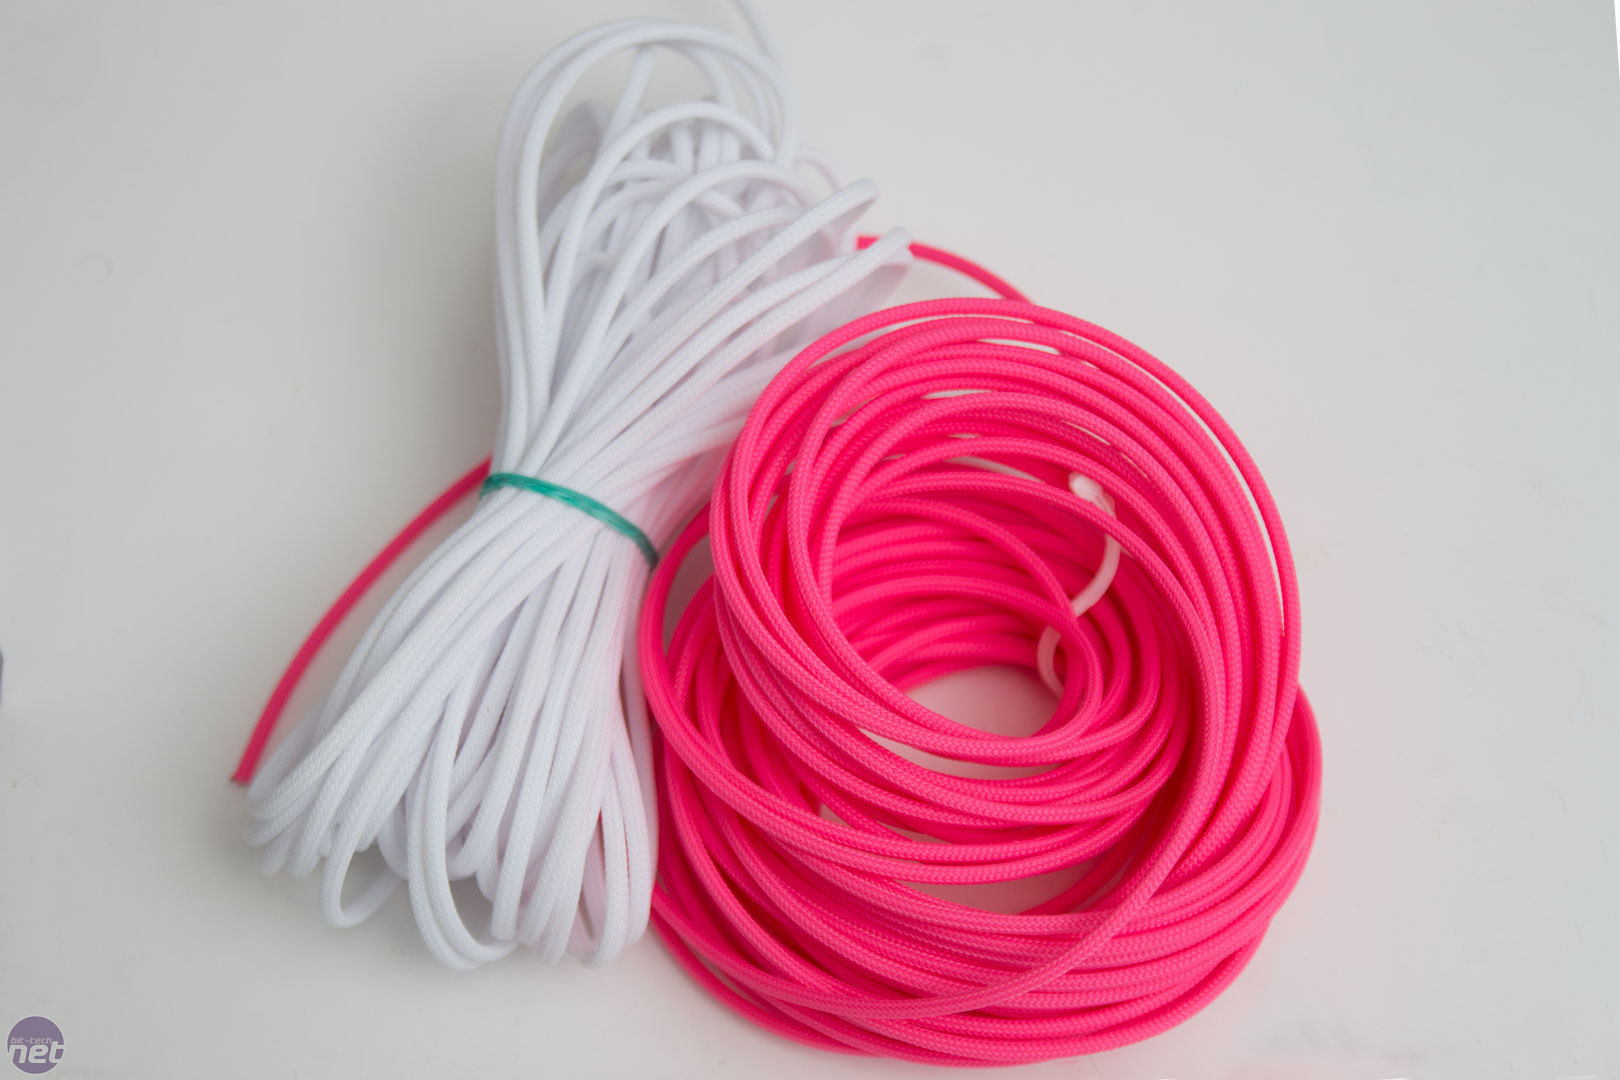
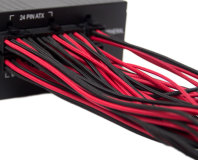
Whilst painting, there is going to be a lot of downtime and one thing I like to do is sleeve whilst everything dries. Sleeving is one of my favourite parts of the build but I know a lot of modders, such as B Negative, hate it. I will be doing some videos on sleeving in the future and in part three of this build log and I will show how I sleeved the Corsair PSU, but for now, here is a teaser of the colours. For this build I have gone with Teleios sleeving which is a plastic PET sleeve.
Click to enlarge
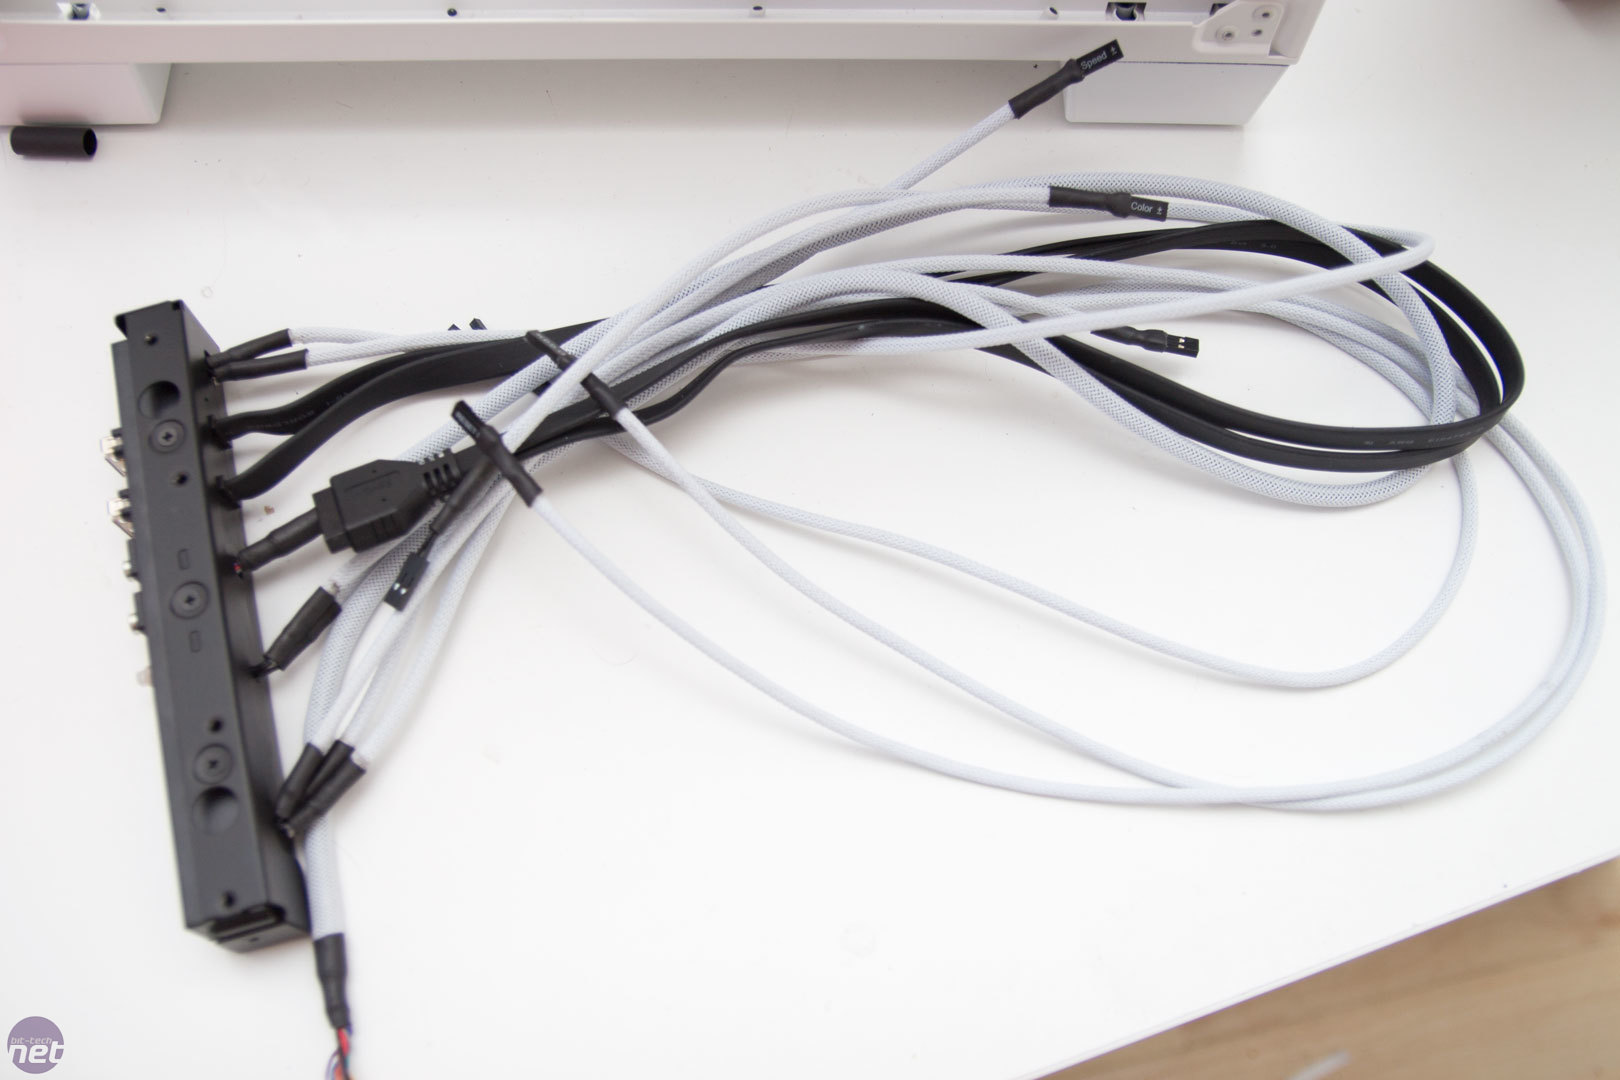
The first thing I sleeved was the front IO panel, but the USB 3.0 cables have not been sleeved in this instance, mainly because I didn't have any 8mm-wide sleeve, but also because these cables will mostly be hidden anyway. USB 3.0 cables can be sleeved but they are a little bit trickier. It is still one of the ugliest connectors available in my opinion!
Now we have prepped everything, let’s start on the painting!
RELATED ARTICLES


MSI MPG Velox 100R Chassis Review
October 14 2021 | 15:04

Want to comment? Please log in.