

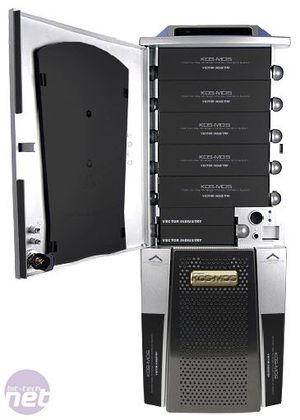
Front Bezel
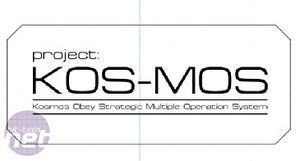
Having been focused on the case badge, I discovered that I had overlooked something. As well as blue, silver and black, KOS-MOS' design also has several gold parts to it which I failed to notice and take into account for when designing the front bezel.After sitting down and examining the front trying to work gold into the design I noticed the USB ports on the front. I don't know about you but I HATE front mounted USB ports. I can see why they are useful but unless positioned correctly they can destroy the look of a case.
Ripping the board out of the mount behind the front lower bezel, I sanded, primed and painted the mount black before covering it with some silver vinyl. That sorted the mount out, but I wasn't sure what to do with the pre-cut USB and audio holes in the metal itself. Then it hit me: get a plaque made with the project name on. Time to fire up Illustrator again.
A simple but effective design. You can see my artist's impression of the final result on the right. I used the same miller from the case badge since he was cheap and did a good job.
While I waited for him to work his magic, it was time I worked a little of my own and finished off the front bezel. I drove down to Halfords (auto parts store) and bought two cans of a pearlescent black spraypaint, two cans of grey primer and some multi packs of wet and dry sandpaper.
The first step was to key the metal work with a coarse 450 grit to give the primer something to bite into. After the first coat, I let it cure over night before attacking the primer with some 600 grit - the idea was to smooth out the primer giving a nice base for the final paint to sit on. I only sanded it very gently as to not take it back to bare metal; when I exposed the metal I stopped and reprimed it, then sanded again. This carried on until I had a coat of smooth primer that didnt have any exposed metal. I used nine layers in total for the front bezel switching to finer paper when I needed.
The process went something like this:
Sand 450
PRIME
Sand 600
PRIME
Sand 600
PRIME
Sand 600
PRIME
Sand 800
BLACK
Sand 800
BLACK
Sand 1200
BLACK
Sand 1500
BLACK
Sand 1500
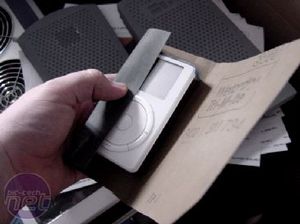
While Apple lovers will cringe at this pic, my experiences with Apple and their products have left a bitter taste. My old iPod made a mighty fine sanding block instead of a mighty fine MP3 player.
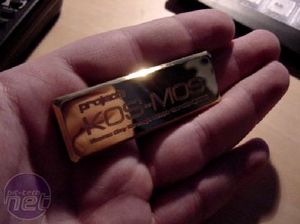
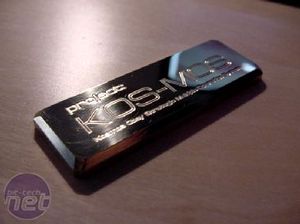
A week later and the plaque arrived. I was planning on getting it gold plated but I had nightmares of people attacking my case with a chizel at a LAN in an attempt to get it off, so I polished it up and it made it passable for gold. I might get it plated later.
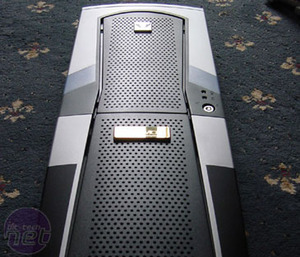
With the plaque complete it was time to assemble the front and start installing hardware.
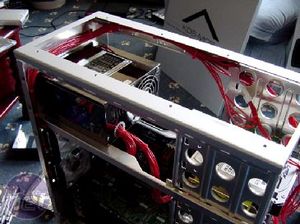
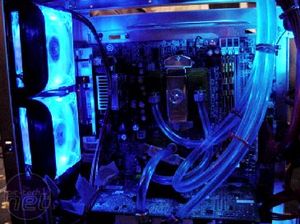
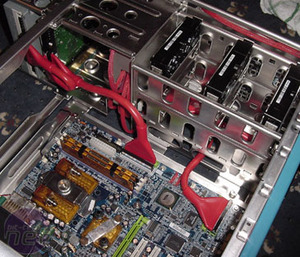
This was it - it was almost complete. Now I just had to install the PSU and piping for the water cooling. Unfortunately, I got so carried away with the idea of completing the project that I kinda forgot that I had a camera and just charged on with the construction. So apologies, but I don't have any photos of this section.


MSI MPG Velox 100R Chassis Review
October 14 2021 | 15:04

Want to comment? Please log in.