
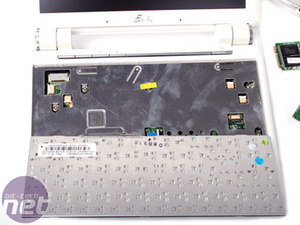
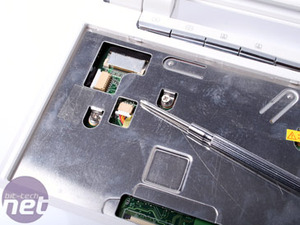
Under the keyboard there are another six screws - including the one that voids your warranty if you undo it! This metal sheet, like the 900 and 701 models, acts as a heatsink for the CPU, north bridge and south bridge. There is a small fan included too, which sucks in air from the bottom, passes air over the heatsink sheet and then vents it out the front and opposite side.
Once you've undone these (and voided your warranty in the process), you can gently run that same thin blade around the plastic edges to separate the top piece from the bottom. There are some clipping parts at the sides but just wiggle them gently to coax it off.
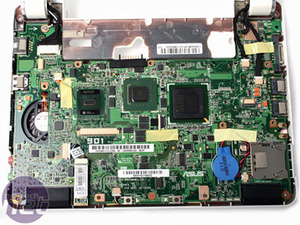
To get the motherboard out, you'll first need to remove two screws from the top corners, then the sides need to be gently prised out of their plastic surrounds. We recommend taking the side out with the audio connectors first because the VGA socket is buried in deeper than these are. There are a few wires clipped in too that you need to be aware of, so make a note of what you've undone as you remove the cables from the PCB.
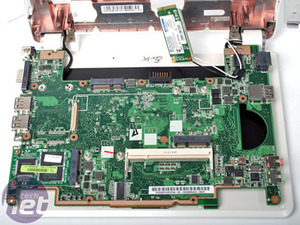
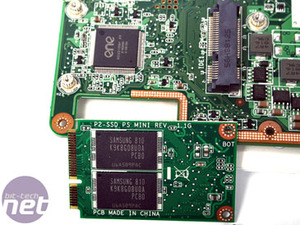
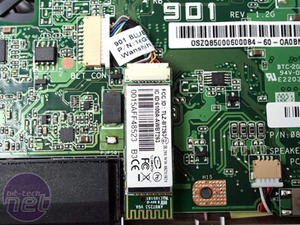
After removing the PCB, you've now got access to the integrated Bluetooth adapter and 4GB SSD card that's now interestingly not soldered to the PCB, which allows for a potential upgrade in the future - however it's worth noting that you can't just buy two 16GB modules, because they aren't the same physical size. There is a spare space above this though labelled "IDE3" for potential expansion, as well as solder points on the motherboard labelled "3GCard" hinting a possible future, very mobile product line?
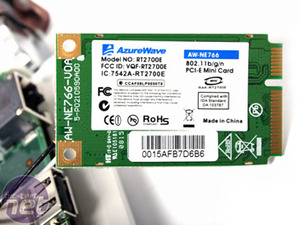
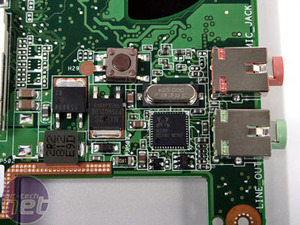
The 802.11n Wireless is handled by the AzureWave RT2700E card and HD sound with Dolby Sound Room option is driven by the Realtek ALC289 chipset. Above this there's a little button but we're not quite sure what it does since there's no corresponding hole on the outside of the plastic chassis!
Can we get it back together again? Well, our attempts were successful with the Eee PC 900 without even a screw to spare (unlike a previous Rock notebook...) - well let me put it this way, don't take it apart, take pictures, edit those pictures and write the entire article before you then decide to put it back together again. At the time of writing the whole thing went back together in 15 minutes with one screw missing and the display not working.
Thankfully, Tim was on hand to dismantle and rebuild again during a spare lunchtime - the display worked fine at the second time of asking. Now I've just got to crawl around the office (It's something he does on a regular basis - Ed.) and find that one remaining screw!

MSI MPG Velox 100R Chassis Review
October 14 2021 | 15:04





Want to comment? Please log in.