
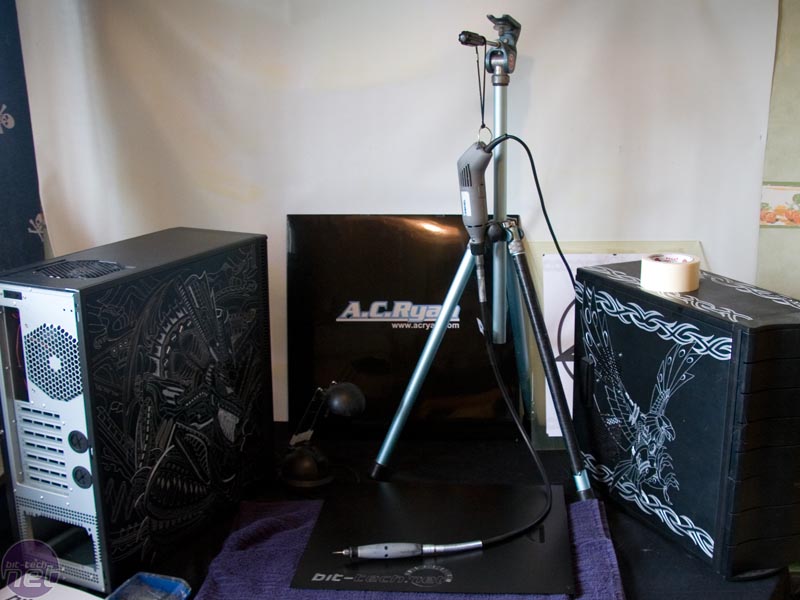
The actual engraving
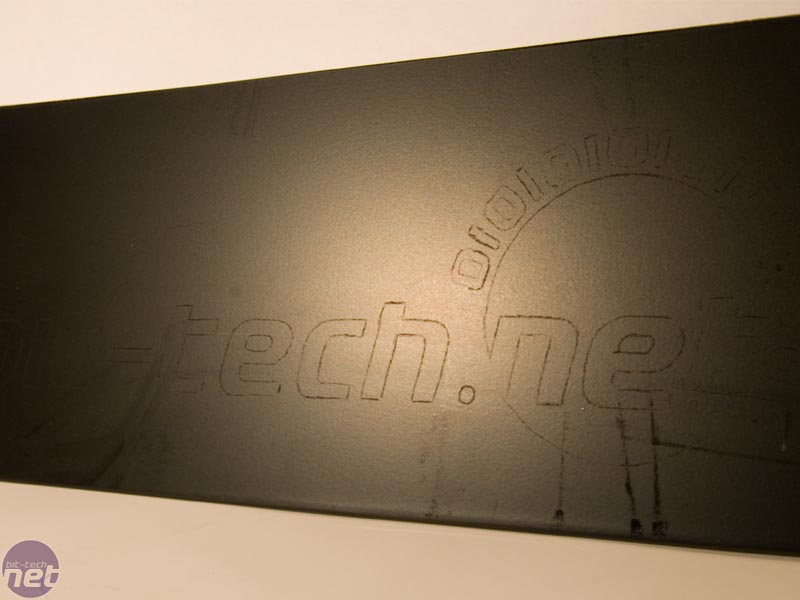
Now, enough chit-chat, it's time to work! Here's a shot of everyone's favourite image sketched and ready using the carbon paper method. So lets get started on a little bit-tech logo engraving, shall we?
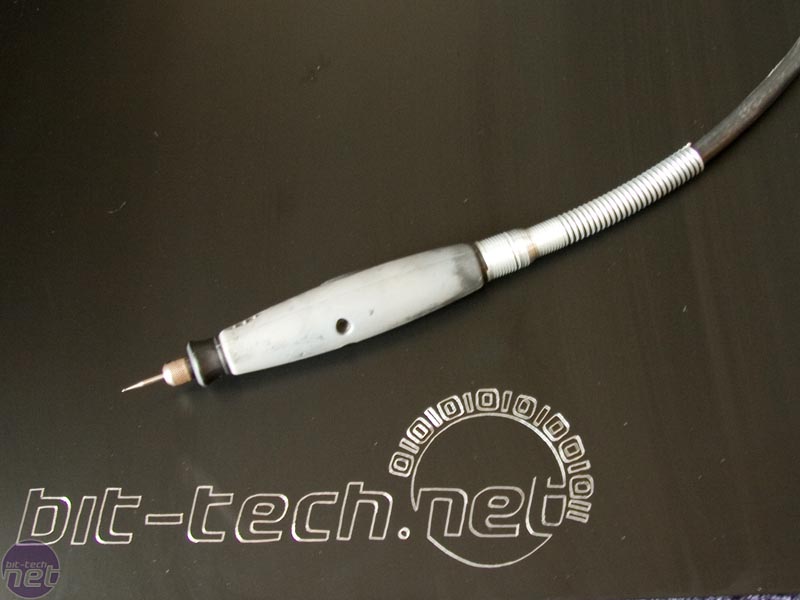
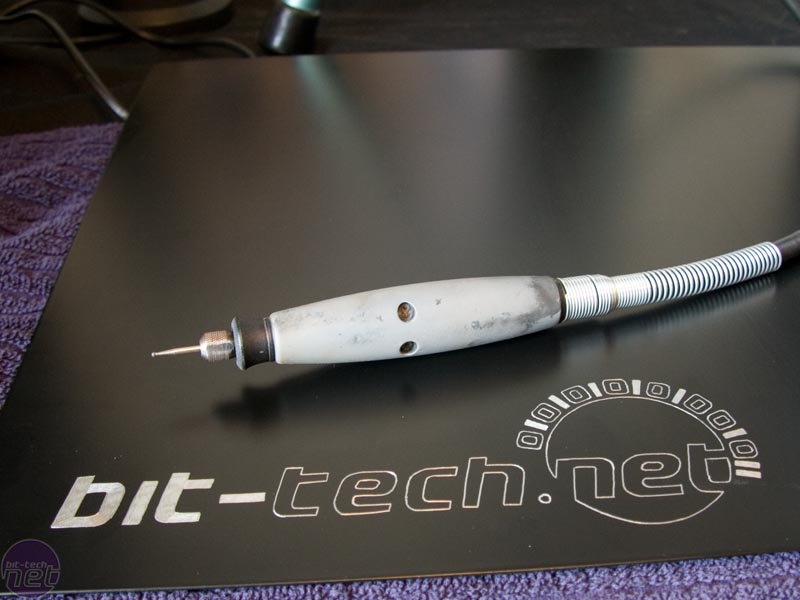
Left - the first outline done with the 7134 bit; Right - The 7105 bit is used for some fill-work.
When filling larger areas, it's important to try and do the filling in one direction. Otherwise, the engraved area won't look good when light hits it. Its also important to use a light touch and not ram the bit into the material. Remember, it’s the machine that is supposed to do the work, not you. Taking it easy and going slow is the key to a good surface.
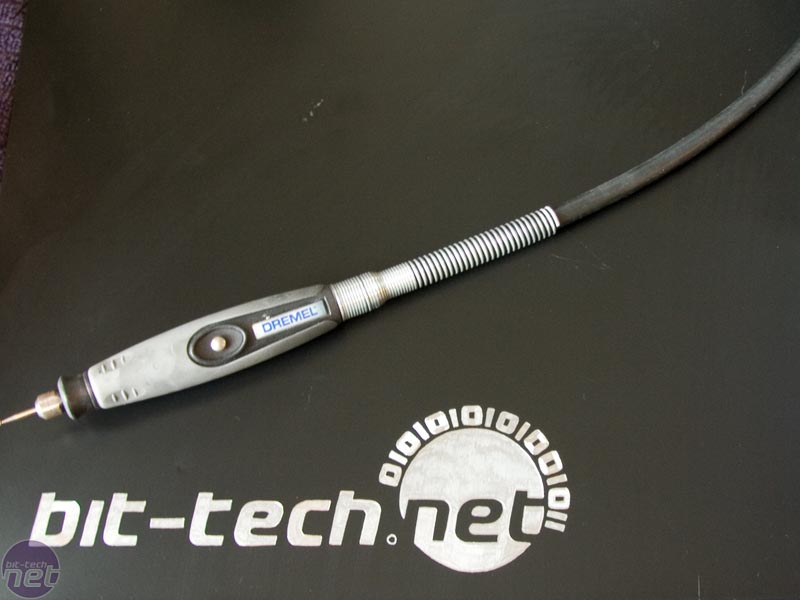
Left - The finished logo in all its glory; Right - My kitchen table has seen better days.
If you take your time and pay attention, you'll have a nice looking logo like the one above. And if you spend too much time doing this stuff, you'll end up with a "workbench" like mine - a kitchen table in utter disarray.
RELATED ARTICLES


MSI MPG Velox 100R Chassis Review
October 14 2021 | 15:04

Want to comment? Please log in.