Engraving on Acrylics
Acrylic is a lot different from aluminium or steel engraving in many ways. First of all, acrylic is soft and you can do a lot of damage if you are not careful. One of the hardest things when doing engravings is to get the bit to cut at a constant depth, as it will want to pull "into" the material.You also have to be careful not to run the machine at to high revs, because that will make the material melt. Melting will make the bit dig in even more, and it can easily jump across the surface leaving a lot of unwanted lines that cant be erased.
When doing engravings on acrylic, you always engrave the side that is supposed to be on the inside. Though this sounds easy enough, it presents its own complications. If you are doing text, you need to mirror the design so that the letters will come out right when you look at it from the outside. I've done this mistake a few times, and although you can mount the plexi either way, it always looks best if you keep the engraved side facing in.
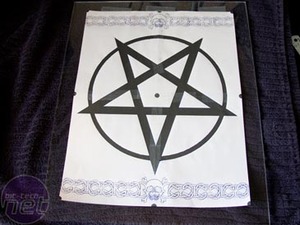
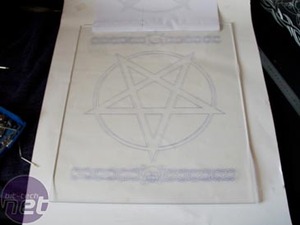
The start of working with acrylic is just the same as working with metals. Once your design is in hand, it's simply a matter of tracing over some carbon paper to get the lines onto your victim.
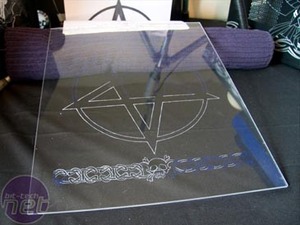
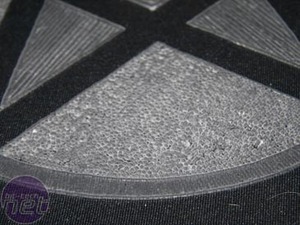
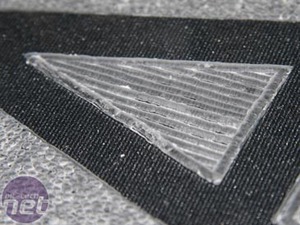
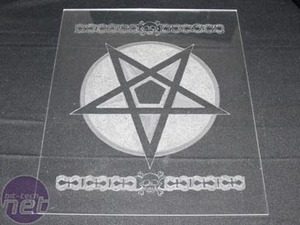
Left - The first stages of the acrylic design done with the 106 cutting bit; Right - Basic texturing by making dots.
When working with acrylic, you can do a lot of cool stuff with different textures that you can't do on metal. I've made a couple of different ones using lines and dots in this design.
Though the basic engraving will look good on its own, acrylic has one other benefit over metal - it's transparent. You can make your engraving really come to life with just a few well placed LEDs. Such a subtle addition can make the difference between a cool look and an absolutely amazing look.

MSI MPG Velox 100R Chassis Review
October 14 2021 | 15:04




Want to comment? Please log in.