Spray putty
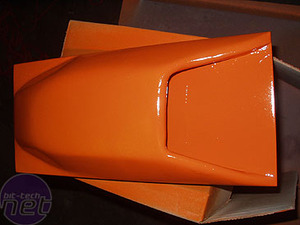
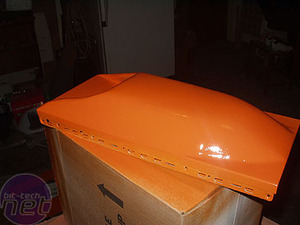
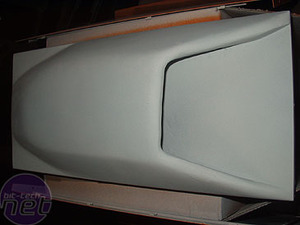
Ok, I'm on a roll now, and feeling good about the successes! I dont want to get cocky and start really blowing stuff up, but I roll the dice and step back in to the scoop project and hit it with 3 layers of spray putty, sanded down between coats. I ended upwith this:
I primed it white later on, and then shot it orange. The first coat was astounding! Of note, the rear of the scoop, the taper - hmmm, does that styling remind you of a Fastback Mustang a little bit? I knew that I did not have the time to make a 'fastback' case, but I could incorporate the design somewhere, and the back end of the scoop was the perfect spot to put it -love that thing!
While the scoop rested from my onslaught, I turned my attention to mounting the power supply. It had a special need in that the fan grills that I created earlier out of the RC car wheel hubs, one was attached to the bottom of the power supply. This provided an interesting situation in that the new fan grill impeded the power supply from properly attaching to the back of the case. The fan grill kept bumping against the power supply support lip. So, the same spacers that I used for the fan grill mounts, I went back and purchased 3/4" aluminium spacers that were the perfect inner diameter to allow for a longer screw that matched the thread type and bolt width of the standard PC screw.
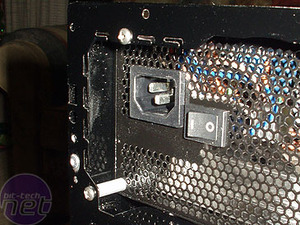
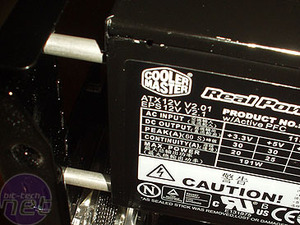
I bought a 1" version of this screw, and brought them into contact with the power supply one at a time on seperate corners, only screwing them in enough to give the screw traction in the threads of the power supply. This gave me enough play in the power supply to hold the spacer and push the bolt through and then screw it into place. Two hands and lot of patience! I basically stepped the whole thing together, lower right, then upper left, then lower left, then upper right. Once I knew I had the screws in place, I cinched them down. I ended up really like the spacer look on the power supply from the rear! Added a nice bit of contrast to the stark black of the rear of the unit!


Want to comment? Please log in.