Bits & Bobs
With the power supply mounted, I've got a good starting spot for cable planning. I already had a good idea on what I was going to do with it (was thinking spark plugs/ignition cables) but how I was going to pull it off was going to be the uber problem. Timelines suck when you start realizing that the corners you are going to have to cut in the name of hitting the deadline... but then, that is another aspect of the contest, the ability to manage time and your mod! Here was one of the cable routing experiments that I tried, and I almost kept it: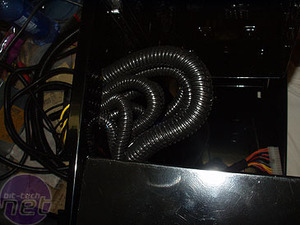
Now, on some BOSS cars, the entire hood was blacked out. For me to do something similar would require me repainting the entire top of the case, and I did not want to do that. Added to that, continuing the centre stripe from the front over the top of the scoop would have made for an odd stripe that did not work wit hthe scoop. As such, I did not pursue that "historical accuracy" attempt. My design, my style!
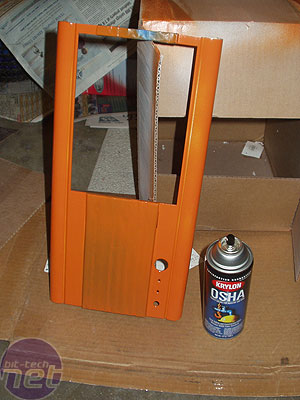
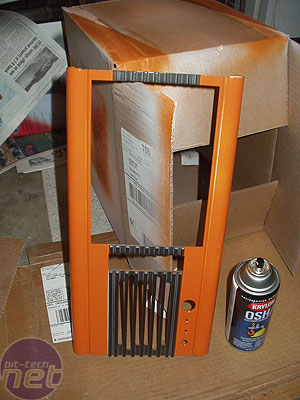
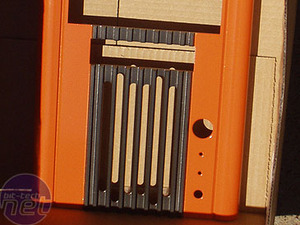
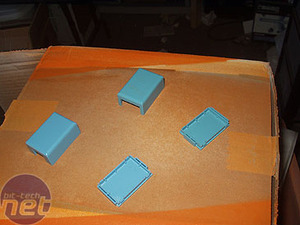
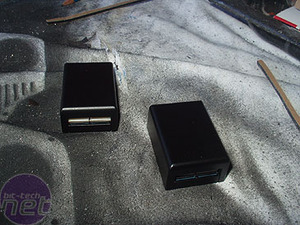
I will have 2 different meteor lights installed into this unit (2 on the bottom and 1 more hidden in a wall = 2 controllers), and I'll tell you that the baby blue of those controllers absolutely suck! So, what is a modder to do when colors dont work? Take it apart and make it the colour you want! I dont need any pansy ass blue in here!

MSI MPG Velox 100R Chassis Review
October 14 2021 | 15:04


Want to comment? Please log in.