Bondo condo
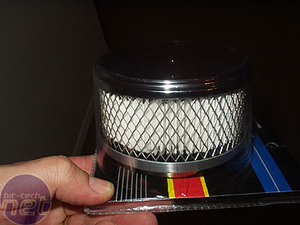
So, I'm getting my scoop whipped into shape, and I'm up at the auto parts store looking at body kit, filler, fiberglass, etc, and I see this:
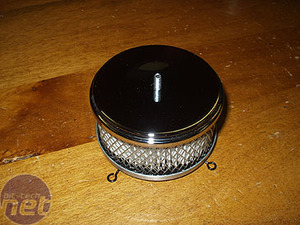
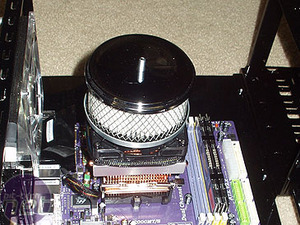
I measure it, as it looks almost a perfect fit for a 80-92mm fan! Sure enough, I bring it home and it fits perfectly to my CPU HSF unit! I actually get more comments on that filter than just about any other part of the mod! I was super stoked when I came up with the idea, but had no clue it would be as well received as it was! Installtion is the easiest thing in the world, and goes to show that some of the most effective modding is not how well you build, it is how well you improvise!
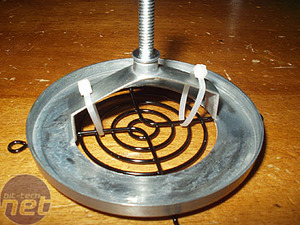
I used 2 zip ties to attach the support framework to the wire fan grill on the CPU heatsink fan. I then attached the filter and screwed it down.
I marked off the bolt with a permanent black marker, and used a cutoff wheel on my dremel to remove the excess bolt. That's it folks!
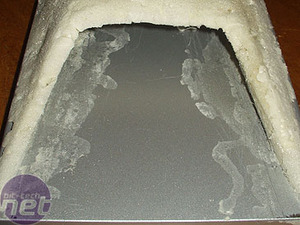
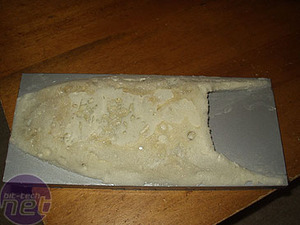
This also wrapped up on the foam molding of the hood scoop after cutting, refilling, curing, cutting some more, filing and more filing. End result was this scoop shape:
Looking at the scoop, I realised that if this was going to be a mobile mod, I'd need that scoop to be able to be moved without fracturing, so I laid on 2 layers of long strand fiberglass with a heck of a lot of resin!
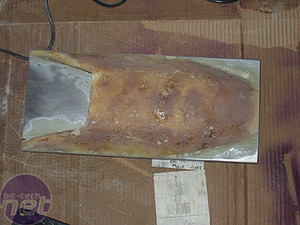
I honestly think this damn thing could have doubled as ballistic armour! It took me forever with 60 and grit paper and a power sander to knowk the fiberglass down into a semi-smooth shape that was ready for bondo!
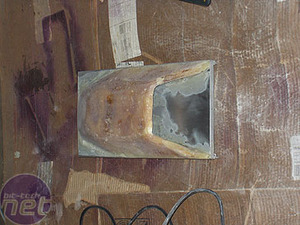
After 3-4 layers of bondo and hours of sanding at progressively higher grits, I had to call it a day. The scoop was dragging me down and I had too much more to do on this thing!
Taking a break from the scoop, I applied my attention to the front bezel and the side panels.
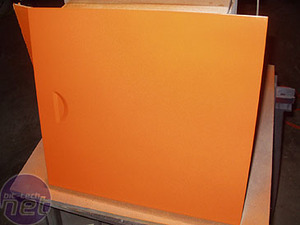
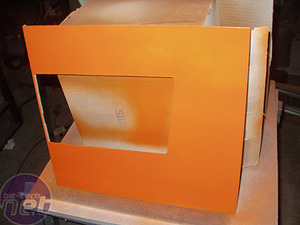
I wanted this to be a vibrant orange. Not a dull orange, but also not a UV, "ARGH MY EYES!" orange! Just some sort of happy medium. I rolled 2 layers of high fill primer (some call it spray putty I think) and sanded those down to a near perfectly flat surface. Then I applied a white primer. After the smooth surface was ready, and the white primer was set up and cured, I shot my first coats of the orange... and I was dancing like a giddy schoolkid - Krylon OSHA Orange, baby!
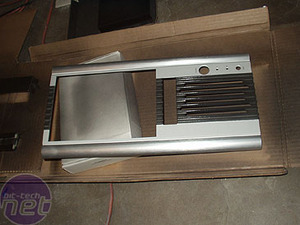
I also went to work on the front bezel by effectively taping everything but the center section where the raised bars were at. I then hit the center with several layers of adhesion promoter from Duplicolor, and I used their Duplicolor Metalcast 'Smoke', about 5-6 layers. Metalcast paints are transparent. They mimic anodizied parts.
I have also seen some people mimic a candy color paint job on part too - so it is a very diverse type of paint for the creative user! After I finished the centre stripe I then removed the tape and let it finish up drying.


Want to comment? Please log in.