Re-Cut Radiator Side Panels
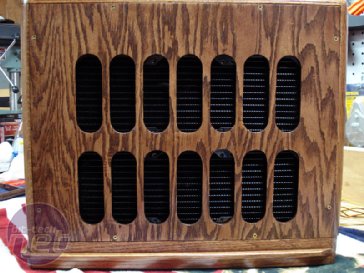
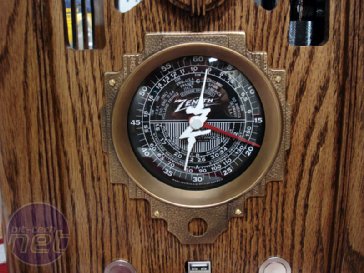
As I mentioned, I wasn't satisfied with the radiator side panel. So I took one morning and remade it. I am much more pleased with the remade panel. I still had to drill the holes and cut the rest out with the scroll saw, but I used a spade bit which worked out much better. I left 3/8" between each cutout which made all the difference. I also put the dial together with the mock radio acrylic radio needles.Stained, Urethaned, and Starting to Put It All Together
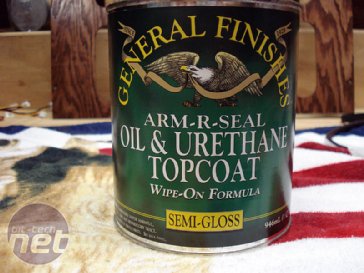
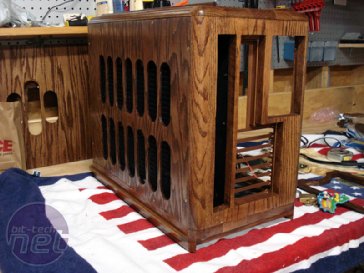
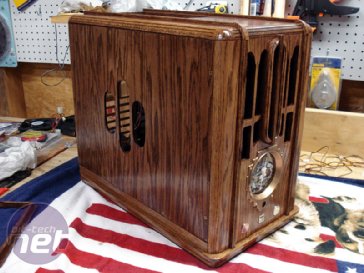
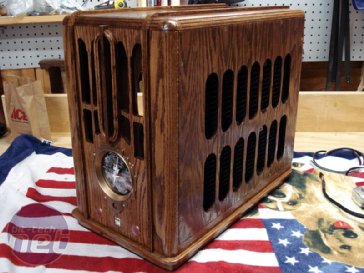
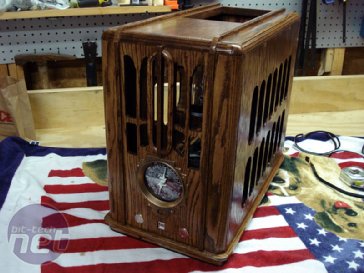
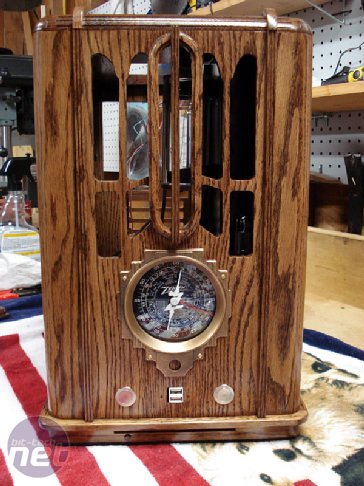
Here are some shots of how it looks at this stage. I'm very pleased with how the finish came out. The stain is Ace Hardware walnut. Their stains cost a bit less than Miniwax or the like and work fine. I put on two coats of stain. I used General Finishes Urethane for the top coat which was recommended to me on my last project. This stuff is great to work with as it goes on very smooth and doesn't easily run (unlike polyurethane) which is a huge plus when working with so many small detailed areas.I used semi-gloss and gave everything three coats, making sure to lightly sand out any rough spots between each coat of stain and each coat of finish. I followed up with a good wipe down with furniture polish. The finish is baby-butt smooth.
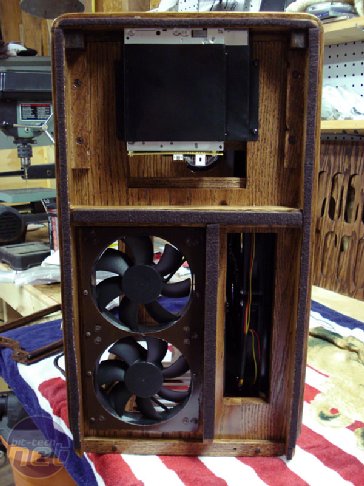
Underneath
I mounted the two bottom intake fans and the DVD drive. I bought some brown strip furniture felt to line the bottom of the case with so that the bottom of the case doesn't scratch or get scratched.
MSI MPG Velox 100R Chassis Review
October 14 2021 | 15:04




Want to comment? Please log in.