External Design
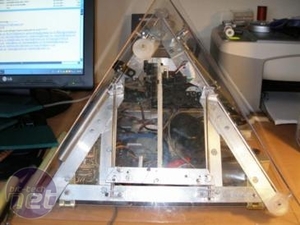
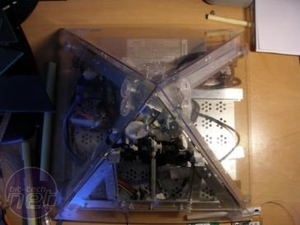
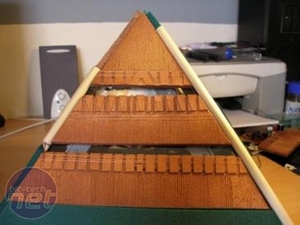
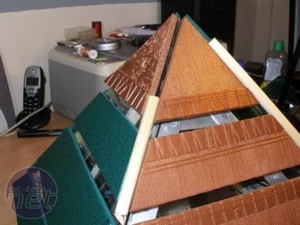
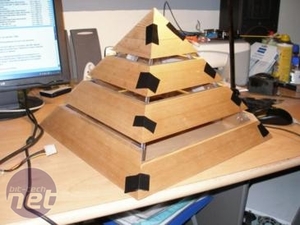
After finishing the framework and the mechanics, the next part was the exterior. My wife stepped in here, as she has a perfect eye for design. If anyone says modding is a man's world, I can prove them wrong.At first, we tried using loose acrylic plates for the exterior, but that didn't work. I ended up gluing acrylic plates together in a pyramid shape. As in the movie, the sides of the pyramid are built in layers to achieve a stage effect.
To add depth to the panels, we tried using foam layers covered with a filling material that's designed for filling gaps in walls, and then painting these in a copper colour.
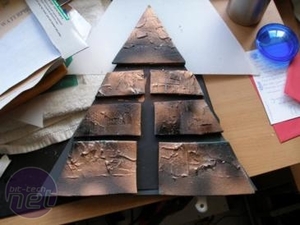
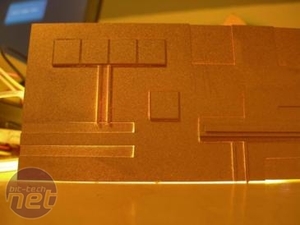
This simply didn't look slick enough, because the foam deformed too much and looked crooked and warped after all our manhandling. Wandering through the Internet, we found a couple of sites that made models of starships with polystyrene and other plastic materials. We also came across people who modify old model kits, known as 'kit-bashing'.
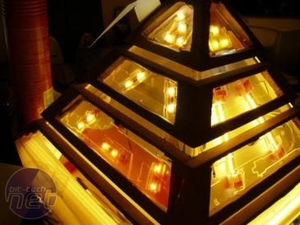
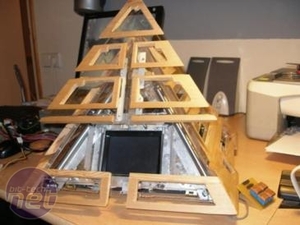
We tried out some ideas and discovered that placing lights behind polystyrene looked fantastic. So how could we fit them? Eventually we hit on the idea of using layers of wood over the acrylic panels and carving out the centres to accommodate the lights.
This was easy, as my father is a carpenter and has the machines for the task. The lights are a combination of CCFL tubes and LED lights covered with a coloured plastic foil. We'd tried using coloured foil from the hobby shop but this deteriorated after only a few days.
The polystyrene needs to be very thin for the light to get through. Thin polystyrene plates are hard to obtain: only a few manufacturers make them and they're expensive. I handed over the entire external design to my wife, as she's an expert on this area (interior design is a hobby of hers).

MSI MPG Velox 100R Chassis Review
October 14 2021 | 15:04




Want to comment? Please log in.