The Frame
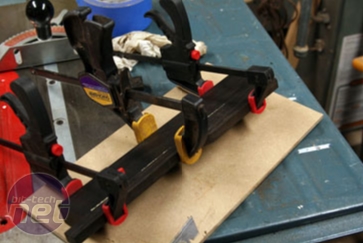
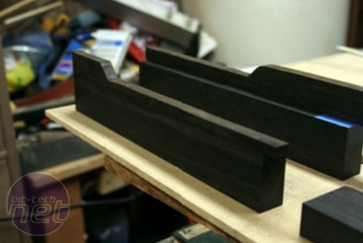
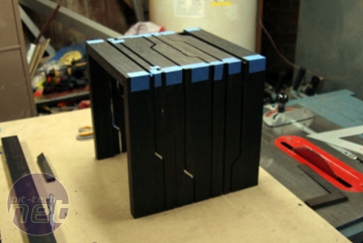
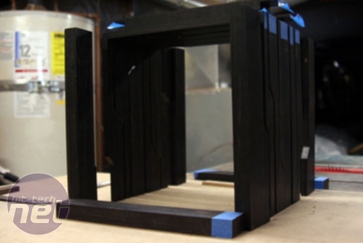
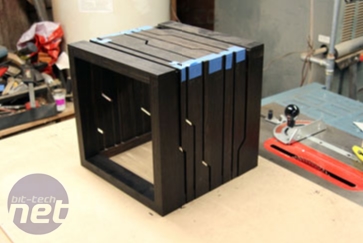
The first step in building the frame was gluing on the thin ebony pieces that would complete the interior portion of the cube. Instead of cutting these thin pieces separately, I glued them to the frame piece in order to have the full size of the piece to hold onto during the routing process.Once these pieces were routed, it was time to connect all of the thicker frame pieces on either side of the case to make the frames. To join these pieces I once again used the same rabbet joint. Here the sides are taking shape and also the objective of the joint is demonstrated.
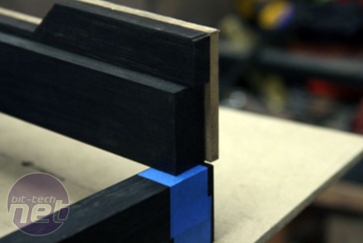
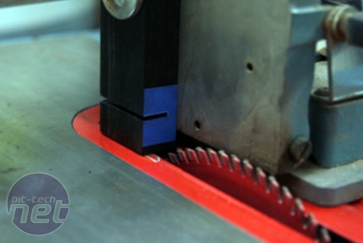
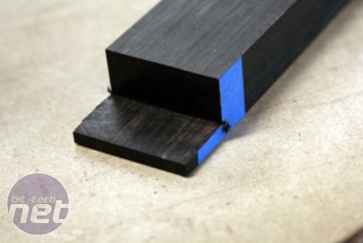
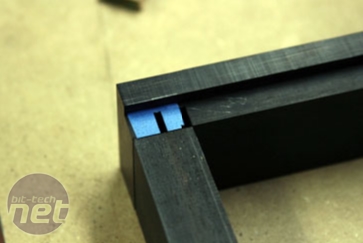
Once the first cut was made, it was again time for the tenoning jig for the second cut. Here is the piece ready to be cut and then the finished joint after a little bit of work with a sharp chisel.
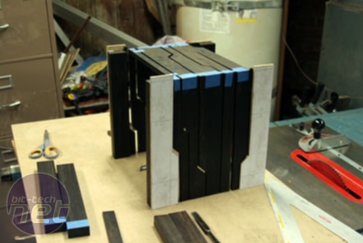
Here is the top section fully mocked up. The next step is to do a similar joint on the bottom section however this time, the vertical member is the one that will be cut to keep the lines of the wood running straight through to the bottom maple section without end-grain showing through.
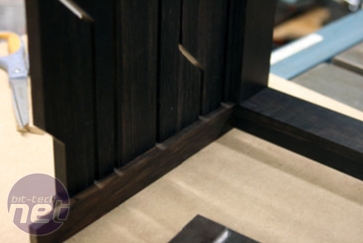
Here, the bottom has received the first cut. The second cut is the same as above and a test fit shows that it works. The next step is to cut a notch in the bottom frame piece to accept the bottom divider piece.
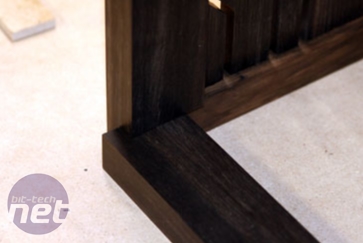
Once this joint is done, the frame flows seamlessly and once glued, the divder piece is firmly attached to the frame. The next step will be the multi-stage glue-up.

MSI MPG Velox 100R Chassis Review
October 14 2021 | 15:04




Want to comment? Please log in.