
The Back Panel
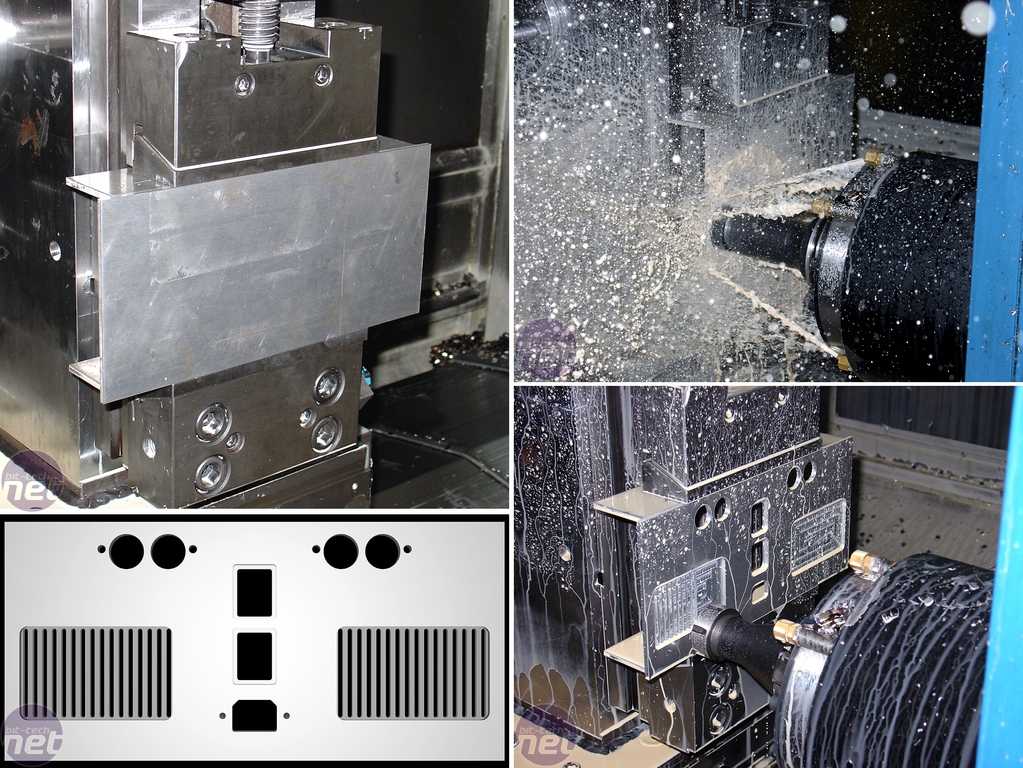
The back panel design was formulated from another sheet of 5mm aluminium, milled with the centre lathe CNC. It is designed to slide into the notches of the rear columns.In order to facilitate airflow, two large grilles were milled, one on either side of the plate. This will help to feed cold air to the fans, which can then be exhausted through the radiators and out the side panels of the Water Station.
Three holes were milled down the centre - two for the switches controlling pumps (lower) and lighting (upper), and a third that supplies the incoming 220V power. To either side at the top are two holes for the tubing runs - an ingoing and an outgoing for each pump.

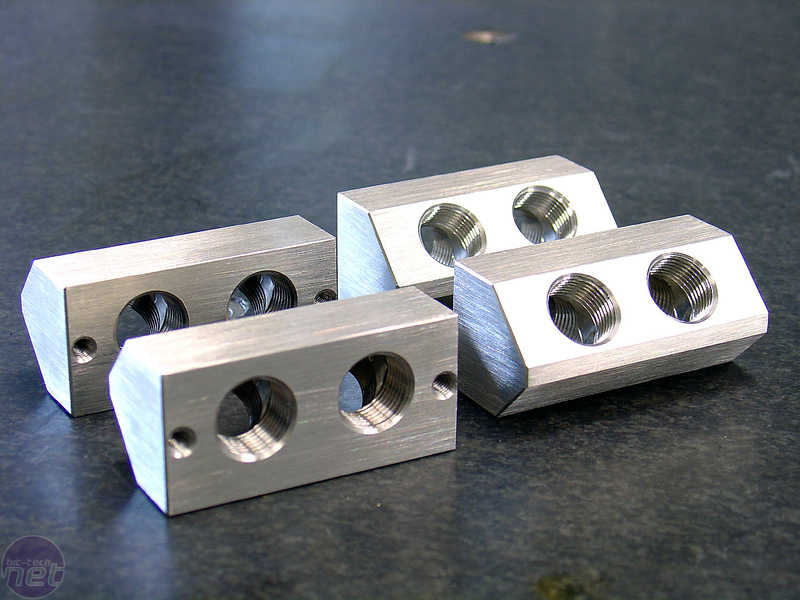
The first step was to create the tubing runs, which are milled out of aluminium block. Each piece has been threaded for 3/8" barbs, and is set at a 45 degree angle.
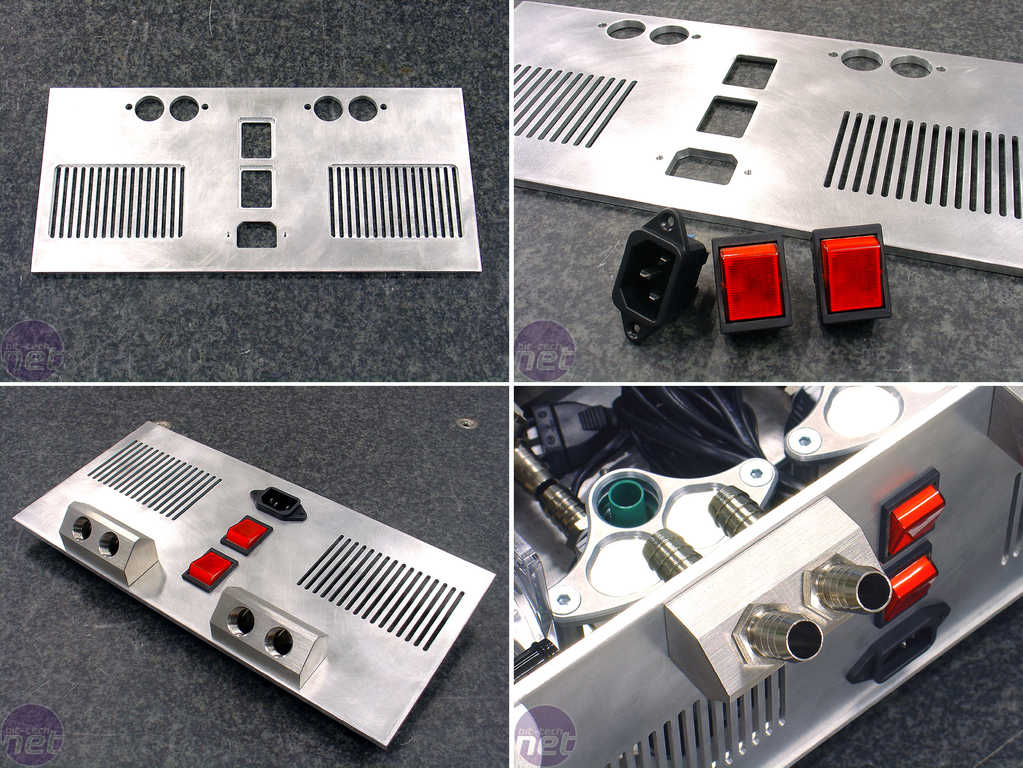
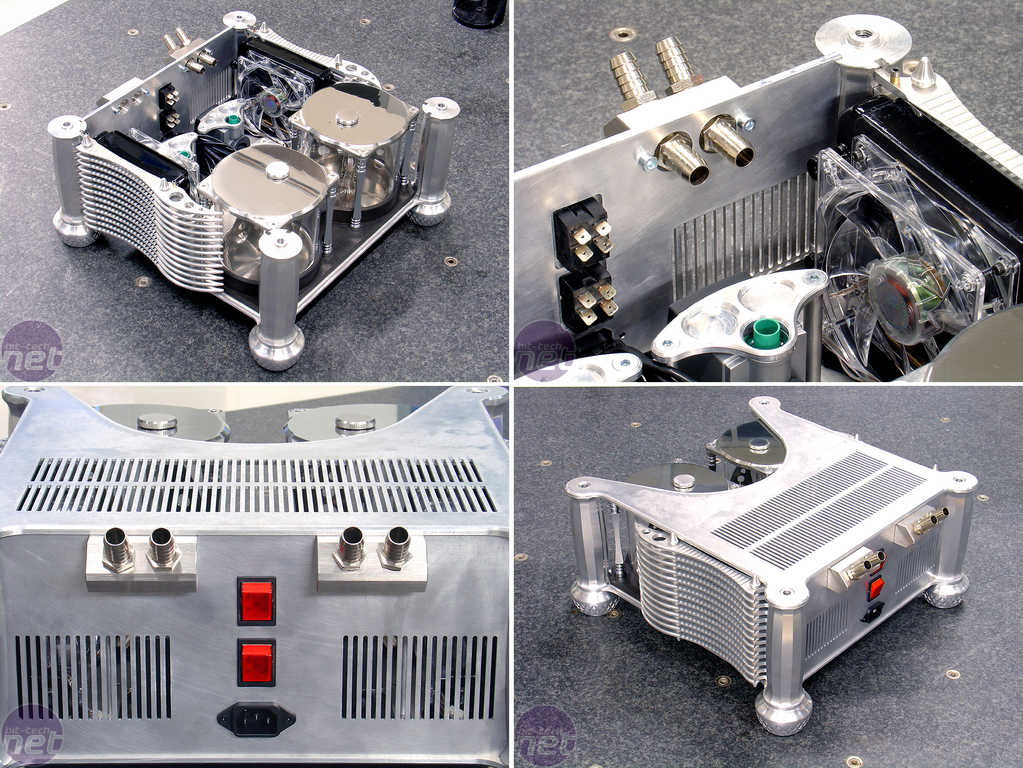
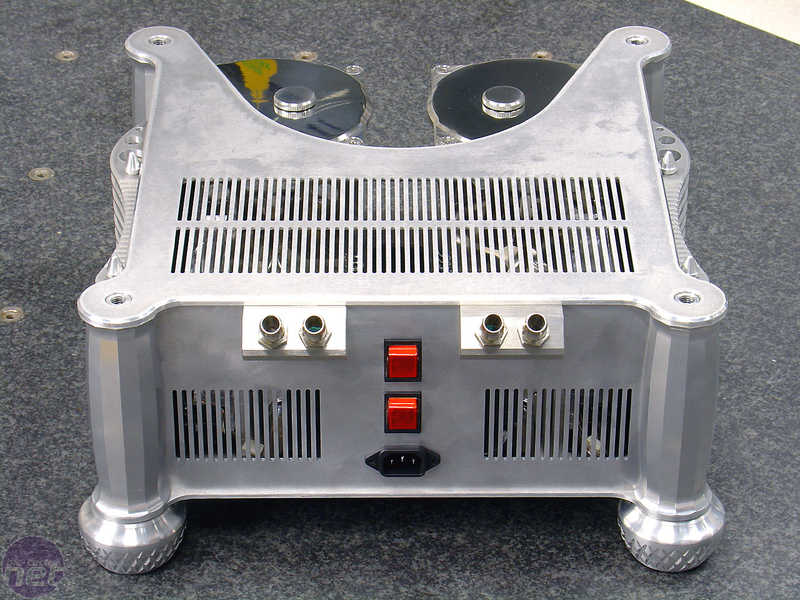
The tubing runs, switches and 220v power supply were each connected to the back panel, which fits snugly in the slot milled for it between the two back columns.
The Logo Plate
The logo plate sits behind the two tanks, and is only visible when looking at the Water Station from the front. The panel had to be designed quite carefully, as several attempts were made that produced rather illegible versions of it.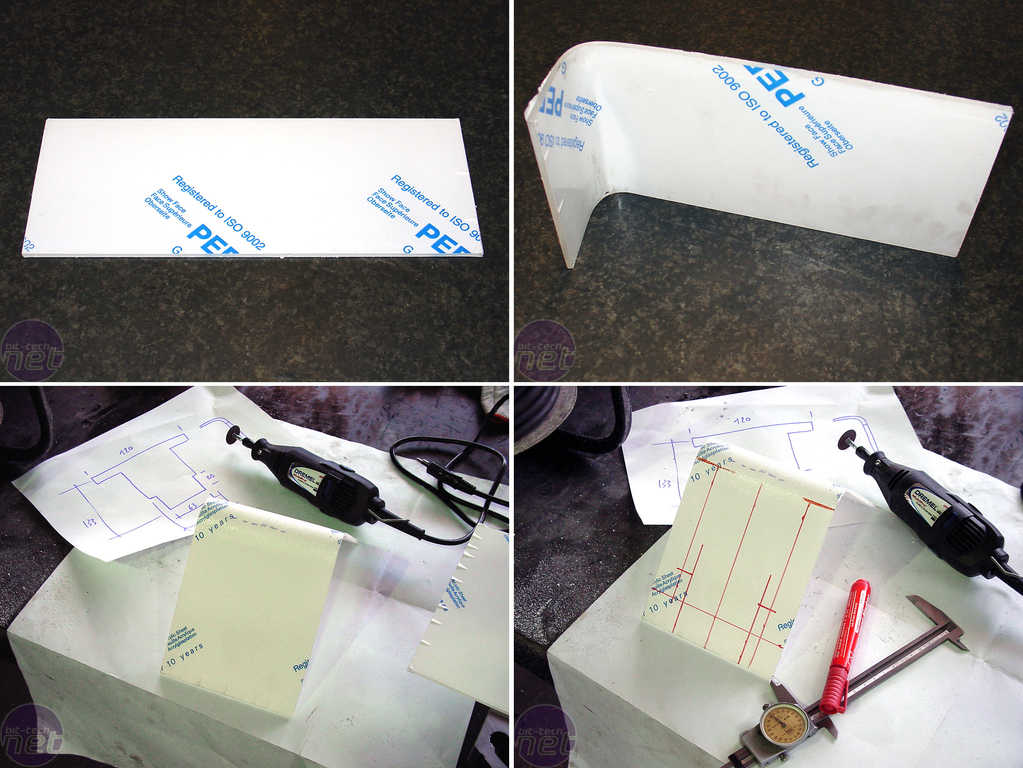
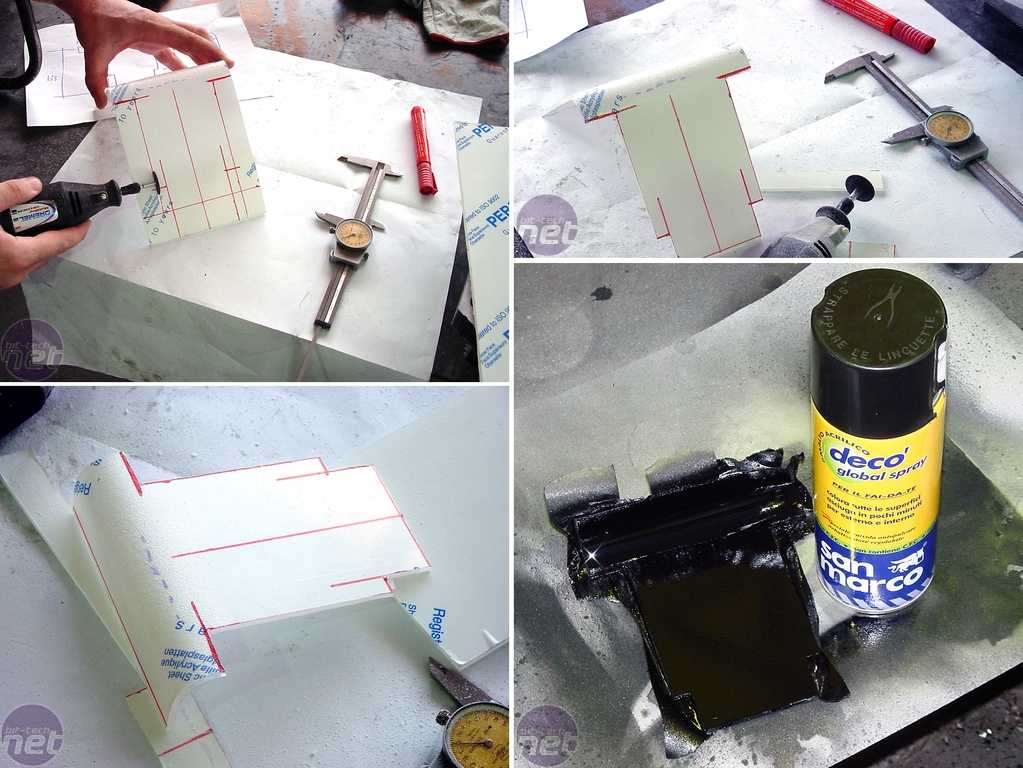
I used 3mm Perspex to create the logo panel, and bent it with a heat gun. I then used a Dremel to form the final shape, and spray painted the back part of the plate with a matte black (Editor's Note - Gianluca referred to the technique done by our own Dave "Macroman" Williams in his infamous Macro Black project).
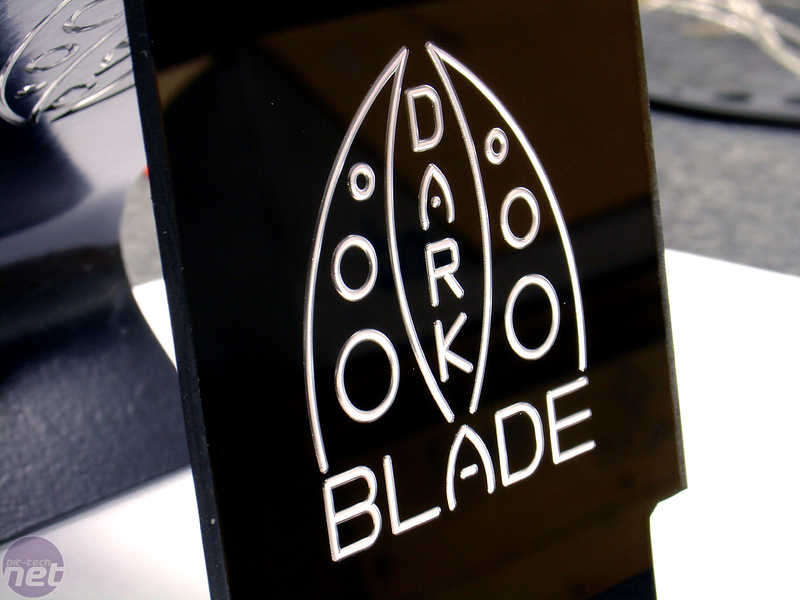
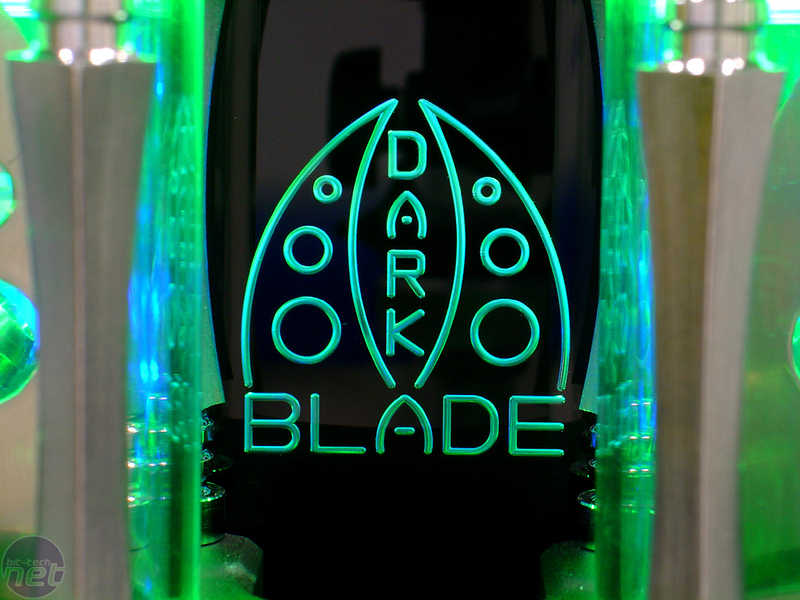
After the black paint had properly cured, I put the piece in my centre lathe CNC to create the text. The logo is lit via the lighting which I used for the tanks, which I will get to shortly.
RELATED ARTICLES


MSI MPG Velox 100R Chassis Review
October 14 2021 | 15:04

Want to comment? Please log in.