
The Tanks
The design of the water tanks themselves took almost six months, and was probably the most intensive planning out of the entire mod. Like all parts of Dark Blade, the tanks had to be designed perfectly in both dimensions and aesthetics to fit the rest of the mod.They couldn't just be water tanks, as adding the perfect look to fit the design is part of what I view as fundamental to a good mod. As these pieces would also hold water, there was very little margin for error in the dimensions - each piece must be machined to perfect tolerances, or else leaks could occur.
I used AISI 316 stainless steel and Perspex for all of the internal parts that would come in contact with the water, and used anodized aluminium and chromium-plated brass for the external design elements.
The cylinders themselves are actually cut from a Perspex tube that was 134mm in diameter and had a 4mm thickness. While cutting the tube, I put masking tape around the outside of it. This helps to prevent cuts, scratches, and other accidents from damaging the final product - once Perspex is scratched, it's very hard to correct.
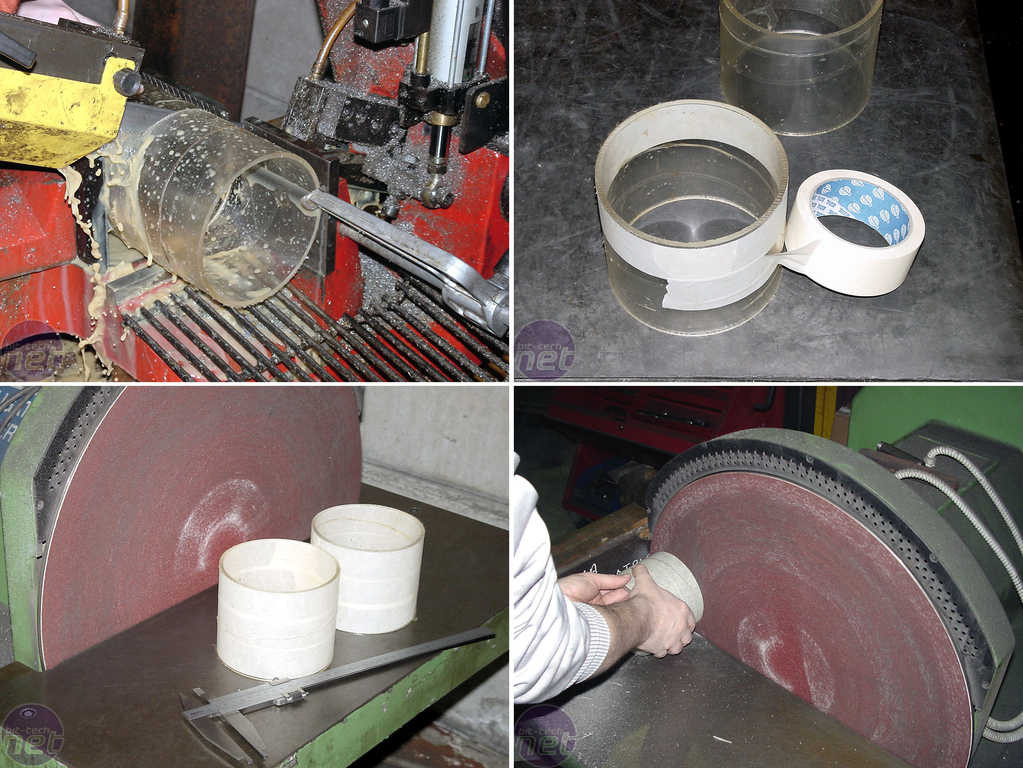
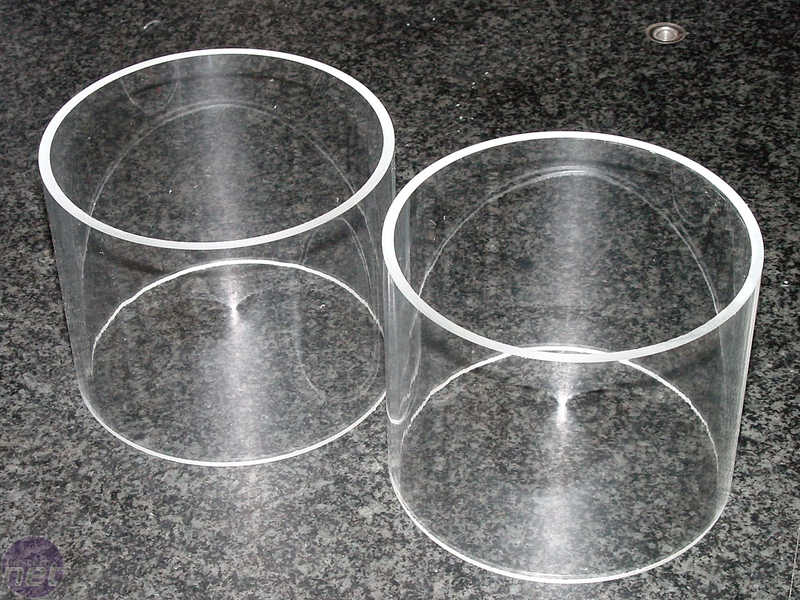
Once each tank was cut from the tube, I polished the edges using an abrasive disc sander. Notice that, once again, the tubes are wrapped in masking tape to prevent any accidental damage.
The Tank Anchor
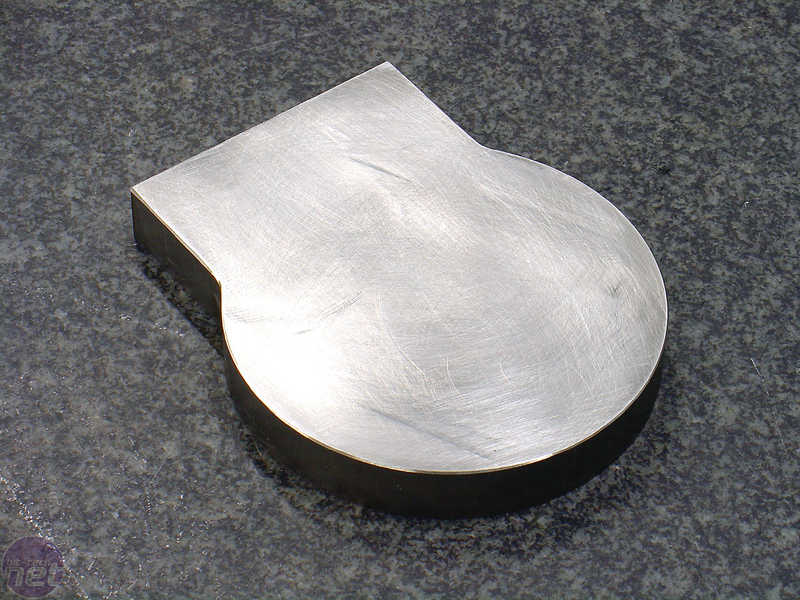
Initially, the tank base was designed as a single piece of aluminium that both of the Perspex reservoirs would fit onto and "empty" into. However, the plan was then revised to create two distinct bases out of stainless steel. Steel is the metal of choice for long-life fluid systems like hydraulics because it resists electrical corrosion, which is a large problem in mixed-metal loops with aluminium.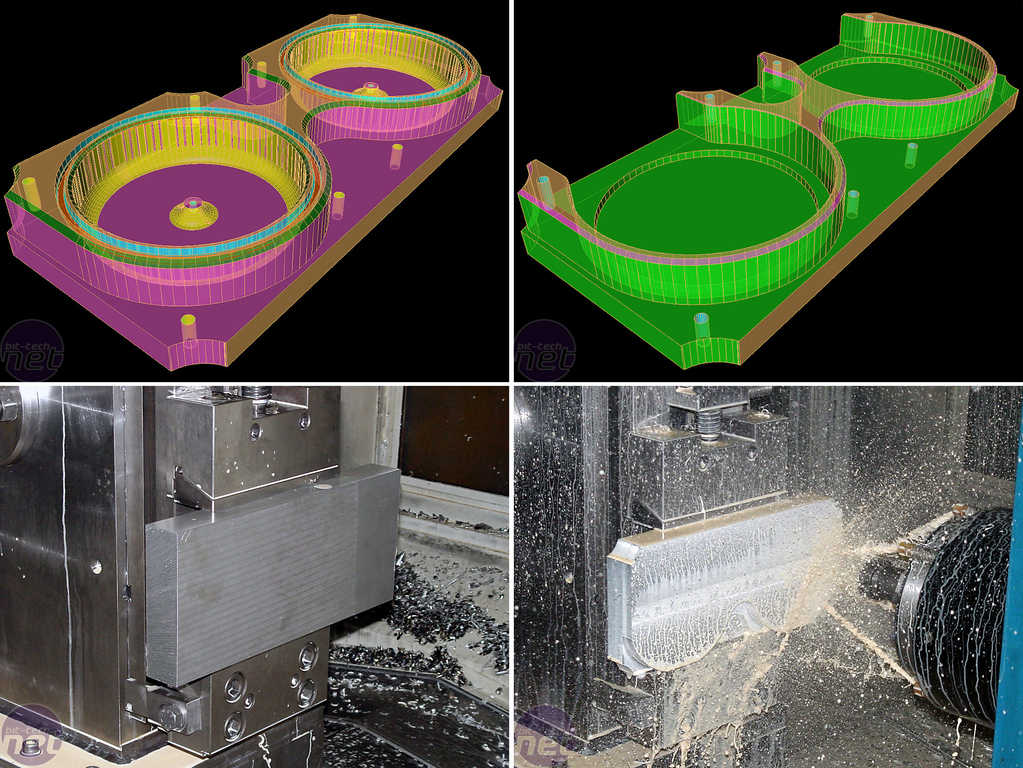
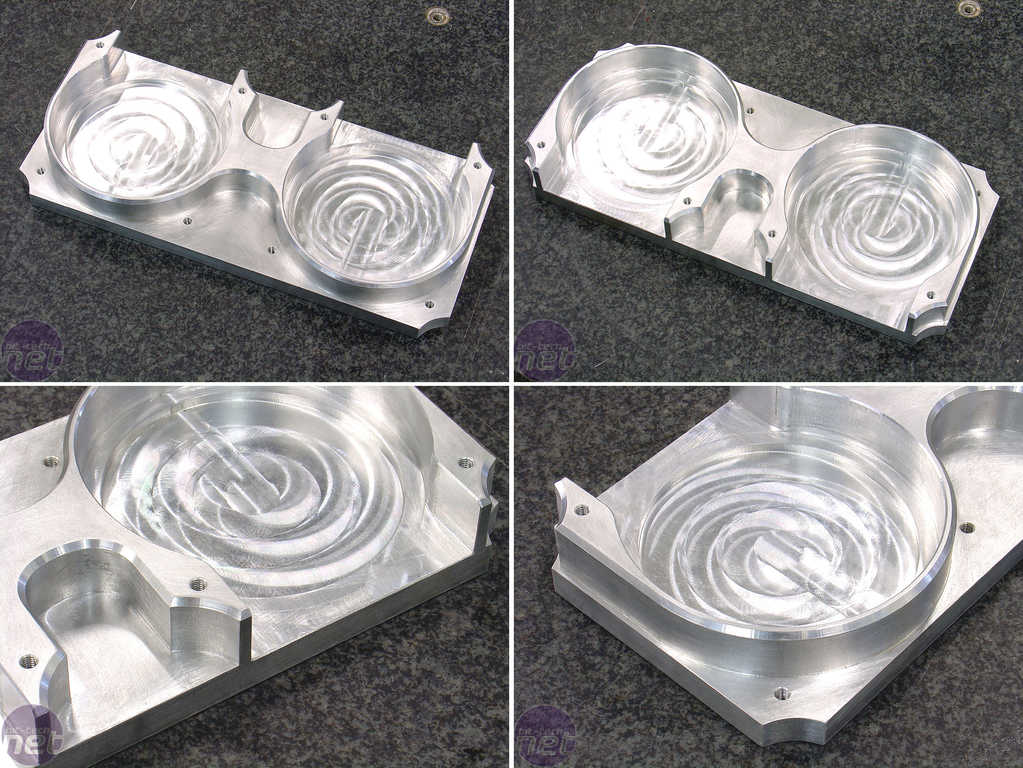
Since the tanks would have their own bases now, a final "anchor" which bolds directly to the base of the Water Station was needed. This piece is created out of aluminium so that it can be anodized, and is notched and ridged to hold the bases of the individual tanks.
The Tank Bottoms
The bottoms of the each tank had two tasks - they must seal against the Perspex to create a water-tight tank, and they must hold the rotary "spinner" that would sit inside each tank.

For waterproofing, a groove was cut along the outside edge of the base. This groove holds a rubber O-ring, which makes a seal against the perspex tube.
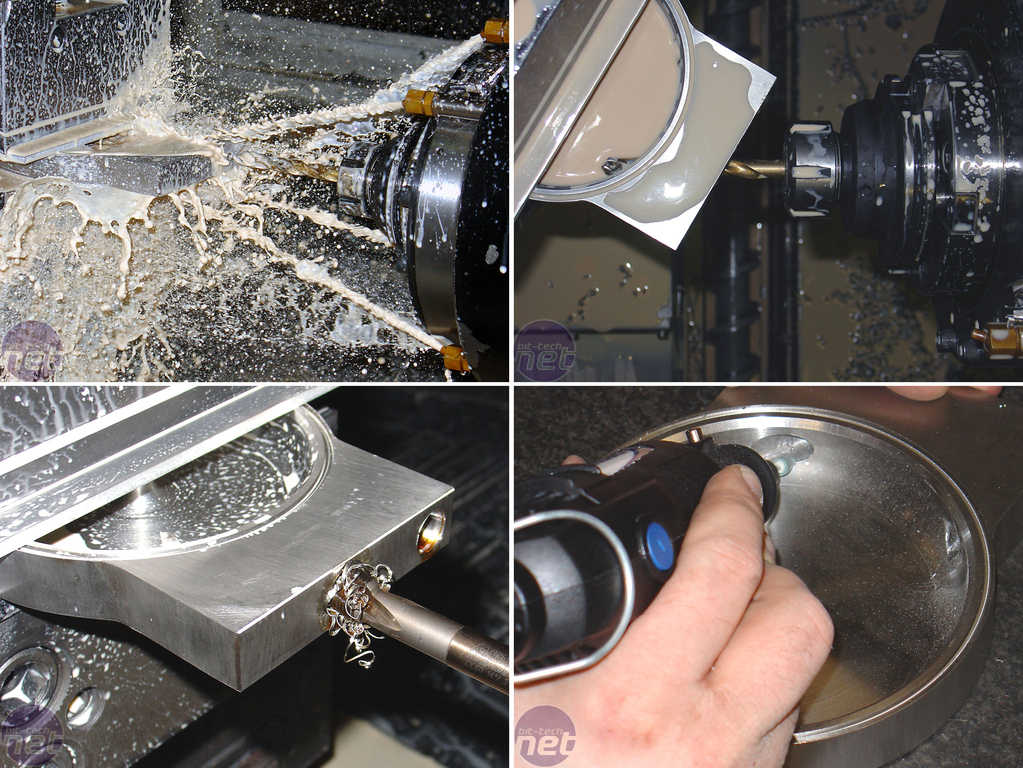
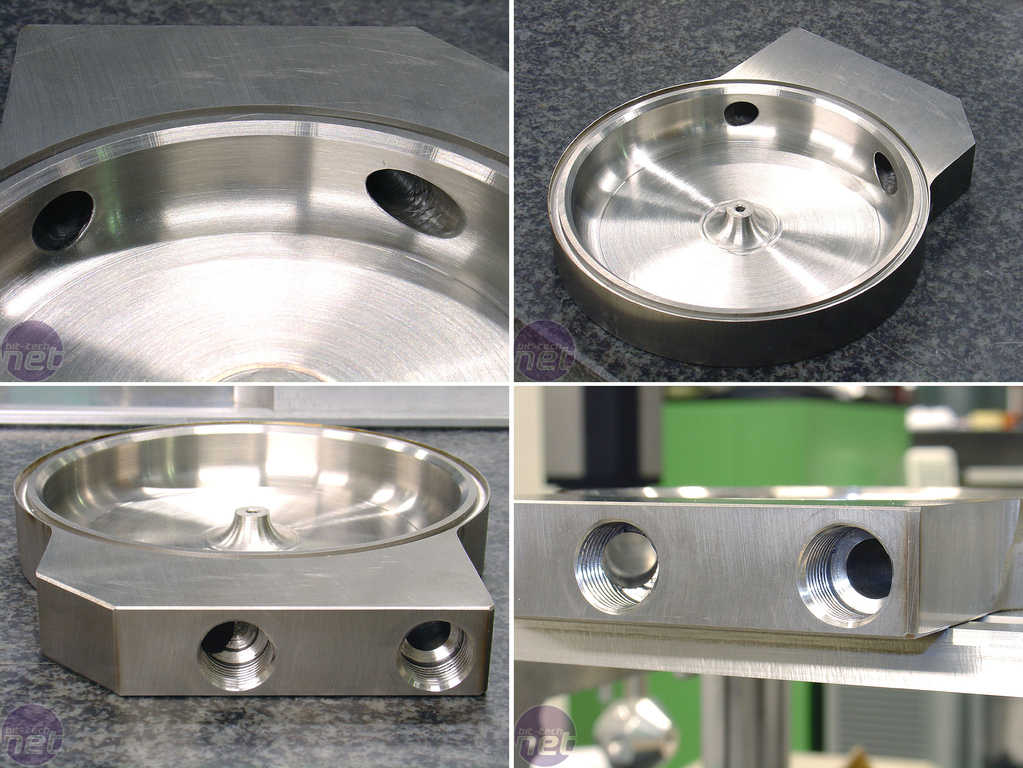
Two holes were drilled into the "back" of each tank base for water the water to flow into and out of the reservoirs. By having both the input and the output on the bottom, a sideways flow is created instead of a vertical one. This puts the internal spinners in motion as water moves through the tank.
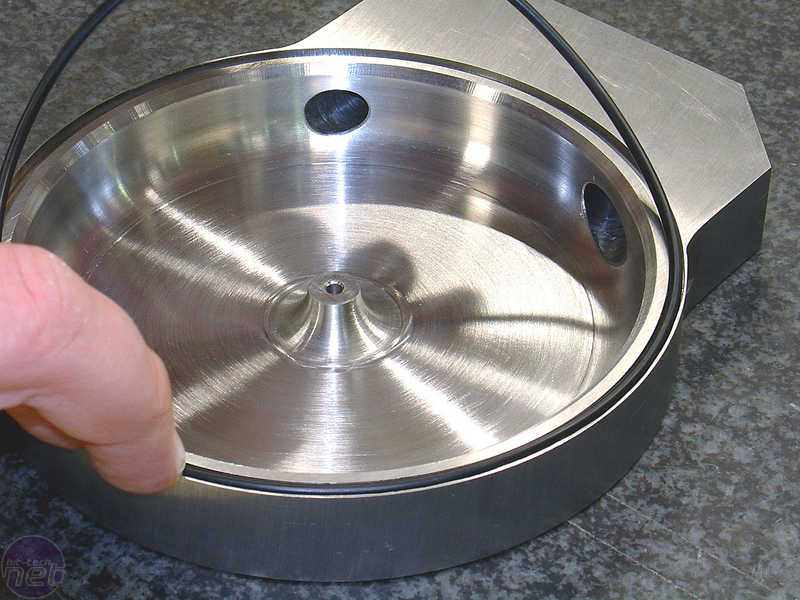
The finished bases just needed their O-rings and barbs, and they would be set for use.
RELATED ARTICLES


MSI MPG Velox 100R Chassis Review
October 14 2021 | 15:04

Want to comment? Please log in.