The Outer Shell
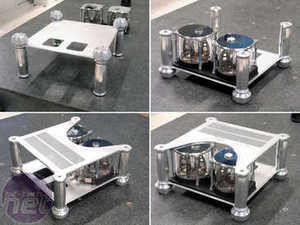
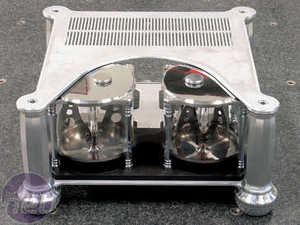
The outer shell of the Water Station consists of a base and a top, connected by four decorative columns. Now, if only building it were that easy!The Top and Base
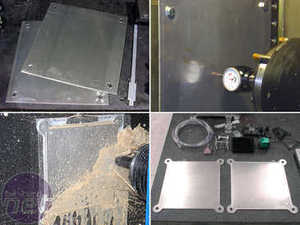
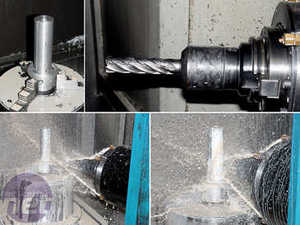
The base and top would be milled out of 5mm aluminium sheets which would subsequently be worked in the centre lathe CNC. Each would end up with dimensions of 400x400mm, with the corners being cut to handle columns that were 16mm in diameter.Allowing for the rounded columns makes the actual usable base around 350mm square. Many things would need to use that space - the tank assembly, radiators, pumps, fans, etc. Each of these components would need sufficient "breathing room" and access once the Water Station was assembled, further complicating the layout.
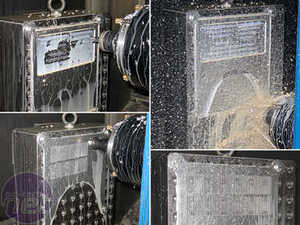
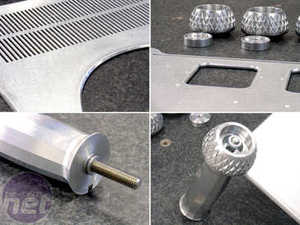
For the top, there was additional work to make the Water Station more useful - a large portion of the front was cut away, leaving access to the reservoir fill ports. As well, the back half was milled to form a grille, allowing hot air to escape more easily.
The Columns
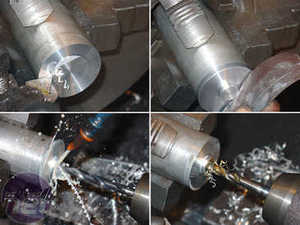
The columns used in the Water Station have been milled from a single bar of aluminium that was 50mm in diameter. Each end was then drilled and tapped, making for screw holes that would attach the column to the bease and top of the shell.The columns were manually "turned" on the lathe to give them their fluted appearance, and then the centre lathe CNC was used to create the "faces." The curved design was inspired by the hilt of a sword. Before they were completed, the back two columns each had two slots milled in them at 90 degree intervals for walls that would be built later.
The Feet
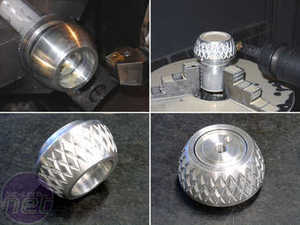
The feet, which are also milled from the same aluminium bar as the columns, were designed to be adjustable. The actual adjustable piece is almost entirely hidden within the feet, but consists of a bar that allows the foot to extend between 6-8mm by turning them. To hide some of the thread as well as protect the aluminium finish, O-rings have been applied where the feet touch the base.The "cross-hatch" look is performed by a particular CNC technique that I have become specialized in over the years - manual, numerical milling.
Assembly
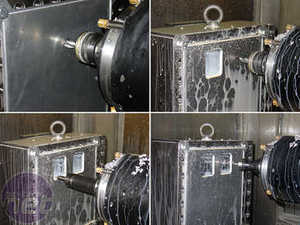
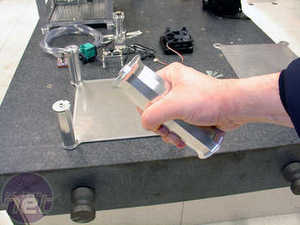
To complete the assembly of the shell, holes were drilled in the base to attach the tanks. This particular line-up is the most important, as the tank fill ports are raised (hopefully to the exact level of the top), and must be accessible from the completely assembled water station.With the test assembly complete, it was time to work on another design element - the side walls.

MSI MPG Velox 100R Chassis Review
October 14 2021 | 15:04




Want to comment? Please log in.